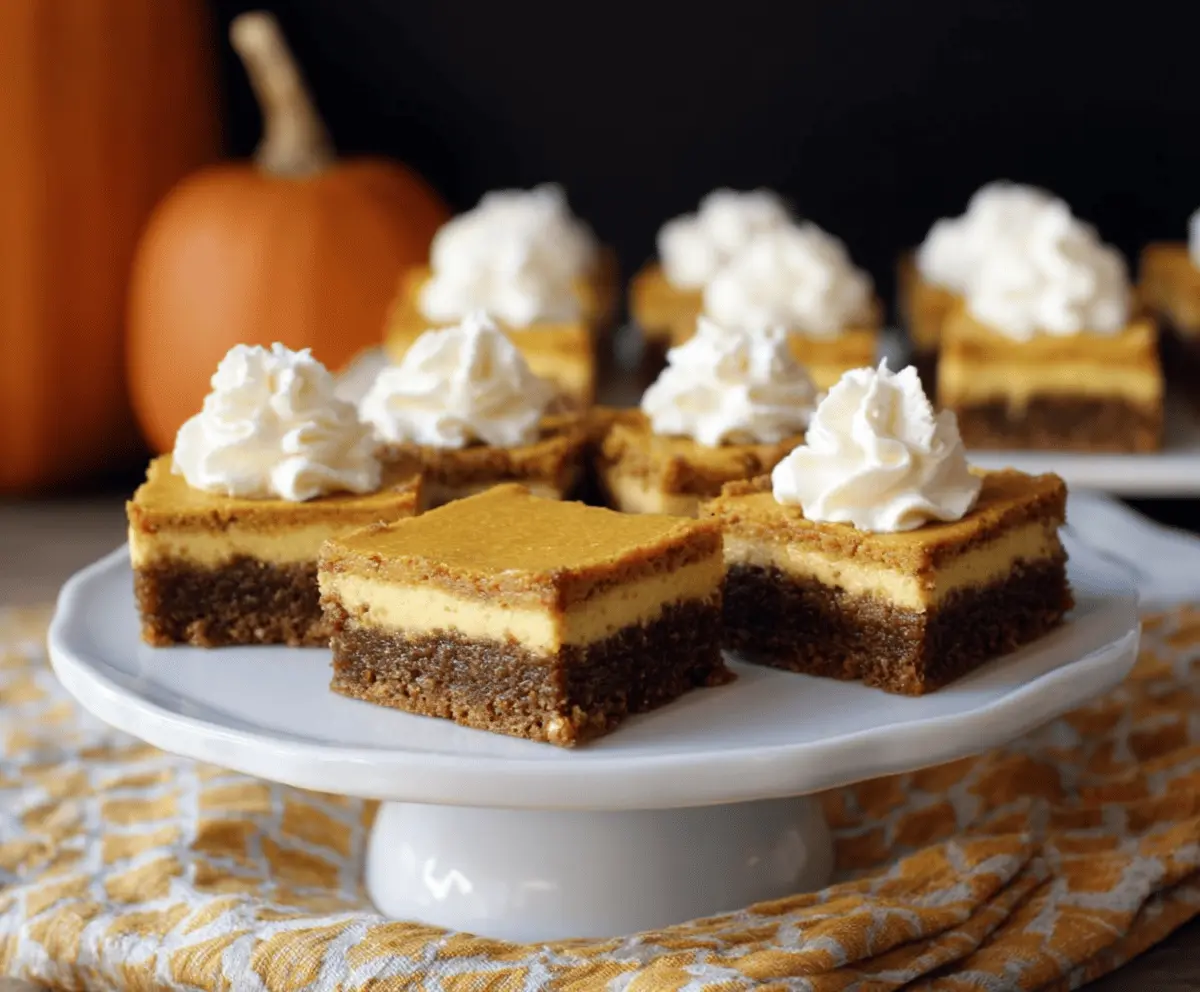
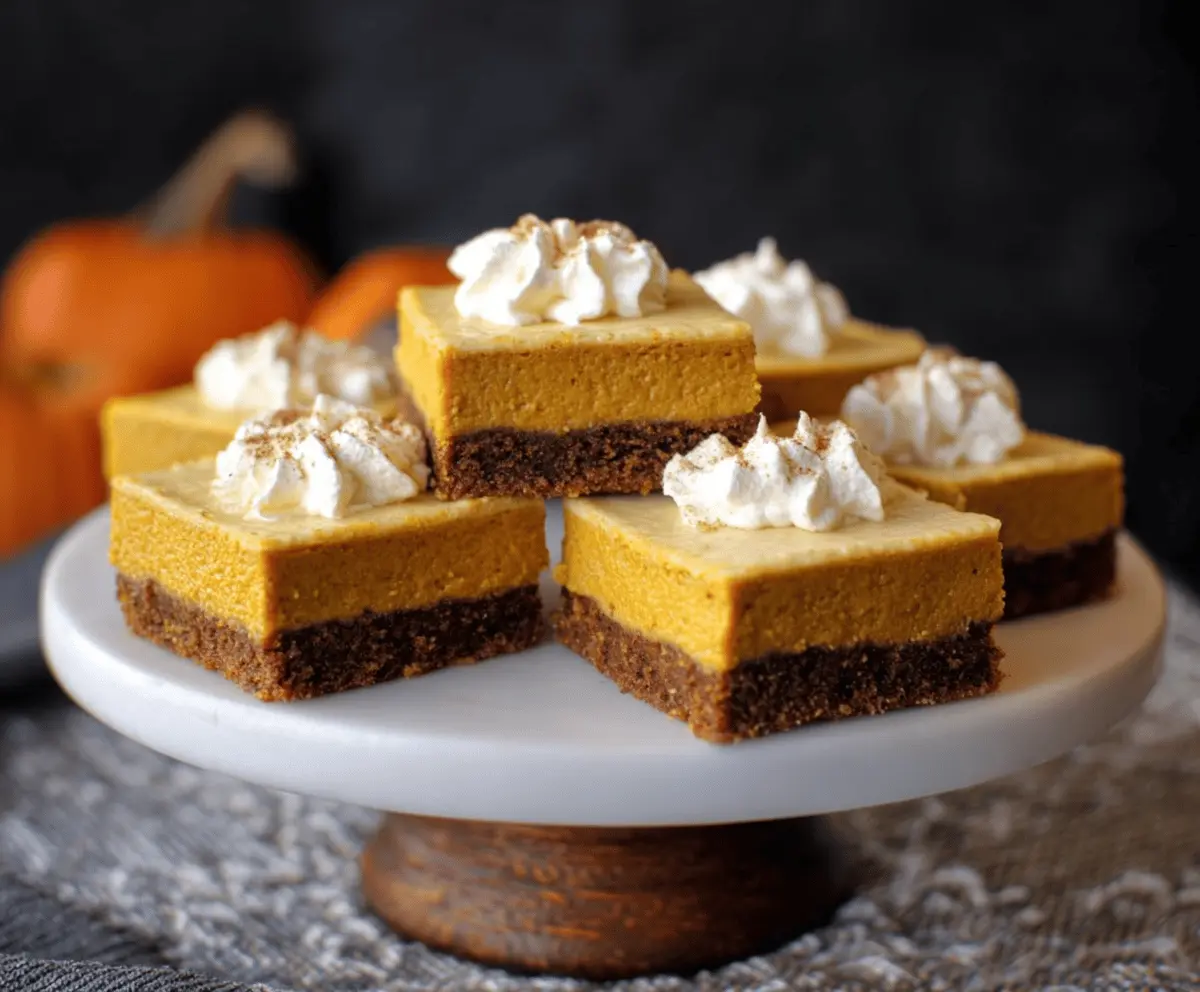
These Pumpkin Gingersnap Cheesecake Bars are like a cozy hug on a plate! With a spiced gingersnap crust and creamy pumpkin filling, they’re perfect for fall gatherings.
Getting to enjoy this delicious treat is easy! I love cutting them into squares and sharing with friends. Honestly, you might want to keep some for yourself—they’re that good! 🍂
Key Ingredients & Substitutions
Gingersnap Cookie Crumbs: These give your cheesecake bars a delightful spiced crust. If you can’t find gingersnaps, try using crushed graham crackers mixed with a bit of ground ginger and cinnamon for a similar effect.
Canned Pumpkin Puree: Always use 100% pumpkin puree, not pumpkin pie filling, for the most authentic taste. If you’re in a pinch, homemade pumpkin puree works well too—just make sure to strain it to remove excess moisture.
Cream Cheese: Full-fat cream cheese is key for a rich texture. You can use reduced-fat cream cheese, but it may alter the flavor a bit. For a dairy-free option, look for vegan cream cheese alternatives.
Spices: Freshly ground spices elevate the flavor. If you don’t have all the spices, just use pumpkin pie spice as a substitute for all of them. It’ll still taste great!
What’s the Best Way to Bake Cheesecake Bars Without Cracking?
Preventing cracks in your cheesecake bars is all about gentle baking. Here are some tips:
- **Bake at a Lower Temperature:** Lower your oven temperature to around 325°F (163°C) to help the cheesecake cook evenly.
- **Water Bath:** If you’re aiming for extra moist bars, consider baking them in a water bath. Wrap your pan in foil and set it in a larger pan filled halfway with water.
- **Avoid Overmixing:** When mixing the filling, do so just enough until smooth. Overmixing introduces too much air, leading to cracks as it bakes.
- **Cool Gradually:** After baking, let the bars cool in the oven with the door slightly open. This gradual cooling helps to avoid sudden temperature changes that can cause cracks.
Follow these steps, and your cheesecake bars will look beautiful and delicious!
Pumpkin Gingersnap Cheesecake Bars
Ingredients You’ll Need:
For the Gingersnap Crust:
- 2 cups gingersnap cookie crumbs (about 30 cookies)
- 6 tablespoons unsalted butter, melted
- 2 tablespoons granulated sugar
For the Pumpkin Cheesecake Filling:
- 16 oz (450g) cream cheese, softened
- 1 cup canned pumpkin puree (not pumpkin pie filling)
- 2 large eggs
- 3/4 cup granulated sugar
- 1 teaspoon vanilla extract
- 1 1/2 teaspoons ground cinnamon
- 1/2 teaspoon ground ginger
- 1/4 teaspoon ground nutmeg
- 1/4 teaspoon ground cloves
- Pinch of salt
For Garnish (optional):
- Whipped cream
- Ground cinnamon or pumpkin pie spice
How Much Time Will You Need?
This recipe will take about 15 minutes of prep time and 40-50 minutes of baking time. After that, let the bars cool at room temperature and chill in the fridge for at least 3 hours or overnight. The total time, including chilling, is about 4 hours. It’s time well spent for such a delicious treat!
Step-by-Step Instructions:
1. Preheat oven and prepare pan:
First things first! Preheat your oven to 325°F (163°C). Grab a 9×9-inch square baking pan and line it with parchment paper, or lightly grease it. Leave some paper hanging over the sides; it will help you lift the bars out later.
2. Make the crust:
In a medium bowl, combine the gingersnap cookie crumbs, melted butter, and sugar. Mix everything together until the crumbs are moistened well. Then, press the mixture firmly into the bottom of your prepared pan to form a nice, even crust.
3. Bake the crust:
Pop the crust into the preheated oven and bake for 10 minutes. This will help it set. Once done, take it out and let it cool a bit while you prepare that creamy filling.
4. Prepare the filling:
In a large bowl, use an electric mixer to beat the softened cream cheese until it’s smooth. Then, add the pumpkin puree and mix until they’re combined. Add the eggs one at a time, mixing well after each addition.
5. Add sugar and spices:
Alright, now let’s make it delicious! Mix in the granulated sugar, vanilla extract, cinnamon, ginger, nutmeg, cloves, and salt. Beat until everything is smooth and creamy, but be careful not to overmix!
6. Assemble and bake:
Pour the pumpkin cheesecake filling right over your pre-baked gingersnap crust. Spread it out evenly to make sure every bite is just as yummy!
7. Bake the bars:
Time to bake! Place the pan back into the oven and bake for 40-50 minutes. You want the center to be mostly set but still have a little jiggle to it. This prevents those dreaded cracks on top!
8. Cool:
Once done, take it out of the oven and let it cool to room temperature. After it has cooled, put it in the fridge for at least 3 hours or, better yet, overnight. This helps it to set perfectly!
9. Serve:
When it’s chilled and firm, carefully lift the bars out of the pan using that parchment paper. Cut into squares and serve! You can top each square with a dollop of whipped cream and a sprinkle of cinnamon or pumpkin pie spice if you like.
Enjoy these rich and spiced Pumpkin Gingersnap Cheesecake Bars, perfect for sharing with friends and family during the fall and holidays! 🌟
Can I Use a Different Type of Cookie for the Crust?
Absolutely! If you can’t find gingersnaps, you can use crushed graham crackers or even Oreo cookies for a different flavor. Just adjust the spices accordingly to capture that warm, spiced essence!
How Can I Make These Cheesecake Bars Gluten-Free?
To make them gluten-free, use gluten-free gingersnap cookies or a suitable gluten-free cookie for the crust. Ensure that all other ingredients, like the cream cheese and the canned pumpkin, are also certified gluten-free.
Can I Freeze Leftover Bars?
Yes, you can freeze these cheesecake bars! Once they are fully set, wrap them tightly in plastic wrap and then in aluminum foil to prevent freezer burn. They will last for up to 3 months. Thaw in the refrigerator overnight before serving.
What Should I Do If My Cheesecake Bars Puff Up While Baking?
This can happen if the batter is overmixed, introducing too much air. If they do puff, they should settle back down as they cool. Just avoid overbaking to keep them nice and creamy in the center!