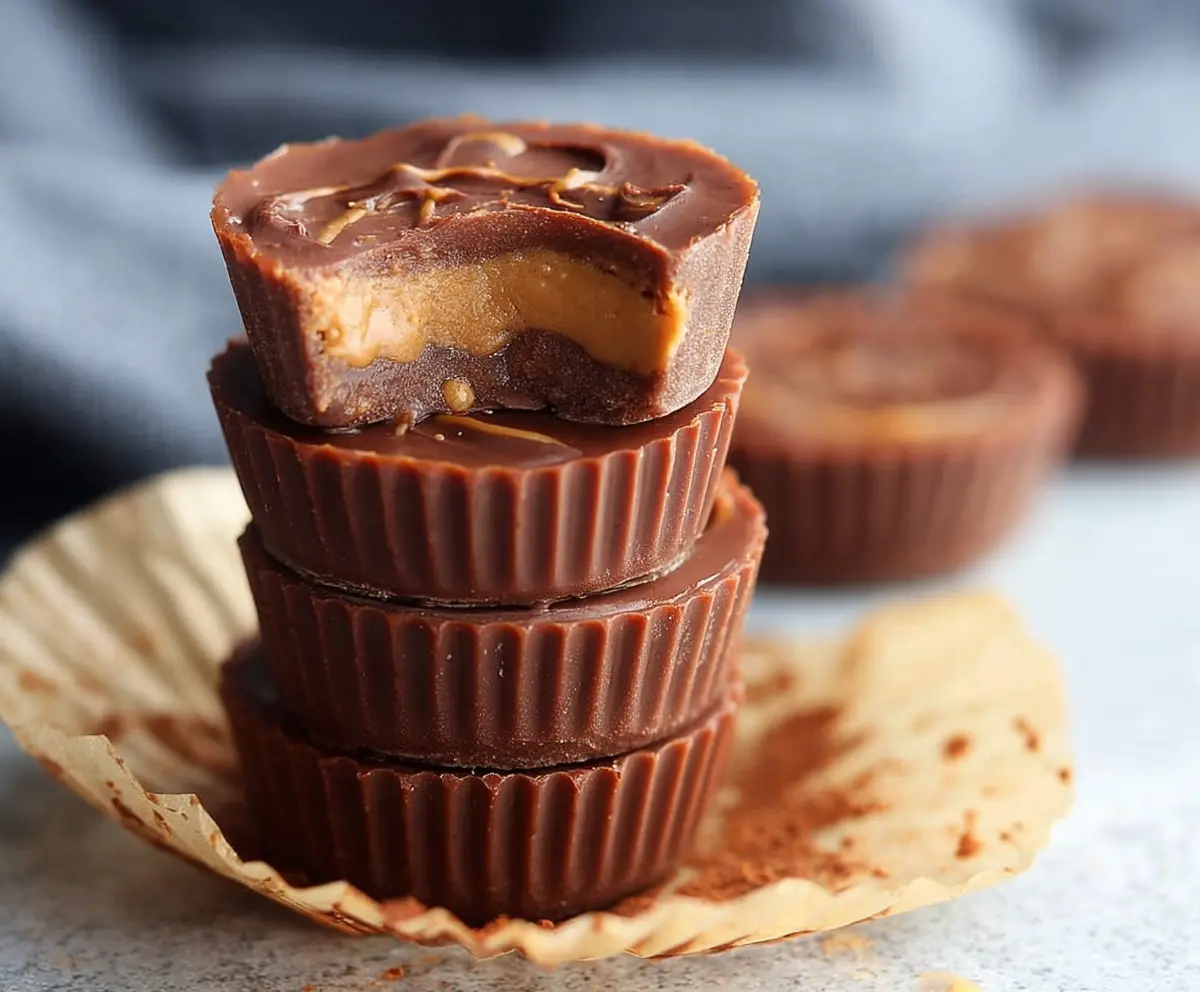
These Chocolate Peanut Butter Fat Bombs are a tasty little treat! With a mix of creamy peanut butter and rich chocolate, they are perfect for a quick snack.
Making these is as easy as mixing ingredients and freezing them. I love popping one in my mouth when I need a boost—fun size and full of flavor!
Key Ingredients & Substitutions
Natural Peanut Butter: Go for creamy and unsweetened peanut butter for a smooth texture. If you have a nut allergy, try almond or sun butter as alternatives.
Coconut Oil: This helps with the smoothness and firmness when frozen. You can substitute it with avocado oil or extra butter if needed.
Dark Chocolate: Use chocolate with at least 70% cocoa for a rich flavor. If you’re watching sugar, try sugar-free chocolate chips or carob chips as another option.
Sweetener: I love powdered erythritol for a zero-calorie option. However, any sweetener like stevia or monk fruit works if you prefer that taste.
Coconut Flour or Almond Flour: This is optional, but I’ve found that adding a tablespoon helps thicken the peanut butter layer. Use regular flour if you don’t have these on hand, but it will change the flavor slightly.
How Do You Melt Chocolate Without Burning It?
Melting chocolate seems tricky, but it’s quite simple if done right! The key is to use gentle heat. Here’s how to do it:
- Use a microwave-safe bowl or a double boiler. For microwave, heat in 30-second intervals, stirring in between to check for melting.
- If using a double boiler, fill the bottom pot with water, place the chocolate in the top pot, and heat over low to medium heat.
- Always stir the chocolate until it’s smooth and fully melted. Overheating will make it seize up, so keep an eye on it!
These tips will help you get perfectly melted chocolate for your fat bombs every time! Enjoy making your tasty treats!
Chocolate Peanut Butter Fat Bombs
Ingredients You’ll Need:
For the Fat Bombs:
- 1 cup natural peanut butter (creamy, unsweetened)
- 1/4 cup unsalted butter
- 1/4 cup coconut oil
- 1/4 cup powdered erythritol or your preferred sweetener (adjust to taste)
- 1 teaspoon vanilla extract
- 1/4 teaspoon salt (optional, to enhance flavor)
- 1 1/2 cups dark chocolate chips or chopped dark chocolate (70% cocoa or higher)
- Optional: 1 tablespoon coconut flour or almond flour (to thicken the peanut butter layer)
How Much Time Will You Need?
This recipe takes about 15 minutes of prep time and at least 1 hour of setting time in the freezer. A quick mix and melt, followed by chilling, make this recipe simple and satisfying!
Step-by-Step Instructions:
1. Prepare the Peanut Butter Mixture:
In a medium saucepan over low heat, combine the peanut butter, unsalted butter, coconut oil, powdered sweetener, vanilla extract, and optional salt. Stir continuously until everything is well mixed and smooth. If you want a thicker peanut butter layer, stir in the coconut or almond flour. Once it’s smooth, remove it from the heat and set aside.
2. Melt the Chocolate:
In a microwave-safe bowl or using a double boiler, melt the dark chocolate until it’s smooth. Be careful not to overheat! Stir it frequently to ensure it melts evenly without burning.
3. Prepare the Molds:
Take a mini muffin tin or silicone mold and lightly grease it or line it with paper muffin liners. This will help you easily remove the fat bombs later.
4. Layer the Chocolate:
Pour about 1 tablespoon of the melted chocolate into each mold and spread it to cover the base. This will be the bottom layer that your peanut butter goodness sits on.
5. Firm Up the Chocolate:
Place the mold in the freezer for about 5-10 minutes, or until the chocolate layer is firm to the touch. This is important for making layers!
6. Add Peanut Butter Layer:
After the chocolate has set, add about 1 teaspoon of the peanut butter mixture over the hardened chocolate in each cup. Spread it gently to ensure it’s smooth.
7. Top with More Chocolate:
Pour in another tablespoon of melted chocolate over the peanut butter layer, completely covering it. Make sure to fill each mold to the top!
8. Smooth Everything Out:
Gently tap the mold on the counter to smooth over the chocolate layer and remove any air bubbles that might have formed.
9. Freeze Until Firm:
Put the entire mold back into the freezer for at least 1 hour to allow the fat bombs to fully set.
10. Enjoy Your Fat Bombs:
Once they’re set, remove the fat bombs from the freezer and pop them out of the molds. Store them in an airtight container in the freezer or refrigerator to keep them firm and ready for a quick snack.
11. Savor the Flavors:
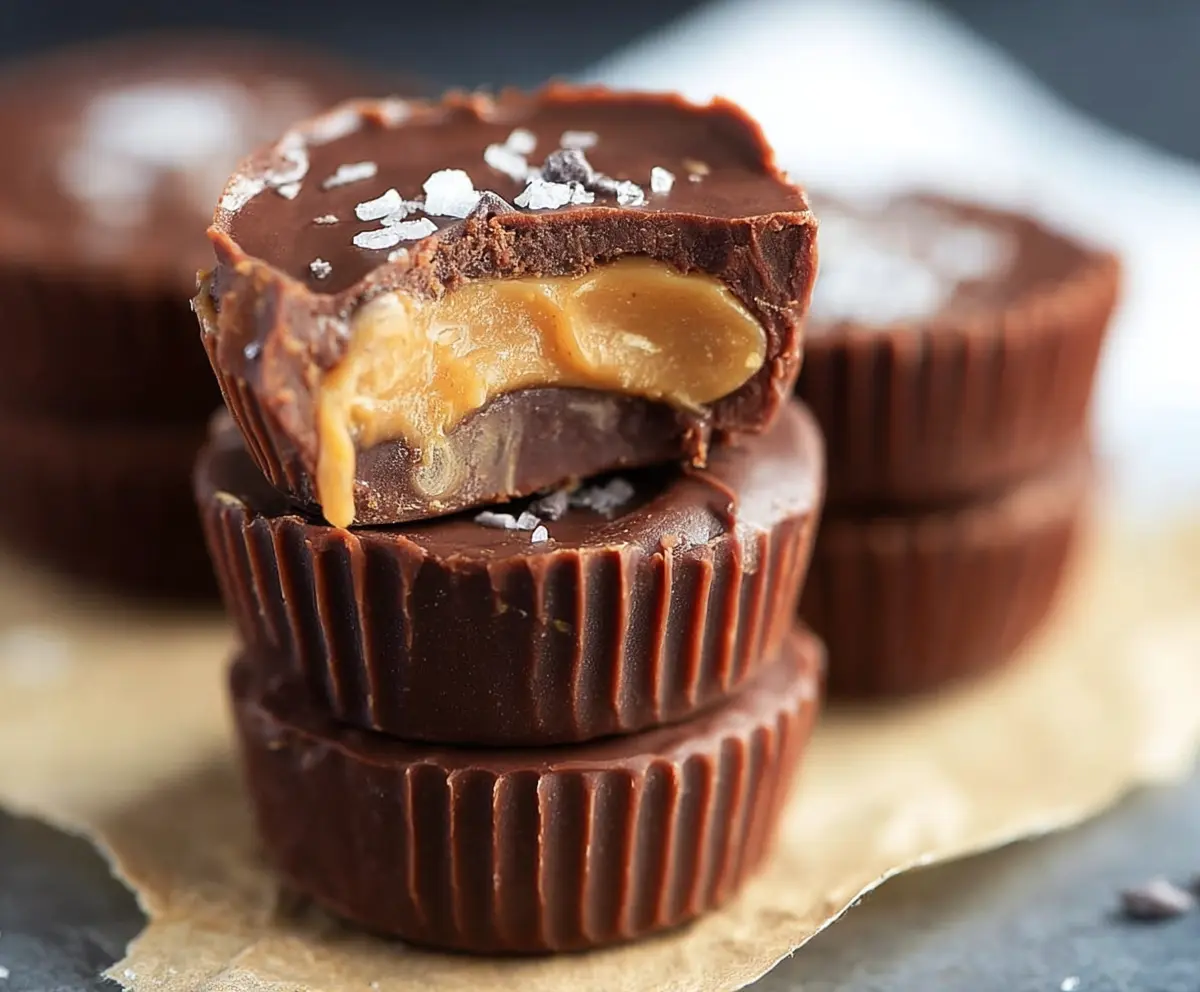
Now, enjoy these creamy, rich chocolate peanut butter fat bombs! They make for a delicious high-fat, low-carb treat that’s perfect for satisfying your sweet tooth.
They provide a delightful blend of creamy peanut butter and smooth dark chocolate, making them perfect for anyone on keto or low-carb diets!
Can I Use Sugar Instead of Erythritol?
Yes, you can use granulated sugar in place of erythritol! Keep in mind that this will increase the carb content, which may not be suitable for those on keto diets. Adjust the amount based on your sweetness preference.
How Do I Store These Fat Bombs?
Store your fat bombs in an airtight container in the freezer for up to 3 months or in the refrigerator for up to 1 week. If frozen, simply take one out about 10 minutes before enjoying so it can soften slightly.
Can I Add Flavorings or Other Mix-Ins?
Absolutely! Feel free to get creative by adding in a pinch of cinnamon, some sea salt on top, or even crushed nuts for extra texture. Just make sure any additional ingredients don’t affect the overall consistency too much.
What to Do If the Chocolate Is Too Thick?
If your melted chocolate is too thick, you can add a teaspoon or two of coconut oil while melting it. This will help create a smoother consistency and allow it to pour easily over the peanut butter layer.