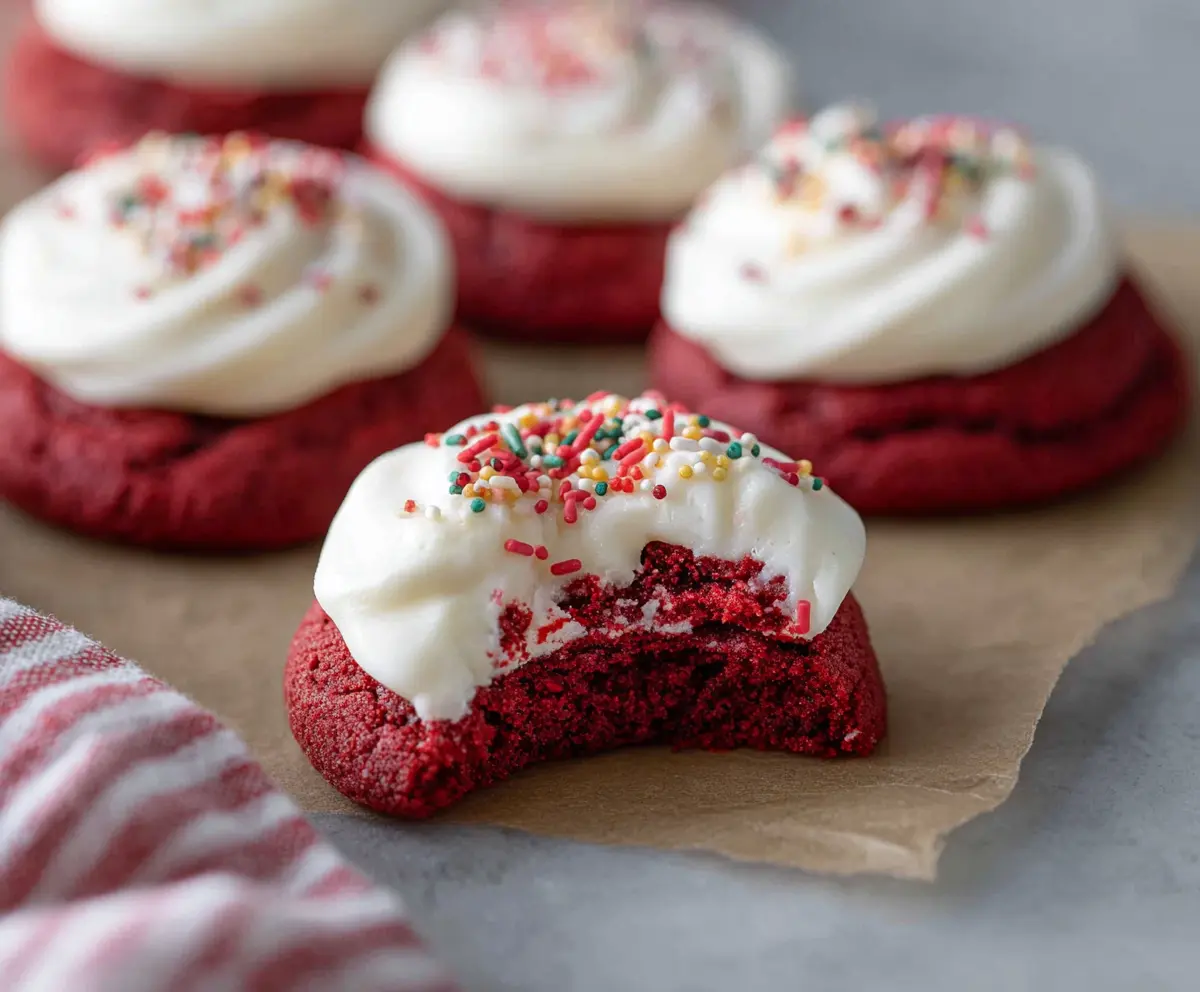
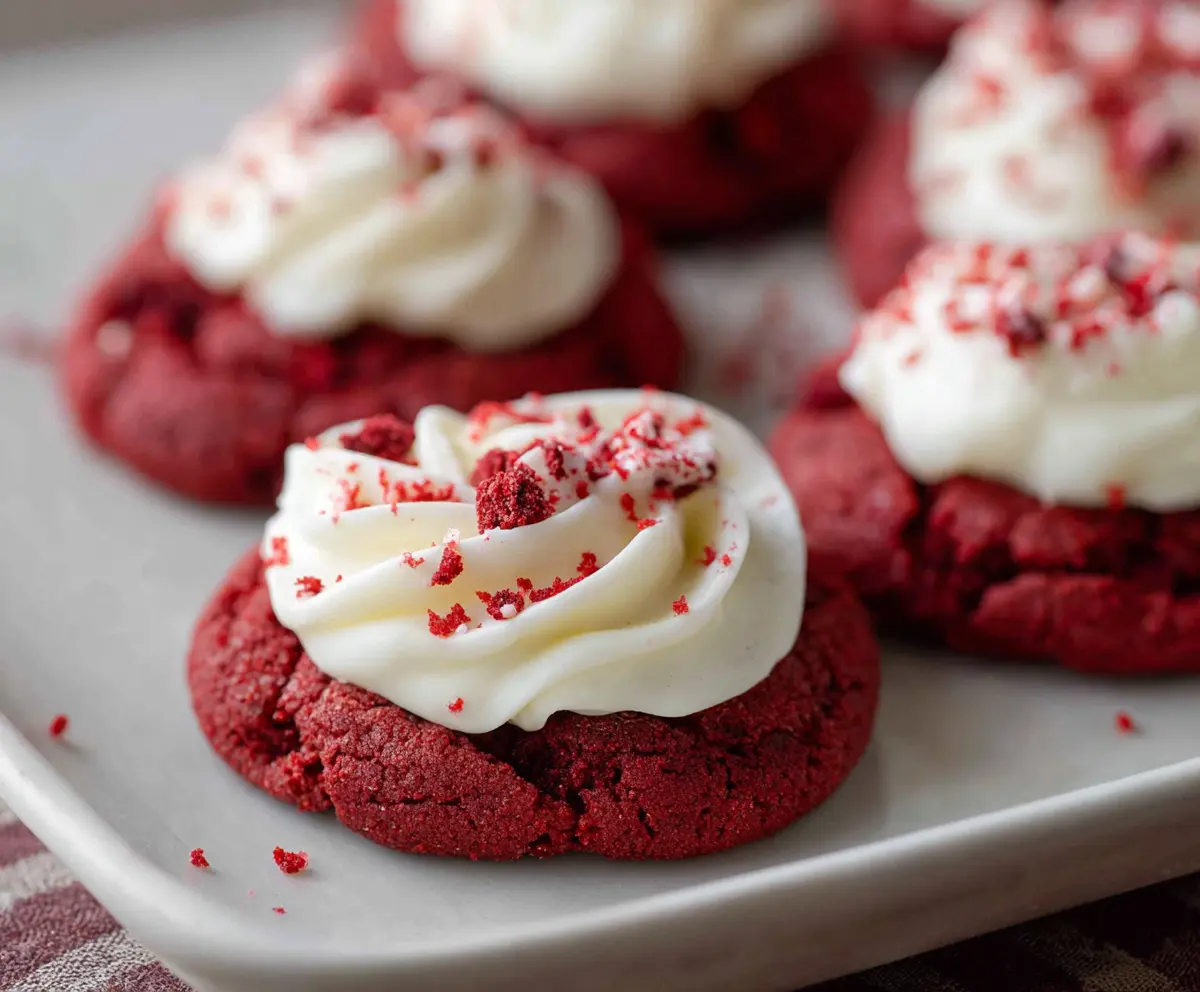
These Crumbl Red Velvet Cupcake Cookies are soft, chewy, and packed with that classic red velvet flavor. Topped with a swirl of cream cheese frosting, they look as good as they taste!
Who can resist a cookie that tastes like a dessert mashup? I like to enjoy mine with a glass of milk for that perfect sweet moment. 🍪🥛
Key Ingredients & Substitutions
All-Purpose Flour: This is your base for the cookies. If you want a gluten-free option, you can try a 1:1 gluten-free baking flour blend. I haven’t tested it myself, but many say it works great!
Buttermilk: If you don’t have buttermilk handy, you can easily make a substitute by mixing one tablespoon of vinegar or lemon juice with a cup of regular milk. Let it sit for 5-10 minutes to sour before using.
Red Food Coloring: The coloring is essential for that classic red velvet look! For a natural option, you can use beet juice, but the color won’t be as vibrant.
Cream Cheese: Cream cheese is key for the frosting’s tangy flavor. If you want to try something lighter, soft mascarpone cheese also works nicely, but adjust the sugar to taste.
How Do You Make Sure Your Cookies Are Soft and Chewy?
Keep an eye on the baking time! To achieve that soft and chewy center, take the cookies out of the oven when they are just set but still slightly soft in the middle. They will continue to bake a bit once out of the oven.
- Make sure not to overmix the dough; this can lead to tough cookies.
- Chilling the dough for at least an hour is crucial; it helps the cookies keep their shape while baking.
- Let them cool on the baking sheet for a few minutes before moving them to a wire rack. This helps them firm up nicely!
How to Make Crumbl Red Velvet Cupcake Cookies
Ingredients You’ll Need:
For the Red Velvet Cookies:
- 1 1/2 cups all-purpose flour
- 2 tablespoons unsweetened cocoa powder
- 1 teaspoon baking powder
- 1/4 teaspoon baking soda
- 1/4 teaspoon salt
- 1/2 cup unsalted butter, softened
- 3/4 cup granulated sugar
- 1 large egg
- 2 tablespoons buttermilk
- 1 tablespoon red food coloring
- 1 teaspoon vanilla extract
- 1 teaspoon white vinegar
For the Cream Cheese Frosting:
- 4 ounces cream cheese, softened
- 1/4 cup unsalted butter, softened
- 1 cup powdered sugar, sifted
- 1/2 teaspoon vanilla extract
For Garnish:
- Colorful sprinkles
How Much Time Will You Need?
This recipe takes about 20 minutes of active preparation time and an additional hour for chilling the dough. Plus, you’ll need about 12 minutes of baking time. So in total, set aside about 1 hour and 40 minutes to make and enjoy these delightful cookies!
Step-by-Step Instructions:
1. Prepare the Cookie Dough:
In a medium bowl, whisk together the flour, cocoa powder, baking powder, baking soda, and salt until everything is well combined. Set that bowl aside for now.
2. Cream the Butter and Sugar:
In a large mixing bowl, use an electric mixer to beat the softened butter and granulated sugar together on medium speed. Keep mixing until the mixture is light and fluffy, which should take about 2-3 minutes.
3. Mix in the Wet Ingredients:
Add in the egg, buttermilk, red food coloring, vanilla extract, and white vinegar to the butter-sugar mix. Beat all these together until everything is fully incorporated and the mixture is nice and smooth.
4. Combine Dry and Wet Ingredients:
Gradually add the bowl of dry ingredients to the wet mixture while mixing on low speed. Mix just until everything is combined—be careful not to overmix!
5. Chill the Dough:
Cover the bowl with plastic wrap and pop it in the refrigerator for at least 1 hour. This helps to firm up the dough, making it easier to handle.
6. Preheat the Oven:
While you wait, preheat your oven to 350°F (175°C) and line a baking sheet with parchment paper.
7. Shape the Cookies:
Once the dough is chilled, scoop out portions of about 2 tablespoons each and roll them into balls. Place the dough balls on the prepared baking sheet, spacing them at least 2 inches apart.
8. Bake the Cookies:
Bake the cookies for 10-12 minutes, or until the edges are set but the centers are still soft. After baking, let them cool on the baking sheet for about 5 minutes before transferring them to a wire rack to cool completely.
9. Make the Cream Cheese Frosting:
While the cookies cool, it’s time to make the frosting! In a medium bowl, beat together the softened cream cheese and butter until the mixture is smooth and creamy.
10. Add the Sugar and Vanilla:
Next, add the sifted powdered sugar and vanilla extract. Beat everything until the frosting is light, fluffy, and smooth.
11. Frost the Cookies:
Once the cookies are completely cool, use a piping bag or a spoon to swirl the cream cheese frosting onto each cookie.
12. Add Some Fun Sprinkles:
While the frosting is still soft, sprinkle colorful sprinkles on top of each cookie for that festive touch!
13. Final Touch:
Let the frosting set slightly before serving. Then enjoy your delicious red velvet cupcake cookies!
These cookies are sure to be a hit! Their soft texture and rich flavor, combined with creamy frosting and sprinkles, make them the perfect treat for any occasion. Enjoy! 🎉
Can I Use Different Food Coloring?
Yes, you can use other colors if you want to get creative! Just be aware that the flavor might slightly change based on the food coloring used. Gel food coloring usually yields the best results, as it won’t add too much liquid to the batter.
How Can I Store Leftover Cookies?
Store leftover cookies in an airtight container at room temperature for up to 3 days. If you want them to last longer, you can refrigerate them for a week or freeze them for up to three months. Just make sure to separate layers with parchment paper!
Can I Make the Dough Ahead of Time?
Absolutely! You can make the dough ahead and chill it in the refrigerator for up to 2 days. Just let it sit at room temperature for about 10-15 minutes before scooping and baking it, as it will be a bit firmer.
What’s the Best Way to Frost the Cookies?
Using a piping bag fitted with a decorative tip is the best way to get that classic swirl. If you don’t have a piping bag, a simple spoon can work well too—just swirl the frosting on top to your liking!