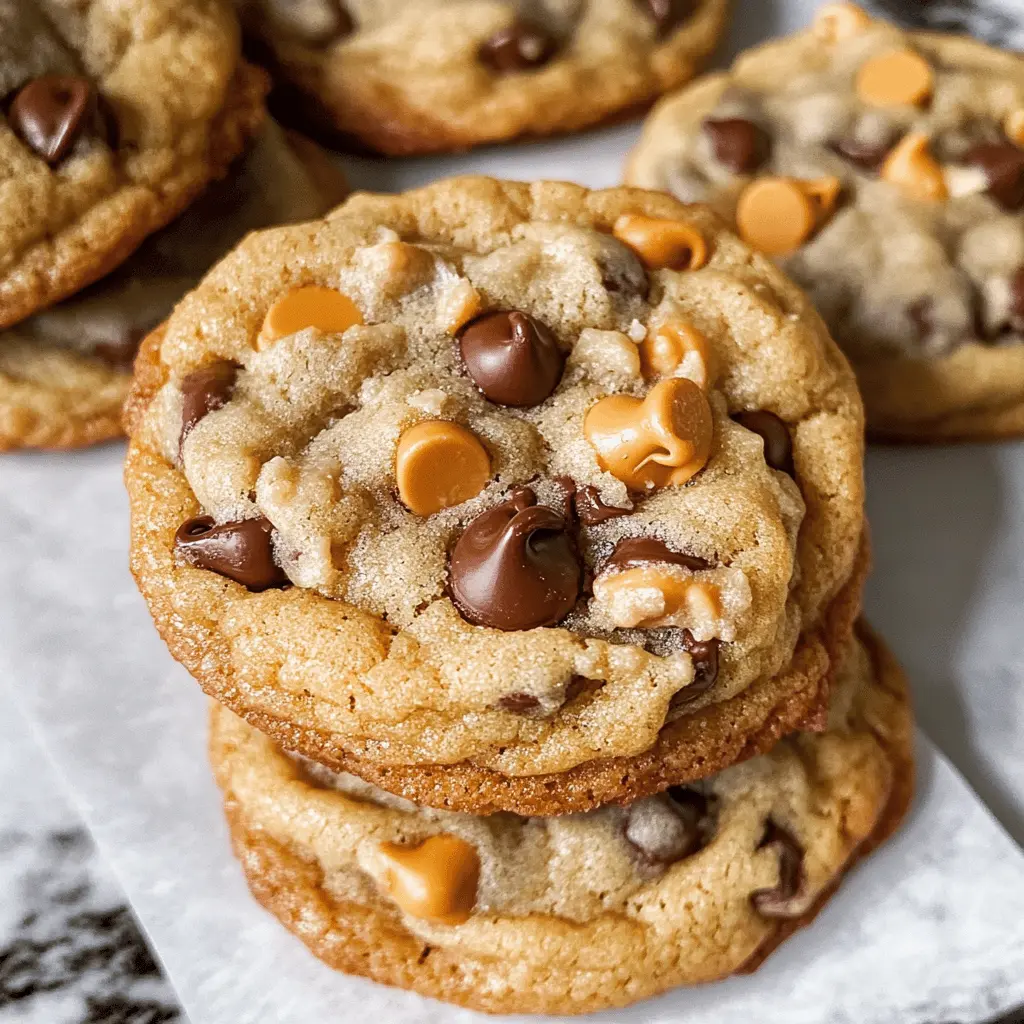
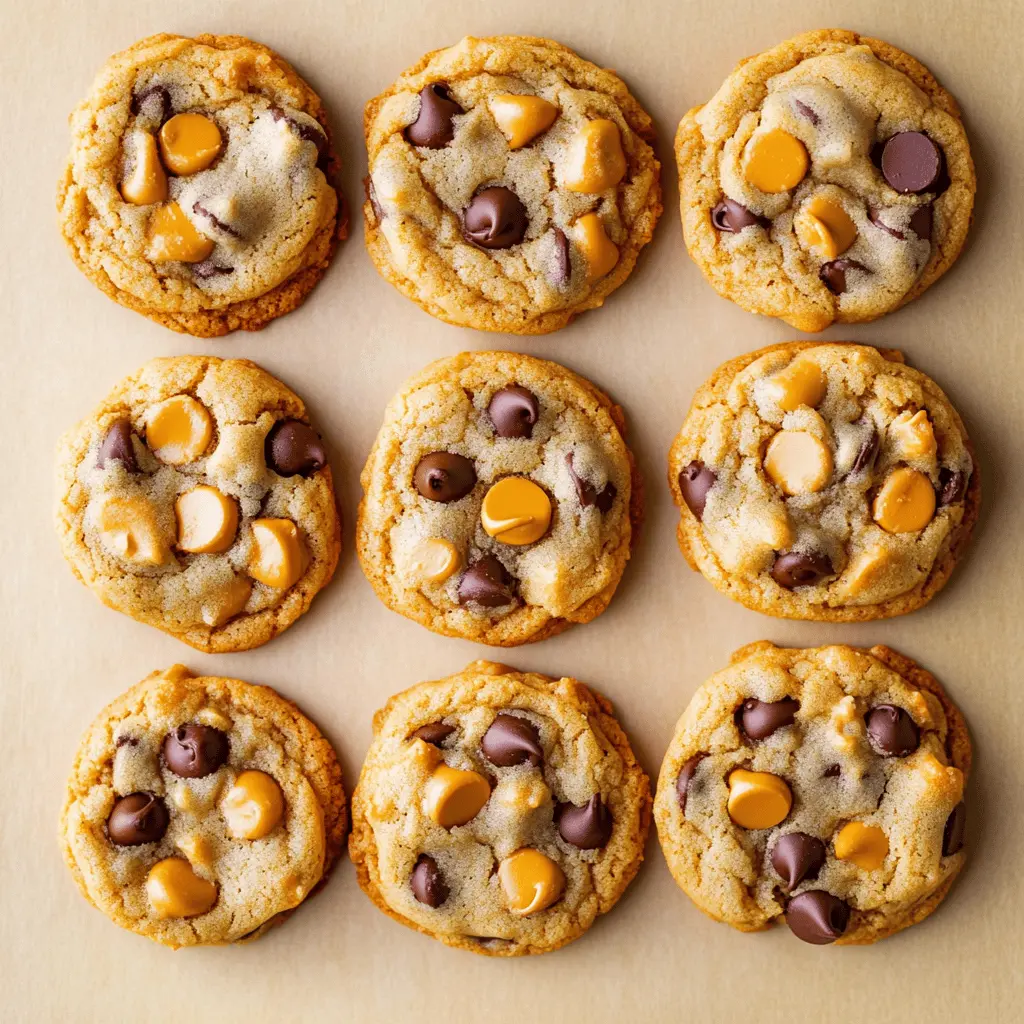
These Best Ever Butterscotch Chocolate Chip Cookies are a sweet treat that never disappoints! With a chewy texture and a mix of butterscotch and chocolate chips, they’re simply delicious.
Every bite is like a hug for your taste buds! I love making a big batch to share, but let’s be honest, I usually end up nibbling on most of them myself. 😄
Key Ingredients & Substitutions
Butter: Unsalted butter is best because you control the salt content. If you’re out, margarine can work, but cookies may be less rich. I often use European-style butter for added flavor!
Brown Sugar: The brown sugar adds moisture and a caramel flavor. If you need a substitute, use white sugar mixed with a bit of molasses or maple syrup to achieve that slight syrupy taste.
Flour: All-purpose flour is ideal for structure. For a gluten-free option, a 1:1 gluten-free flour blend can be used successfully in this recipe without compromising texture.
Chocolate & Butterscotch Chips: Semi-sweet chocolate is classic, but you can mix it up! Try milk chocolate or dark chocolate. If butterscotch chips are unavailable, use toffee bits or even caramel chips for a new twist.
Flaky Sea Salt: This optional topping really enhances flavor. If you don’t have it, any coarse sea salt will do. Just remember, less is more!
How Do You Cream Butter and Sugar Perfectly?
Creaming butter and sugar is essential for fluffy cookies. If you don’t do this right, your cookies can turn out flat. Here’s how to do it:
- Start with softened butter. It should be just soft enough to indent with your finger, not melting.
- Use a mixing bowl and an electric mixer on medium speed. Combine butter, brown sugar, and granulated sugar until it’s light and fluffy, about 2-3 minutes.
- Scrape down the sides of the bowl occasionally to ensure everything is mixed evenly.
The result of good creaming will be a light, airy mixture, which is key to great cookies! Your dough will be more puffy as it bakes.
Best Ever Butterscotch Chocolate Chip Cookies
Ingredients You’ll Need:
For the Cookie Dough:
- 1 cup (2 sticks) unsalted butter, softened
- 3/4 cup brown sugar, packed
- 3/4 cup granulated sugar
- 1 large egg
- 1 teaspoon vanilla extract
- 2 1/4 cups all-purpose flour
- 1 teaspoon baking soda
- 1/2 teaspoon salt
- 1 cup semi-sweet chocolate chips
- 1 cup butterscotch chips
- 1/2 teaspoon flaky sea salt (optional, for topping)
How Much Time Will You Need?
This recipe will take about 15 minutes to prepare and about 10-12 minutes to bake. Make sure to set aside an extra 5 minutes for cooling on the baking sheet before transferring the cookies to a wire rack. Overall, you’ll have warm cookies ready to enjoy in about 30 minutes!
Step-by-Step Instructions:
1. Preheat the Oven and Prepare the Baking Sheet:
Start by preheating your oven to 350°F (175°C). While that’s heating up, line a baking sheet with parchment paper to prevent the cookies from sticking.
2. Cream the Butters:
In a large mixing bowl, take your softened butter and add in the brown sugar and granulated sugar. Using a hand mixer or a strong spoon, cream them all together until the mixture is light and fluffy. This takes about 2-3 minutes. It’s like giving your butter a nice massage!
3. Mix in the Egg and Vanilla:
Add the egg and vanilla extract to the fluffy butter mixture. Beat these in until everything is well combined, and the mixture is smooth.
4. Combine Dry Ingredients:
In a separate bowl, whisk together the flour, baking soda, and salt. This helps to evenly distribute the baking soda throughout the flour, giving your cookies a nice lift when they bake.
5. Bring It All Together:
Gradually add your dry ingredient mixture to the wet ingredients, mixing until just combined. Don’t over-mix—just blend it until you don’t see any more flour. This keeps your cookies soft and chewy!
6. Add in the Chips:
Now, gently fold in the semi-sweet chocolate chips and butterscotch chips using a spatula or wooden spoon. Make sure they are evenly distributed throughout the dough.
7. Scoop the Cookies:
Using a cookie scoop or a tablespoon, drop rounded balls of dough onto your prepared baking sheet. Make sure to space them about 2 inches apart since they’ll spread a bit while baking.
8. Sprinkle the Sea Salt (Optional):
If you want an extra flavor boost, sprinkle a small pinch of flaky sea salt on top of each cookie before they go in the oven. It adds a delightful contrast to the sweetness!
9. Bake the Cookies:
Place the baking sheet in your preheated oven and bake for 10-12 minutes. Keep an eye out for the edges to turn lightly golden while the centers remain nice and soft.
10. Cooling Time:
Once baked, remove the cookies from the oven and let them cool on the baking sheet for about 5 minutes. Then, transfer them to a wire rack to cool completely. This helps them firm up while keeping that gooey center.
Enjoy your delicious butterscotch chocolate chip cookies! They are perfect for sharing, or keeping all to yourself if you choose!
Can I Substitute Margarine for Butter?
Yes, you can use margarine instead of unsalted butter! However, keep in mind that the flavor may differ slightly. Make sure to choose a stick-style margarine for the best results, as tub margarine might contain more water and affect the texture of your cookies.
What If I Don’t Have Brown Sugar?
No brown sugar? No problem! You can substitute granulated sugar with a combination of granulated sugar and molasses. For every cup of brown sugar, mix 1 cup of granulated sugar with 1 tablespoon of molasses for a similar flavor and moisture.
How Should I Store Leftover Cookies?
Store your leftover cookies in an airtight container at room temperature for up to a week. For longer storage, you can freeze them! Just place the cooled cookies in a freezer-safe container, separated by parchment paper, and freeze for up to 3 months. Thaw them at room temperature before enjoying!
Can I Make These Cookies Without Chocolate Chips?
Absolutely! If you prefer a different flavor, you can omit the chocolate and butterscotch chips or substitute them with nuts, dried fruits, or a combination of your favorites. Just keep the same measurement to maintain the cookie’s texture!