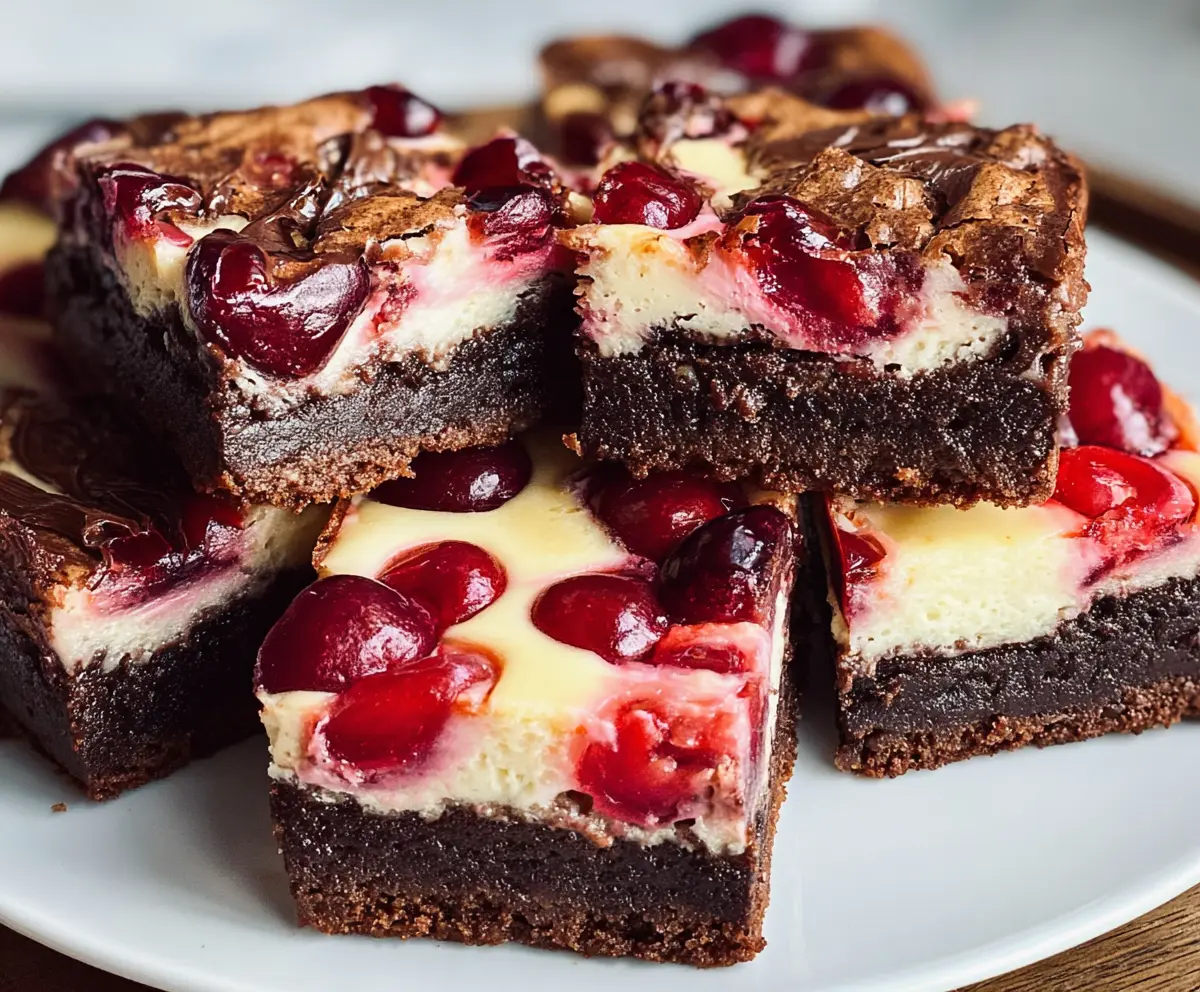
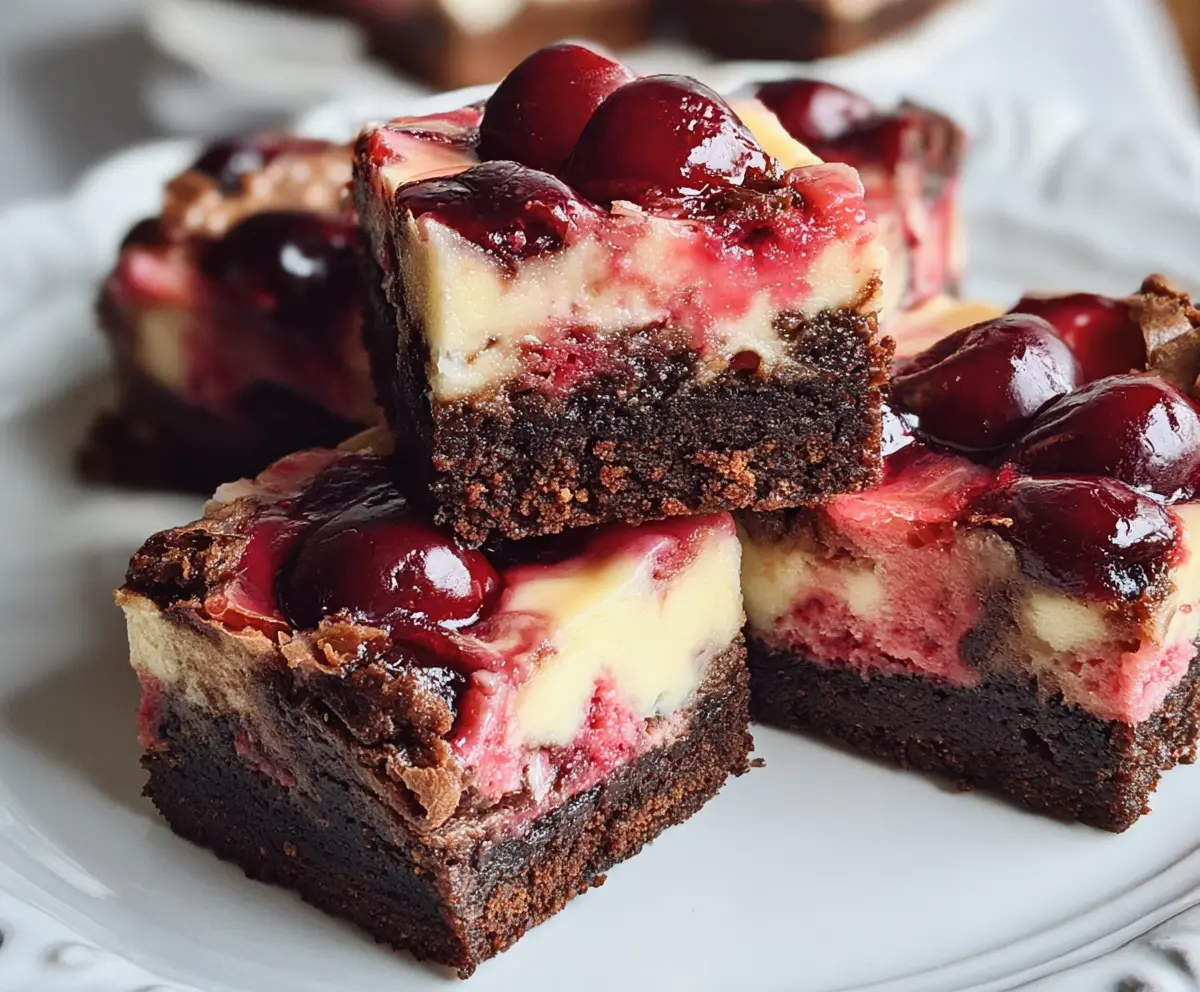
These cherry cheesecake brownies are a match made in dessert heaven! Soft chocolate brownies topped with creamy cheesecake and sweet cherries make for a delightful treat.
They’re so good, I might just eat the whole pan! 🍫🍒 I love slicing them up for guests or enjoying them with a scoop of ice cream on the side. Who can resist that combo?!
Key Ingredients & Substitutions
Unsalted Butter: I prefer using unsalted butter to control the saltiness of my brownies. In a pinch, you can use margarine or even coconut oil for a dairy-free option.
Granulated Sugar: This recipe calls for regular granulated sugar, but brown sugar can provide a deeper flavor and a chewier texture. You could also use a sugar substitute if you want a lower-sugar version.
Cocoa Powder: Unsweetened cocoa powder is essential for that rich chocolate flavor. If you run out, you can substitute with Dutch-processed cocoa, but it will alter the taste slightly.
Cherries: Fresh cherries add a burst of flavor, but if they’re out of season, frozen pitted cherries work great too. Just remember to thaw and drain them beforehand to avoid extra moisture.
How Do You Ensure Your Cheesecake Layer is Smooth and Creamy?
Making a smooth cheesecake layer can sometimes be tricky, but here are some tips:
- Make sure the cream cheese is at room temperature. This helps it blend in smoothly with the other ingredients.
- Beat the cream cheese alone first until it’s creamy before adding sugar and eggs. This step makes a big difference!
- Mix minimally after adding the eggs. Overmixing can add too much air and cause cracks.
By following these simple tips, your cheesecake layer will be smooth and delicious, providing a perfect contrast to the fudgy brownie base! Enjoy making your cherry cheesecake brownies!
Cherry Cheesecake Brownies
Ingredients You’ll Need:
For the Brownie Layer:
- 1/2 cup (115g) unsalted butter, melted
- 1 cup (200g) granulated sugar
- 2 large eggs
- 1 teaspoon vanilla extract
- 1/3 cup (35g) unsweetened cocoa powder
- 1/2 cup (65g) all-purpose flour
- 1/4 teaspoon salt
- 1/4 teaspoon baking powder
For the Cheesecake Layer:
- 8 oz (225g) cream cheese, softened
- 1/3 cup (67g) granulated sugar
- 1 large egg
- 1 teaspoon vanilla extract
For the Topping:
- 1 to 1 1/2 cups fresh or frozen pitted cherries (if frozen, thaw and drain excess liquid)
How Much Time Will You Need?
This recipe takes about 15 minutes of preparation time and approximately 40-45 minutes of baking time. After baking, you’ll want to let them cool and chill for at least 2 hours or overnight for the best results. So, plan for about 3 hours total before you’re ready to enjoy these delicious brownies!
Step-by-Step Instructions:
1. Preheat Your Oven:
Start by preheating your oven to 325°F (163°C). This ensures that the brownies bake evenly. Prepare an 8×8-inch (20×20 cm) baking pan by lightly greasing it or lining it with parchment paper, leaving some hanging over the edges for easy removal later.
2. Make the Brownie Batter:
In a medium bowl, combine the melted butter, sugar, eggs, and vanilla extract. Whisk them together until the mixture is smooth and well combined. In another bowl, sift together the cocoa powder, flour, salt, and baking powder. Gradually add the dry ingredients to the wet mixture, mixing just until combined. Remember not to overmix!
3. Bake the Brownies:
Spread the brownie batter evenly in the prepared baking pan. This will be the delicious foundation for your cheesecake layer!
4. Prepare the Cheesecake Layer:
In a separate bowl, beat the softened cream cheese until it’s creamy and smooth. Then add the granulated sugar, egg, and vanilla extract, mixing until everything is fully combined and smooth. This will create your lovely cheesecake layer.
5. Layer it Up:
Pour the cheesecake mixture evenly over the brownie layer, using a spatula to spread it gently. Next, evenly distribute the cherries on top of the cheesecake layer, pressing them in a little if you like.
6. Bake it All Together:
Now, pop the pan into your preheated oven and bake for about 40-45 minutes. You’ll know it’s done when the cheesecake layer is set and the edges start to pull away from the pan. It’s okay if the center still has a slight jiggle!
7. Cool and Chill:
Remove the brownies from the oven and let them cool completely in the pan on a wire rack. Once cooled, refrigerate them for at least 2 hours, or even overnight if you have the time. This will help everything set nicely.
8. Cut and Serve:
Once chilled, lift the brownies out of the pan using the parchment overhang. Cut into squares with a sharp knife, wiping the knife clean between cuts for neat edges. Serve these delicious cherry cheesecake brownies on their own or with a scoop of vanilla ice cream for an extra treat!
Enjoy your delightful Cherry Cheesecake Brownies! They’re the perfect sweet ending to any meal!
Can I Use Other Fruits Instead of Cherries?
Absolutely! This recipe works well with other fruits like blueberries, raspberries, or strawberries. Just make sure to adjust the amount based on the fruit’s sweetness and moisture content. Fresh or frozen fruit can both be used!
How Can I Make These Brownies Gluten-Free?
To make gluten-free brownies, simply substitute the all-purpose flour with a gluten-free flour blend. Measure it using the same amount, and the brownies should turn out deliciously without the gluten!
Can I Prepare the Cheesecake Layer in Advance?
Yes, you can prepare the cheesecake layer ahead of time! Just mix it up and store it in the fridge until you’re ready to use it. However, it’s best to make the brownie layer fresh right before baking for the best texture.
How Should I Store Leftover Brownies?
Store leftover brownies in an airtight container in the refrigerator for up to 3 days. They can be enjoyed cold or warmed up in the microwave for a few seconds to revive that fresh-baked taste!