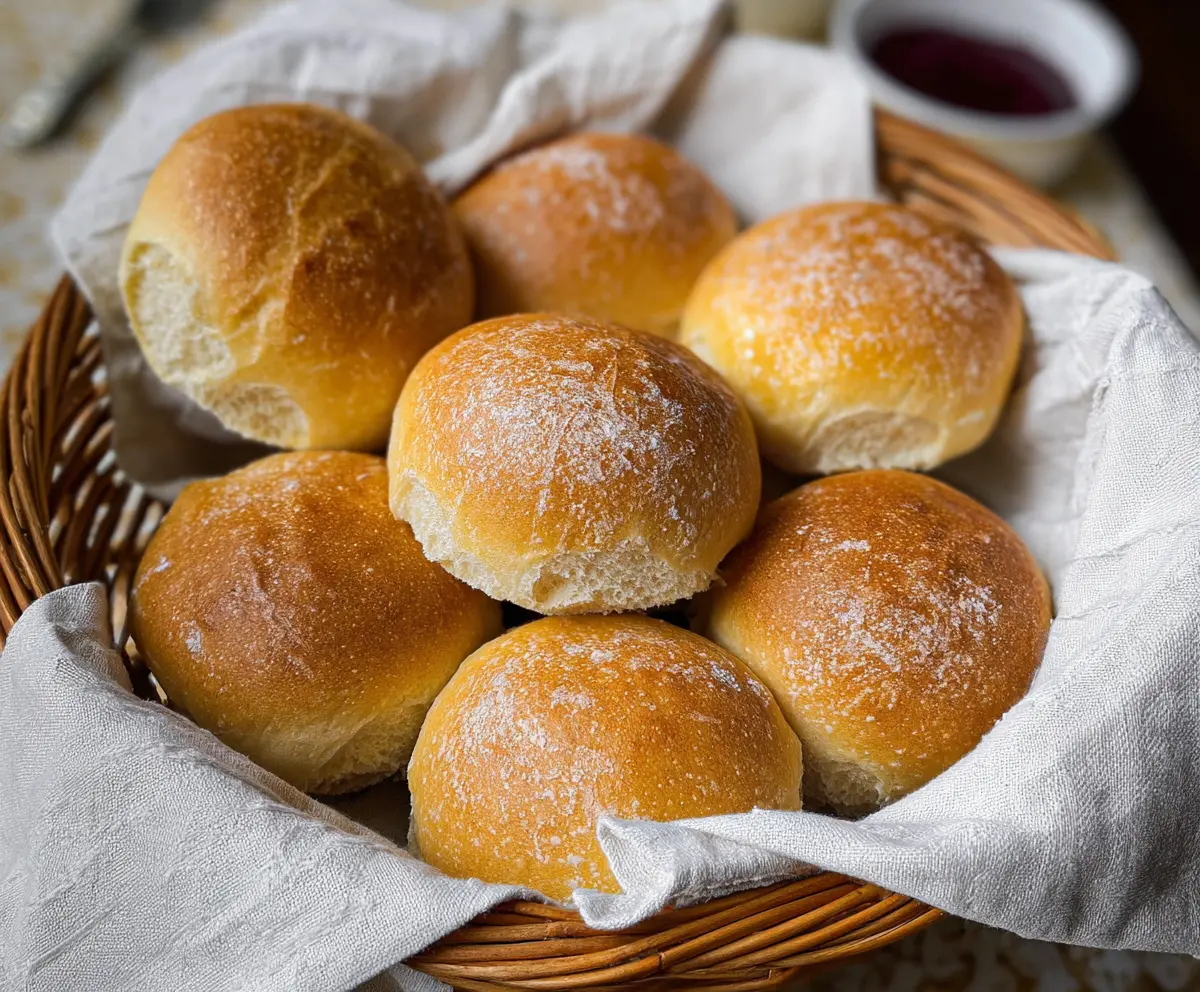
These crusty sourdough dinner rolls are golden and fluffy with a nice crunchy exterior. Perfect for soaking up sauces or spreading with butter! Yum!
Baking these rolls fills the kitchen with a wonderful smell, and I can’t resist snatching one while it’s still warm. They’re great for dinner or a snack anytime!
Key Ingredients & Substitutions
Sourdough Starter: An active, bubbly starter gives these rolls their tangy flavor. If you don’t have sourdough, you can use regular yeast. For every cup of sourdough starter, use 2 teaspoons of yeast for a similar effect.
All-Purpose Flour: This flour works great for a fluffy texture. You could substitute with bread flour, which has a higher protein content and yields an even chewier bread. Go half-and-half for a different texture!
Warm Water: Use warm, but not hot, water to activate the yeast. If you’re in a hurry, try using lukewarm milk for a richer taste. Just ensure it’s not boiling hot, or it will kill the yeast!
Olive Oil: It adds moisture and can soften the crumb. You can replace it with melted butter for a different flavor, or skip it completely if you prefer a classic roll.
What’s the Best Way to Knead Dough?
Kneading is essential for developing gluten, which helps your rolls rise and gives them structure. If you’re unsure how to knead, here’s a simple method:
- Flour your clean work surface and your hands to avoid sticking.
- Press the dough down with the heels of your hands, then fold it over itself.
- Rotate the dough a quarter turn, and repeat the process for about 8-10 minutes until smooth and elastic.
A great tip is to occasionally slap the dough against the countertop—it sounds fun and helps develop gluten faster! Just be careful not to over-knead, or the rolls could become tough.
Crusty Sourdough Dinner Rolls
Ingredients You’ll Need:
- 1 cup (240g) active sourdough starter (fed and bubbly)
- 3 1/2 cups (420g) all-purpose flour
- 1 teaspoon salt
- 1 cup (240ml) warm water (around 80-85°F / 27-29°C)
- 1 tablespoon olive oil (optional, for softer crumb)
- Extra flour for dusting
How Much Time Will You Need?
This recipe requires around 4-6 hours for the initial rise, plus about 2-3 hours for the second proofing. In total, you’re looking at approximately 6-9 hours of active and wait time, depending on your environment. The actual hands-on preparation time is about 30 minutes. Patience is key, but the results are worth it!
Step-by-Step Instructions:
1. Mixing the Dough:
In a large mixing bowl, combine your vibrant sourdough starter, warm water, and olive oil (if using). Use a spoon or your hands to stir everything together until well mixed.
2. Forming the Dough:
Next, add the flour and salt into the bowl. Mix everything until it forms a shaggy dough. It won’t look perfect yet, and that’s okay!
3. Kneading:
Turn your dough out onto a lightly floured surface. Knead the dough for about 8-10 minutes until it’s nice and smooth. This is where your arm workout comes in! If you prefer, you can use a stand mixer with a dough hook for about 6-7 minutes.
4. First Rise:
Shape your dough into a ball and place it in a lightly oiled bowl. Cover it with a damp kitchen towel or plastic wrap. Let it sit at room temperature for 4-6 hours, or until it doubles in size. You can check it by poking it lightly; if the indent holds, it’s ready!
5. Dividing the Dough:
Once your dough has risen, turn it out onto a floured surface again. Divide it into 7-8 equal pieces using a bench scraper or knife. Don’t worry about being perfect—just keep them similar in size.
6. Shaping:**
For each piece, shape it into a tight ball by folding the edges under to create surface tension. This makes your rolls nice and round.
7. Preparing for Baking:
Line a baking sheet or round baking pan with parchment paper. Place your dough balls spaced apart to allow them to expand. Cover this tray loosely with a kitchen towel and let them proof for another 1-2 hours until they’re puffy.
8. Preheating and Steam:
About 30 minutes before you’re ready to bake, preheat your oven to 425°F (220°C). Place a shallow pan with water on the bottom rack of your oven to create steam, which keeps the crust nice and crusty!
9. Baking:
Dust the tops of your rolls lightly with flour before the oven. Bake them for about 20-25 minutes until they are beautifully golden brown and sound hollow when tapped on the bottom.
10. Cooling:
Take the rolls out of the oven and transfer them to a cooling rack. Let them cool for a few minutes before serving to prevent burning your fingers!
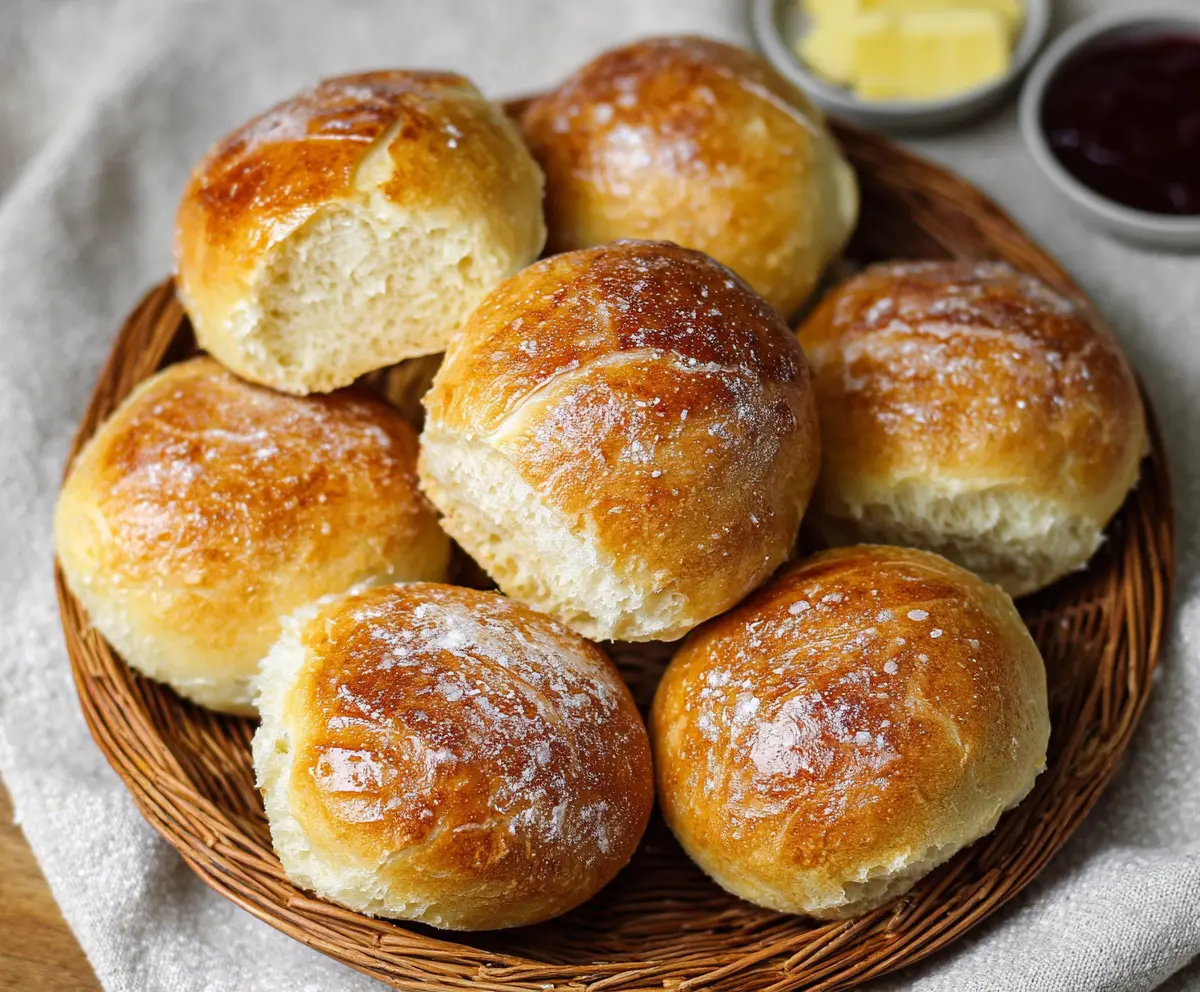
Enjoy these soft, airy rolls with a beautifully crisp, crusty outer layer—perfect for dinner or alongside your favorite spread! Happy baking!
Can I Use a Different Type of Flour?
Yes! While all-purpose flour works great, you can substitute up to half of it with bread flour for a slightly chewier texture. Whole wheat flour can also be used, but keep in mind it may alter the flavor and texture slightly.
What Should I Do If My Dough Doesn’t Rise?
If your dough doesn’t rise as expected, it could be due to the temperature of your kitchen or the activity level of your sourdough starter. Make sure your starter is bubbly and at its peak. If your kitchen is cool, consider placing the dough in a slightly warm area, like near the oven or in the sun.
How Do I Store Leftover Rolls?
Store any leftover rolls in an airtight container at room temperature for up to 2 days. For longer storage, you can freeze them. Just let them cool completely, then wrap tightly in plastic wrap and seal in a freezer bag. Thaw before serving!
Can I Make the Dough the Night Before?
Absolutely! You can prepare the dough and let it rise overnight in the fridge. Just remember to bring it back to room temperature before shaping and doing the second rise. It helps to enhance the flavors!