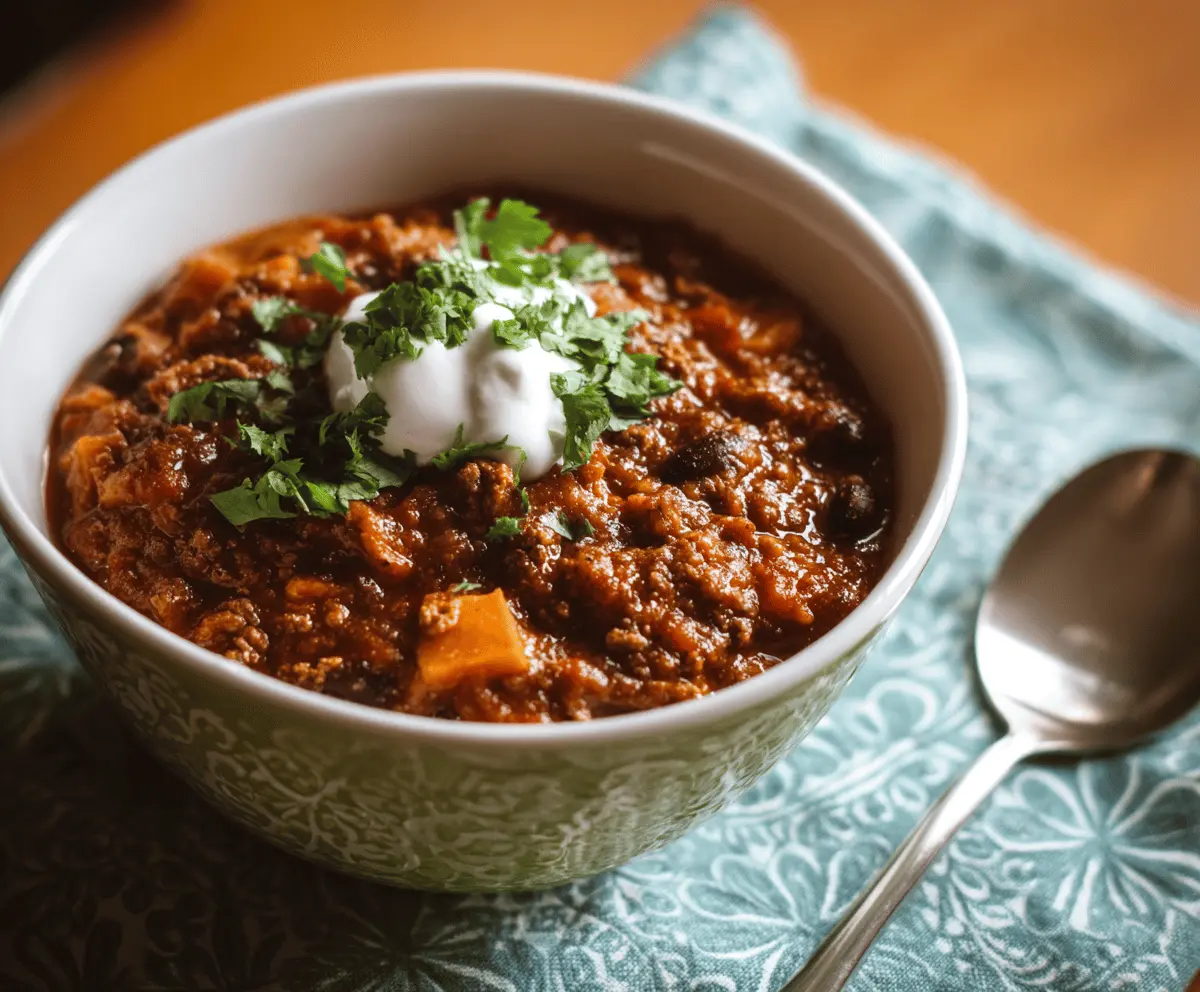
This hearty freezer-friendly chili is packed with tasty beans, ground meat, and spices that warm you up from the inside out. It’s perfect for busy nights or cold days!
I love making a big batch and freezing some for later. Just pop it in the microwave for a quick meal. Plus, it tastes even better the next day! ☕️
Key Ingredients & Substitutions
Ground Beef: Ground beef adds richness to the chili. If you prefer a healthier option, you can use ground turkey or chicken. For a vegetarian version, substitute with lentils or plant-based ground meat.
Sweet Potatoes: Sweet potatoes bring sweetness and heartiness. Regular potatoes work fine too, but you might miss the natural sweetness they add. You can substitute with canned beans if you’re looking to lighten it up.
Beans: Kidney beans are classic, but black beans or pinto beans are great substitutes as well. If you’re keeping it vegetarian, feel free to increase the bean quantity.
Spices: Chili powder gives the main flavor. If you’re out, a mix of paprika, cumin, and a dash of cayenne could be a good alternative. Adjust to your taste!
How Do I Make Sure My Chili Is Flavorful and Hearty?
Getting the right balance in chili is essential for a delightful meal. Here are a few steps to help you hit the mark:
- Brown the meat well: Make sure to break it into small pieces and cook until it’s nicely browned. This builds flavor!
- Layer spices: Add spices at different stages (like when the meat is browned) to enhance their flavors fully.
- Simmer gently: Allow the chili to simmer uncovered. This helps it thicken and intensify flavors, especially if you give it about 30-40 minutes. Always taste and adjust the seasoning after it simmers!
These little tweaks can turn a good chili into a great one. Enjoy your cooking! 🍲
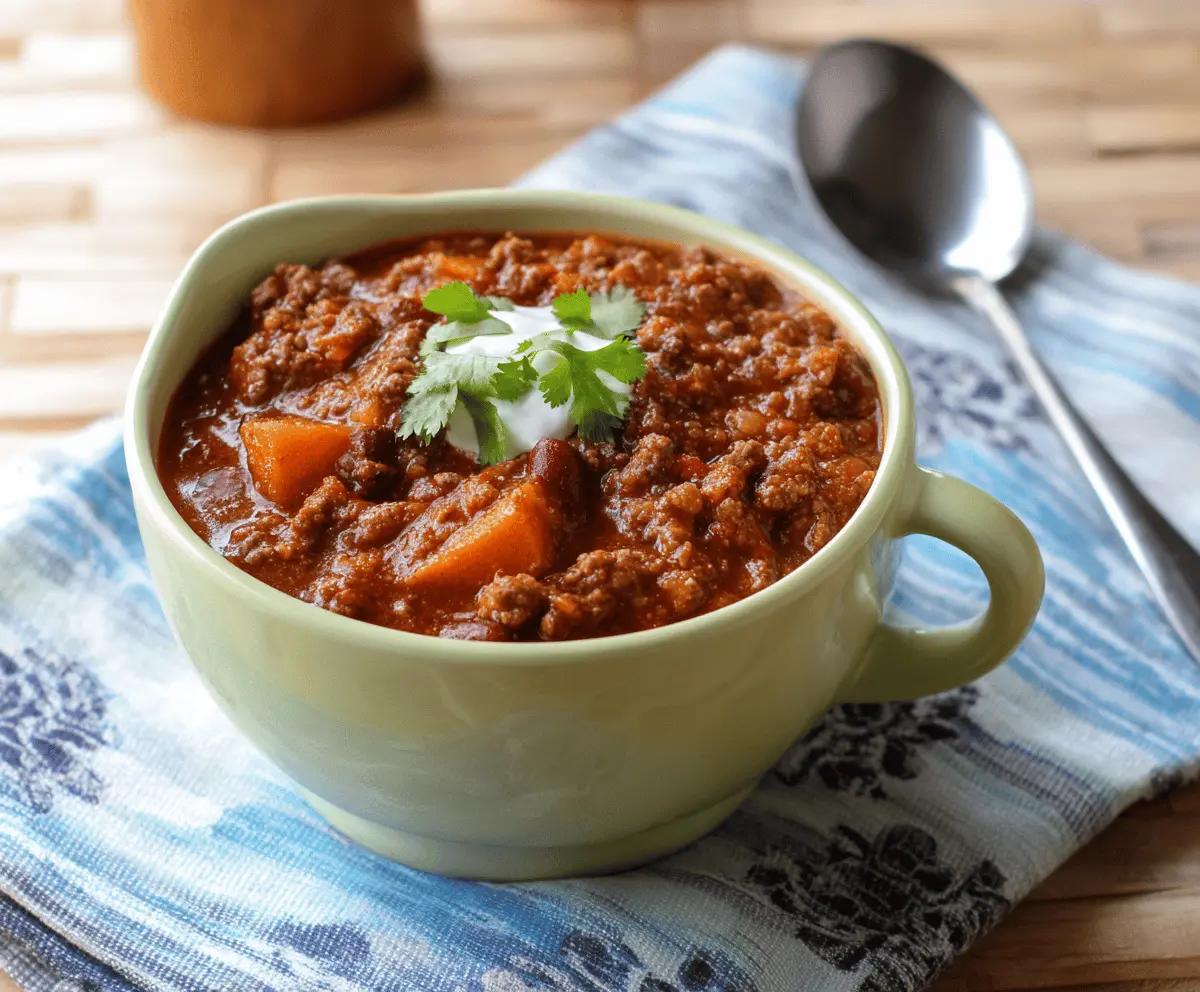
Freezer-Friendly Chili
Ingredients You’ll Need:
Main Ingredients:
- 1 lb (450g) ground beef
- 1 medium onion, diced
- 2 cloves garlic, minced
- 1 bell pepper, diced (optional)
- 2 medium sweet potatoes or regular potatoes, peeled and cubed
- 1 can (15 oz/425g) kidney beans, drained and rinsed
- 1 can (14.5 oz/411g) diced tomatoes
- 1 cup tomato sauce or crushed tomatoes
- 1 cup beef broth or water
- 2 tbsp chili powder
- 1 tsp ground cumin
- 1/2 tsp paprika
- 1/4 tsp cayenne pepper (optional for heat)
- Salt and pepper to taste
- 1 tbsp olive oil or vegetable oil
Optional Toppings:
- Sour cream
- Fresh cilantro for garnish
Time Needed:
This recipe takes about 15 minutes to prep and 30–40 minutes to cook. Plus, you’ll want to factor in cooling time if you freeze it. Overall, you can whip it up in just about an hour and have delicious meals ready for the week!
Step-by-Step Instructions:
1. Sauté the Vegetables:
In a large pot or Dutch oven, heat the olive oil over medium heat. Add the diced onion and cook until it’s softened, about 3-4 minutes. Then, add the minced garlic and cook for another minute until it smells fantastic!
2. Brown the Meat:
Add the ground beef to the pot and cook it, breaking it apart with a spoon, until it’s fully browned and there’s no pink left. This usually takes about 5-7 minutes.
3. Add Spices:
Stir in the chili powder, ground cumin, paprika, cayenne pepper (if you like a little heat), salt, and pepper. Make sure everything is well mixed and the meat and onion are coated with spices.
4. Mix in Vegetables:
Add the diced bell pepper (if you’re using it) and the cubed sweet potatoes. Give it a good stir to combine all those colorful ingredients.
5. Combine the Base Ingredients:
Pour in the diced tomatoes, tomato sauce, kidney beans, and beef broth. Stir everything well, and it should start looking like chili!
6. Simmer the Chili:
Bring the mixture to a boil, then reduce the heat to low. Let it simmer uncovered for 30-40 minutes, stirring occasionally. The potatoes should become tender, and the chili should thicken nicely. If it gets too thick, feel free to add a bit more broth or water.
7. Taste and Adjust:
Give your chili a taste and adjust the seasoning if needed. This is where you can add a little more salt or spice to suit your taste!
8. Cool and Freeze:
Let the chili cool completely before transferring it to airtight freezer-safe containers or resealable bags. Don’t forget to label with the date! You can freeze it for up to 3 months.
9. Reheat to Enjoy:
When you’re ready to eat, thaw the chili overnight in the refrigerator and warm it up in a pot over medium heat until heated through.
10. Serve It Up!
Enjoy your delicious chili topped with a dollop of sour cream and fresh cilantro if you like. It’s a cozy meal that’s perfect for any day!
This freezer-friendly chili is easy to make, freezes beautifully, and is perfect for meal prep or busy days. Enjoy every bite!
Can I Use Ground Turkey or Chicken Instead of Beef?
Absolutely! Ground turkey or chicken is a great alternative and can help reduce the fat content. Just ensure you brown it well before adding the spices for maximum flavor!
What If I Don’t Have Sweet Potatoes?
No problem! Regular potatoes work just as well. You could also use other hearty vegetables like carrots or butternut squash to add some sweetness.
How Should I Store Leftover Chili?
Store any leftover chili in an airtight container in the fridge for up to 4 days. For longer storage, you can freeze it in freezer-safe containers or resealable bags, making sure to label with the date!
Can I Add More Vegetables to This Chili?
Yes! Feel free to add more veggies like zucchini, corn, or diced tomatoes. Just be mindful of the liquid content, as you may need to adjust the broth accordingly to ensure the chili remains the right consistency.