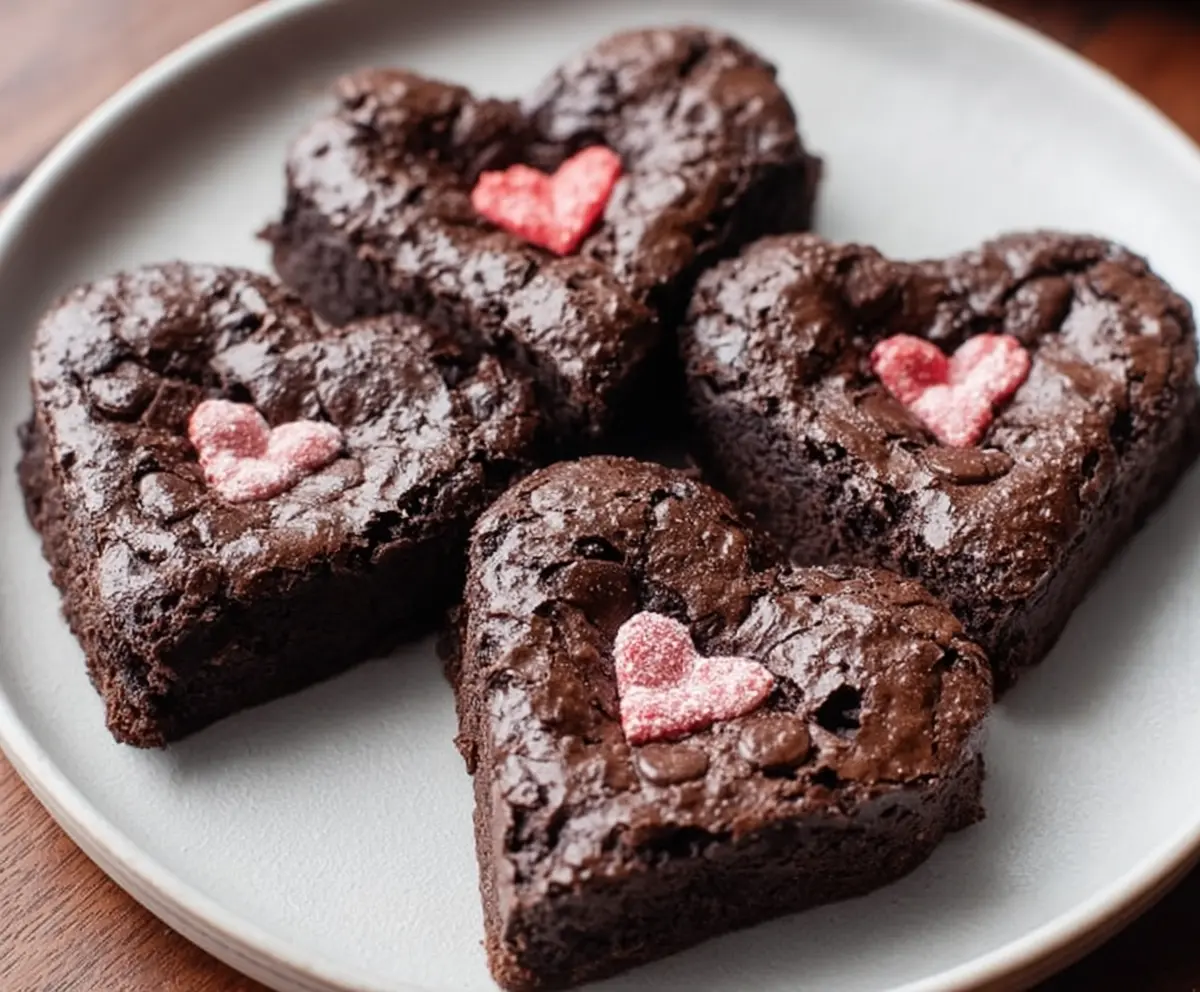
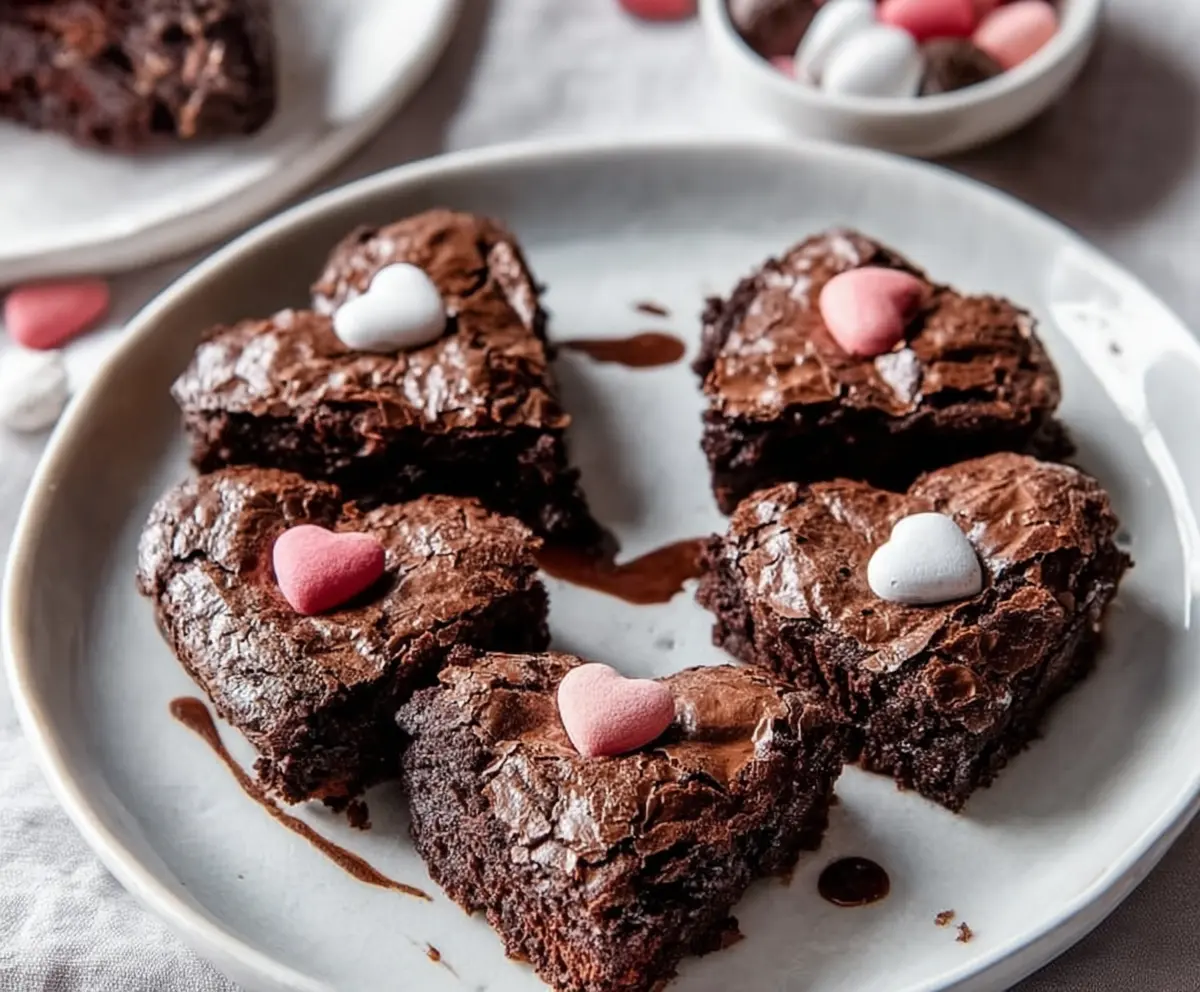
These heart-shaped brownies are simply adorable! Rich, fudgy, and perfect for sharing, they’re a great treat for any celebration or just because you want to spread some love.
Don’t be surprised if you find yourself sneaking a few extras—they’re just that yummy! I love baking these with my kids; it turns into a fun little decorating party that tastes delicious.
Key Ingredients & Substitutions
Unsalted Butter: Butter adds richness to your brownies. You can substitute with equal parts coconut oil or vegetable oil if you prefer a dairy-free version.
Granulated Sugar: This sweetens the brownies. For a healthier option, try using coconut sugar or maple sugar, though the texture may vary slightly.
Cocoa Powder: Unsweetened cocoa powder gives the brownies their chocolate flavor. If you’re in a pinch, you can use Dutch-process cocoa for a deeper flavor.
Chocolate Chips: These are optional but delicious! You can use dark, milk, or even white chocolate chips. If you’d like to skip them, you can increase the cocoa powder slightly.
Heart-Shaped Candies: Use any colorful candies to top your brownies. If you can’t find heart shapes, sprinkles in your favorite colors work just as well!
How Do I Ensure My Brownies Are Fudgy and Moist?
To get that perfectly fudgy texture, watch your baking time closely. Overbaking can lead to dry brownies. Start checking for doneness around the 20-minute mark and look for moist crumbs on your toothpick.
- Make sure to whisk the butter and sugar really well; this helps incorporate air for a lighter texture.
- Once you add the dry ingredients, mix just until combined. Overmixing can lead to tough brownies.
- Allow the brownies to cool completely in the pan—it helps them set and makes them easier to cut.
With these tips, you’ll create heart-shaped brownies that are not only cute but also incredibly tasty! Enjoy baking!
Heart Shape Brownies
Ingredients:
- 1/2 cup (115g) unsalted butter
- 1 cup (200g) granulated sugar
- 2 large eggs
- 1 teaspoon vanilla extract
- 1/3 cup (40g) unsweetened cocoa powder
- 1/2 cup (65g) all-purpose flour
- 1/4 teaspoon salt
- 1/4 teaspoon baking powder
- 1/2 cup chocolate chips (optional)
- Red heart-shaped candies or pink/red sugar decorations for topping
How Much Time Will You Need?
This recipe requires about 15 minutes of preparation time, and then you’ll need to bake the brownies for 20-25 minutes. Allow some time for them to cool completely before cutting. Overall, you’ll be ready to serve these delicious treats in about 1 hour!
Step-by-Step Instructions:
1. Preheat the Oven:
Start by preheating your oven to 350°F (175°C). This ensures your brownies bake evenly. While the oven heats up, lightly grease a 9×9 inch baking pan or line it with parchment paper to make for easy removal later.
2. Melt the Butter:
In a medium saucepan, melt the unsalted butter over low heat. Once melted, take it off the heat and stir in the granulated sugar, eggs, and vanilla extract. Keep stirring until everything is mixed together smoothly.
3. Mix the Dry Ingredients:
In a separate bowl, whisk together the unsweetened cocoa powder, all-purpose flour, salt, and baking powder. This step helps to evenly distribute the dry ingredients.
4. Combine Wet and Dry Ingredients:
Now, gradually add the dry mixture into the wet mixture. Gently stir until just combined—be careful not to overmix; this will help keep your brownies fudgy!
5. Add Chocolate Chips:
If you’re using chocolate chips, fold them into the brownie batter now. They add that extra chocolatey goodness!
6. Pour the Batter:
Pour your brownie batter into the prepared baking pan. Use a spatula to spread it evenly across the pan.
7. Bake the Brownies:
Pop the pan into the preheated oven and bake for about 20-25 minutes. You know they’re done when a toothpick inserted into the center comes out with a few moist crumbs. This is key for that fudgy texture!
8. Cool the Brownies:
After baking, allow the brownies to cool completely in the pan on a wire rack. This might take around 30 minutes.
9. Cut Out Heart Shapes:
Once cooled, carefully remove the brownies from the pan. Use a heart-shaped cookie cutter to cut out cute brownie hearts.
10. Add a Sweet Touch:
To finish them off, place a small red or pink heart candy on top of each brownie heart, or sprinkle with decorative sugar. These little touches make them even more special!
11. Serve and Enjoy:
Now your heart-shaped brownies are ready to be enjoyed! Serve them at parties, share them with friends, or savor them yourself. Happy baking!
This recipe yields deliciously moist and rich brownie hearts, perfect for any occasion! Enjoy the love!
Can I Use Sugar Substitutes in This Recipe?
Yes, you can use sugar substitutes like coconut sugar or Stevia. Just keep in mind that the texture may vary slightly. If using Stevia, follow the conversion ratios on the package to ensure proper sweetness.
Can I Make These Brownies Gluten-Free?
Absolutely! Substitute the all-purpose flour with a 1:1 gluten-free baking mix or almond flour. Ensure that you check the blend includes a binding agent like xanthan gum if needed for the best results!
How Do I Store Leftover Brownies?
Store any leftover brownies in an airtight container at room temperature for up to 3 days. For longer storage, you can refrigerate them for a week or freeze them for up to 3 months. Just make sure to wrap them tightly!
Can I Add Nuts or Other Mix-Ins?
Certainly! Feel free to fold in chopped nuts, marshmallows, or other candies for added texture and flavor. Just mix them in along with the chocolate chips before pouring the batter into the pan.