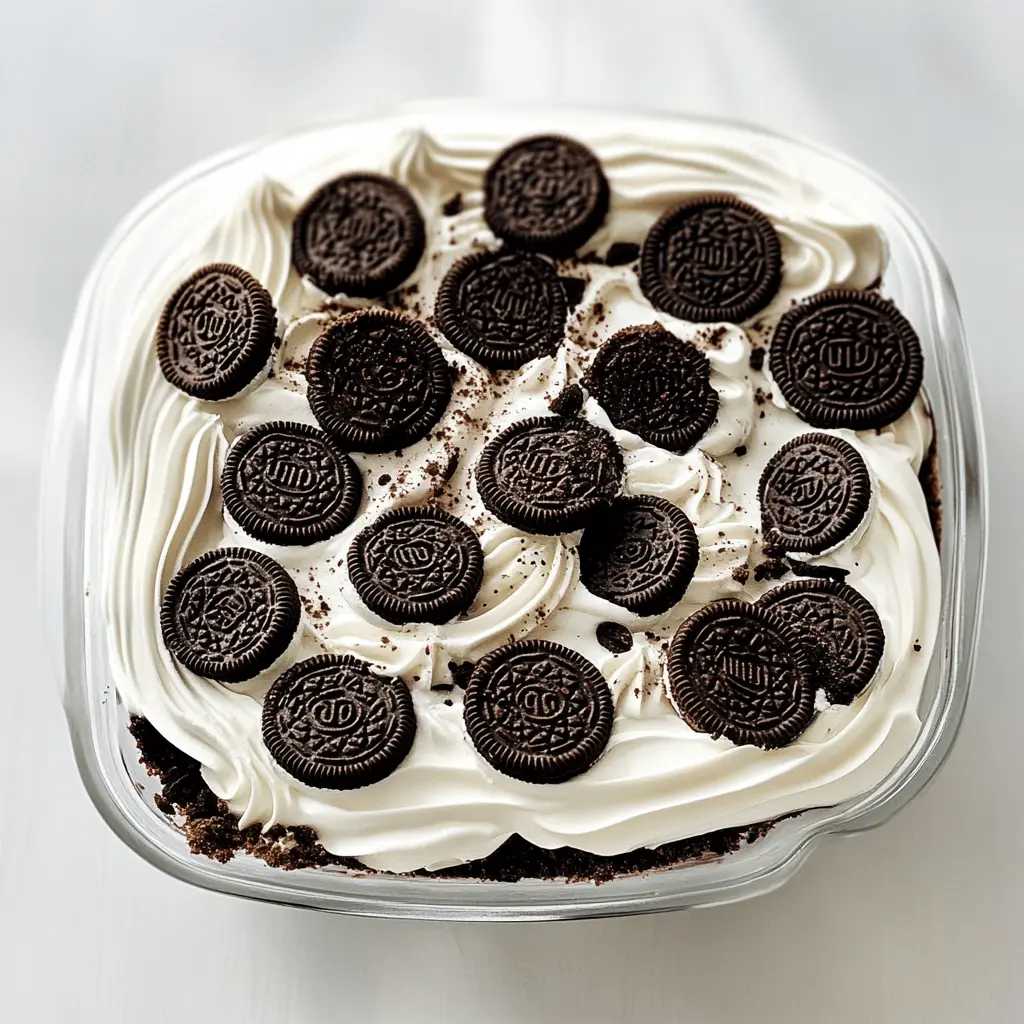
This Heavenly Oreo Dessert is a sweet dream come true! Made with layers of cream, chocolate pudding, and, of course, tasty Oreo cookies, it’s delightfully creamy and crunchy.
Honestly, who can resist a dessert that’s this easy to make? I love whipping it up for gatherings, and it’s always gone in a flash. It’s a big hit with everyone! 😋
Key Ingredients & Substitutions
Oreo Cookies: The star of the dessert! You could replace them with other chocolate cookie brands if you prefer. Just make sure they’re crunchy to create a similar crust texture.
Unsalted Butter: Melting butter helps bind the cookie crumbs together. If you’re looking for a healthier option, you can use coconut oil or a vegan butter alternative.
Cream Cheese: Essential for that creamy texture! For a lighter version, use Neufchâtel cheese. If dairy is a concern, try a vegan cream cheese alternative.
Powdered Sugar: This sweetens the cream cheese mixture while adding smoothness. If you want to reduce sugar, use less or try a sugar substitute like erythritol.
Whipped Topping: A key element for lightness. You can substitute with homemade whipped cream, which I prefer for a fresher taste, or a dairy-free whipped topping if needed.
Chocolate Pudding Mix: While packet mixes are convenient, you can make your own pudding from scratch. Just use cocoa powder, cornstarch, sugar, and milk – it tastes so good!
How Can I Ensure My Crust is Perfectly Set?
Creating a sturdy crust is vital for this dessert to hold together. It’s all about combining the cookie crumbs and melted butter just right. Here’s how to do it:
- Crush the Oreos finely for a more solid crust. A food processor works great, but a rolling pin in a bag is just as effective.
- Mix the crumbs and melted butter until every crumb is coated. This helps them bind together when pressed.
- Firmly press the mixture into the bottom of your baking dish, using your fingers or a flat surface for evenness. The firmer, the better!
- Chill the crust in the fridge while preparing the filling. This helps it set up nicely before adding layers.

How to Make Heavenly Oreo Dessert
Ingredients You’ll Need:
For the Crust:
- 1 package (15.5 oz) Oreo cookies
- 1/2 cup (1 stick) unsalted butter, melted
For the Cream Cheese Layer:
- 1 package (8 oz) cream cheese, softened
- 1 cup powdered sugar
- 1 container (8 oz) whipped topping, thawed
For the Pudding Layer:
- 1 packet (3.9 oz) chocolate pudding mix
- 2 cups milk
For Garnish:
- Additional crushed Oreo cookies
How Much Time Will You Need?
This Heavenly Oreo Dessert takes about 30 minutes to prepare, plus at least 4 hours (or overnight) for chilling in the fridge. So, you can whip it up in no time and let it set while you relax or prepare for your gathering!
Step-by-Step Instructions:
1. Prepare the Crust:
Start by crushing the Oreo cookies into fine crumbs. You can use a food processor for this or put the cookies in a zip-top bag and use a rolling pin to crush them. In a mixing bowl, combine the crushed Oreos with the melted butter, stirring until everything is mixed well.
2. Form the Crust:
Next, take your Oreo mixture and press it firmly into the bottom of a 9×13 inch baking dish. Make sure it’s packed down nicely to create a sturdy crust. Place the dish in the fridge while you prepare the filling, so it can firm up a bit.
3. Make the Cream Cheese Layer:
In a separate mixing bowl, beat the softened cream cheese together with the powdered sugar until it’s nice and smooth. Then, fold in half of the thawed whipped topping carefully. Once combined, spread this creamy mixture evenly over your chilled Oreo crust.
4. Prepare the Chocolate Pudding:
Now, in another bowl, whisk together the chocolate pudding mix and milk until it’s smooth and has thickened up nicely. Pour this luscious pudding over the cream cheese layer in the baking dish, spreading it out evenly with a spatula.
5. Add the Final Layer:
Take the remaining whipped topping and spread it over the pudding layer, smoothing it out evenly. This will create a lovely finish for your dessert!
6. Garnish:
To make this dessert extra special, crush some additional Oreo cookies and sprinkle them on top of the whipped topping layer as decoration. It not only looks great but adds an extra crunch!
7. Chill:
Cover your dessert with plastic wrap and place it in the refrigerator. Allow it to chill for at least 4 hours, but preferably overnight. This way, all the flavors can meld together beautifully.
8. Serve:
When you’re ready to serve, cut the dessert into squares and enjoy it chilled. This creamy and chocolatey treat is sure to delight everyone!
Can I Substitute the Cream Cheese?
Yes, you can substitute the cream cheese with an equal amount of Greek yogurt or mascarpone for a different flavor and texture. Just ensure it’s softened for easy mixing. This will give the dessert a slightly tangy taste or a richer profile, respectively!
How to Store Leftovers
Store any leftover Heavenly Oreo Dessert in an airtight container in the refrigerator for up to 3-4 days. Just make sure to keep it covered to prevent it from drying out!
Can I Use Different Flavored Pudding Mix?
Absolutely! Feel free to get creative and swap out the chocolate pudding for vanilla or even a caramel flavor. This will change the flavor profile but still keep the dessert delicious and creamy!
Can I Make This Dessert Gluten-Free?
Yes! To make a gluten-free version, substitute regular Oreo cookies for gluten-free Oreo cookies, which are widely available. Just be sure to check the packaging to confirm they meet your dietary needs!