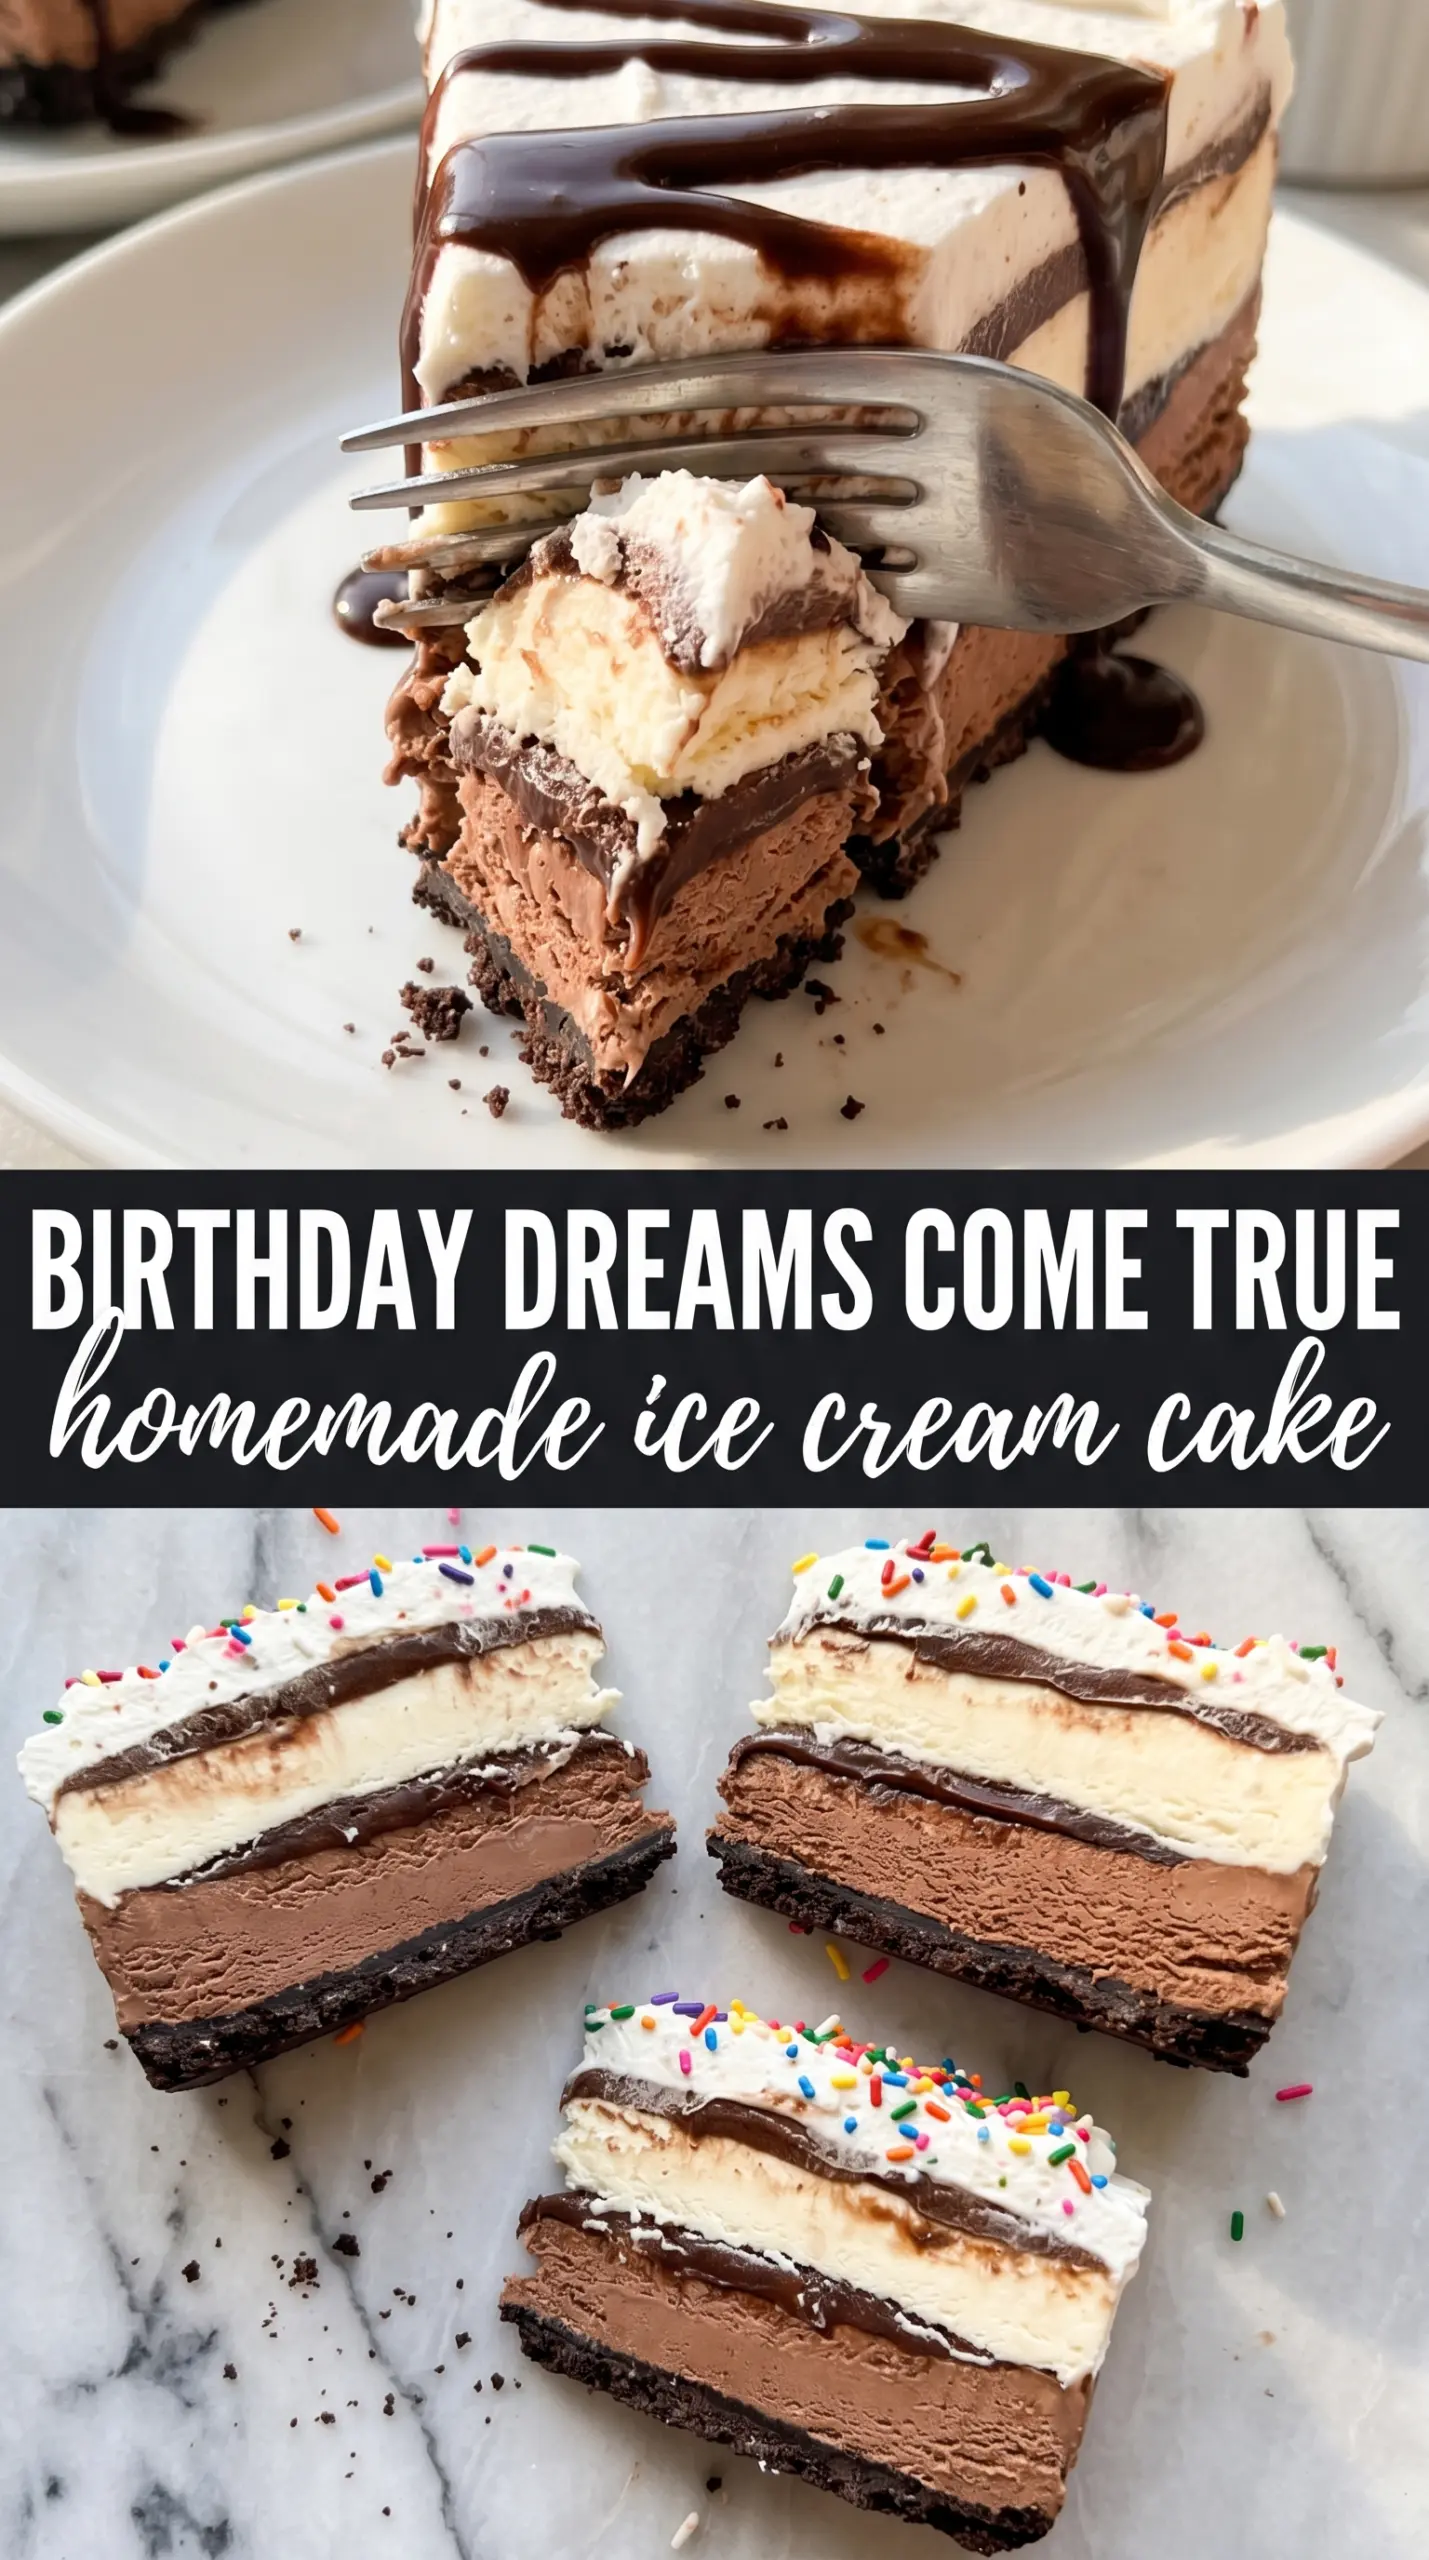
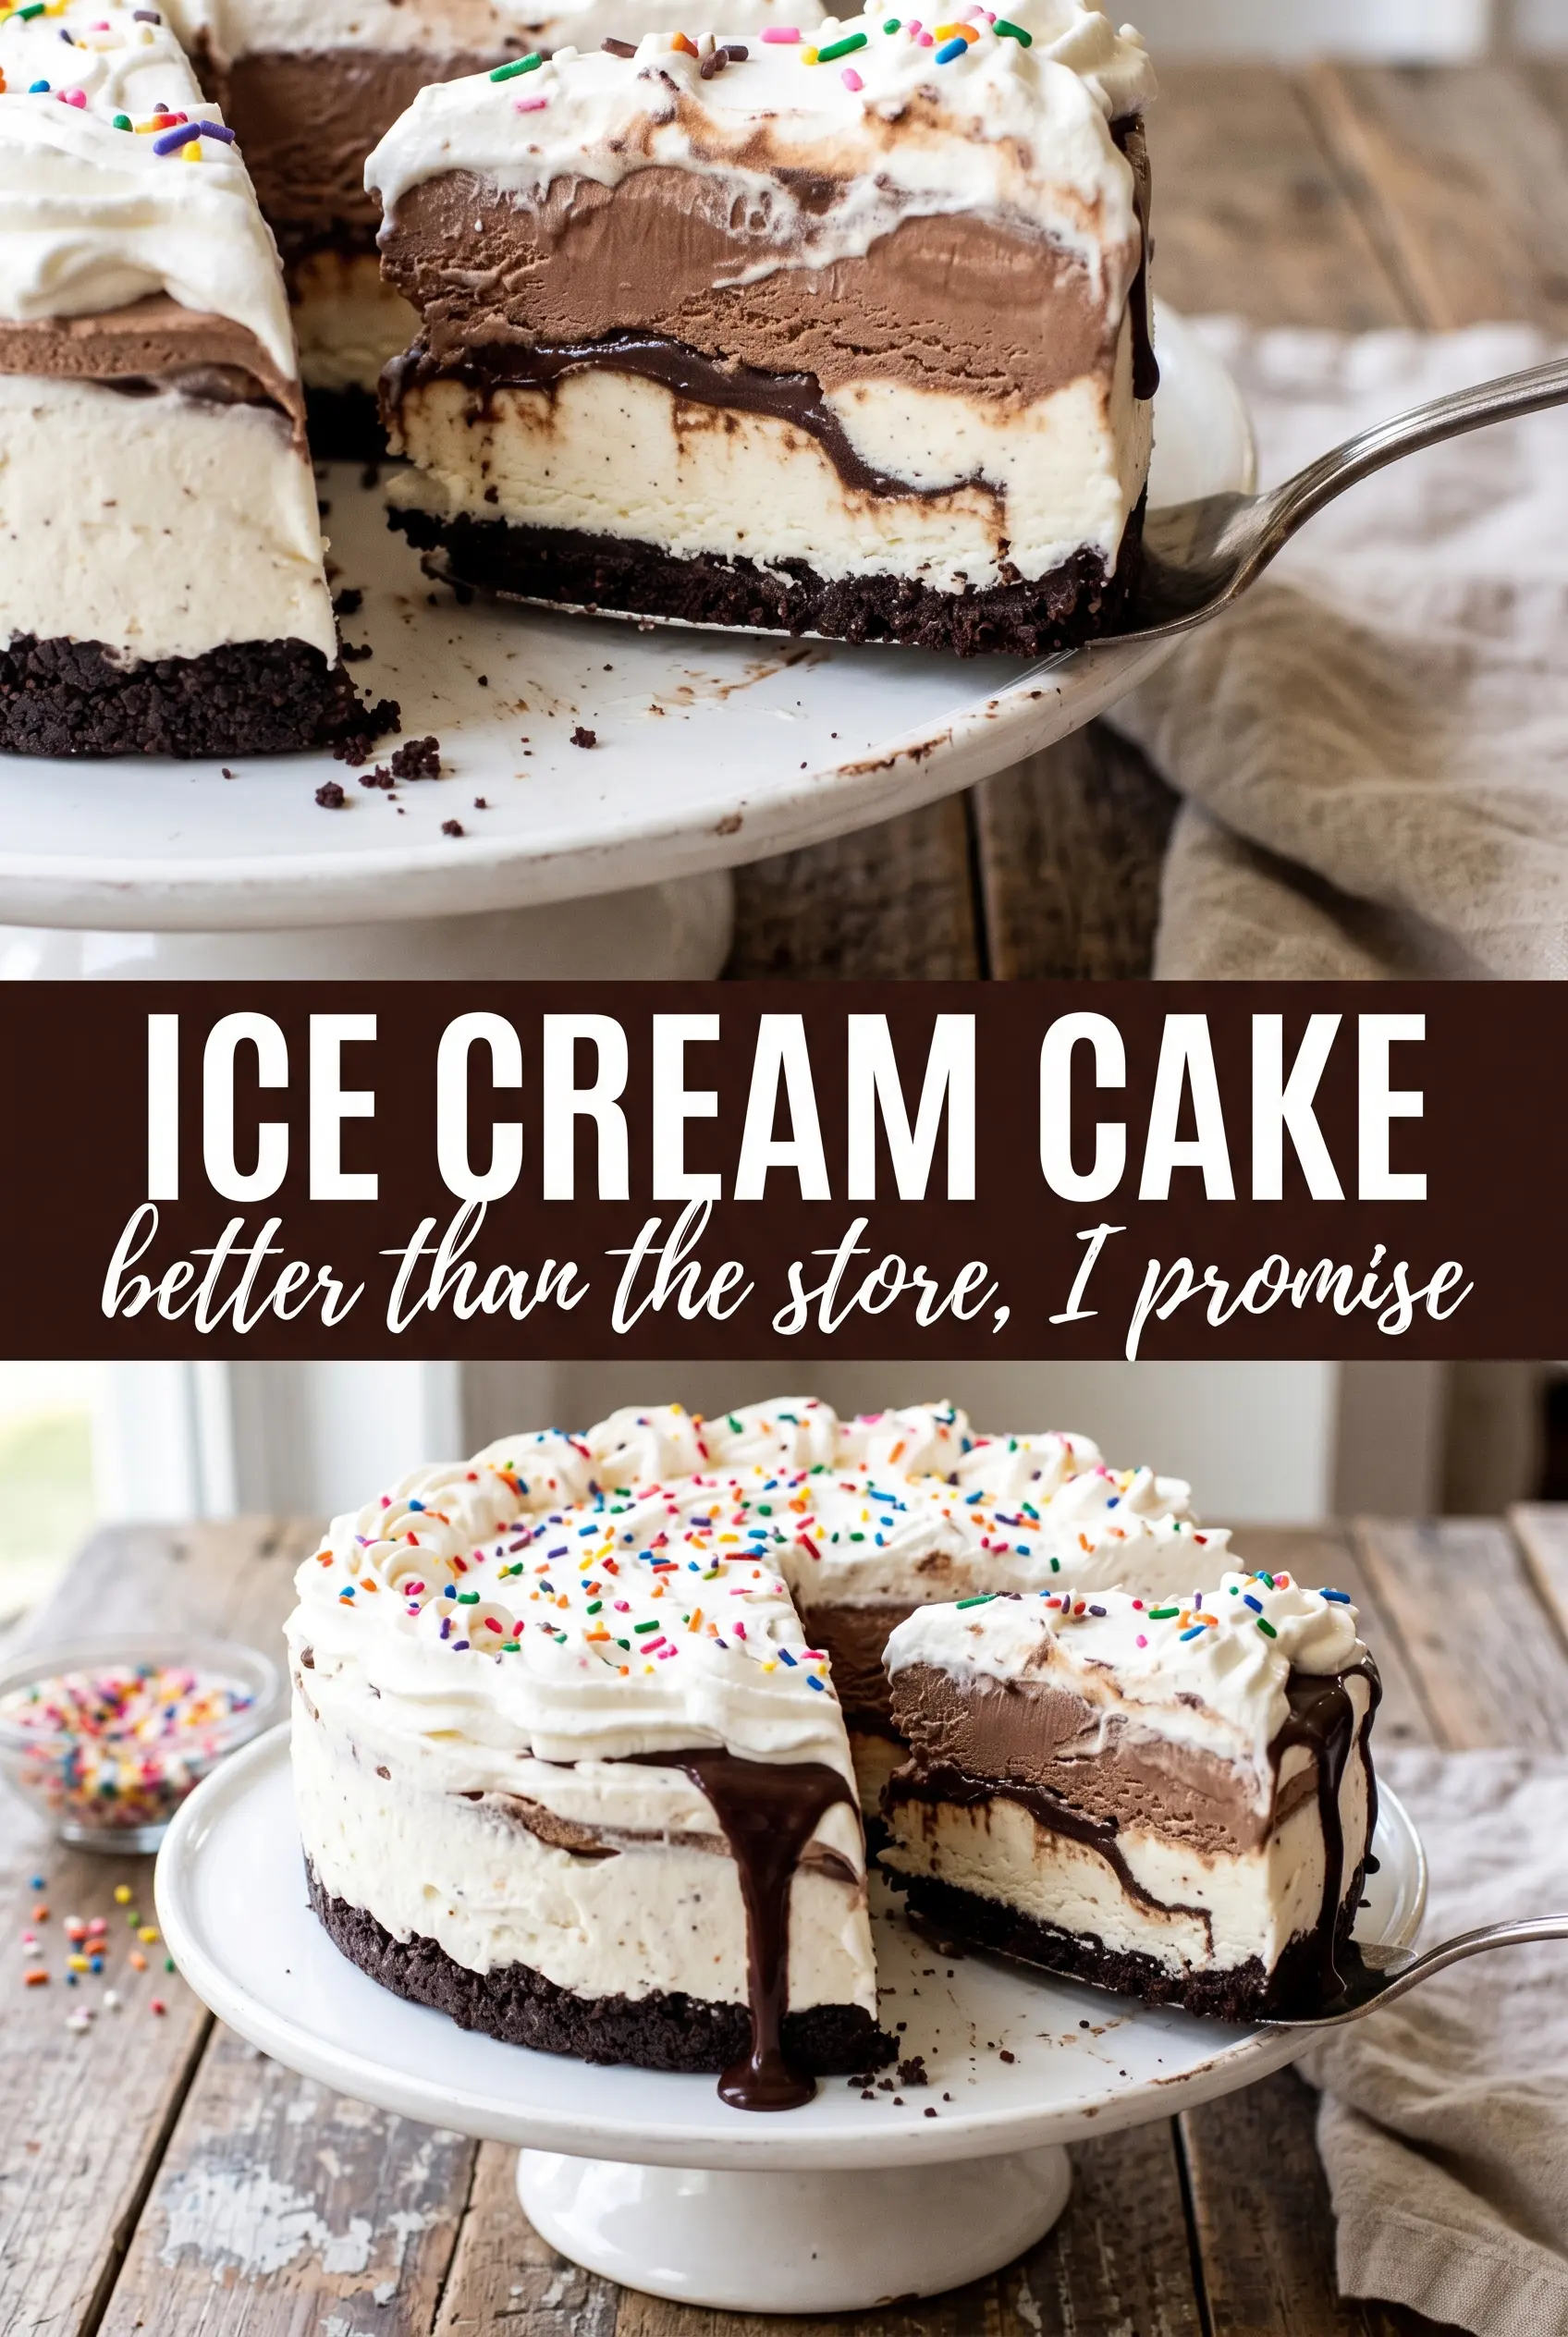
Ice cream cake earns its place in the dessert rotation because it gives you all the drama of a celebration cake without turning on the oven. The crust stays crisp enough to slice cleanly, the ice cream layers stay distinct, and that ribbon of fudge cuts through the sweetness so each bite tastes balanced instead of heavy. It’s the kind of dessert that gets quiet for a second when you bring it to the table, then disappears fast.
This version works because each layer gets a short freeze before the next one goes on. That keeps the vanilla layer from smearing into the fudge and gives the strawberry layer a stable base instead of a soft, leaning middle. A springform pan also makes the whole thing much easier to release intact, which matters when you want neat slices with the cookie crust still holding together.
Below, I’ll show you how to keep the layers clean, how to cut it without shattering the top, and a few smart ways to change the flavors while keeping the structure the same.
The layers froze up beautifully and the fudge stayed in the middle instead of sinking into the crust. I used the hot knife trick for slicing and got clean pieces that looked bakery-perfect.
Like this Oreo ice cream cake? Save it to Pinterest for birthdays, barbecues, and the days when a no-bake dessert needs to look special.
The One Freeze Time That Keeps the Layers Clean
The biggest mistake with ice cream cake is rushing the build. If the base layer isn’t firm before the fudge goes on, the sauce sinks into the vanilla and turns the whole middle muddy. If the fudge is still warm, it can melt a tunnel straight through the ice cream, and the cake loses those clear stripes that make each slice look sharp.
The short freezes between layers aren’t busywork. They set the structure just enough so the next layer sits on top instead of blending in. That’s why this cake cuts so neatly after a full rest in the freezer: each layer has had time to reset before the next one was added.
- Oreos — The cookie crumbs give you that classic ice cream cake base without any baking. Crush them finely so the crust presses together instead of crumbling when you slice.
- Butter — Just enough butter holds the crumbs in place. Too much makes the crust greasy and soft, so measure it rather than pouring by eye.
- Vanilla ice cream — This layer acts like a cool, neutral middle that balances the fruit and fudge. Let it soften just until spreadable; if it gets soupy, the cake will slump instead of stacking cleanly.
- Strawberry ice cream — Slightly softened strawberry ice cream gives you a bright, fruity top layer that stays distinct from the vanilla. If you swap flavors, choose one with a similar firmness so the cake freezes evenly.
- Hot fudge — The fudge ribbon is what keeps the dessert from tasting flat. Cool it slightly before layering so it stays in place instead of melting into the ice cream below.
- Whipped topping or stabilized whipped cream — This is the finish that makes the cake look celebratory. Stabilized whipped cream holds its shape longer, which helps if the cake sits out for a few minutes before serving.
What Each Ingredient Is Actually Doing in This Ice Cream
- Base ingredient (cream, milk, or custard) — This provides the foundation and richness. Quality matters.
- Sweetener (sugar, honey, or condensed milk) — This sweetens and prevents ice crystals. The ratio is critical.
- Flavor element (vanilla, fruit, chocolate, or other) — This defines the ice cream personality. Use quality ingredients.
- Egg yolks (if making custard base) — These create richness and silky texture. Optional but elevates ice cream.
- Churning (if using ice cream maker) — This incorporates air and prevents ice crystals. Critical for smooth texture.
- Freezing temperature and time — Proper freezing prevents rock-hard texture. Store at 0°F or below.
- Mix-ins (chocolate, cookies, fruit, or swirls) — These add texture and prevent one-dimensional flavor. Add near end of churning.
- Serving temperature (slightly soft, not rock hard) — This provides creamy mouthfeel. Remove from freezer 5 minutes before serving.
Building the Cake Without Melting the Middle
Pressing the Cookie Crust
Mix the crushed Oreos with melted butter until the crumbs look evenly damp, then press them firmly into the bottom of a 9-inch springform pan. Use the bottom of a measuring cup to compact the layer so it slices like a crust instead of scattering like loose crumbs. A quick 15-minute freeze helps it set before the ice cream goes on.
Spreading the Vanilla Layer
Scoop the slightly softened vanilla ice cream onto the chilled crust and spread it into an even layer with an offset spatula or the back of a spoon. Work fast and keep the layer level, because uneven spots show up once the cake is sliced. Freeze it for about an hour until it feels firm to the touch.
Adding the Fudge Ribbon
Drizzle the cooled fudge over the set vanilla layer in a thin, even layer. If the fudge is too warm, it will melt the vanilla and disappear into the cake instead of staying as a dark stripe. A 15-minute freeze is enough to lock it in before the strawberry layer goes on.
Finishing with Strawberry and Freezing Solid
Spread the strawberry ice cream over the fudge layer, smooth the top, then cover the pan and freeze the cake for at least 4 hours, or overnight if you want the cleanest slices. This final freeze is where the structure sets for real, so don’t rush it. If the center still feels soft, the cake will sag when you release the pan.
How to Change the Flavor Without Losing the Structure
Chocolate ice cream cake
Swap both ice cream flavors for chocolate or use chocolate in one layer and vanilla in the other. The cake turns richer and less fruity, and the Oreo crust fits naturally, but you’ll lose the bright color contrast that makes the strawberry version pop.
Dairy-free ice cream cake
Use dairy-free ice cream, vegan butter, and a dairy-free whipped topping. The texture still works if your substitutes are firm when frozen, but many nondairy ice creams soften faster, so keep the cake frozen right up until serving.
Gluten-free version
Use gluten-free sandwich cookies in place of Oreos. The crust will still pack well as long as the crumbs are fine and the butter is measured carefully, though some gluten-free cookies are a little more delicate, so press the base firmly.
Make-ahead birthday cake
Build the cake a full day ahead and leave the whipped topping and sprinkles off until just before serving. That keeps the decoration fresh and gives the layers time to freeze into a cleaner, sturdier slice.
Storage and Reheating
- Refrigerator: Don’t store ice cream cake in the fridge; it softens too fast and the layers collapse.
- Freezer: Keep it covered in the springform pan or wrapped tightly for up to 1 week. After that, the texture starts to pick up freezer flavor.
- Reheating: There’s no reheating here. For the best slice, let the cake sit at room temperature for 5 to 10 minutes, then cut with a knife dipped in hot water and wiped dry between slices.
Answers to the Questions Worth Asking
Ice Cream Cake
Ingredients
Equipment
Method
- Mix crushed Oreos with melted butter until evenly moistened, then press firmly into the bottom of a 9-inch springform pan. Freeze for 15 minutes until set.
- Spread slightly softened vanilla ice cream in an even layer over the Oreo crust and smooth the top. Freeze for 1 hour until firm.
- Drizzle slightly cooled hot fudge sauce over the vanilla layer in an even ribbon. Freeze for 15 minutes to set slightly.
- Spread slightly softened strawberry ice cream over the fudge layer and smooth the top. Cover with plastic wrap and freeze for at least 4 hours or overnight until fully firm.
- Run a warm knife around the edge, release the springform, and transfer the cake to a serving plate. Work quickly to keep edges clean.
- Pipe whipped topping swirls around the top edge and scatter sprinkles across the center. Slice with a hot knife and serve immediately.


