Golden chicken thighs and crisp potato wedges are the whole promise of Chicken Vesuvio, and this version pays it off with a pan sauce that tastes brighter and more aromatic than the usual heavy roast dinner. The skin stays deeply browned, the potatoes soak up garlicky white wine and lemon, and the peas go in at the end so they stay sweet instead of drab.
What makes this dish work is the order of operations. The chicken renders first, the potatoes get their own turn in the same pan, and the garlic only hits the butter long enough to perfume it before the wine and broth go in. That keeps the sauce clean and sharp instead of muddy or bitter. The lemon comes in early enough to lift everything without turning the pan sauce harsh.
Below, you’ll find the small timing details that keep the potatoes crisp, the chicken juicy, and the sauce from drying out in the oven. The variations section also covers the one swap that matters most if you want to keep the same old-school Chicago feel without guessing at the texture.
The potatoes came out crisp at the edges instead of soggy, and the garlic-wine sauce was perfect for spooning over everything. I used thighs exactly as written and the chicken stayed juicy through the whole roast.
Save this Chicken Vesuvio for the nights when you want crispy chicken, roasted potatoes, and garlicky white wine sauce from one pan.
The Part That Keeps the Chicken Juicy While the Potatoes Crisp
Chicken Vesuvio looks straightforward, but the pan order is what separates crisp and juicy from greasy and tired. If the potatoes go in before the chicken renders, they soak up fat and soften before they ever get a chance to brown. If the chicken goes into the oven without a proper sear, the skin never gets that brittle, roasted finish that makes this dish memorable.
The trick is to let the skillet do the work in stages. First the chicken skins render in the oil, then the potatoes take on that same seasoned fat and start to color, then the garlic and wine build the sauce in the same pan. That layering gives you flavor without extra steps, and it keeps the potatoes from turning into bland filler under the chicken.
- Bone-in, skin-on chicken thighs — These stay moist through the roast and give you the richest pan juices. Boneless thighs cook faster, but you lose the roasted skin and some of the old-school feel.
- Yukon gold potatoes — They hold their shape and turn creamy inside while the edges crisp. Russets can work, but they tend to break down more and won’t stay as tidy in the pan.
- Dry white wine — This is what gives the sauce its sharp, restaurant-style backbone. Use something you’d drink; sweet wine will dull the dish and can make the sauce taste flat.
- Frozen peas — They go in at the very end for color and sweetness. Adding them earlier turns them dull and overcooked.
What the Garlic, Wine, and Lemon Are Doing in the Same Pan
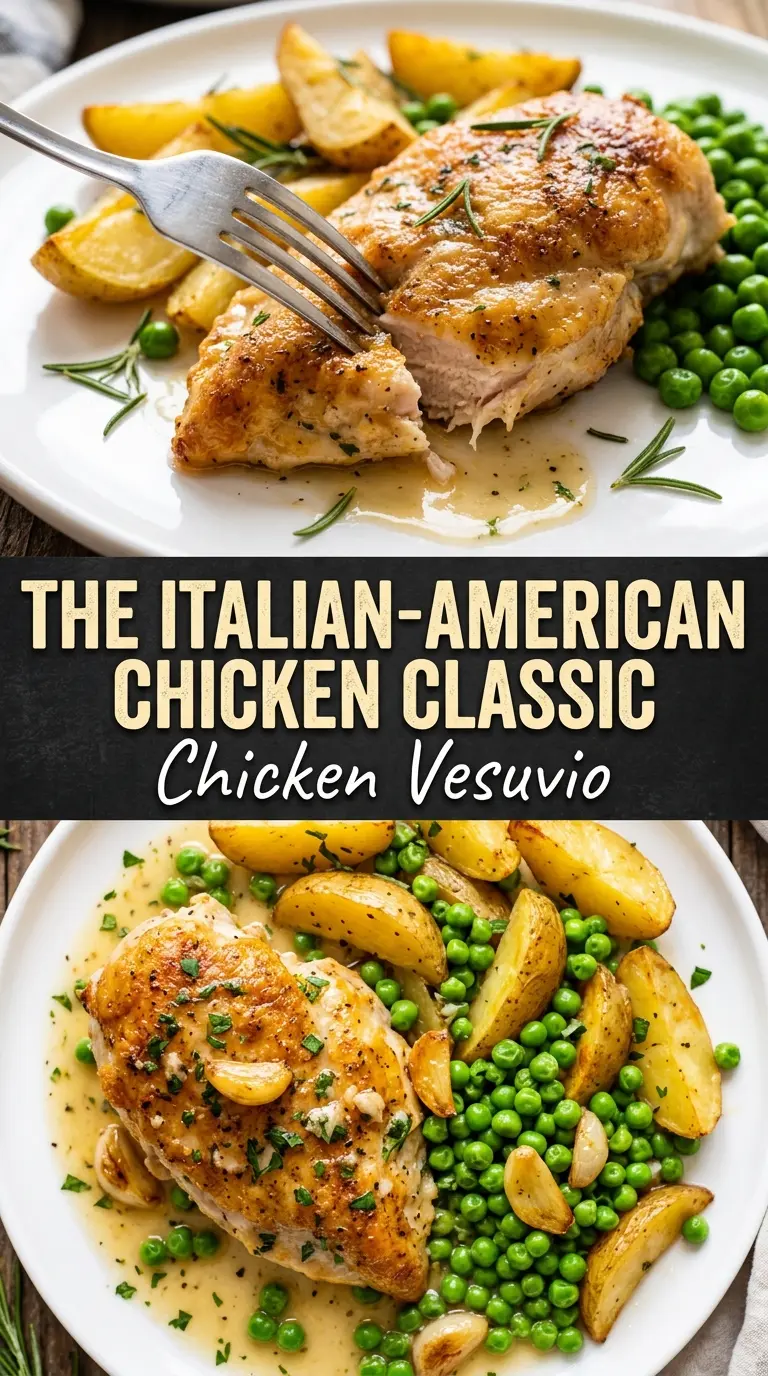
Garlic builds the signature aroma, but it burns fast, so it only needs about a minute in the butter before you deglaze. White wine lifts the browned bits from the pan and keeps the sauce from tasting heavy. Lemon juice brightens the final dish, especially after the oven concentrates the flavors.
Chicken broth keeps the sauce from reducing too aggressively during the roast. If you skip it and use wine alone, the pan can taste sharp instead of balanced. The butter helps round everything out, which is why this sauce tastes glossy instead of thin.
- Butter — It softens the edges of the wine and garlic. Olive oil alone works for searing, but butter gives the sauce its finish.
- Dried oregano and thyme — Oregano gives the dish that unmistakable Italian-American profile, while thyme keeps it from tasting one-note. Fresh herbs can be used, but dried holds up better through the longer roast.
- Parsley — Don’t skip it. It gives the final dish a clean, fresh top note right before serving.
How to Build the Pan in the Right Order
Rendering the Chicken Skin First
Season the thighs well before they hit the pan, then place them skin-side down in hot olive oil and leave them alone until the skin releases easily and turns deep golden. If you move them too soon, the skin tears and sticks. That first sear is what starts the flavor base and gives the finished dish its best texture.
Giving the Potatoes Their Own Browning Time
Use the rendered fat and browned bits already in the skillet to sear the potato wedges until they pick up color on the edges. They don’t need to cook through here, just start building a crust. If the wedges are crowded, they steam instead of brown, so give them room and turn them once they’ve developed a real golden side.
Deglazing Without Burning the Garlic
Pull the pan off the heat before the garlic goes in if the skillet feels hot enough to scorch it. Stir it in just until fragrant, then add the wine and broth to stop the cooking and scrape up the browned bits. Burnt garlic tastes bitter and will take over the whole sauce, so this stage should smell sweet and savory, not sharp.
Roasting Until the Sauce Tightens
Return the chicken and potatoes skin-side up and roast until the chicken is cooked through and the potatoes are tender at the center with crisp edges. The sauce should look slightly reduced and glossy, not watery. Add the peas near the end so they warm through without losing their pop, then finish with parsley right before serving.
How to Adapt Chicken Vesuvio Without Losing the Character of the Dish
Gluten-Free as Written
This recipe is naturally gluten-free as long as your chicken broth is certified gluten-free. The wine reduction and potato starch from the pan give the sauce enough body without any flour.
Swap in Chicken Breasts for a Lighter Version
Chicken breasts work, but they dry out faster, so cut the oven time and start checking early. You’ll lose some richness from the skin and thighs, but the garlic-wine sauce still carries the dish.
Make It Dairy-Free
Use olive oil in place of the butter and add the garlic a little more carefully so it doesn’t catch. The sauce will be slightly leaner and less rounded, but the roasted chicken, potatoes, and wine still give you the right structure.
Storage and Reheating
- Refrigerator: Store leftovers in an airtight container for up to 3 days. The potatoes soften a bit, but the flavor deepens.
- Freezer: The chicken and sauce freeze better than the potatoes, which turn grainy after thawing. If you want to freeze it, remove the potatoes and make fresh ones later.
- Reheating: Reheat covered in a 350°F oven until hot. The biggest mistake is blasting it in the microwave, which dries the chicken and turns the potatoes rubbery before the sauce has a chance to warm through.
Questions I Get Asked About This Recipe
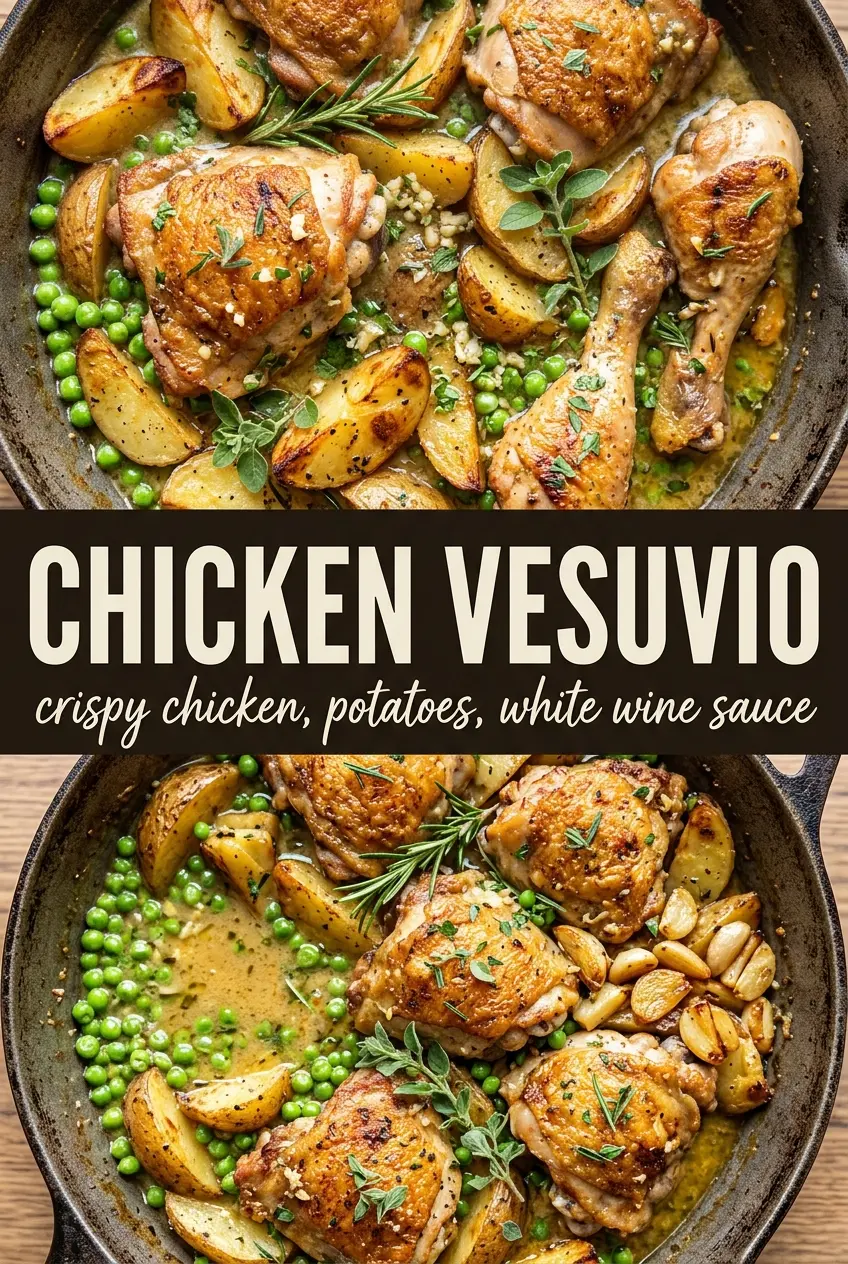
Chicken Vesuvio
Ingredients
Equipment
Method
- Preheat oven to 425F and season chicken with salt, pepper, and dried oregano.
- Heat 3 tablespoons olive oil in a large oven-safe skillet over medium-high heat.
- Place chicken skin-side down in the skillet and sear for 6 minutes until the skin is golden; remove to a plate.
- Sear potato wedges in the same pan for 4 minutes per side until golden; remove.
- Sauté minced garlic in the butter for 1 minute until fragrant, then deglaze with white wine and chicken broth.
- Stir in lemon juice and dried thyme, then return chicken and potatoes to the pan skin-side up.
- Transfer the skillet to the oven and roast for 35-40 minutes until chicken is golden and potatoes are crispy.
- Scatter frozen peas over the top and roast 5 more minutes.
- Garnish with fresh parsley and serve right away.


