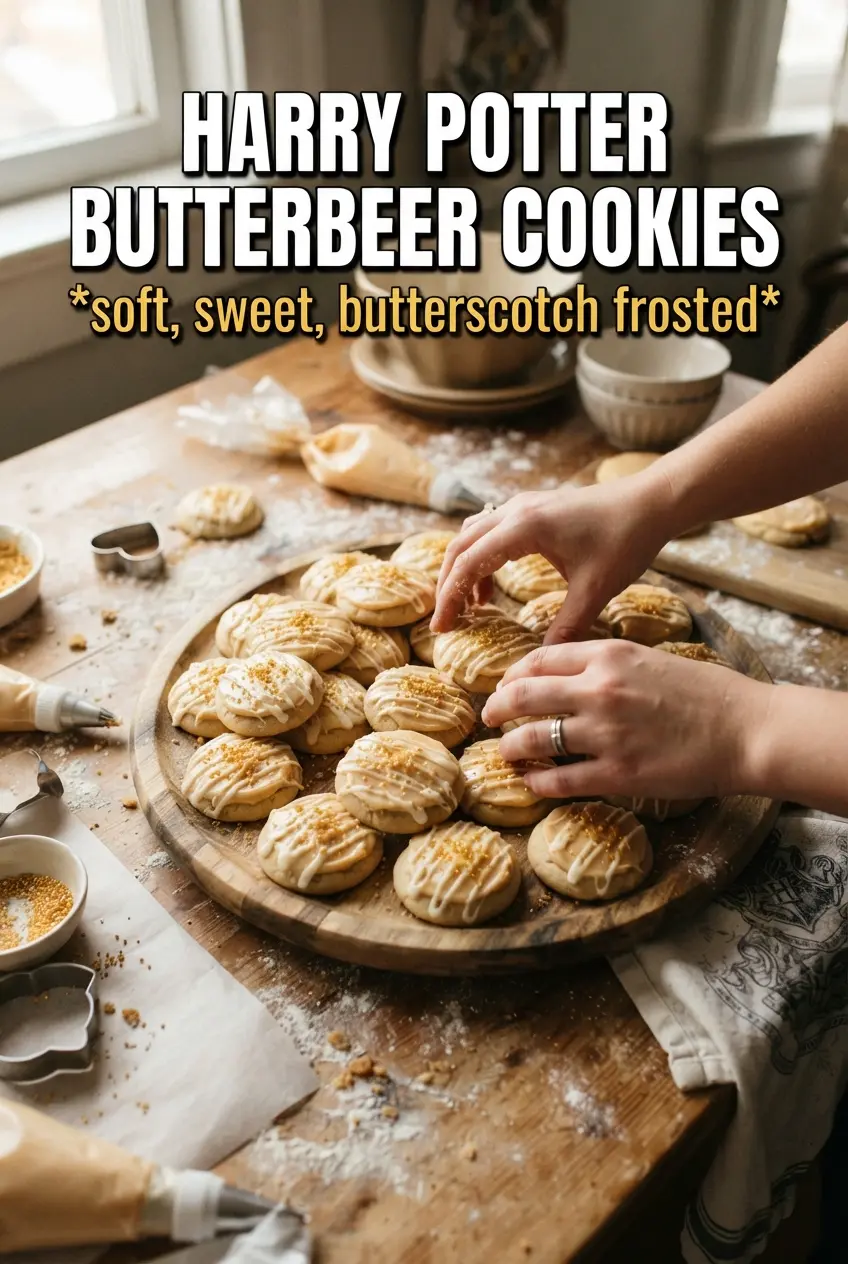
Soft, golden butterbeer cookies land right in that sweet spot between a chewy brown sugar cookie and a butterscotch treat. They bake up with crisp edges, a tender center, and just enough cream soda in the dough to give the frosting and cookie base a shared, nostalgic note that tastes like the inside of a candy shop.
The trick is balancing the wet ingredients so the cookies stay thick instead of spreading too far. Melted butterscotch chips add deeper flavor than plain chips alone, while the cinnamon keeps the sweetness from flattening out. The frosting follows the same idea: butter, butterscotch sauce, and just enough cream soda to make it pipeable without turning loose.
Below, you’ll find the small details that make these cookies hold their shape, stay soft for days, and finish with that bakery-style butterbeer look. If you’ve ever had cookies come out too cakey, too flat, or frosting that slides right off, the notes here will save you a batch.
The cookies stayed thick and chewy, and the frosting set up just enough that the gold sugar didn’t melt into it. The cream soda flavor came through without making them taste weird or overly sweet.
Save these Harry Potter Butterbeer Cookies for the days when you want soft butterscotch cookies with cream soda frosting and a little gold sparkle.
The Mistake That Makes Butterbeer Cookies Spread Too Thin
Butterbeer cookies can drift from thick and chewy to flat and greasy if the butter is too warm or the dough gets overmixed after the flour goes in. The dough here needs to hold a soft scoop, not pour or slump. That’s why the melted butterscotch chips go into the butter and sugar before the egg and vanilla: you get richer flavor without loosening the batter too much.
The other point that matters is the bake. Pull them when the centers still look slightly underdone and the edges are just set. If you wait for a deep golden top all over, they’ll finish dry instead of soft.
- Butter — softened butter gives you structure and keeps the cookies tender. If it starts looking shiny and oily, it’s too warm.
- Brown sugar — this is what gives the cookies that chewy, caramelly base. Light or dark brown sugar both work, but dark brown sugar will push the flavor deeper.
- Melted butterscotch chips — this is the flavor shortcut that plain vanilla cookies can’t fake. Melt them until smooth, then cool them for a minute before adding so they don’t scramble the butter.
- Cream soda — this adds the butterbeer note without making the dough wet enough to spread. A flat, room-temperature soda mixes in best.
What Each Ingredient Is Actually Doing in the Butterbeer Frosting

The frosting needs to taste like butterbeer, not just sweet buttercream with a label on it. Butterscotch sauce gives you the caramelized, almost toasted note that powdered sugar can’t create on its own, and vanilla rounds it out so the frosting doesn’t taste one-note.
Cream soda is the ingredient that keeps the frosting on theme, but it should be added slowly. Too much, and the frosting turns loose and slides off the cookies. Start with the smaller amount, beat it smooth, then add only enough more to make it pipeable. If your frosting looks stiff but the cookies are already cool, that’s fine; a thicker frosting holds the gold sugar better.
- Powdered sugar — this gives the frosting its body and helps it set. Sift it if it’s clumpy, especially if your pantry sugar has sat open for a while.
- Unsalted butter — use fully softened butter, not melted butter, or the frosting won’t whip up light.
- Butterscotch sauce — this is the deepest flavor in the frosting. A thicker sauce works best; thin ice cream topping can make the frosting slack.
- Gold sugar sprinkles — add them right after frosting while the surface is still tacky so they actually stick.
Mixing the Dough, Baking the Cookies, and Frosting Them Cleanly
Building the Cookie Base
Beat the butter and brown sugar until the mixture looks fluffy and a little lighter in color, not greasy or dense. Stir in the melted butterscotch chips, then the egg, vanilla, and cream soda. The dough should look smooth before you add the flour mixture. Once the dry ingredients go in, mix just until no streaks of flour remain; if you keep going, the cookies bake up tough instead of tender.
Scooping for Even Spread
Use 2-tablespoon portions and keep the dough mounds fairly rounded. Don’t flatten them before baking. These cookies spread enough on their own, and a tall mound helps them stay thick in the center. If your kitchen is warm and the dough feels slack, chill the scooped cookies for 15 minutes before they go into the oven.
Watching for the Right Bake
Bake at 375°F for 10 to 12 minutes until the edges are set and the centers still look soft. They should puff a little, then settle as they cool. If you wait until the tops look fully baked, the cookies will lose that soft middle. Let them cool on the pan for a few minutes before moving them to a rack so they don’t break apart.
Finishing with Frosting and Gold Sugar
Beat the frosting until it’s smooth and fluffy, then pipe or spread it onto completely cooled cookies. If the cookies are even slightly warm, the frosting will melt and slide. Sprinkle the gold sugar right away so it catches on the frosting before the surface crusts over. A small swirl of frosting in the center looks cleaner than trying to cover the whole cookie edge to edge.
How to Adapt These Butterbeer Cookies for Different Kitchens
Gluten-Free Butterbeer Cookies
Swap in a 1:1 gluten-free baking blend that includes xanthan gum. The cookies will still spread a little, but they’ll be more delicate, so let them cool fully on the tray before moving them. The flavor stays the same; the texture turns a touch more tender and less chewy.
Dairy-Free Version
Use a good dairy-free butter stick in both the cookies and frosting, plus a dairy-free butterscotch sauce if you can find one. The cookies won’t taste exactly the same, but they’ll still bake up soft with the same butterbeer-inspired character. Avoid margarine tubs; they contain too much water and can make the cookies spread.
Extra Butterscotch, Less Sweet Frosting
If you want the butterscotch note to come forward, add an extra tablespoon of butterscotch sauce and cut back the cream soda a little. That gives you a deeper caramel flavor and a firmer frosting. It’s the better route if you want clean piping swirls instead of a softer spread.
Storage and Reheating
- Refrigerator: Store in an airtight container for 4 to 5 days. The frosting will firm up, and the cookies stay soft underneath.
- Freezer: Freeze the unfrosted cookies for up to 2 months. Frost after thawing for the cleanest look; frosted cookies can freeze, but the sprinkles may bleed a little color.
- Reheating: Bring cookies to room temperature before serving. If you want a just-baked texture, warm unfrosted cookies for 5 to 8 seconds in the microwave, then frost them after they cool. Don’t microwave frosted cookies or the topping will melt.
Questions I Get Asked About This Recipe
Harry Potter Butterbeer Cookies
Ingredients
Equipment
Method
- Beat butter (softened) and brown sugar until smooth and well combined. Beat in the melted butterscotch chips, then mix in the egg, vanilla, and cream soda until the dough looks thick and glossy.
- In a separate bowl, fold flour, baking soda, baking powder, cinnamon, and salt into the wet mixture until no dry streaks remain. Scoop 2-tablespoon rounds and place them spaced out on a sheet pan.
- Bake at 375F for 10-12 minutes, until edges look set and the centers still look slightly soft. Remove and let the cookies cool completely, until firm to the touch.
- Beat unsalted butter (softened), butterscotch sauce, powdered sugar, cream soda, and vanilla until smooth and fluffy. Stop when the frosting holds its shape for piping.
- Pipe or spread frosting onto each cooled cookie in a swirled or even layer. Decorate with gold sugar sprinkles while the frosting is fresh so the sprinkles stick.


