Slow-cooked beef short ribs turn into something far better than the sum of their parts: deeply browned meat, a dark braising liquid full of onion and wine, and a texture that slides off the bone with almost no effort. The crockpot does the long, gentle work, but the real payoff starts before the lid goes on. That first sear gives you the deep savory edge that makes the sauce taste layered instead of flat.
What makes this version worth making is the balance of rich beef broth, red wine, tomato paste, and Worcestershire sauce. Those ingredients build a braising liquid that tastes full-bodied by the end of the cook, not watery or one-note. The vegetables melt into the sauce and the herbs stay present without taking over. Serve it over mashed potatoes and the whole plate turns into pure comfort.
Below, I’ve included the one step that matters most for flavor, plus the small details that keep the sauce from tasting thin or ending up greasy. If you’ve ever had short ribs that were tender but bland, this is the version that fixes that.
The ribs came out fall-apart tender and the sauce thickened up beautifully after the cornstarch slurry. I served it over mashed potatoes and my husband asked if we could have it again next weekend.
Save these crockpot beef short ribs for a slow-simmered dinner with red wine gravy and mashed potatoes.
The Step That Gives Crockpot Beef Short Ribs Their Deepest Flavor
The crockpot handles tenderness, but it doesn’t create the best flavor on its own. That comes from browning the short ribs hard in a hot skillet before they ever go into the slow cooker. If you skip that step, the sauce still turns rich, but it tastes softer and less defined because you missed the browned bits that make the braising liquid taste like beef instead of broth.
The other mistake is crowding the pan. Short ribs need direct contact with the skillet to build a real crust. Brown them in batches if needed, and don’t rush the process; you’re looking for a deep mahogany color, not just a surface that looks dry.
- Short ribs: Bone-in ribs work best here because the bones and connective tissue enrich the sauce as they cook. Boneless can work in a pinch, but the finished braise won’t taste quite as full.
- Red wine: Use a dry wine you’d actually cook with. It adds acidity and depth, and it needs the full cook time to mellow. If you want to skip wine, replace it with more beef broth plus 1 tablespoon red wine vinegar, though the sauce will be a little less rounded.
- Tomato paste: This is the quiet ingredient that gives the sauce backbone. Cooked through in the braising liquid, it keeps the broth from tasting thin.
- Cornstarch: This is for the finish, not the cook. A slurry thickens the braising liquid cleanly at the end without turning the whole pot pasty.
Building the Braise So the Sauce Stays Rich, Not Watery
Seasoning and Searing the Ribs
Season the ribs generously with salt and pepper before they hit the skillet, then sear them in hot olive oil until every side has a dark crust. You’re after color that looks almost too deep, because that’s where the finished sauce gets its backbone. If the pan isn’t hot enough, the meat will steam and the fond at the bottom will never develop.
Layering the Vegetables
Scatter the onion, garlic, carrots, and celery across the bottom of the crockpot before adding the meat. They act like a bed that keeps the ribs from sitting flat in the liquid, and they soften into the sauce as it cooks. The garlic should be minced fine so it disappears into the braise instead of floating around in big sharp pieces.
Adding the Liquid and Slow Cooking
Whisk the broth, wine, tomato paste, and Worcestershire sauce together before pouring them over the ribs. That helps the tomato paste dissolve instead of clumping. Cook on Low for 7 to 8 hours until the meat pulls back from the bone and gives up easily with a fork; if you rush this on High, the ribs can turn stringy before the connective tissue fully softens.
Finishing the Sauce
Lift out the ribs and bay leaves, then skim off as much fat as you can from the surface of the braising liquid. Stir in the cornstarch slurry and cook on High for about 15 minutes until the sauce looks glossy and lightly coats a spoon. If it still seems loose, let it go a few more minutes; cornstarch needs a little heat to thicken fully.
How to Adapt This Braise When You Need a Different Finish
Dairy-Free and Naturally Gluten-Free
This recipe already fits both of those needs as written, as long as your beef broth and Worcestershire sauce are labeled accordingly. The only thing to watch is the thickener: cornstarch keeps the sauce gluten-free and gives you a clean finish without any floury taste.
No Wine, Still Deep Flavor
Use an extra cup of beef broth and add 1 tablespoon of red wine vinegar or balsamic vinegar to bring back some brightness. The braise will be a touch softer and less complex, but it still cooks down into a rich sauce. Don’t add too much vinegar or it can dominate the beef.
If You Want a Thicker, Gravy-Like Sauce
Let the liquid reduce uncovered on High after the ribs come out, then add the cornstarch slurry only if it still needs more body. This gives you a richer finish than thickening too early, which can trap in a raw starch flavor. The result is closer to a spoon-coating gravy than a thin braising liquid.
Storage and Reheating
- Refrigerator: Store leftovers for up to 4 days. The sauce will thicken as it chills, and the fat will rise to the top.
- Freezer: Freeze the ribs and sauce for up to 3 months in an airtight container. The texture holds up well, especially if you freeze the meat submerged in sauce.
- Reheating: Warm gently on the stove or in the microwave with a splash of broth if needed. Reheat slowly so the meat doesn’t dry out and the sauce doesn’t break.
Questions I Get Asked About This Recipe
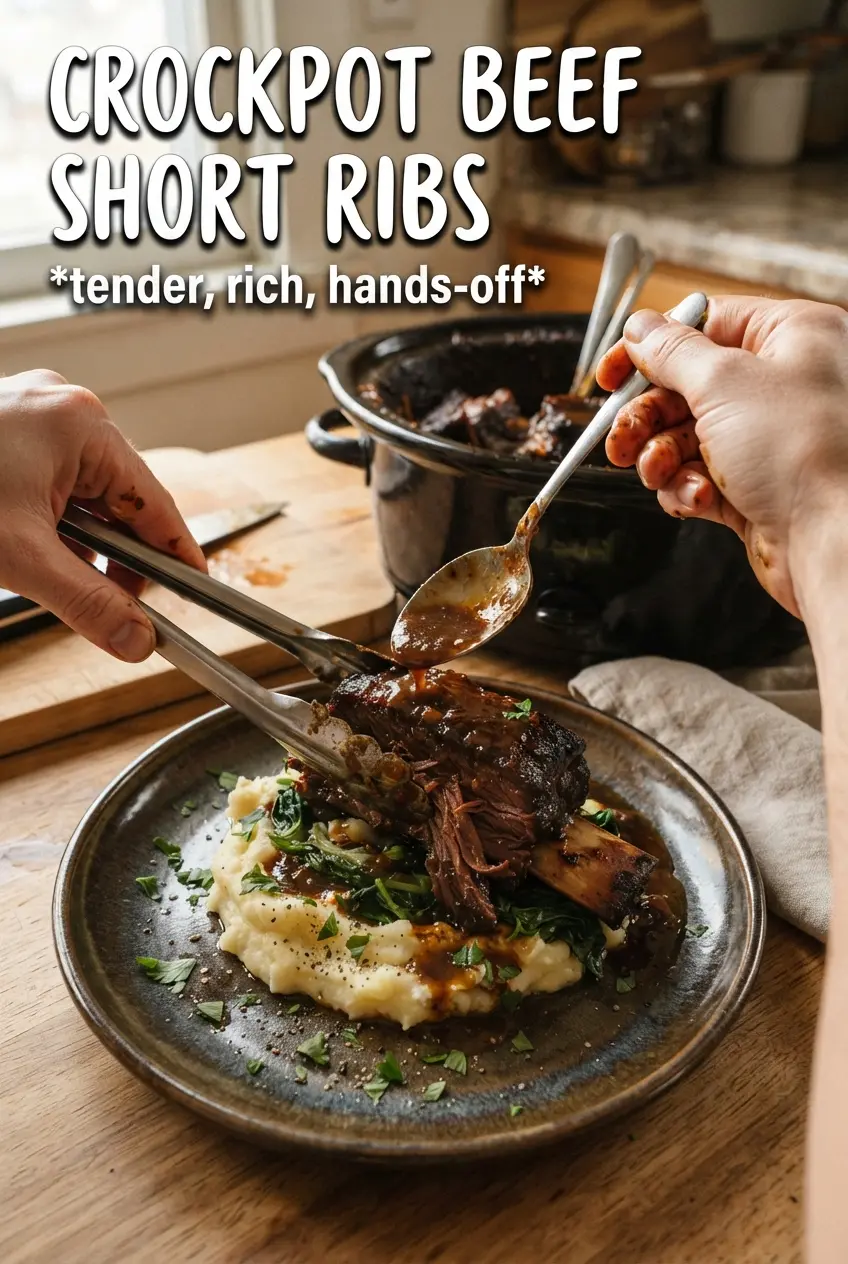
Crockpot Beef Short Ribs
Ingredients
Equipment
Method
- Season the short ribs generously with salt and pepper. Heat the olive oil in a hot cast iron skillet until shimmering and sear the ribs until deeply browned on all sides, about 4 to 6 minutes per side.
- Place the onion, garlic, carrots, and celery into the slow cooker, then nestle the seared ribs on top. Whisk the beef broth, red wine, tomato paste, and Worcestershire sauce together, then pour over the ribs.
- Add the dried thyme, dried rosemary, and bay leaves. Cook on Low for 7 to 8 hours until the meat is falling off the bone.
- Remove the ribs and bay leaves from the slow cooker, then skim the fat from the braising liquid. Stir until the surface fat looks reduced and the broth appears clearer.
- Thicken the braising liquid by stirring in a cornstarch slurry and cooking on High for 15 minutes. Look for the sauce to turn glossy and visibly thicker.
- Serve the ribs over mashed potatoes with the thickened braising sauce. Spoon extra sauce over the top so the potatoes soak up the flavor.


