Individual apple crumbles bake up with bubbling cinnamon apples under a thick, golden oat topping that stays crisp around the edges and tender in the middle. The single-serve ramekins give every portion the same best part: plenty of crunchy topping, caramelized fruit at the bottom, and just enough space for a scoop of vanilla ice cream to melt into the cracks.
What makes this version work is the quick stovetop filling. Cooking the apples with cornstarch before they go into the oven gives you a thick, glossy fruit layer instead of a watery puddle under the crumble. Cutting the butter into the oat topping until you have uneven clumps matters too — that’s what creates those craggy, bakery-style bits that brown deeply while the apples finish underneath.
Below, I’ll show you how to keep the filling thick, how to get the crumble topping crisp instead of sandy, and a few smart swaps if you need to adjust the fruit or make these dairy-free.
The filling set up perfectly and didn’t turn soupy at all, and the topping stayed crisp even after we added ice cream. I loved getting my own little ramekin.
Love these individual apple crumbles? Save them to Pinterest for the nights when you want a crisp oat topping and warm cinnamon apples in separate little ramekins.
The Trick to Keeping the Filling Thick Instead of Watery
The biggest mistake with apple crumble is baking raw apples and hoping the oven will sort it out. Apples release a lot of juice as they heat, and if that liquid isn’t controlled first, the crumble topping can turn soft before the filling ever thickens. Cooking the apples briefly on the stove with cornstarch, sugar, and butter starts the thickening right away and gives the filling a head start.
You’re looking for the apples to soften slightly and the juices to turn glossy and spoon-coating, not fully cooked down to applesauce. They should still hold their shape when you divide them into the ramekins. If the mixture looks loose in the skillet, keep stirring for another minute or two until it tightens up; that small pause saves you from a runny dessert later.
What the Apples and Oats Are Each Doing Here
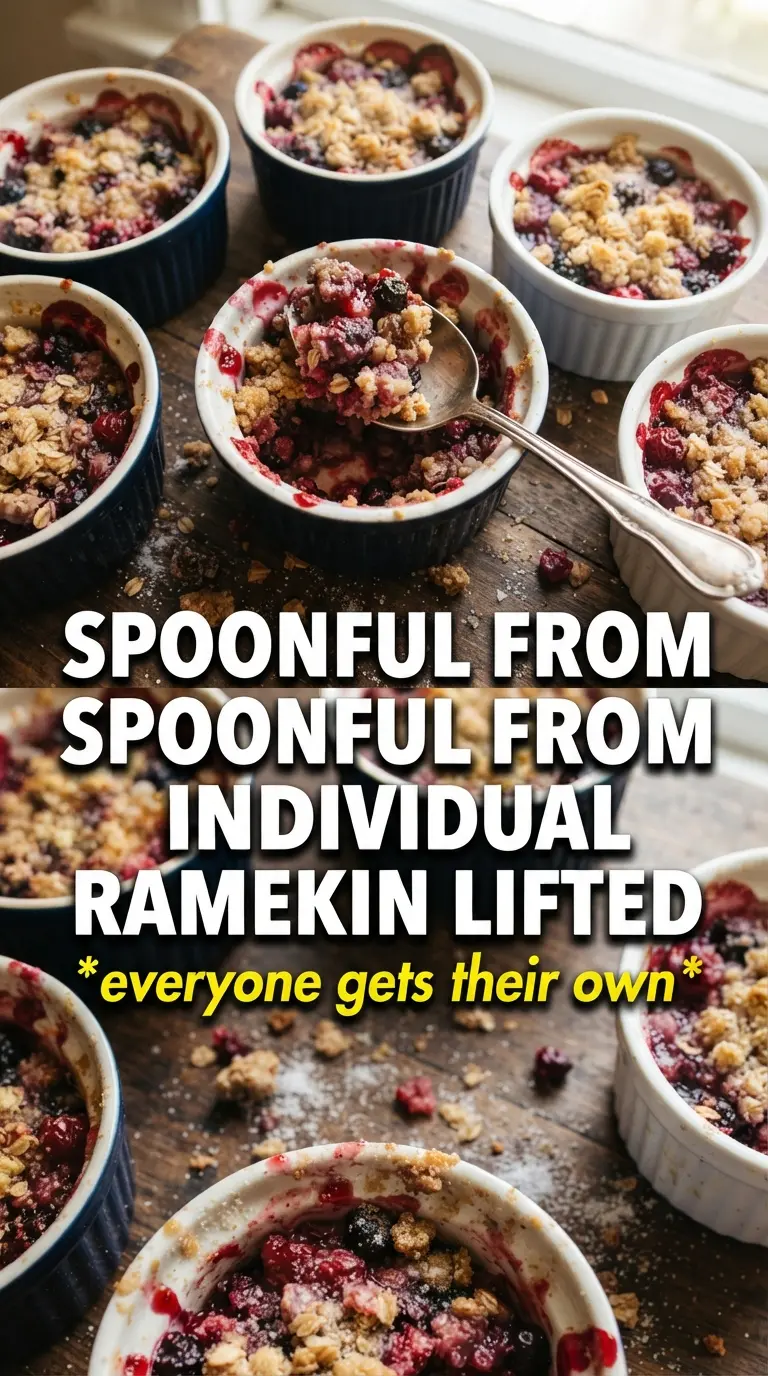
- Apples — A firm baking apple gives you pieces that soften without disappearing. A mix of tart and sweet apples works best if you have it, but any apple that holds its shape will do the job.
- Cornstarch — This is what turns the apple juices into a thick filling. Flour won’t give you the same clean set, and skipping the starch leaves you with syrup at the bottom of the ramekin.
- Rolled oats — These create the nubby, crisp topping. Quick oats can work in a pinch, but the topping will be finer and less textured.
- Cold butter — Cold butter is what keeps the topping crumbly instead of paste-like. If it softens too much before baking, the topping bakes up dense instead of sandy and crisp.
Building the Crumble So It Bakes Crisp on Top and Tender Below
Start With the Filling on the Stove
Cook the diced apples with butter, sugar, cinnamon, nutmeg, cornstarch, and lemon juice over medium heat until the juices look thick and glossy, usually 5 to 7 minutes. Stir often so the starch doesn’t clump and the bottom doesn’t scorch. The filling should mound slightly on a spoon, not run off like syrup. If you skip this step or pull it too early, the juice will seep out during baking and soften the topping from underneath.
Build the Crumble Until It Forms Clumps
Combine the oats, flour, brown sugar, cinnamon, and salt, then cut in the cold butter until the mixture looks like uneven pebbles and clumps. Those bigger clumps are what brown into crunchy patches in the oven. If the butter melts into the dry ingredients, the topping will bake up flat and sandy, so use your fingertips or a pastry cutter and stop as soon as the mixture holds together when pinched.
Bake Until the Edges Bubble
Divide the filling into greased ramekins, cover generously with the crumble, and set them on a baking sheet before they go into the oven. The baking sheet catches any bubble-over and makes the ramekins easier to move. Bake until the topping is deeply golden and you can see the filling actively bubbling around the edges; that bubbling is the sign the cornstarch has finished doing its job.
Serve While the Center Is Still Hot
Let the crumbles sit for a few minutes after baking so the filling settles, then top each one with vanilla ice cream. The contrast matters: hot fruit against cold ice cream gives you the best texture in the first few bites. If you wait too long, the topping loses its crisp edge, so serve them while the crumble is still warm and fragrant.
Three Ways to Make These Ramekin Crumbles Work for Your Kitchen
Make Them Dairy-Free
Use plant-based butter in both the filling and the topping. The filling will still thicken the same way, and the topping will bake up nicely as long as the butter alternative is cold when it goes in. Serve with dairy-free vanilla ice cream if you want to keep the whole dessert dairy-free.
Swap in Pears for a Softer, Sweeter Filling
Pears work if you want a gentler fruit flavor, but they break down faster than apples, so keep the stovetop cook time on the shorter side. Use ripe but still firm pears and watch the filling closely; once they start to slump, move them into the ramekins so you don’t end up with jam.
Make One Large Crumble Instead of Six Ramekins
Bake the filling and crumble in a small 8×8-inch baking dish if you don’t want individual portions. The bake time may run a few minutes longer, and the center will take longer to bubble, so judge doneness by the edges and the smell of the topping turning toasted, not just by color.
Storage and Reheating
- Refrigerator: Store covered for up to 4 days. The topping softens a bit as it sits, but the flavor stays good.
- Freezer: Freeze baked crumbles without ice cream for up to 2 months. Wrap each ramekin tightly or transfer to freezer-safe containers; thaw in the fridge before reheating.
- Reheating: Warm in a 350F oven until the filling is hot and the topping crisps back up, usually 10 to 15 minutes. The microwave will heat the fruit, but it turns the crumble soft, which is the main mistake to avoid.
Questions I Get Asked About This Recipe
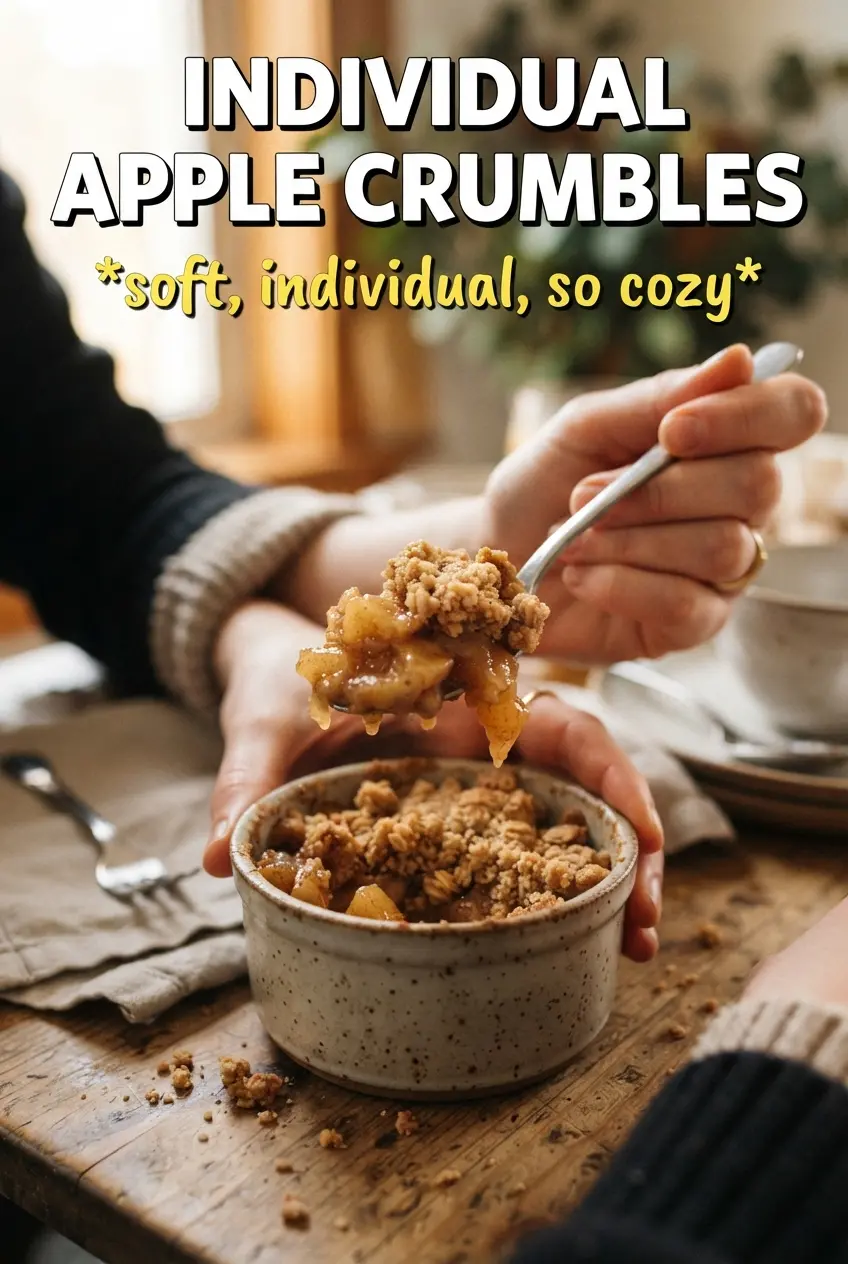
Individual Apple Crumbles
Ingredients
Equipment
Method
- Preheat the oven to 375°F and grease 6 individual ramekins (6–8 oz each), so they release easily after baking.
- In a skillet over medium heat, cook the diced apples with butter, granulated sugar, cinnamon, nutmeg, cornstarch, and lemon juice for 5–7 minutes until thickened and glossy, with the cornstarch visibly thickening the juices.
- Divide the thickened apple filling among the prepared ramekins, filling each evenly.
- Combine rolled oats, all-purpose flour, brown sugar, cinnamon, and salt, then cut in the cold cubed butter until chunky clumps form with no large dry patches.
- Top each ramekin generously with the oat crumble, pressing lightly so clumps stay in place.
- Place the ramekins on a sheet pan and bake at 375°F for 25–30 minutes until the topping is golden with crisp edges and the filling bubbles around the sides.
- Serve the apple crumbles warm with vanilla ice cream, letting the ice cream melt over the top.