Oatmeal Cream Pie Cake takes everything nostalgic about the lunchbox cookie and turns it into a real centerpiece: soft, spiced cake layers, a thick marshmallow cream filling, and just enough cinnamon on the outside to make every slice smell like the best part of a bakery case. The cake stays tender instead of crumbly, and the filling gives you that sweet, fluffy middle people usually remember from the packaged version, only fresher and richer.
The texture works because the batter leans on sour cream and brown sugar, which keep the layers moist and give the oats time to soften in the oven. The filling is built with butter, cream cheese, and marshmallow creme, so it spreads cleanly without turning watery or greasy. That balance matters. You want a cake that slices neatly but still feels soft when your fork goes in.
Below, I’ve included the detail that makes the biggest difference when you’re assembling it, plus a few swaps that help if you want to lean more cookie-like, make it a little lighter, or plan ahead for a party.
The layers baked up soft and even, and the marshmallow filling stayed fluffy without sliding out when I sliced it. It tasted just like an oatmeal cream pie, only bigger and better for a birthday cake.
Save this Oatmeal Cream Pie Cake for when you want soft spice layers and a fluffy marshmallow filling that slices cleanly.
The Trick to Keeping the Oatmeal Layers Soft Instead of Dense
The biggest mistake with oatmeal cakes is treating the oats like a dry add-in instead of part of the structure. Rolled oats need enough moisture and enough time in the oven to soften, or they can leave the crumb tight and a little chewy in the wrong way. Here, the sour cream and brown sugar do the heavy lifting, giving the batter enough richness that the oats bake up tender instead of gritty.
The other thing that matters is mixing. Once the flour goes in, stop as soon as the dry streaks disappear. Overmixing wakes up the gluten in the flour and steals the soft, cake-like texture you want. You’re aiming for a batter that looks thick and a little rustic, not glossy and whipped.
What Each Ingredient Is Actually Doing in This Cake
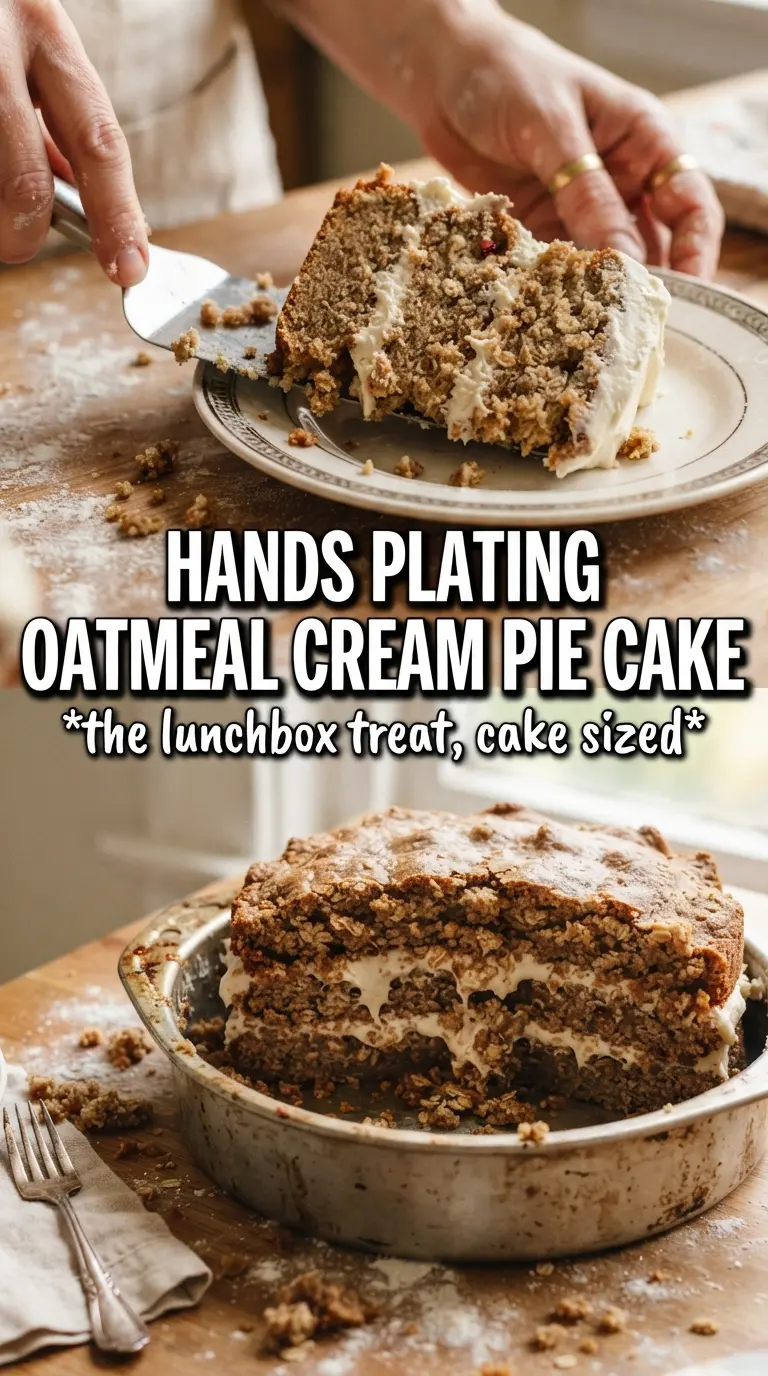
- Rolled oats — These give the cake its oatmeal cookie personality, but they also need moisture to soften properly. Quick oats can work in a pinch, but the texture gets a little more uniform and less hearty.
- Brown sugar — This is where the deep caramel note comes from. White sugar won’t give you the same warmth or the same moist crumb.
- Sour cream — It keeps the cake tender and gives the layers enough acidity to stay balanced against the sweet filling. Full-fat yogurt can stand in, but the cake will be a touch less rich.
- Marshmallow creme — This is what gives the filling that familiar pie flavor without needing to cook a sugar syrup. Don’t swap it for melted marshmallows; the filling won’t hold its shape as well.
- Cream cheese — It keeps the frosting from turning cloying and helps it set up with enough structure for layering. Use full-fat cream cheese so the filling stays smooth and stable.
Building the Cake So the Filling Stays Thick and Neat
Mix the Batter Without Waking Up the Gluten
Start by beating the butter and brown sugar until the mixture looks fluffy and a little paler, not just combined. That step builds air into the batter and keeps the cake from landing heavy. Once the eggs, sour cream, and vanilla go in, the mixture may look slightly curdled; that’s normal. Add the dry ingredients and stop mixing the moment the flour disappears, because extra stirring is the fastest way to make the layers tough.
Bake Until the Center Springs Back
Divide the batter evenly between the pans so the layers bake at the same rate. The cakes are done when the centers spring back lightly and a toothpick comes out with a few moist crumbs, not wet batter. If the tops start to darken too fast, the oven is running hot, and the cakes will dry before the middle finishes. Pull them out on time and let them cool all the way in the pans before turning them out.
Whip the Filling Until It Holds Its Shape
Beat the butter and cream cheese first until there are no lumps left. Then add the marshmallow creme, powdered sugar, and vanilla and whip until the filling turns light and spreadable. If it looks loose, keep beating for another minute or two; it usually thickens as it incorporates more air. If your kitchen is warm, chill the bowl briefly before assembling so the filling doesn’t squeeze out the sides.
Assemble With the Flattest Side Up
Place one cooled layer on the plate with the flat side facing up, then spread the filling all the way to the edge. Add the second layer and press gently so the filling settles without bulging out in one spot. A thin coat on the outside helps give the cake that oatmeal cream pie look, but don’t overwork it. Finish with a dusting of cinnamon sugar if you want a little extra bakery-style texture.
How to Adapt This Cake Without Losing the Oatmeal Cream Pie Feel
Make it a little more cookie-like
Add a pinch more cinnamon and a little extra brown sugar on the outside after frosting. That pushes the cake closer to the classic oatmeal cream pie taste and gives the exterior a light, spiced finish.
Gluten-free version
Use a good 1:1 gluten-free flour blend and certified gluten-free oats. The cake will still be soft, but it may need an extra minute or two in the oven because gluten-free batters usually hold a little more moisture.
Dairy-free option
Use plant-based butter, a thick dairy-free yogurt in place of sour cream, and a dairy-free cream cheese that’s firm enough to whip. The filling will taste a little less tangy, but it still works if you keep the frosting cold until assembly.
Storage and Reheating
- Refrigerator: Store covered for up to 4 days. The filling firms up in the fridge, but the cake stays moist.
- Freezer: Freeze individual slices tightly wrapped for up to 2 months. The texture holds up well, especially if you freeze the cake after it’s fully chilled.
- Reheating: Let slices sit at room temperature for 20 to 30 minutes before serving. Don’t microwave the frosted cake unless you want the filling to soften too much and slide.
Questions I Get Asked About This Recipe
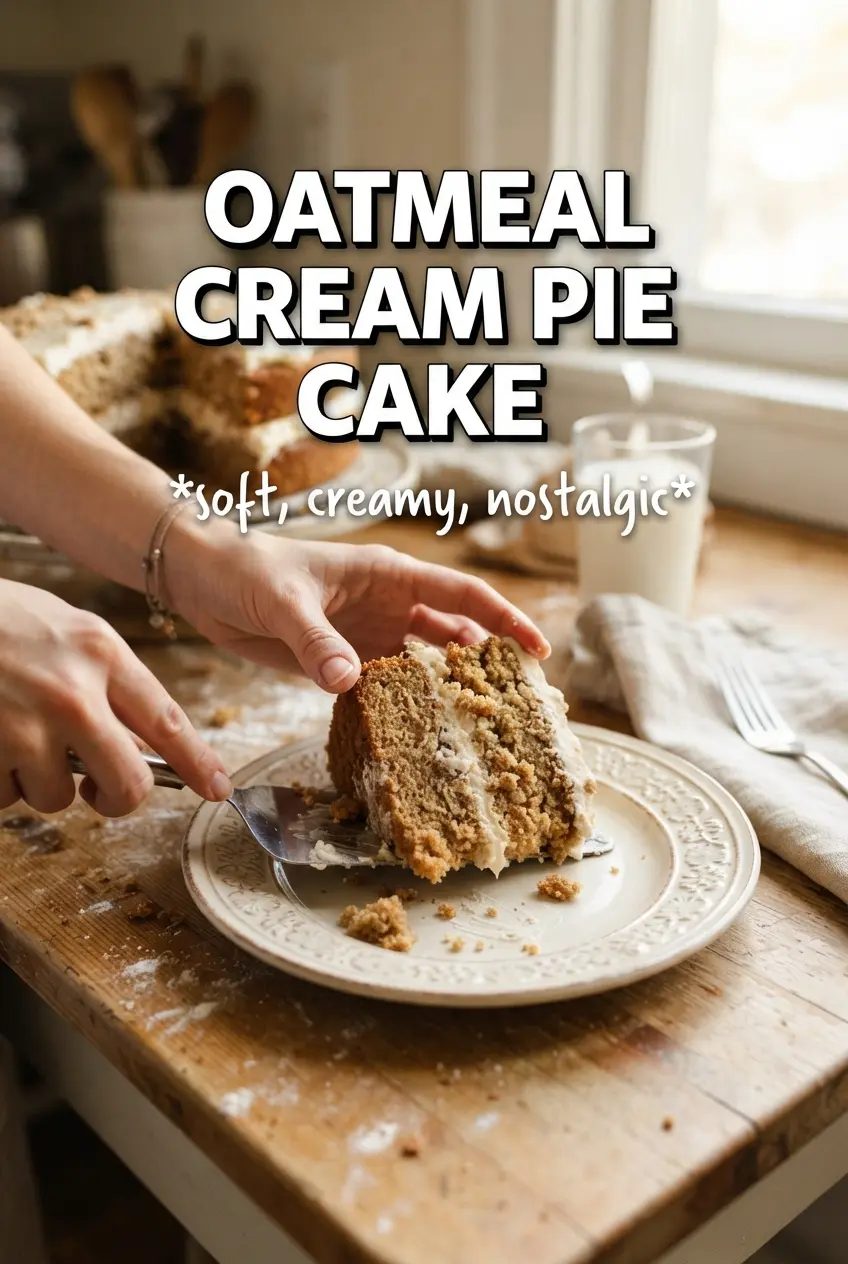
Oatmeal Cream Pie Cake
Ingredients
Equipment
Method
- Preheat oven to 350F and grease two 9-inch round pans for easy release and even baking.
- Beat butter and brown sugar until smooth, then add eggs, sour cream, and vanilla and mix until fully combined, glossy, and thick.
- Fold in flour, rolled oats, baking powder, baking soda, cinnamon, nutmeg, and salt until no dry streaks remain and the batter looks evenly speckled.
- Divide batter evenly between the two pans and bake for 30-35 minutes at 350F, until a toothpick in the center comes out clean or with a few moist crumbs.
- Cool the cakes completely in the pans before frosting so the filling stays thick and doesn’t melt.
- Beat softened unsalted butter and cream cheese until smooth, then beat in marshmallow creme until the mixture turns silky.
- Add powdered sugar and vanilla and beat until very fluffy, holding soft peaks.
- Frost between the layers and spread the remaining marshmallow cream on the outside, smoothing with a flat spatula for a thick, even coat.


