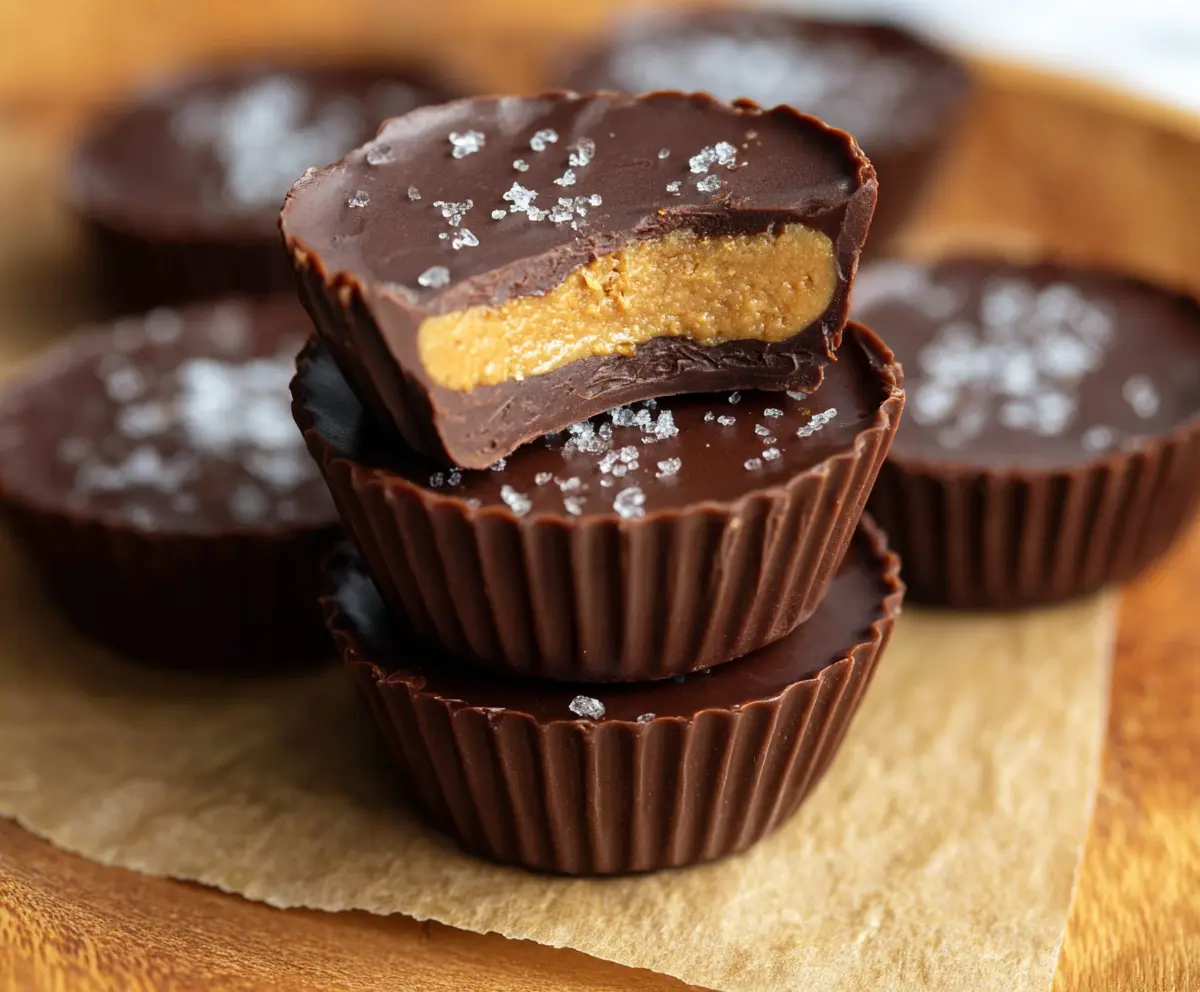
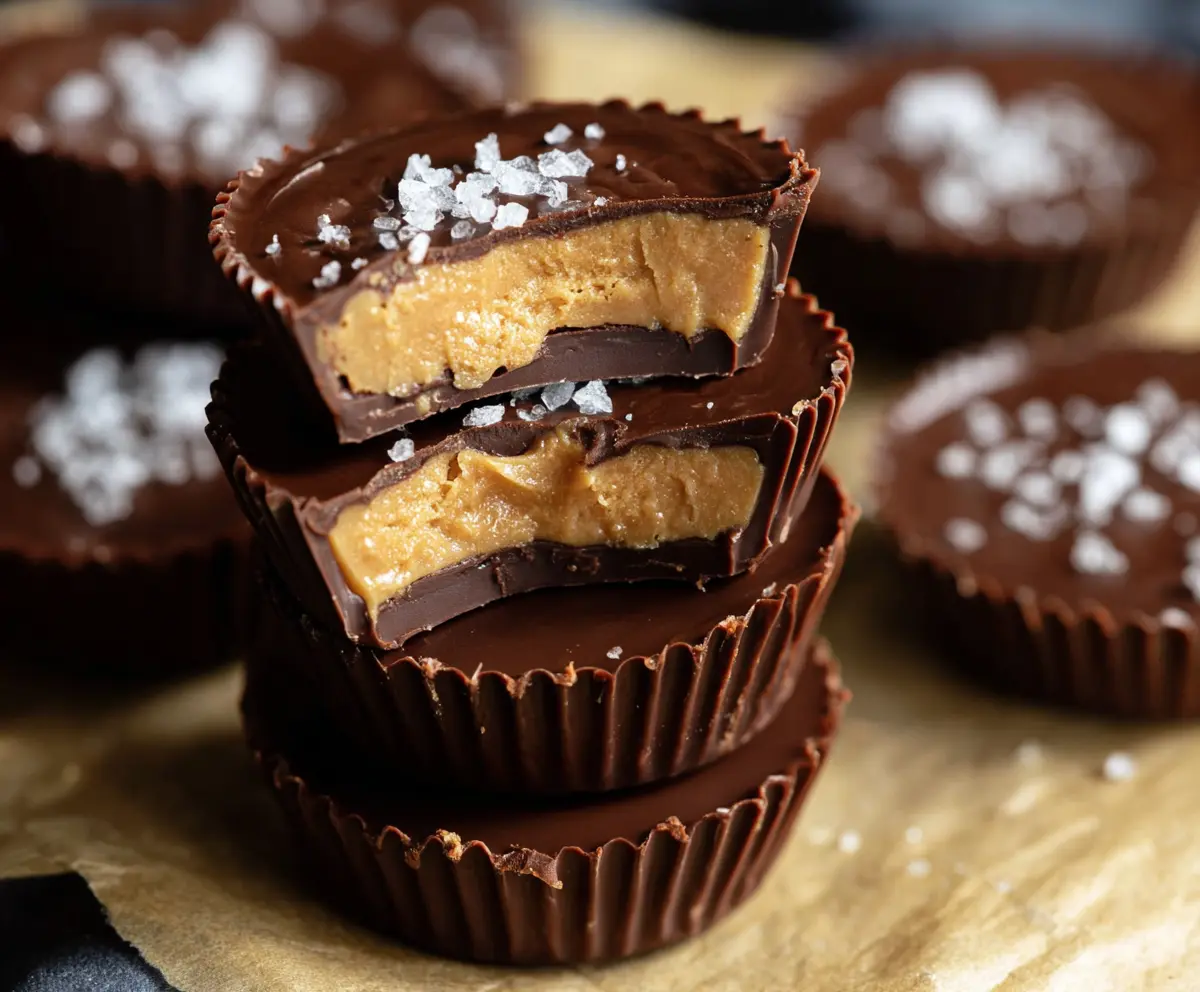
These Protein Peanut Butter Cups are a tasty treat that combines creamy peanut butter and rich chocolate. Packed with protein, they are great for a snack or dessert!
Making these cups is super easy! Just mix, pour, and chill. I love enjoying them after a workout for that sweet yet healthy fix. Who says treats can’t be good for you? 😊
Key Ingredients & Substitutions
Natural Creamy Peanut Butter: This is the star ingredient! Opt for peanut butter without added sugar for a healthier choice. If you’re allergic to peanuts, almond or sunbutter can work well, too!
Protein Powder: I usually use vanilla-flavored protein to add flavor to the cups. However, if you’re not a fan of vanilla, unflavored protein powder is a good alternative. Choose plant-based or whey protein based on your dietary needs.
Honey or Maple Syrup: This adds sweetness to the filling. You can adjust the amount depending on your taste. If you’re vegan, stick with maple syrup or agave syrup for a cleaner option.
Dark Chocolate Chips: I love using dark chocolate for its rich flavor. However, if you prefer milk chocolate, you can use that instead. Just be mindful of the sugar content!
How Do I Melt Chocolate Without Burning It?
Melted chocolate is key for these cups, but it can be tricky. Here’s a simple way to do it without burning:
- Use a microwave-safe bowl and add your chocolate chips.
- Heat in 30-second intervals, stirring in between. This ensures the chocolate melts evenly.
- Once it’s glossy and smooth, you’re ready to layer it in your cups!
Taking it slow prevents the chocolate from seizing up, so be patient and stir away!
Protein Peanut Butter Cups
Ingredients You’ll Need:
- 1 cup natural creamy peanut butter (no sugar added)
- 1/4 cup vanilla or unflavored protein powder
- 2 tbsp honey or maple syrup (adjust sweetness to taste)
- 1/2 tsp vanilla extract
- 1 1/2 cups dark chocolate chips (or use chocolate melts)
- Sea salt flakes, for garnish
How Much Time Will You Need?
This recipe takes about 15 minutes to prep and another 30 minutes to chill in the freezer. So, in total, you’re looking at about 45 minutes before you can enjoy your delicious protein-packed peanut butter cups!
Step-by-Step Instructions:
1. Prepare the Muffin Tin:
Begin by lining a mini muffin tin with silicone or paper liners. This will make it easy to take out your peanut butter cups once they are set!
2. Mix the Peanut Butter Filling:
In a medium bowl, combine the creamy peanut butter, protein powder, honey (or maple syrup), and vanilla extract. Use a spoon or a spatula to mix everything together until it’s nice and smooth. This is going to be your delicious filling!
3. Melt the Chocolate:
Grab a microwave-safe bowl and add the dark chocolate chips. Heat them in the microwave in 30-second intervals, stirring in between. Keep heating until the chocolate is completely melted and smooth—this will be the outer layer of your cups!
4. Create the Chocolate Base:
Once your chocolate is ready, take about one teaspoon of the melted chocolate and spoon it into the bottom of each muffin liner. Spread it out with the back of the spoon to cover the bottom evenly.
5. Chill the Chocolate Base:
Place the muffin tin in the freezer for about 10 minutes so the chocolate can set. This will create a nice base for your peanut butter layer.
6. Add the Peanut Butter Layer:
After the chocolate has set, take the muffin tin out of the freezer. Scoop about 1 tablespoon of the peanut butter mixture and place it on top of the chocolate layer in each cup. Gently press it down to flatten it out.
7. Top with More Chocolate:
Now, take another teaspoon of the melted chocolate and pour it over the peanut butter layer in each cup. Make sure it covers the peanut butter completely!
8. Add Some Flavor with Sea Salt:
Sprinkle a small pinch of sea salt flakes over the tops of each cup. This adds a wonderful contrast to the sweetness and enhances the flavor.
9. Freeze to Set:
Return the muffin tin to the freezer for at least 20 minutes, or until the cups are completely firm. This will ensure they hold their shape when you take them out!
10. Enjoy Your Treat!
Once set, carefully remove the peanut butter cups from the liners and store them in an airtight container in the refrigerator for up to a week. Enjoy your delicious and satisfying protein-packed snack whenever you like!
These Protein Peanut Butter Cups are perfect for indulging guilt-free. Enjoy! 😊
Can I Use Different Nut Butters?
Absolutely! If you’re not a fan of peanut butter, almond butter or cashew butter are both great alternatives. Just keep in mind that the flavor will change slightly depending on the nut butter you choose.
How Can I Sweeten These Cups Without Honey or Maple Syrup?
If you prefer a low-sugar option, you can use stevia, erythritol, or another sugar substitute that measures similarly to honey or syrup. Just be sure to adjust according to the sweetness the substitute provides, as they can be sweeter than traditional sweeteners.
Can I Freeze the Peanut Butter Cups?
Yes, you can! These peanut butter cups freeze well. Just place them in an airtight container, and they can last for up to 3 months in the freezer. When you’re ready to enjoy them, simply thaw in the refrigerator for a bit before eating.
What Is the Best Way to Store Leftovers?
Store any leftover cups in an airtight container in the refrigerator for up to a week. This keeps them fresh and ready to enjoy whenever you have a craving!