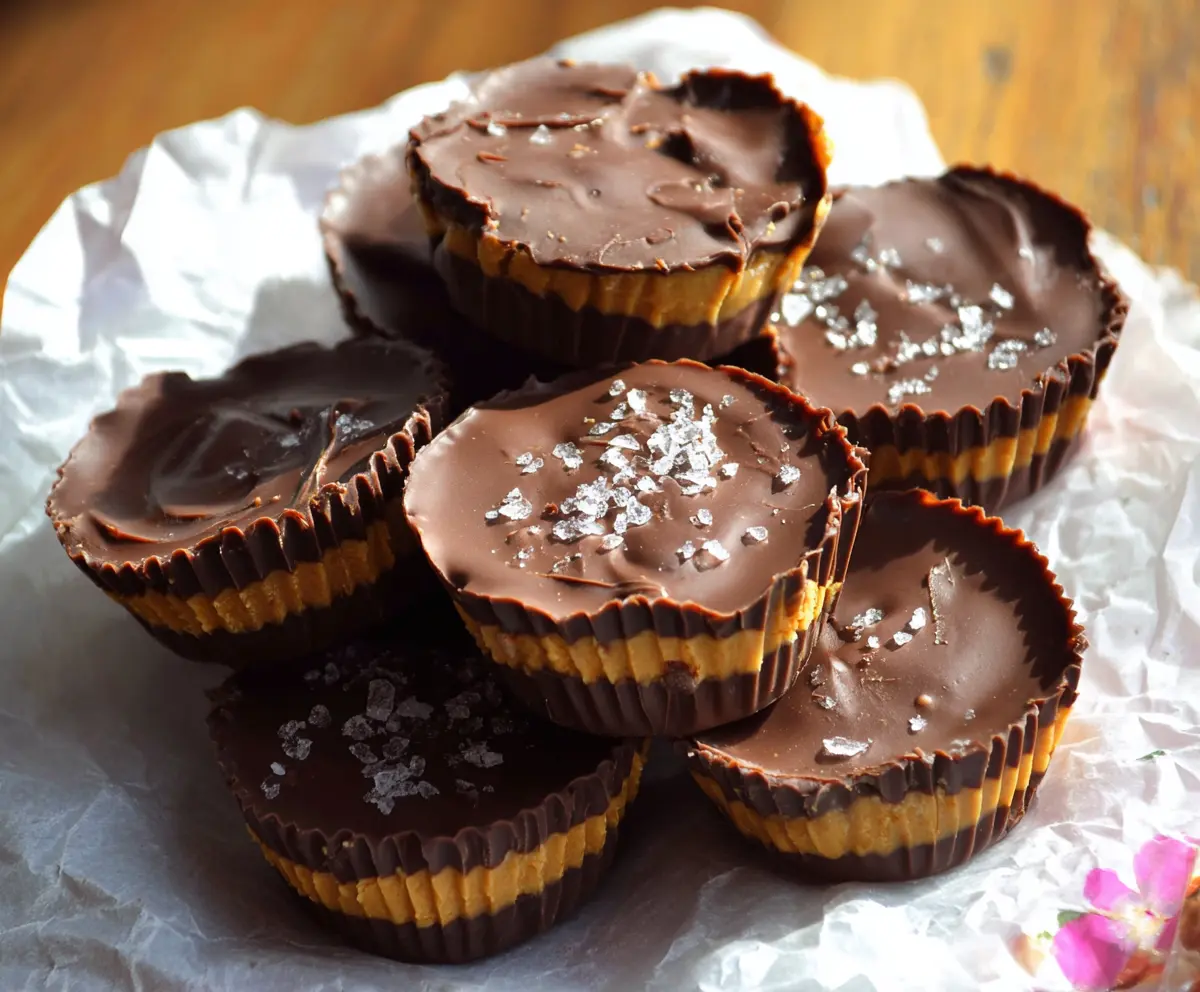
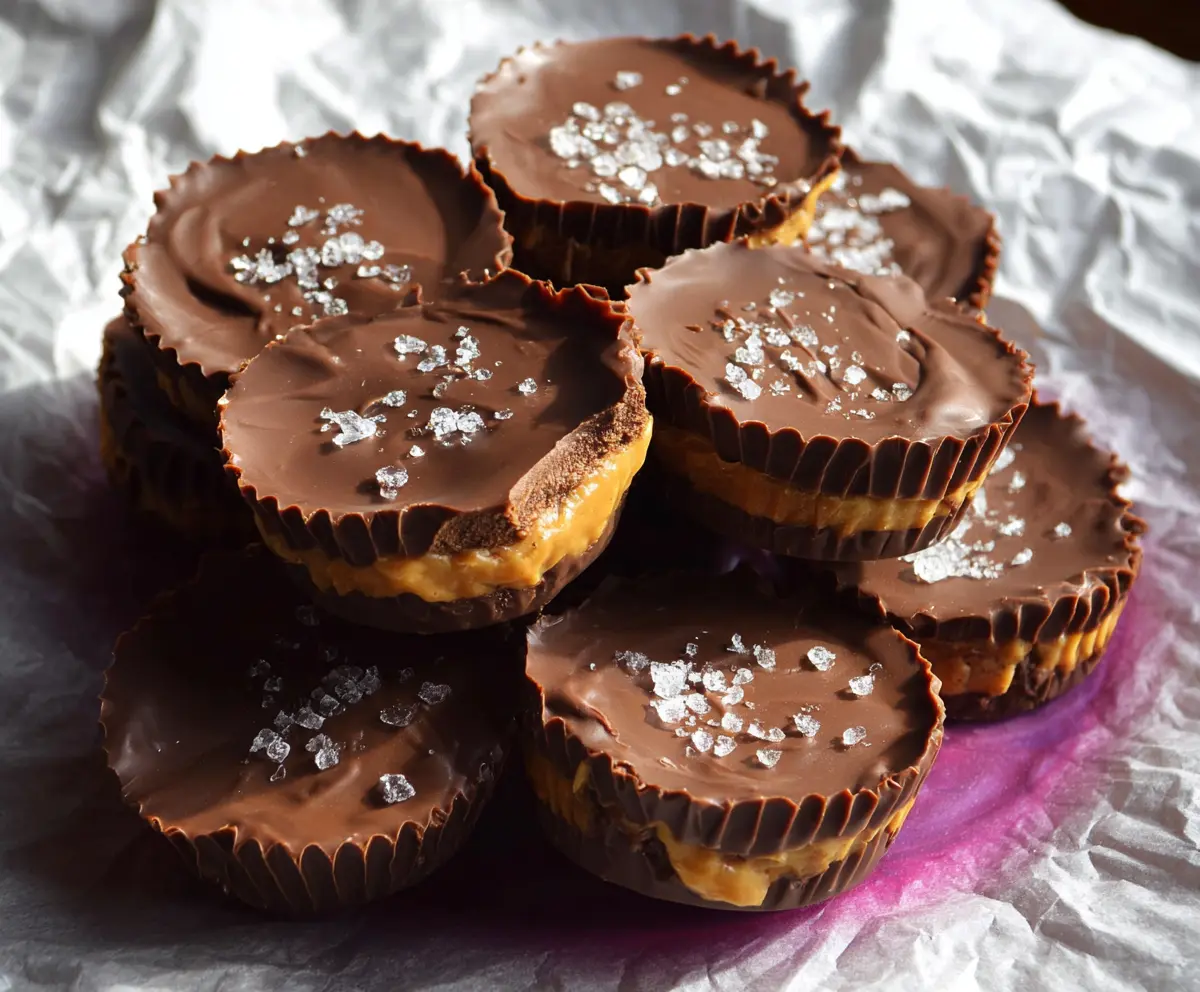
Chocolate peanut butter cups are a treat that makes anyone smile! These little goodies have a smooth peanut butter center wrapped in creamy chocolate.
Making them at home is so simple, and I love how you can sneak in extra peanut butter if you like. Who doesn’t love more peanut butter? It’s a delicious combo that never disappoints!
Key Ingredients & Substitutions
Chocolate Chips: I love using semi-sweet chocolate chips, but feel free to switch to dark or milk chocolate if that’s more your style. Each type brings its own unique flavor to the cups!
Peanut Butter: Creamy peanut butter is best for this recipe, but crunchy works too if you enjoy those little bits of peanuts. For a nut-free option, you can use sunbutter or almond butter.
Powdered Sugar: This sweetens the peanut butter mixture. If you’re avoiding sugar, you could try a sugar substitute like erythritol or a natural sweetener, but adjust to taste!
Unsalted Butter: This adds creaminess to your peanut butter mixture. You can replace it with coconut oil for a dairy-free version.
How Do I Melt Chocolate Smoothly?
Melted chocolate can be tricky, but here’s a simple way to ensure it’s smooth and glossy. Use a microwave-safe bowl and heat in short bursts to prevent burning.
- Microwave the chocolate chips for 30 seconds, then stir. Repeat until fully melted.
- Alternatively, you can use a double boiler on the stove. Just place a heat-proof bowl over simmering water, making sure it doesn’t touch the water.
Remember not to rush it. Stirring frequently will help distribute the heat evenly and avoid any lumps!
How to Make Chocolate Peanut Butter Cups
Ingredients You’ll Need:
For the Cups:
- 1 1/2 cups semi-sweet chocolate chips (or dark/milk chocolate, as preferred)
- 3/4 cup creamy peanut butter
- 1/4 cup powdered sugar
- 2 tablespoons unsalted butter, softened
- A pinch of salt
- Flaky sea salt (optional, for topping)
How Much Time Will You Need?
This recipe takes about 15 minutes to prepare, plus an additional 30 minutes to an hour for chilling in the fridge. So, expect a total of around 45 minutes to 1 hour for these delicious treats to be ready to enjoy!
Step-by-Step Instructions:
1. Prepare Your Muffin Tin:
Start by lining a muffin tin with paper cupcake liners. This will help you easily remove the peanut butter cups once they are set.
2. Melt the Chocolate:
In a microwave-safe bowl, melt half of the chocolate chips. Heat them in 30-second intervals in the microwave, stirring in between, until completely smooth. Be careful not to burn the chocolate!
3. Create the Chocolate Base:
Spoon a small amount of the melted chocolate into the bottom of each paper liner, just enough to cover the base. Use the back of a spoon to help spread it evenly. Now, pop the tray in the refrigerator for about 10 minutes to let it set.
4. Make the Peanut Butter Mixture:
While the chocolate base is chilling, grab a medium bowl. Mix together the creamy peanut butter, powdered sugar, softened butter, and a pinch of salt. Stir until everything is creamy and well combined.
5. Add the Peanut Butter Layer:
Once the chocolate base has hardened, take the muffin tray out of the fridge. Now, spoon about a tablespoon of the peanut butter mixture over each chocolate base. Spread it gently, leaving a little space at the edges.
6. Melt the Remaining Chocolate:
Repeat the melting process with the remaining chocolate chips until they are smooth and melted.
7. Seal the Cups:
Spoon the remaining melted chocolate over the peanut butter layer in each cup. Make sure to cover the peanut butter completely and seal the edges so that it stays nice and tidy.
8. Sprinkle with Sea Salt:
If you like, sprinkle a little flaky sea salt on top of each cup for an extra pop of flavor!
9. Chill Until Set:
Put the tray back in the refrigerator for at least 30 minutes to an hour or until the cups are fully set and firm.
10. Enjoy!
Once set, carefully remove the cups from the liners. Enjoy your delicious homemade chocolate peanut butter cups! Store any leftovers in an airtight container in the fridge.
These rich and creamy chocolate peanut butter cups are perfect for sharing—or just keeping all to yourself. Enjoy!
Can I Use a Different Nut Butter?
Absolutely! While creamy peanut butter gives the best flavor, you can substitute it with almond butter, cashew butter, or sunbutter for a nut-free option. Just keep in mind that each will bring its own unique taste!
How Do I Store These Chocolate Peanut Butter Cups?
Store your chocolate peanut butter cups in an airtight container in the fridge for up to one week. If you want to keep them longer, you can freeze them for up to 3 months. Just let them thaw in the fridge before enjoying!
Can I Make These with Sugar-Free Ingredients?
Yes! You can easily make a sugar-free version by using sugar-free chocolate chips and a sugar substitute like powdered erythritol or stevia for the peanut butter mixture. Just adjust to your desired sweetness!
What If My Chocolate is Grainy?
If your melted chocolate ends up grainy, it might have been overheated. To rescue it, try adding a teaspoon of vegetable oil or coconut oil and stir until smooth. If it’s too thick, you can also thin it out with a little warm cream.