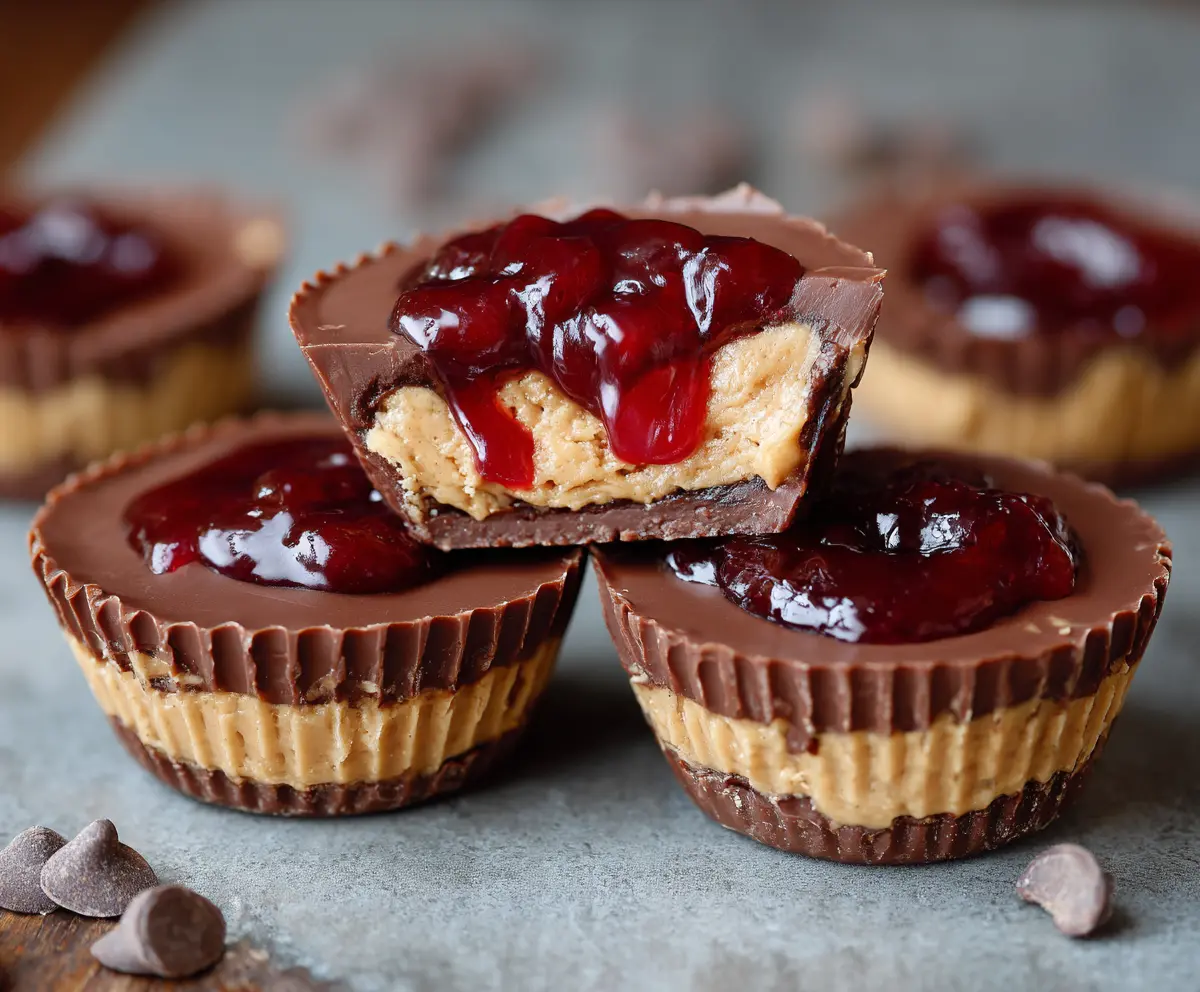
These Peanut Butter and Jelly Cups are a fun twist on the classic sandwich! They feature a creamy peanut butter filling surrounded by a crunchy cookie shell, topped with your favorite jelly.
They’re like little bites of happiness! I love making these when I want a quick treat. Just pop them in the fridge, and they’re ready to enjoy—perfect for snack time!
Key Ingredients & Substitutions
Peanut Butter: Creamy peanut butter is key for that smooth filling. If you have a nut allergy, try sunflower seed butter as a great alternative!
Chocolate Chips: Semi-sweet chocolate works best for that classic flavor. If you prefer something sweeter, milk chocolate is a lovely alternative. Dark chocolate will give a richer taste as well.
Butter: Unsalted butter keeps the flavors balanced, but you can use coconut oil for a dairy-free version. It will also give a nice hint of coconut flavor!
Jelly or Jam: I personally love strawberry jam, but you can use raspberry, grape, or even a sugar-free option if you want to cut calories!
How Do I Get a Smooth Layer of Chocolate on Top?
Creating a smooth, chocolate topping may seem tricky, but it’s simple! The key is to melt your chocolate properly and work quickly. Here’s how:
- Use a microwave-safe bowl and heat chocolate chips in 30-second intervals. Stir well after each interval until fully melted.
- When adding the chocolate on top, use a spoon or spatula to gently spread it to the edges of the cup.
- Don’t wait too long before adding the jelly. It helps if the chocolate is still a bit warm for better adhesion!
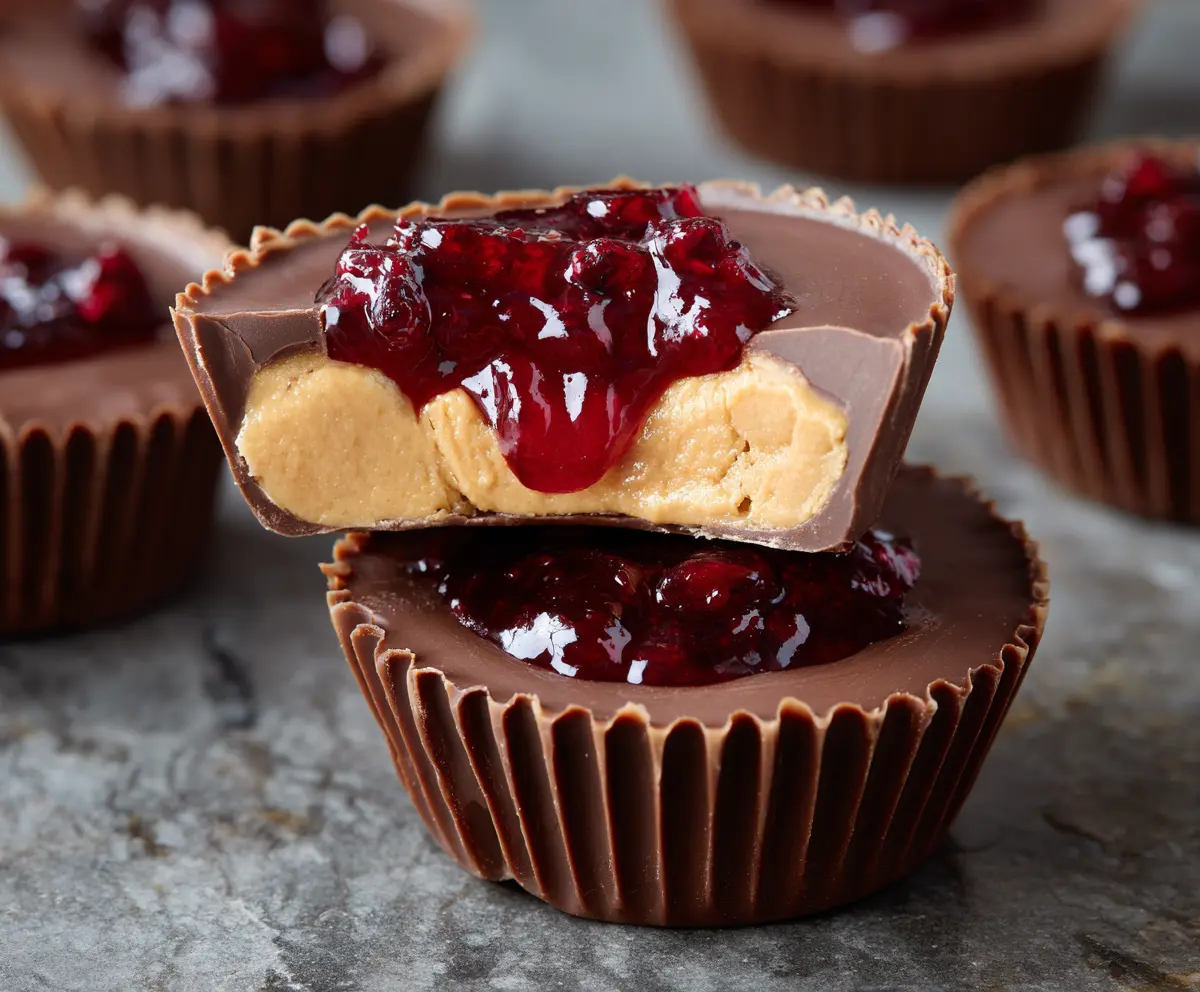
Peanut Butter And Jelly Cups
Ingredients You’ll Need:
- 1 cup creamy peanut butter (natural or regular)
- 1/4 cup unsalted butter, softened
- 1/4 cup powdered sugar
- 2 tablespoons granulated sugar
- 1 teaspoon vanilla extract
- 2 cups semi-sweet chocolate chips (or milk chocolate if preferred), divided
- 1/2 cup jelly or jam (strawberry, raspberry, or your favorite flavor)
How Much Time Will You Need?
This delicious recipe will take about 20 minutes of preparation time and then about 1-2 hours to chill in the refrigerator. You’ll spend a few minutes melting chocolate and mixing up the peanut butter filling, with a little waiting time while everything sets up!
Step-by-Step Instructions:
1. Prepare the Muffin Tin:
Start by lining a standard muffin tin with paper cupcake liners. This will make it easy to remove your cups once they are set!
2. Melt the Chocolate:
Next, melt 1 cup of the chocolate chips in a microwave-safe bowl. Heat them in 30-second intervals, stirring in between until the chocolate is smooth and creamy. Be careful not to overheat!
3. Create the Chocolate Base:
Once melted, take a spoon and add a small amount of the melted chocolate into the bottom of each cupcake liner. Spread it out evenly to form a nice base layer. Pop the tin into the refrigerator for about 10 minutes so the chocolate can harden.
4. Make the Peanut Butter Filling:
In a medium mixing bowl, combine the creamy peanut butter, softened butter, powdered sugar, granulated sugar, and vanilla extract. Mix everything together until it’s completely smooth and creamy. This filling is going to be delicious!
5. Add the Peanut Butter Layer:
Once the chocolate base is set, take the peanut butter mixture and add a layer on top of the chocolate, filling about halfway up each cup. Press it down gently to make it even. Yum!
6. Firm That Filling:
Return the muffin tin to the fridge for another 10 minutes to firm up the peanut butter layer. This will ensure that your cups hold their shape when you add the next layer!
7. Melt More Chocolate:
Now, melt the remaining 1 cup of chocolate chips in the microwave just like before. Remember to keep stirring until it’s nice and smooth!
8. Top It Off:
Spread the melted chocolate over the peanut butter layer in each cup. Smooth it out nicely with a spoon or spatula for an even finish.
9. Jelly Time:
Now it’s time to add the jelly! Spoon about 1 teaspoon of your favorite jelly onto the center of each chocolate top. Gently spread it out a bit without mixing it into the chocolate.
10. Chill to Set:
Refrigerate the cups until they are fully set, which will take about 1-2 hours. If you can, try to resist the temptation to sneak one early!
11. Enjoy Your Cups:
Once they’re chilled and firm, carefully remove the paper liners and dig into your delightful Peanut Butter And Jelly Cups. They’re perfect for sharing—if you can bring yourself to do it!
Can I Use Natural Peanut Butter?
Absolutely! Natural peanut butter works great, but make sure to stir it well before mixing, as the oil can separate. This will help achieve a smooth filling.
What Can I Substitute for Jelly?
You can use any jam or jelly you love! If you want something different, try using chocolate or caramel sauce for a unique flavor twist!
How Do I Store Leftover Peanut Butter And Jelly Cups?
Store any leftovers in an airtight container in the refrigerator. They’ll stay fresh for about a week, but I bet they’ll be gone before that!
Can I Freeze These Cups?
Yes, these cups can be frozen! Just wrap them individually in plastic wrap or place them in a freezer-safe container. Thaw them in the fridge when you’re ready to enjoy!