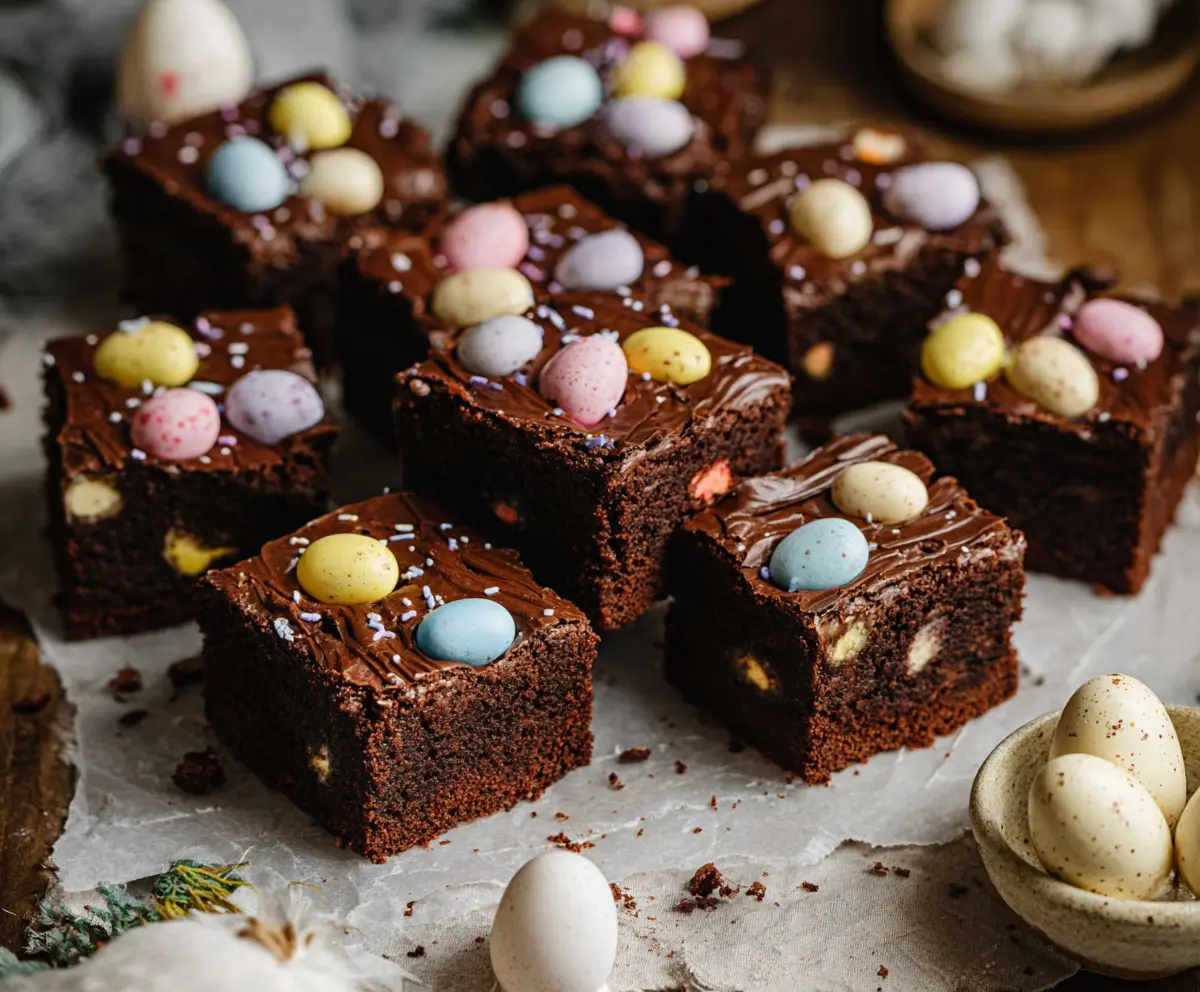
These Frosted Mini Egg Easter Brownies are a festive treat that’s chewy and chocolatey! Topped with colorful mini eggs, they add a fun crunch to each bite.
Making these brownies is super easy! I love how the mini eggs make them look extra special for Easter. They’re perfect for sharing (or not)! Who can resist sneaking a bite? 😋
Key Ingredients & Substitutions
Unsalted Butter: This adds richness to the brownies. If you’re out of unsalted butter, you can use salted butter, just reduce the added salt in the recipe to balance flavors.
Cocoa Powder: It’s key for the chocolate flavor! For a different taste, try using dark cocoa powder for a richer flavor. Remember to adjust sugar if you use Dutch-processed cocoa, as it’s less bitter.
Granulated Sugar: This sweetens the brownies. You can swap for brown sugar for a more caramel-like flavor. Just note that brown sugar can make the texture a bit softer.
Eggs: Eggs provide moisture and structure. If you need an egg substitute, consider using 1/4 cup unsweetened applesauce or a flax egg (1 tbsp ground flaxseed + 3 tbsp water, set to thicken).
Mini Chocolate Eggs: These add fun and crunch. If you can’t find them, any chocolate candy or even chopped chocolate bars can work well as a substitute. Consider using peanut butter cups for a different twist!
How Do I Get the Perfect Brownie Texture?
Getting the right texture can be tricky. Focus on just mixing the batter until everything is combined; overmixing can lead to dense brownies. When you fold in the chocolate eggs and chips, do this gently!
- Make sure to preheat your oven and check the brownies a few minutes before the timer goes off to avoid overbaking.
- A toothpick should come out with some moist crumbs—not clean—indicating they’re perfectly fudgy.
- Let the brownies cool completely before frosting. This helps the frosting stay put and not slide off.

How to Make Frosted Mini Egg Easter Brownies
Ingredients You’ll Need:
For the Brownies:
- 1 cup (226g) unsalted butter
- 2 cups (400g) granulated sugar
- 4 large eggs
- 1 tsp vanilla extract
- 1 cup (85g) unsweetened cocoa powder
- 1 cup (125g) all-purpose flour
- 1/2 tsp salt
- 1/2 tsp baking powder
- 1 cup mini chocolate eggs, roughly chopped (plus extra mini eggs for decoration)
- 1 cup (170g) semi-sweet chocolate chips
For the Frosting:
- 1/2 cup (113g) unsalted butter, softened
- 1 1/2 cups (190g) powdered sugar
- 1/2 cup (45g) cocoa powder
- 2 tbsp milk (more if needed)
- 1/2 tsp vanilla extract
- Sprinkles (optional)
How Much Time Will You Need?
This recipe will take about 15 minutes for prep and 25-30 minutes for baking. Plus, you’ll want to let the brownies cool for a bit before frosting. All in all, you should set aside about 1 hour (including cooling time) to make these festive brownies.
Step-by-Step Instructions:
1. Prepare the Oven and Pan:
Start by preheating your oven to 350°F (175°C). Take a 9×13 inch baking pan and grease it well. Then, line it with parchment paper, letting some parchment hang over the edges for easy removal later on.
2. Melt the Butter:
In a medium saucepan, melt the butter over low heat. Once fully melted, take it off the heat and stir in the granulated sugar until it’s combined nicely with the butter.
3. Add Eggs and Vanilla:
Next, add the eggs one at a time, beating well after each addition to create a smooth mixture. Then, stir in the vanilla extract for added sweetness.
4. Mix the Dry Ingredients:
In a separate bowl, sift together the cocoa powder, all-purpose flour, salt, and baking powder. This helps to ensure there are no lumps and gives your brownies a nice texture.
5. Combine Wet and Dry Ingredients:
Gradually pour the dry ingredients into the wet mixture, stirring just until everything is combined. Be careful not to overmix; you want it just mixed.
6. Fold in the Chocolate:
Now, gently fold in the chopped mini chocolate eggs and semi-sweet chocolate chips. This adds fun surprises in every bite!
7. Bake Your Brownies:
Pour the brownie batter into your prepared baking pan and smooth the top evenly. Place it in the oven and bake for 25-30 minutes. To check for doneness, insert a toothpick into the center; it should come out with moist crumbs (not wet batter).
8. Cooling Time:
Once baked, remove the brownies from the oven and let them cool completely in the pan on a wire rack. Patience is key here!
9. Make the Frosting:
While your brownies are cooling, it’s time to whip up the frosting! Beat the softened butter in a mixing bowl until creamy. Then, sift in the powdered sugar and cocoa powder. Add the vanilla extract and milk, and beat until everything is smooth and fluffy. If it’s too thick, just add a little more milk!
10. Frost the Brownies:
Once the brownies are completely cool, spread the frosting evenly over the top. Make it nice and smooth!
11. Decorate:
Now it’s time to decorate! Add whole mini chocolate eggs on top of your frosted brownies for a festive touch, and sprinkle some fun decorations if you like.
12. Slice and Serve:
Allow the frosting to set slightly before cutting the brownies into squares. Serve them up and enjoy your delicious Easter treat!
Can I Use Different Types of Chocolate for This Recipe?
Absolutely! You can swap semi-sweet chocolate chips for milk chocolate chips for a sweeter taste, or dark chocolate chips if you prefer a richer flavor. Just keep in mind that this might affect the overall sweetness of the brownies.
How Can I Store Leftover Brownies?
Store any leftover brownies in an airtight container at room temperature for up to 3 days. If you want to keep them fresh for longer, you can refrigerate them for a week or freeze them in individual squares for up to 3 months.
What Should I Do If My Brownies Are Too Fudgy?
If your brownies turn out too fudgy for your liking, it may be due to underbaking. Next time, cook them for an extra 3-5 minutes. You can also try waiting longer to cut them after cooling, as this can help their texture firm up a bit!
Can I Make These Brownies Gluten-Free?
Yes, you can! Simply substitute the all-purpose flour with a gluten-free flour blend. Be sure to check that the other ingredients are also gluten-free as needed. The texture may vary slightly, but they should still be delicious!