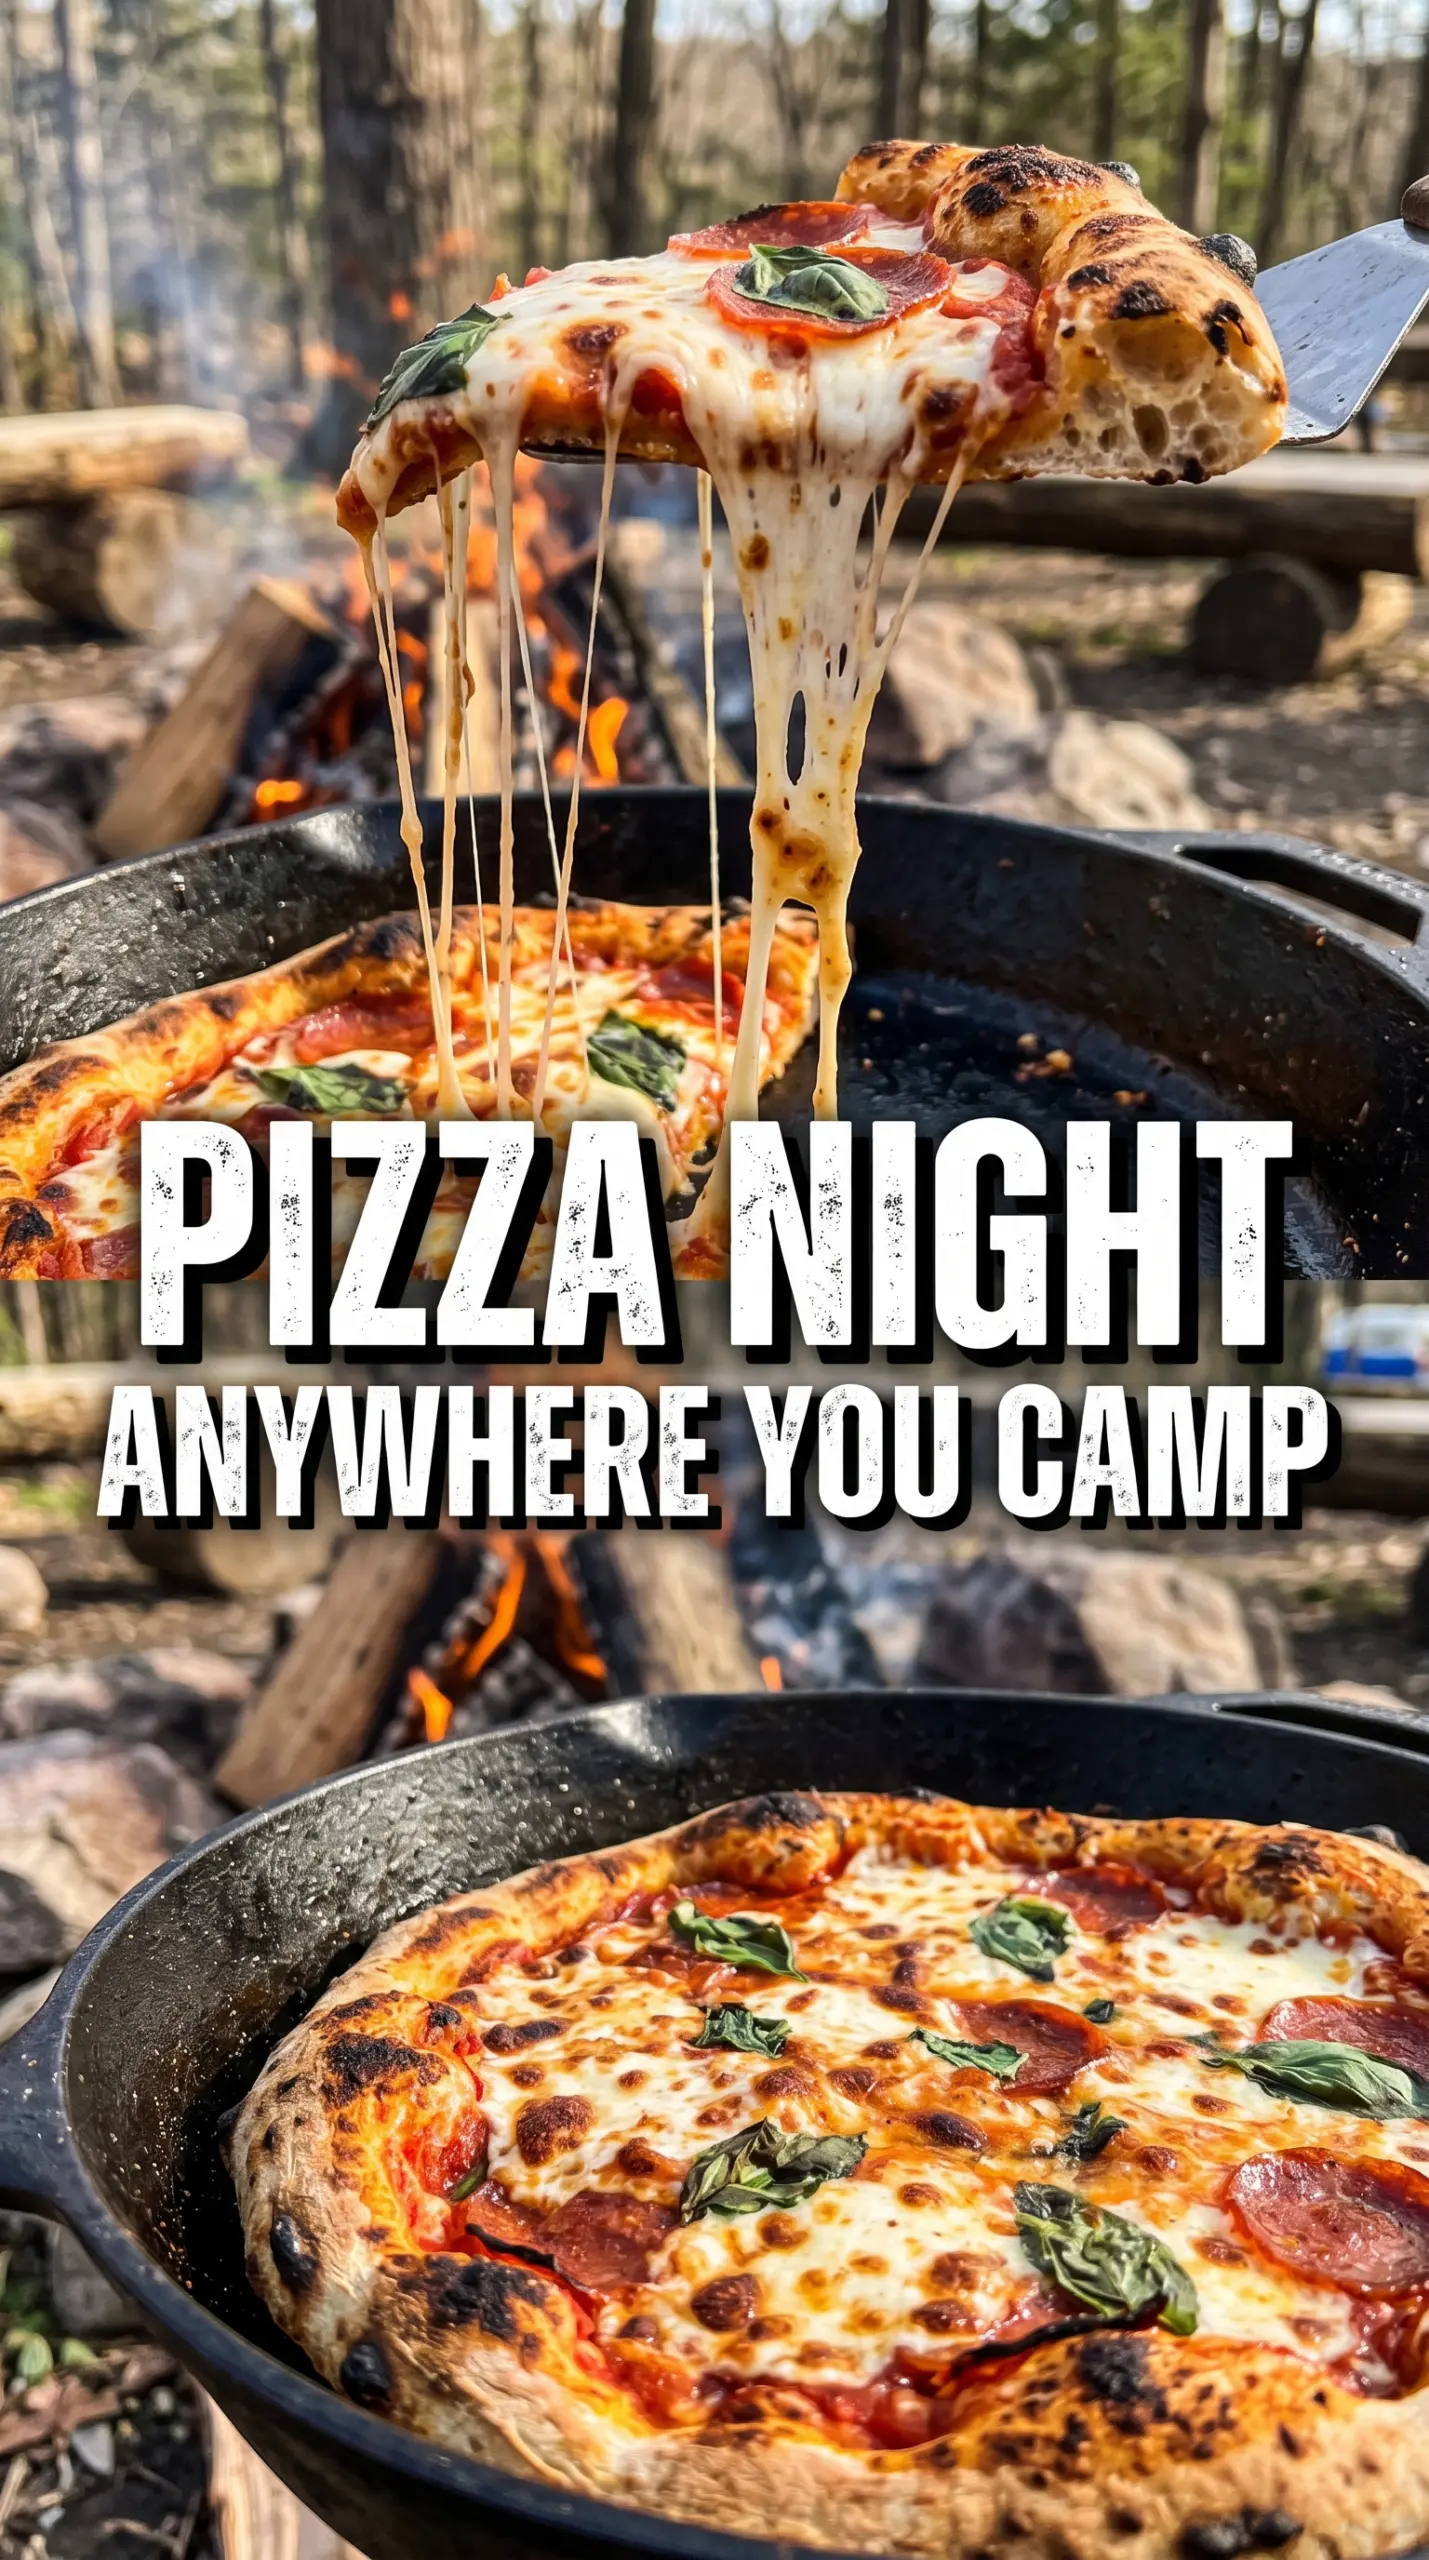
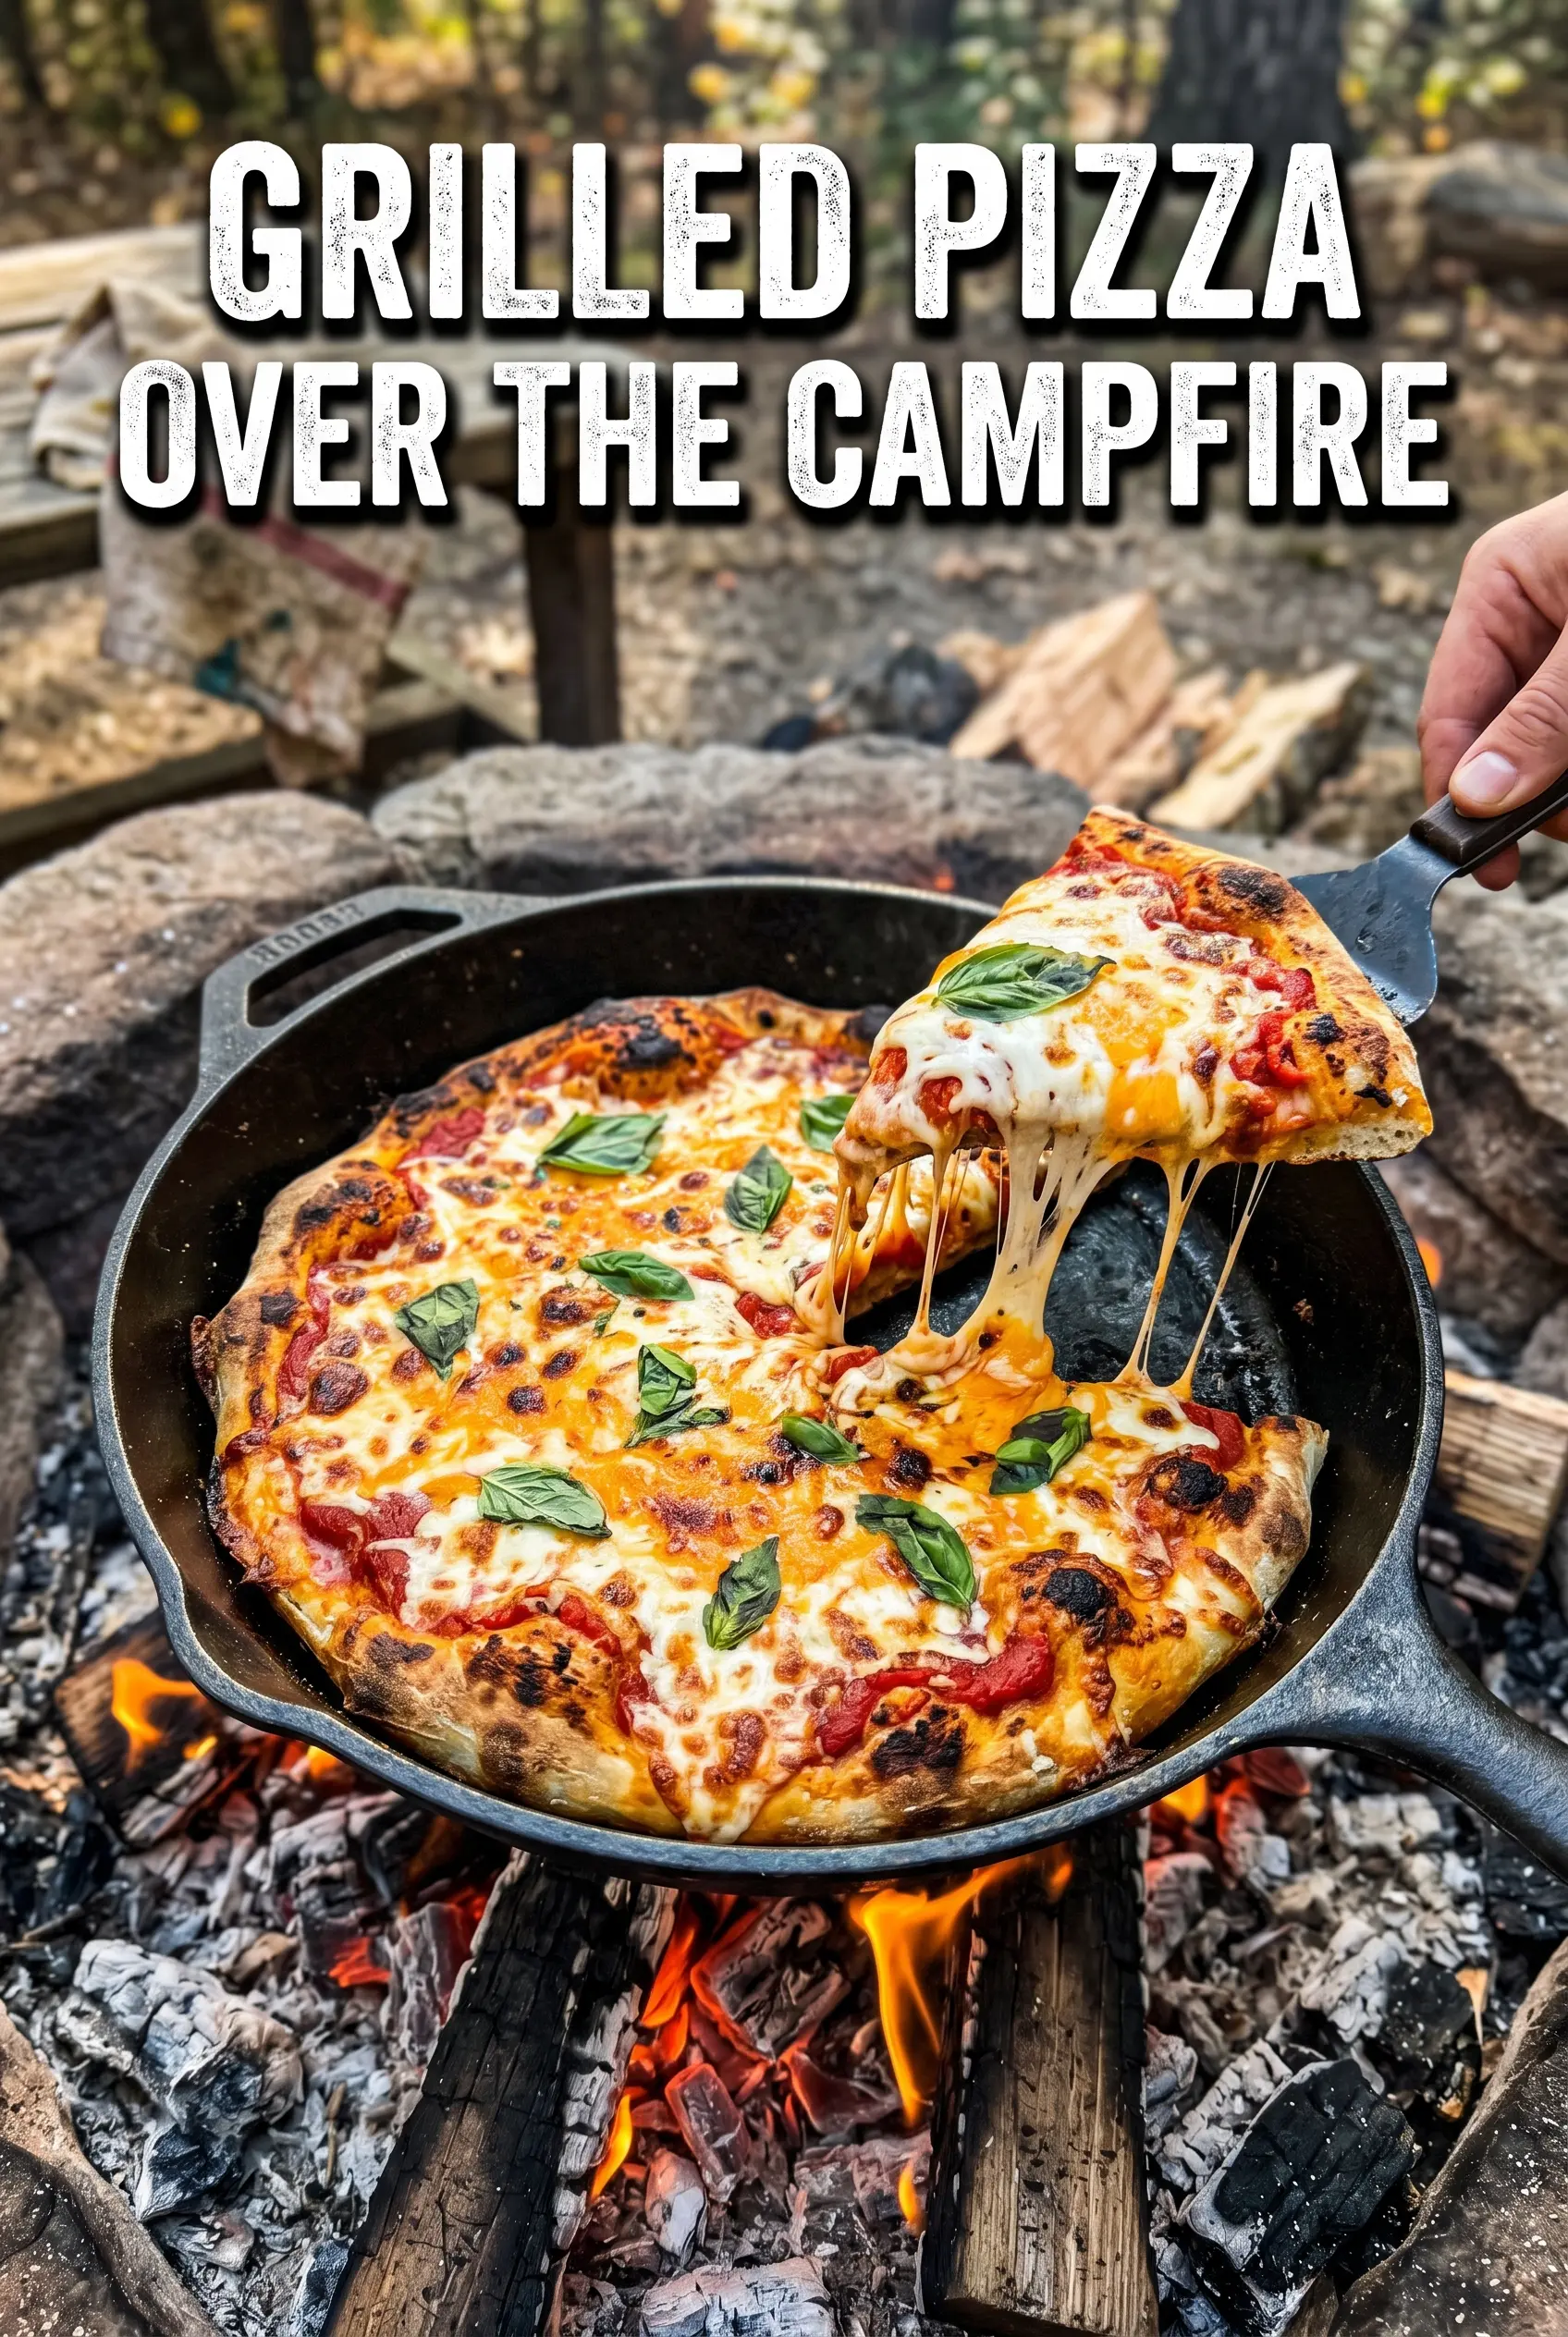
Grilled campfire pizza gives you the best parts of a pizzeria pie without hauling a stone, oven, or complicated setup into the woods. The crust turns crisp and blistered on the grate, the cheese melts into those smoky little bubbles, and the toppings pick up just enough char to taste like they belong over live fire. It’s the kind of dinner that feels a little improvised and still lands exactly right.
The trick is treating the dough like flatbread first and pizza second. One side gets brushed with oil and cooked directly on the grate until it firms up and releases cleanly, then the toppings go on after the first flip so the crust has enough structure to hold everything. That order keeps the dough from sticking and keeps the cheese from overcooking before the bottom has a chance to crisp.
Below, I’m walking through the part that matters most: how to manage the fire, when to flip, and how to keep the toppings from turning into a sliding mess. Once you get the rhythm, this becomes the kind of camp dinner people ask for again.
The crust got those perfect char spots and the cheese melted fast once I covered it with foil. I was nervous about the dough sticking, but oiling one side first made all the difference.
Grilled campfire pizza is the one to save for smoky crust, fast melting cheese, and easy outdoor dinner nights.
The Move That Keeps Grilled Pizza From Sticking to the Grate
The biggest mistake with grilled pizza is trying to build it before the dough has enough structure. Raw dough on a hot grate behaves like glue, especially if the fire is too fierce or the dough is stretched unevenly. Cooking the first side plain gives the crust a little backbone. Once it firms up and you can lift it cleanly, the rest of the toppings are easy.
Medium heat matters here more than a roaring fire. You want active coals or a steady flame that browns the dough in a couple of minutes without scorching it black before the center cooks. If the dough is tearing when you flip it, it needed another minute on the first side. If it darkens too fast and still feels floppy, the heat is too high.
What Each Ingredient Is Actually Doing on the Fire
- Pizza dough — Store-bought dough works fine here, and homemade dough works too, as long as it stretches without snapping back. Let it sit at room temperature before you shape it or it will fight you and shrink on the grate.
- Olive oil — This is what keeps the first side from welding itself to the grill. It also helps the crust brown and pick up those charred spots that make grilled pizza taste like grilled pizza, not oven-baked flatbread.
- Pizza sauce — Use a thicker sauce, not a watery one. Thin sauce runs right off the hot crust and softens the base before the cheese has a chance to set.
- Mozzarella — Low-moisture shredded mozzarella melts fast and evenly, which is what you want over live heat. Fresh mozzarella is wetter and can make the center soggy unless you drain it well.
- Toppings — Cooked sausage, thin vegetables, and pepperoni all work best because they don’t need long cooking time on the grill. If you want mushrooms or peppers, slice them thin so they soften in the short cook window.
- Parmesan and basil — Add these after grilling. Parmesan gives a salty finish without burning, and basil stays bright and fragrant instead of turning dark and limp.
Building the Pizza in Two Passes So the Toppings Don't Sink the Crust
Stretching the Dough Thin Enough
Divide the dough into four pieces and stretch each one into a thin round, aiming for even thickness instead of a perfect circle. Thicker spots stay doughy while thin spots burn, so spend a minute smoothing the shape with your hands. If the dough keeps shrinking, let it rest for a few minutes and then try again. Cold dough snaps back and makes the whole job harder.
Getting the First Side Crisp
Brush one side with olive oil and lay that side down on the grate over medium heat. Leave it alone until the bottom has char marks and the dough releases cleanly, usually 2 to 3 minutes. If it sticks when you try to lift it, it is not ready yet. Once the underside is crisp, the dough will tell you by peeling up with little resistance.
Adding Toppings Without Overloading the Pie
Flip the crust, then work quickly: sauce, cheese, toppings, and back over the fire. Keep the layer of sauce thin and the toppings light enough that the center doesn't sag. A loaded campfire pizza looks impressive for about thirty seconds, then the middle gets soft and hard to serve. Less is better here, especially if your fire is uneven or windy.
Finishing Under the Lid
Cover the grill with a lid or a sheet of foil so the cheese melts before the bottom burns. You're looking for bubbling cheese, a crisp underside, and toppings that are hot all the way through. If the bottom is done before the cheese melts, move the pizza slightly away from the hottest spot or raise the lid height if you can. The last minute is where the pie goes from good to finished.
How to Change This for Different Campsites, Diets, and Toppings
Gluten-Free Dough
Use a gluten-free pizza dough that is meant to be stretched and grilled, not a batter-style crust. It will usually need a little more oil and a gentler flip because it tears more easily than wheat dough, but it still gives you a crisp edge and a good chew.
Vegetarian Campfire Pizza
Skip the meat and use vegetables that cook quickly over high heat, like thin peppers, onions, spinach, or mushrooms that have been sautéed first. Raw watery vegetables can flood the crust, so pre-cooking anything sturdy keeps the center from going soft.
Dairy-Free Version
Use your favorite dairy-free mozzarella-style shred and a little extra olive oil on the crust for browning. Some dairy-free cheeses melt more slowly, so keep the heat steady and give the pie an extra minute under the lid instead of cranking the fire hotter.
Making It for a Crowd
Stretch all the dough rounds before you start cooking and set the toppings in separate bowls so each pizza can be assembled fast. Once the first side is grilled, the process moves quickly, and having everything ready keeps the crust from overcooking while you hunt for sauce or cheese.
Storage and Reheating
- Refrigerator: Store leftovers in an airtight container for up to 3 days. The crust softens a bit, but it still reheats well.
- Freezer: Freeze slices wrapped tightly and tucked into a freezer bag for up to 2 months. The texture is best if you freeze the slices separately so they don't stick together.
- Reheating: Reheat in a dry skillet over medium-low heat or in a hot oven until the crust crisps back up. The common mistake is microwaving it, which turns the bottom chewy and the cheese rubbery.
Answers to the Questions Worth Asking
Grilled Campfire Pizza
Ingredients
Equipment
Method
- Divide the pizza dough into 4 portions and stretch each into a thin round, keeping the centers slightly thinner than the edges for faster grilling. Set the rounds aside while you prepare the fire.
- Brush one side of each dough round with olive oil. Make sure the oiled side will face the grate when you start grilling.
- Place the dough, oiled-side down, on the campfire grate over medium heat for 2-3 minutes until the bottom is charred and crispy. Keep a close watch for dark char spots and set bubbles to form.
- Flip the dough and quickly add pizza sauce, mozzarella cheese, and your toppings to the grilled side. Work fast so the crust stays hot and the cheese can melt immediately.
- Cover with a lid or foil and cook for 3-5 minutes until the cheese melts and the bottom is crispy. Look for bubbly cheese and a dry, crisp edge where the toppings meet the crust.
- Remove each pizza from the grill and top with grated Parmesan cheese and fresh basil. Slice and serve right away for the best char-to-cheese balance.


