Campfire cones turn into a gooey little pocket of melted chocolate, toasted marshmallow, and warm fruit that tastes like a cross between a s’more and a banana split. The waffle cone stays crisp on the outside for a few minutes after unwrapping, then gives way to the soft filling underneath, which is exactly what makes these fun to eat around a fire.
The trick is layering the fillings in a way that lets the marshmallows melt and bind everything together without flooding the cone. Mini marshmallows work better than large ones because they soften fast, and the graham cracker pieces add the best crunch once the cone is opened. A tight foil wrap matters here too; it traps heat evenly and keeps the cone from scorching before the filling is ready.
Below, I’ve included the timing that keeps the cone from collapsing, the ingredient swaps that still work, and the small details that make these a lot easier to serve at the campsite or in the backyard.
The marshmallows melted into the chocolate instead of just sitting on top, and the foil kept the cones from burning. My kids loved unwrapping them at the table.
Save these gooey campfire cones for a marshmallow-and-chocolate dessert that opens up warm, melty, and spoonable.
The Part That Keeps the Cone Crisp Instead of Soggy
The biggest mistake with campfire cones is packing them like a sundae. Fruit releases juice, marshmallows melt down, and if the cone gets overloaded, the bottom softens before the filling has time to warm through. Keep the layers modest and nestle the drier ingredients like graham crackers around the wetter fruit so the cone has some structure left when it comes off the fire.
Foil is doing more than keeping things neat. It creates a little steam pocket that helps the chocolate and marshmallows melt evenly, but it also protects the waffle cone from direct flame. That means medium heat is the sweet spot. High heat scorches the outside fast and leaves you with a warm wrapper around cold fillings.
What Each Layer Is Doing in the Cone
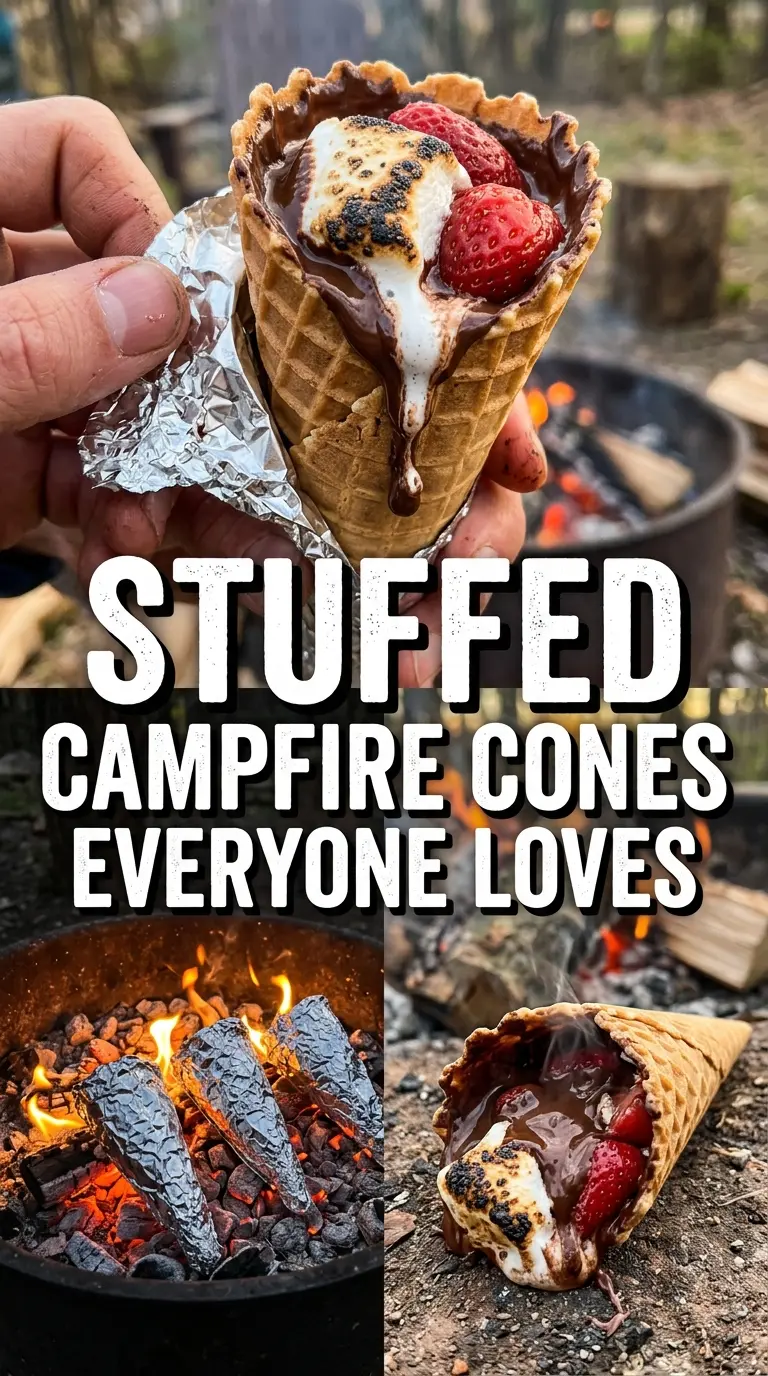
- Waffle ice cream cones — These are sturdier than sugar cones and hold up better once the filling gets hot. You can use sugar cones in a pinch, but they’re more likely to crack or soften before the centers are fully melted.
- Mini marshmallows — These melt quickly and help everything bind together. Large marshmallows take longer and can leave you with uneven pockets instead of that gooey pull you want.
- Chocolate chips — Chips hold their shape just long enough to soften into little puddles. Milk chocolate melts faster and tastes sweeter, while semi-sweet gives you a better balance against the fruit.
- Banana slices and strawberries — These add freshness and keep the cones from tasting one-note. Slice the banana just before assembling so it doesn’t brown, and keep the strawberry pieces small so they warm through without leaking too much liquid.
- Graham cracker pieces — This is the crunch that makes the whole thing feel like a campfire dessert instead of just melted candy in a cone. Crush them into small chunks, not dust, so they stay noticeable after heating.
- Aluminum foil — Don’t skip a full wrap. Loose foil lets heat escape and can leave the top of the cone underdone while the bottom gets too hot.
How to Layer and Heat the Cones So They Melt Evenly
Building the Filling
Start with a little of each ingredient and repeat the layers until the cone is filled but not packed tight. Leave a small gap at the top so the marshmallows have room to puff and soften without forcing the cone open. If you press everything down hard, the filling compacts and the center can stay cool while the outside melts first.
Wrapping for the Fire
Wrap each cone completely in foil, sealing the sides as you go. The goal is to trap heat, not steam the cone to death, so keep the wrap snug but not crushed. If you hear the foil crackling immediately on the grate, the heat is too high and the cone will brown too fast.
Warming Over the Grate
Set the wrapped cones on a campfire grate over medium heat and rotate them every minute or so. Four to five minutes is usually enough for the marshmallows to melt and the chocolate to go soft, but the exact timing depends on how hot your fire is. Pull one early if you’re unsure; an underheated cone is easy to return to the grate, but an overcooked one falls apart fast.
Unwrapping and Serving
Let the cones rest for two minutes before opening the foil. The filling settles during that short cooling time, and it also saves you from burning your hands or your tongue. Open the foil slowly from the top so any melted chocolate stays in the cone, then hand over a spoon and eat straight from the wrapper if that’s easier around a fire.
How to Adapt These Campfire Cones for Different Tastes and Campsites
Dairy-Free Campfire Cones
Use dairy-free chocolate chips and check that your cones don’t contain any milk solids. The texture stays the same, but the flavor is a little less rich, so the banana and strawberry layer matters more here.
Gluten-Free Version
Swap in certified gluten-free cones and gluten-free graham-style pieces. The cone is still the fragile part, so handle it gently when filling and wrapping.
S’mores-Only Filling
Skip the fruit and load the cone with marshmallows, chocolate chips, and extra graham pieces for a more classic campfire taste. The result is less juicy and a little more stable, which is useful if you’re making these for younger kids.
Make-Ahead Camping Prep
You can prefill the cones a few hours ahead and wrap them individually in foil, then keep them chilled in a cooler until fire time. Don’t pack them for too long with bananas inside if the weather is warm; they’ll soften and leak before they ever hit the grate.
Storage and Reheating
- Refrigerator: Best assembled right before heating, but you can hold prefilled, wrapped cones in the fridge for up to 4 hours. After that, the fruit starts to soften the cone too much.
- Freezer: Not a great freezer dessert. The fruit turns mushy when thawed and the cone loses its crunch.
- Reheating: If a cone cools before serving, return it to the foil and warm it over low campfire heat for 1 to 2 minutes. Don’t use high heat to rush it; the outside will scorch before the center softens again.
Questions I Get Asked About This Recipe
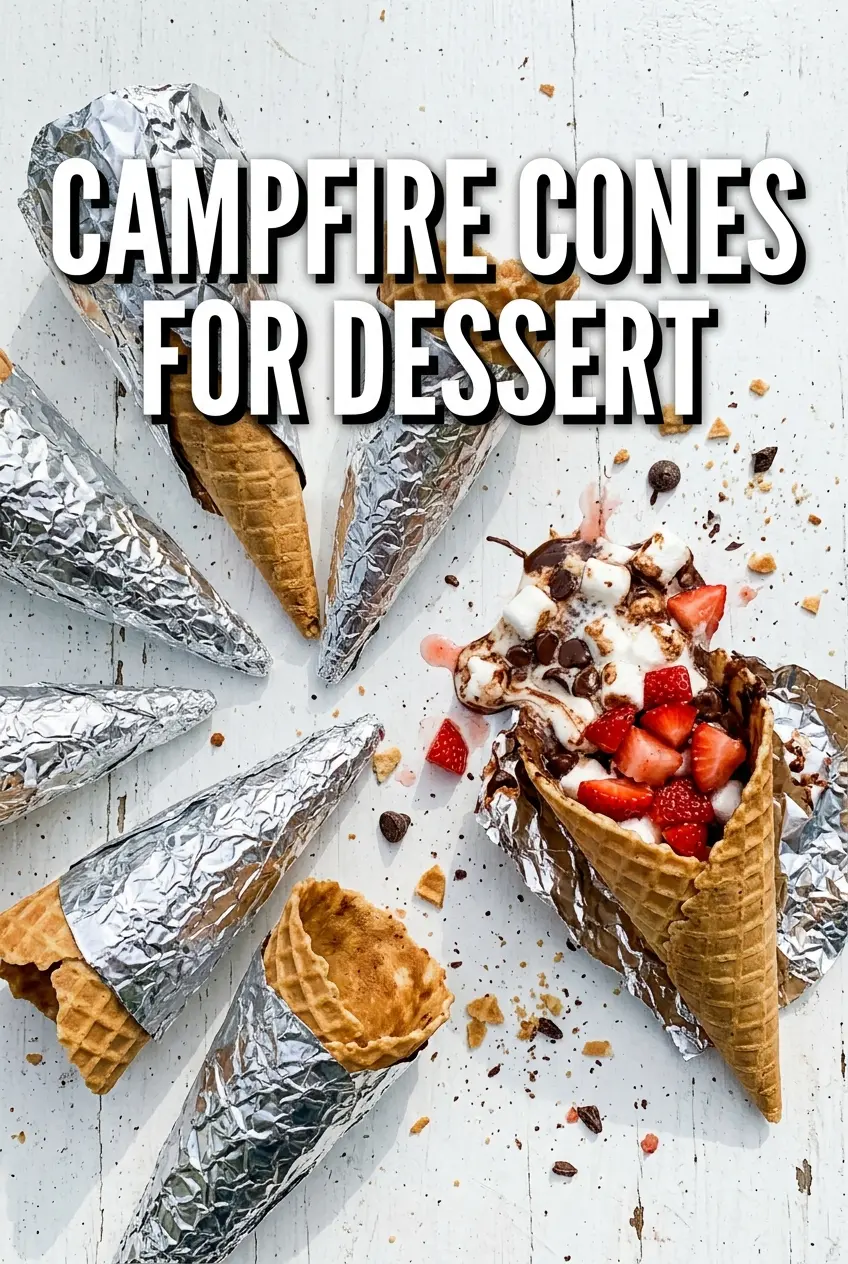
Campfire Cones
Ingredients
Equipment
Method
- Fill each waffle cone with layers of mini marshmallows, chocolate chips, banana slices, strawberries, and graham cracker pieces, building down to the base.
- Wrap each filled cone completely in aluminum foil, sealing around the cone so the filling stays inside while heating.
- Place the wrapped cones on a campfire grate over medium heat for 4-5 minutes, rotating occasionally so the filling melts evenly.
- Remove the cones from the fire and let them cool for 2 minutes so the melted filling thickens slightly.
- Carefully unwrap the foil and eat immediately with a spoon so you can catch the gooey melted layers.


