Bubbling campfire chili has a way of tasting deeper and heartier than the same pot cooked on the stove. The beef picks up a smoky edge, the tomatoes cook down into a thick spoon-coating sauce, and the beans hold their shape without turning mushy. It’s the kind of meal that earns its place at the center of a campsite dinner because it feeds a crowd and still feels like real cooking, not just fuel.
This version leans on a few simple choices that matter. Browning the beef first builds the base, and cooking the onion and bell pepper in the fat pulls sweetness into the pot before the tomatoes go in. Tomato paste gives the chili body fast, so you don’t need a long simmer to get that rich, cooked-down texture. The spices bloom as the chili heats, which keeps the flavor rounded instead of dusty.
Below, I’ll walk through the part that matters most over a fire: how to keep the chili at a steady simmer instead of letting it scorch on the bottom. There’s also a handy note on swaps, because camping cooking usually means working with what you packed.
The chili thickened up beautifully over the fire, and the tomato paste gave it that slow-cooked taste even though it was ready in under an hour. We ate it with crackers and went back for seconds.
Campfire chili like this is worth pinning for your next Dutch oven dinner — smoky, thick, and ready for crackers, cheese, and sour cream.
The Part That Keeps Campfire Chili from Burning on the Bottom
The biggest mistake with chili over a campfire is treating the heat like a stove burner. Fire moves fast, and the bottom of a Dutch oven can go from simmering to scorched before you notice. Once the chili is assembled, you want a gentle, lazy bubble, not a hard boil. That steady heat lets the tomatoes thicken and the beans stay intact.
Stir occasionally, but don’t constantly churn the pot. You’re trying to prevent sticking, not beat air into it. If the flame licks too high under one side, shift the Dutch oven or pull a few coals away so the heat evens out. That little bit of control is what gives you a chili that tastes slow-cooked instead of smoky in the wrong way.
What Each Ingredient Is Actually Doing in This Chili
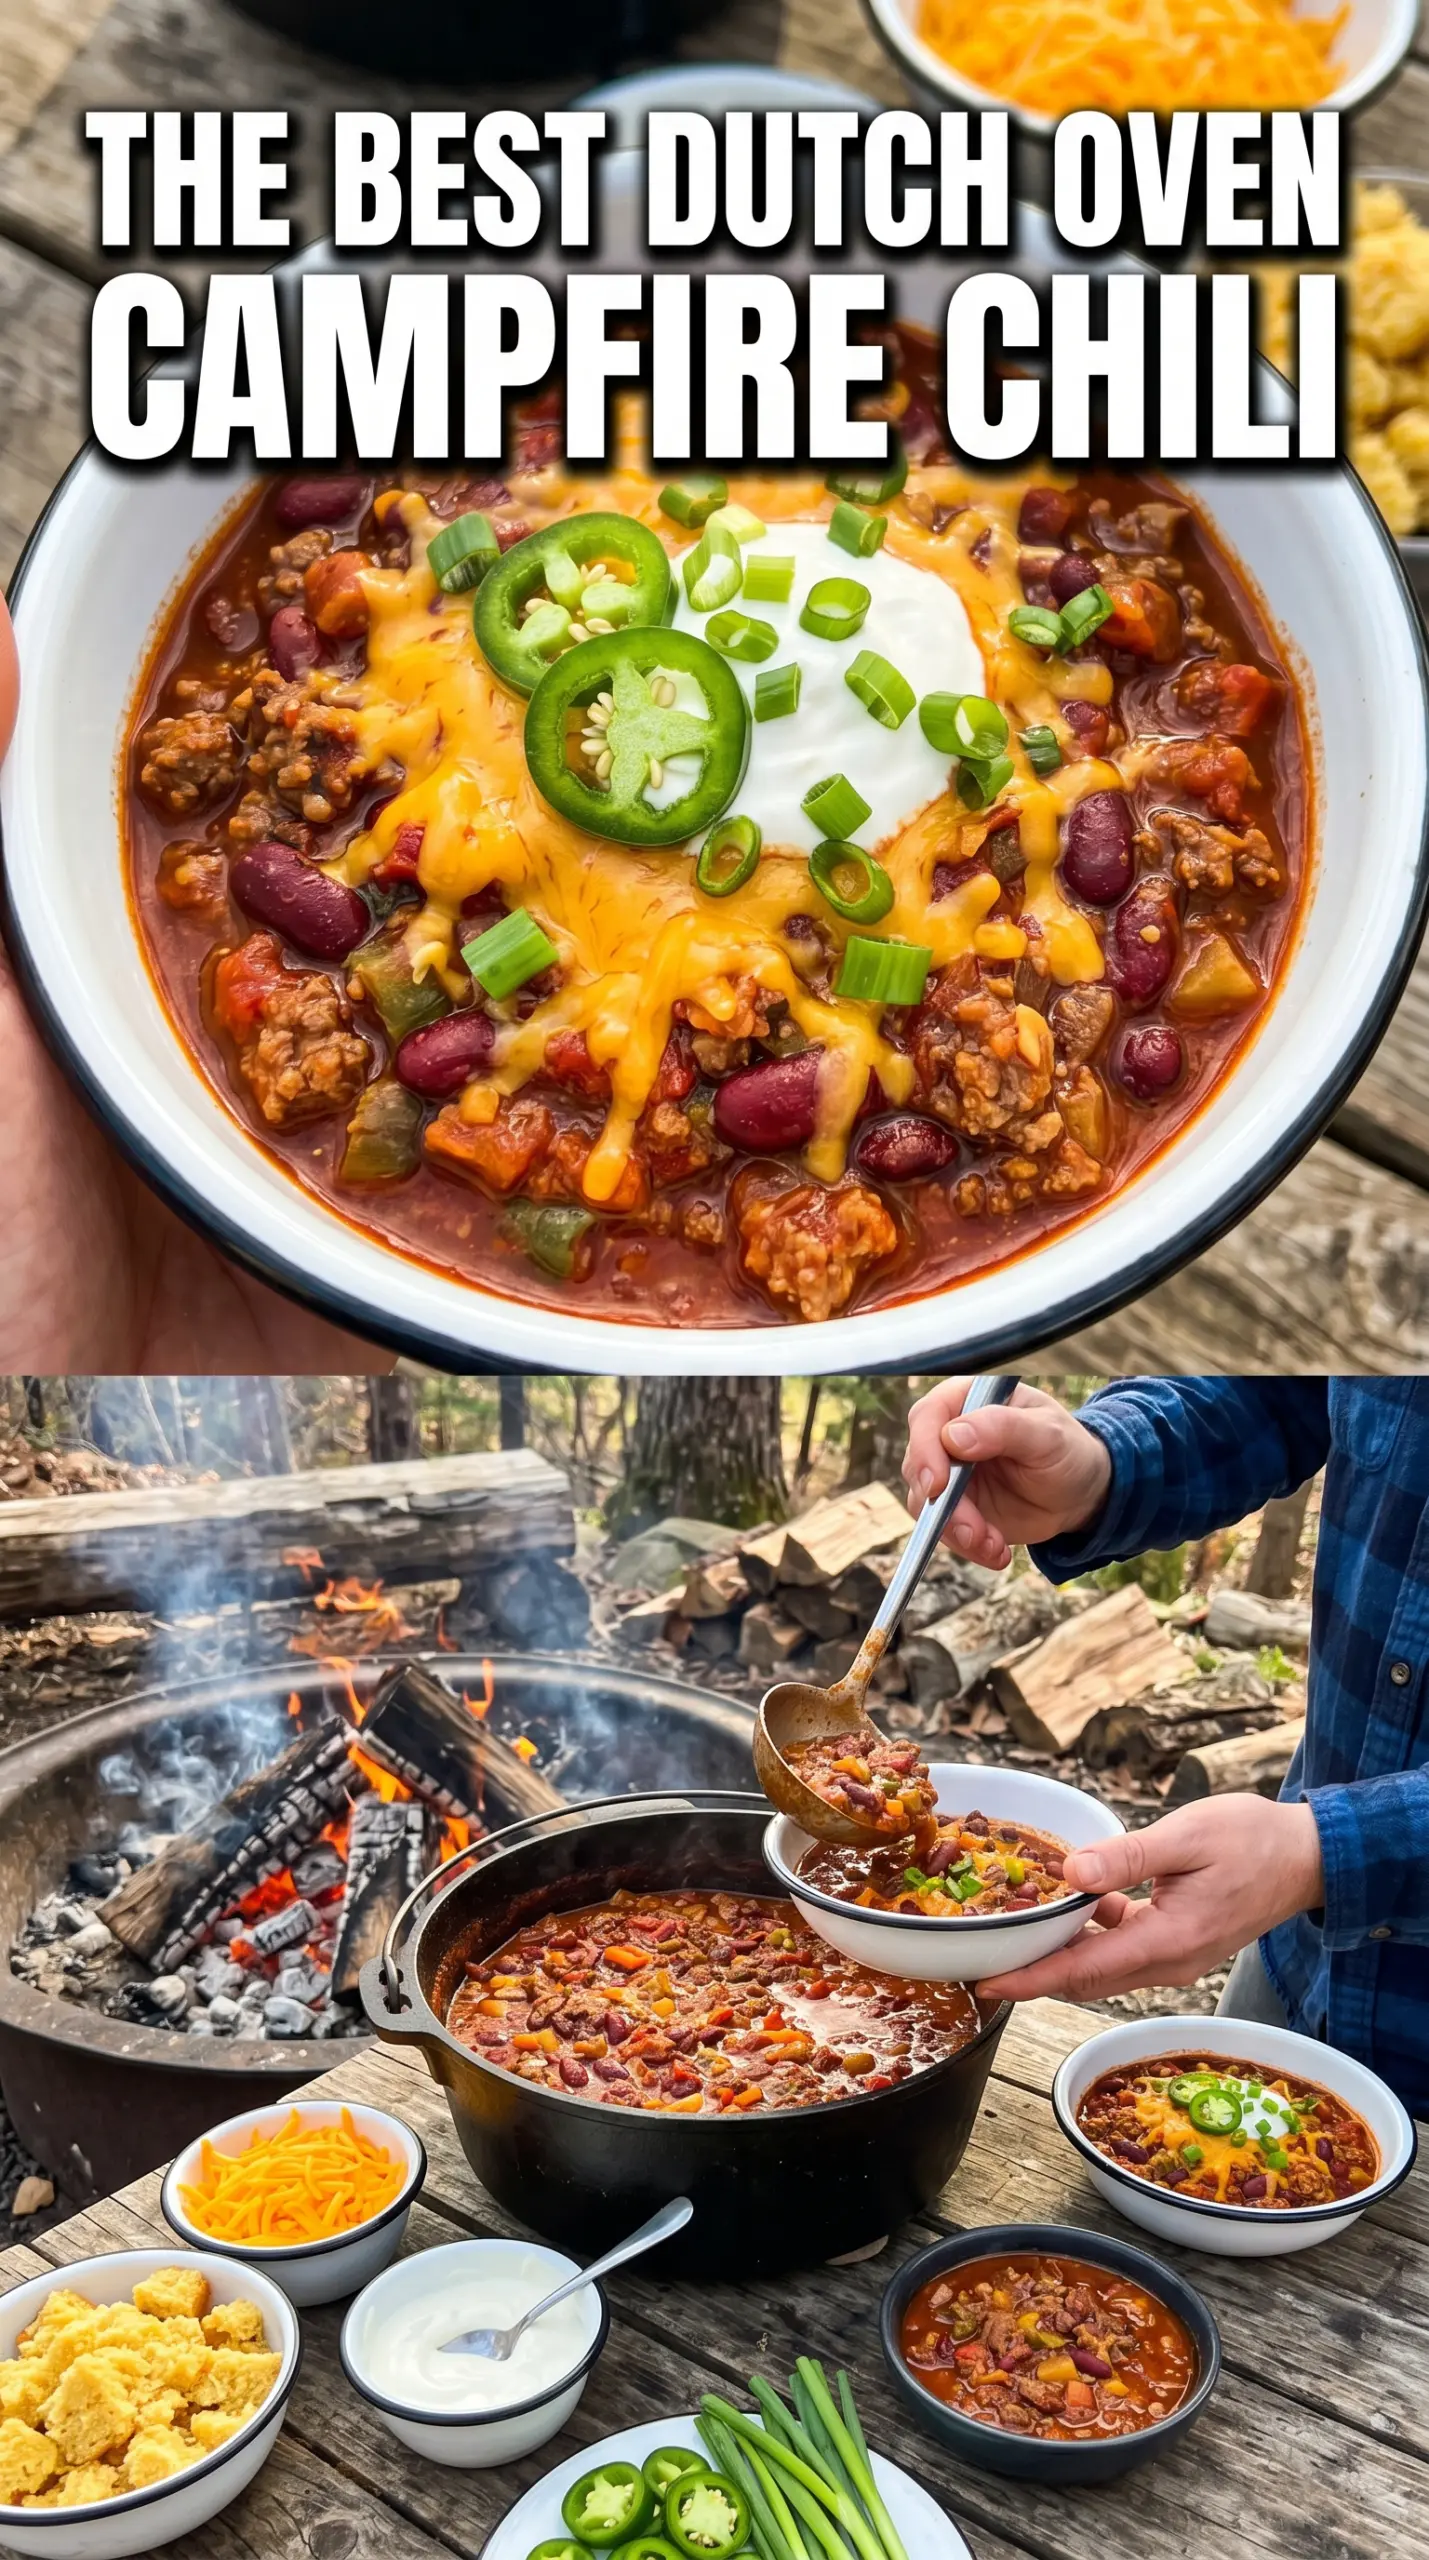
- Ground beef — This gives the chili its backbone and turns rich as it browns. An 80/20 blend works well because the fat carries flavor, but if you use lean beef, keep a little oil in the pot so the onion doesn’t catch.
- Onion and bell pepper — These soften into the beef drippings and give the pot sweetness and a little freshness. Dice them small so they disappear into the chili instead of staying crunchy after the simmer.
- Tomato paste — This is the difference between a thin camp chili and one that clings to a spoon. It adds concentrated tomato flavor and body, and there’s no real substitute that thickens this quickly.
- Kidney beans — They hold their shape better than softer beans and give the chili that classic hearty texture. Drain and rinse them first so the broth stays clean and the finished chili doesn’t taste overly salty or canned.
- Chili powder and cumin — These build the familiar chili flavor fast without needing a long ingredient list. Fresh spices matter here; old chili powder can taste flat, and camping food needs every bit of flavor it can get.
- Sour cream, cheese, and crackers — The toppings matter because they soften the heat, add richness, and give you texture against the thick chili. Crackers are the best quick fix at camp since they stand up to the pot better than delicate bread.
Building the Pot in the Right Order
Browning the Beef First
Start with the ground beef in the Dutch oven and let it sit long enough to pick up real color before you stir it apart. If it looks pale, it won’t taste as rich, and you’ll miss the browned bits that help season the whole pot. Once the beef is cooked through, drain off extra grease if the pot looks flooded, but leave enough fat behind to cook the vegetables. That little layer is carrying flavor.
Softening the Onion and Pepper
Add the diced onion and bell pepper to the beef and cook them until the onion turns translucent and the pepper loses its raw edge, about five minutes. They should soften, not disappear into mush. If the vegetables still taste sharp at this stage, the chili will carry that raw note all the way through, even after the simmer. Keep the heat steady so the bottom doesn’t darken before the vegetables have time to soften.
Letting the Chili Simmer into Itself
Stir in the beans, tomatoes, tomato paste, chili powder, cumin, salt, and pepper, then bring everything to a simmer. The tomato paste needs that heat to dissolve fully, otherwise you’ll end up with little concentrated streaks instead of a smooth, thick base. Cover the pot and let it cook for 35 to 40 minutes, stirring now and then and scraping the bottom so nothing sticks. By the end, the chili should look thicker and a little darker, with the beans settled into the sauce.
Finishing with the Toppings
Spoon the chili into bowls while it’s still hot and top it with shredded cheese, sour cream, and crackers. Cheese melts best on steaming chili, and sour cream should sit on top long enough to soften before you stir it in. If you wait too long after cooking, the chili thickens more as it sits, which is fine — just loosen it with a splash of water if you want a soupier bowl.
How to Adjust This Campfire Chili for the Pot You Packed
Swap in ground turkey for a lighter pot
Ground turkey works well if you want a leaner chili, but it needs a little help because it doesn’t bring as much built-in richness as beef. Add a drizzle of oil when you brown it, and expect a cleaner, slightly less robust flavor. The spice mix and tomato paste matter even more with turkey, so don’t cut them back.
Make it dairy-free for the campsite table
The chili itself is already dairy-free, so the swap is really about the toppings. Skip the sour cream and use extra diced onion, avocado, or a squeeze of lime if you’ve packed it. You’ll lose some creaminess, but the chili stays bold and satisfying.
Use black beans or pinto beans if that’s what you have
Black beans or pinto beans both work in place of kidney beans, though pinto beans soften a little more and black beans hold their shape a touch better. Either swap changes the look and texture, not the structure of the dish. Keep the same quantity and expect a slightly different, but still hearty, finish.
Stretch it for a bigger group
This chili scales up cleanly, which is one reason it’s such a good camp meal. Use a larger Dutch oven and give yourself enough room to stir without sloshing the edges. If the pot is packed too tightly, it takes longer to simmer evenly and you’re more likely to scorch the bottom before the center thickens.
Storage and Reheating
- Refrigerator: Store leftovers in an airtight container for up to 4 days. The chili thickens as it sits, and the flavor gets even better the next day.
- Freezer: It freezes well for up to 3 months. Cool it completely first, then pack it in freezer-safe containers with a little room for expansion.
- Reheating: Warm it gently on the stove over low to medium heat, stirring often and adding a splash of water if it’s too thick. The most common mistake is blasting it over high heat, which can cause scorching before the center is hot.
Questions I Get Asked About This Recipe
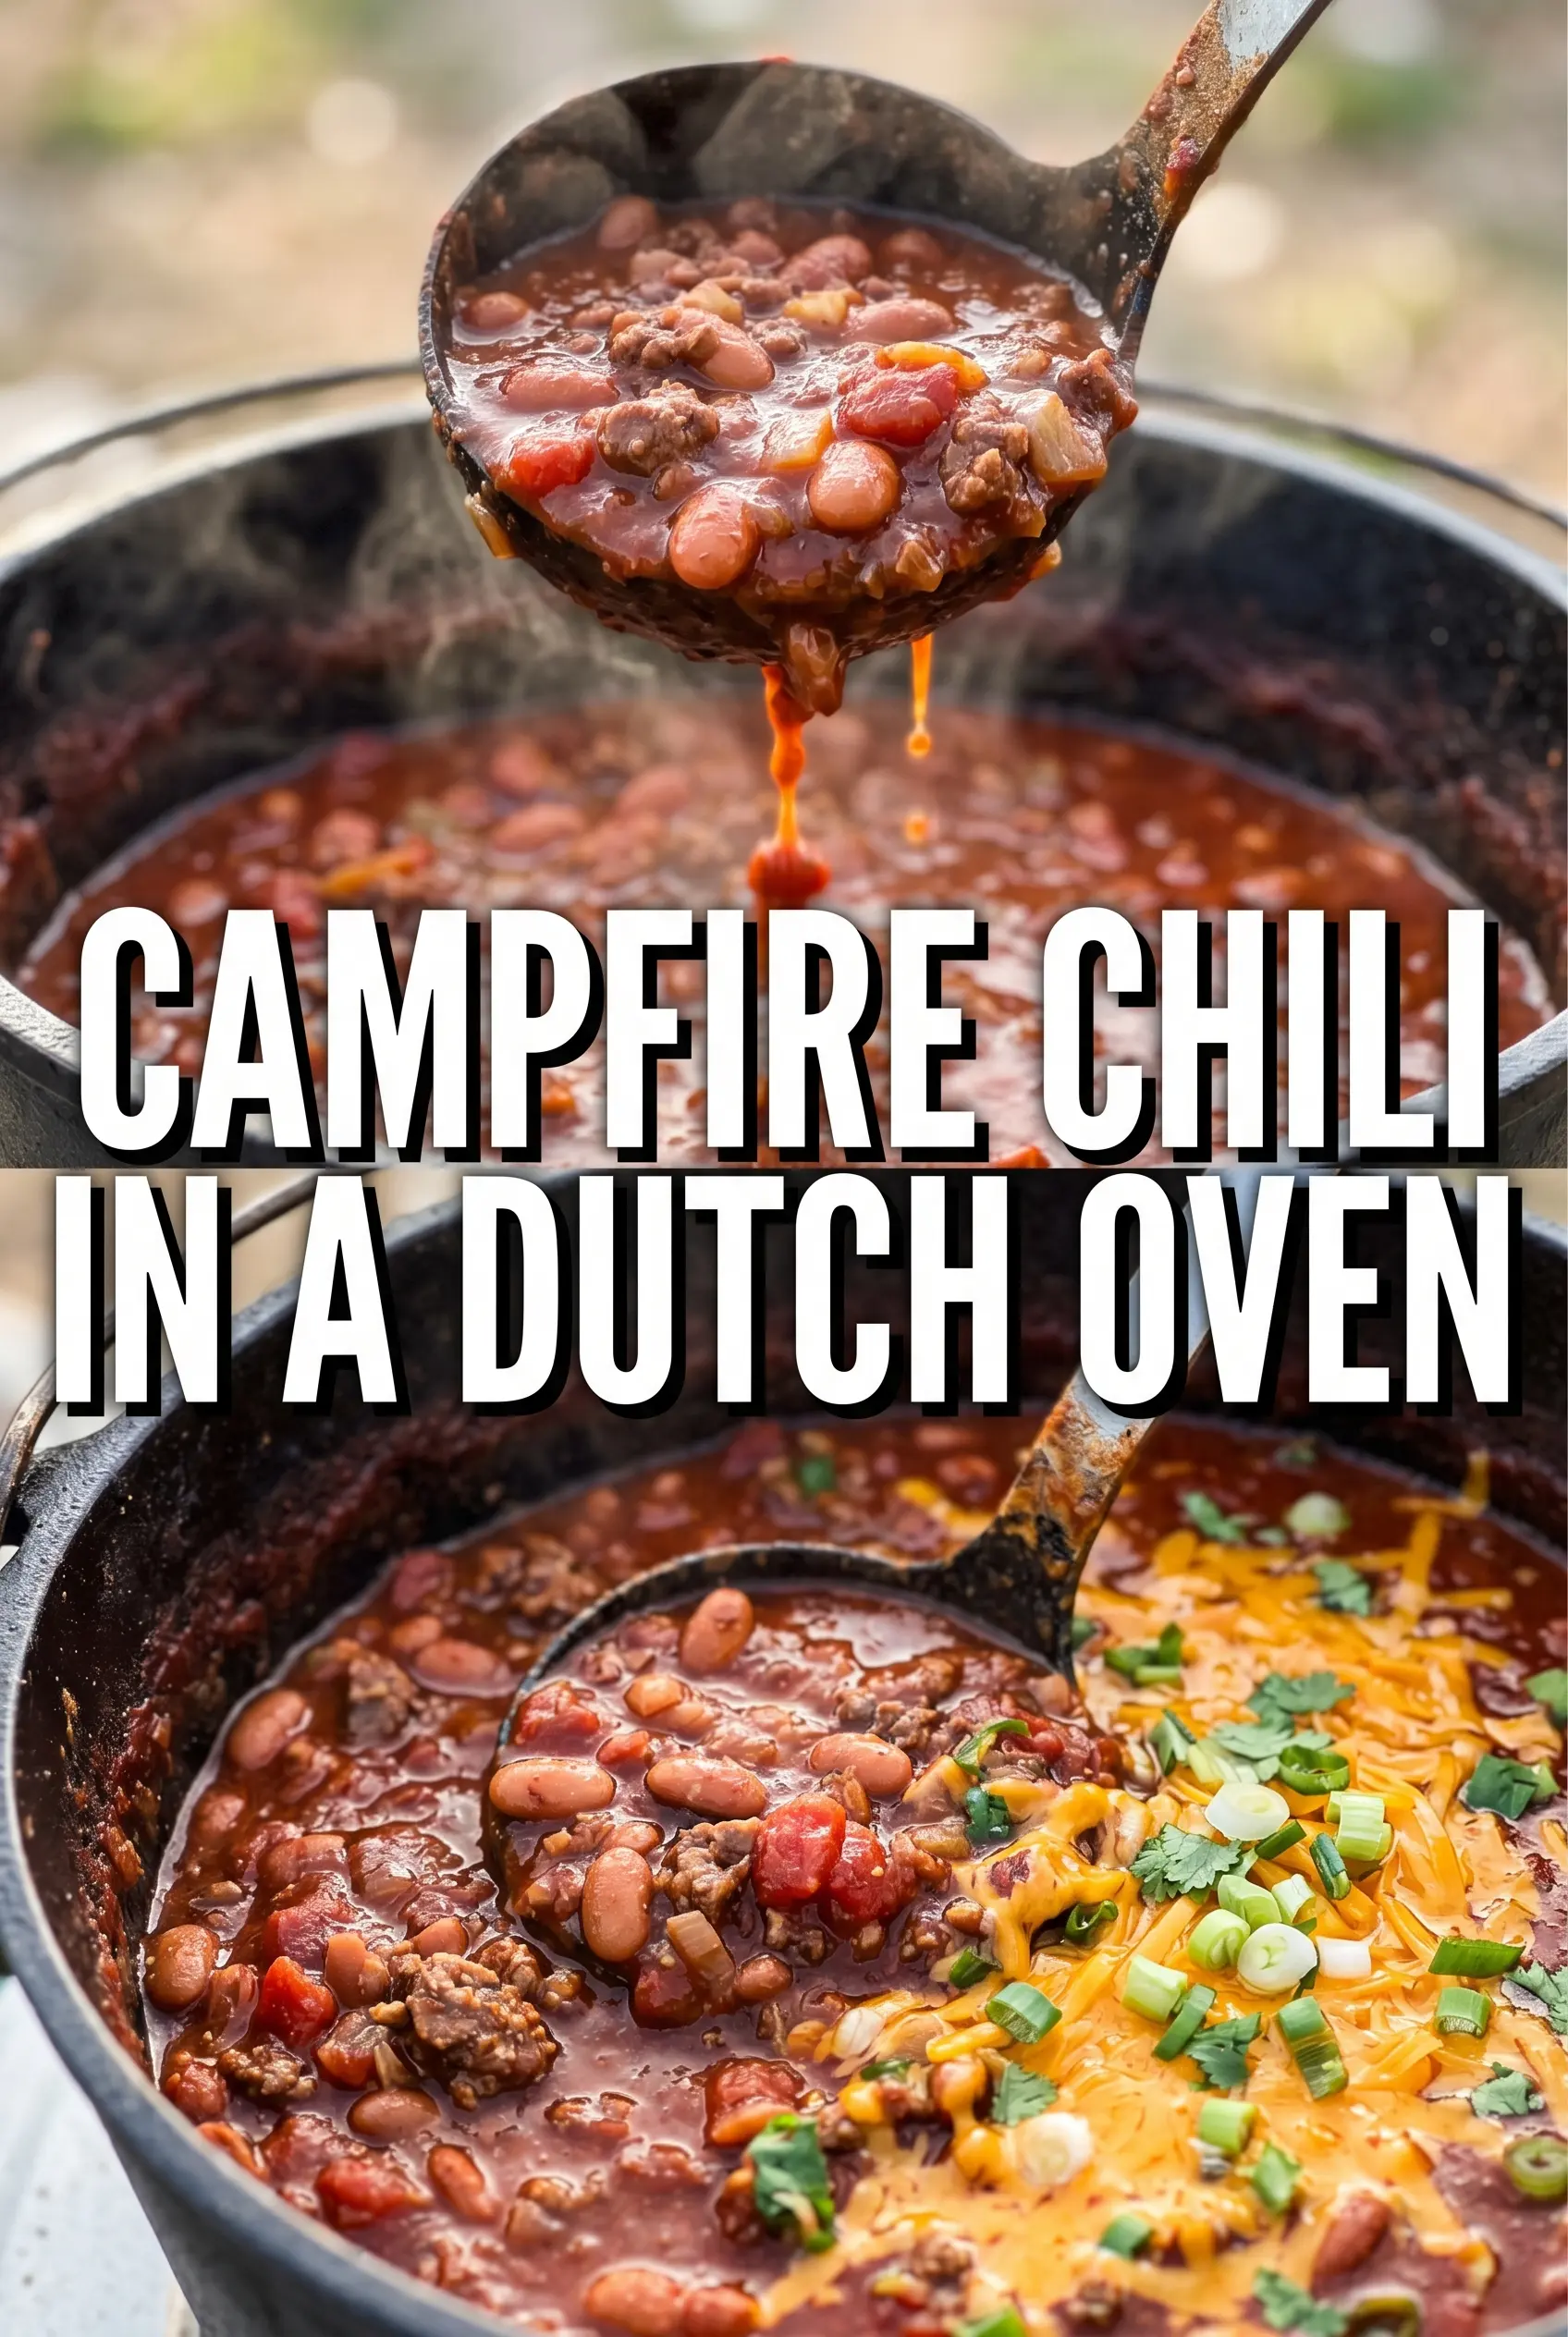
Campfire Chili
Ingredients
Equipment
Method
- Brown the ground beef in a Dutch oven over the campfire, then add the diced onion and bell pepper and cook for 5 minutes with occasional stirring until the beef is browned and the vegetables look softened.
- Add the kidney beans, diced tomatoes, tomato paste, chili powder, cumin, salt, and pepper, then stir to combine and bring to a simmer.
- Cover the Dutch oven and cook the chili for 35-40 minutes, stirring occasionally until thick, bubbling, and the flavors meld.
- Ladle the chili into bowls and serve hot with shredded cheese, sour cream, and crackers for topping.


