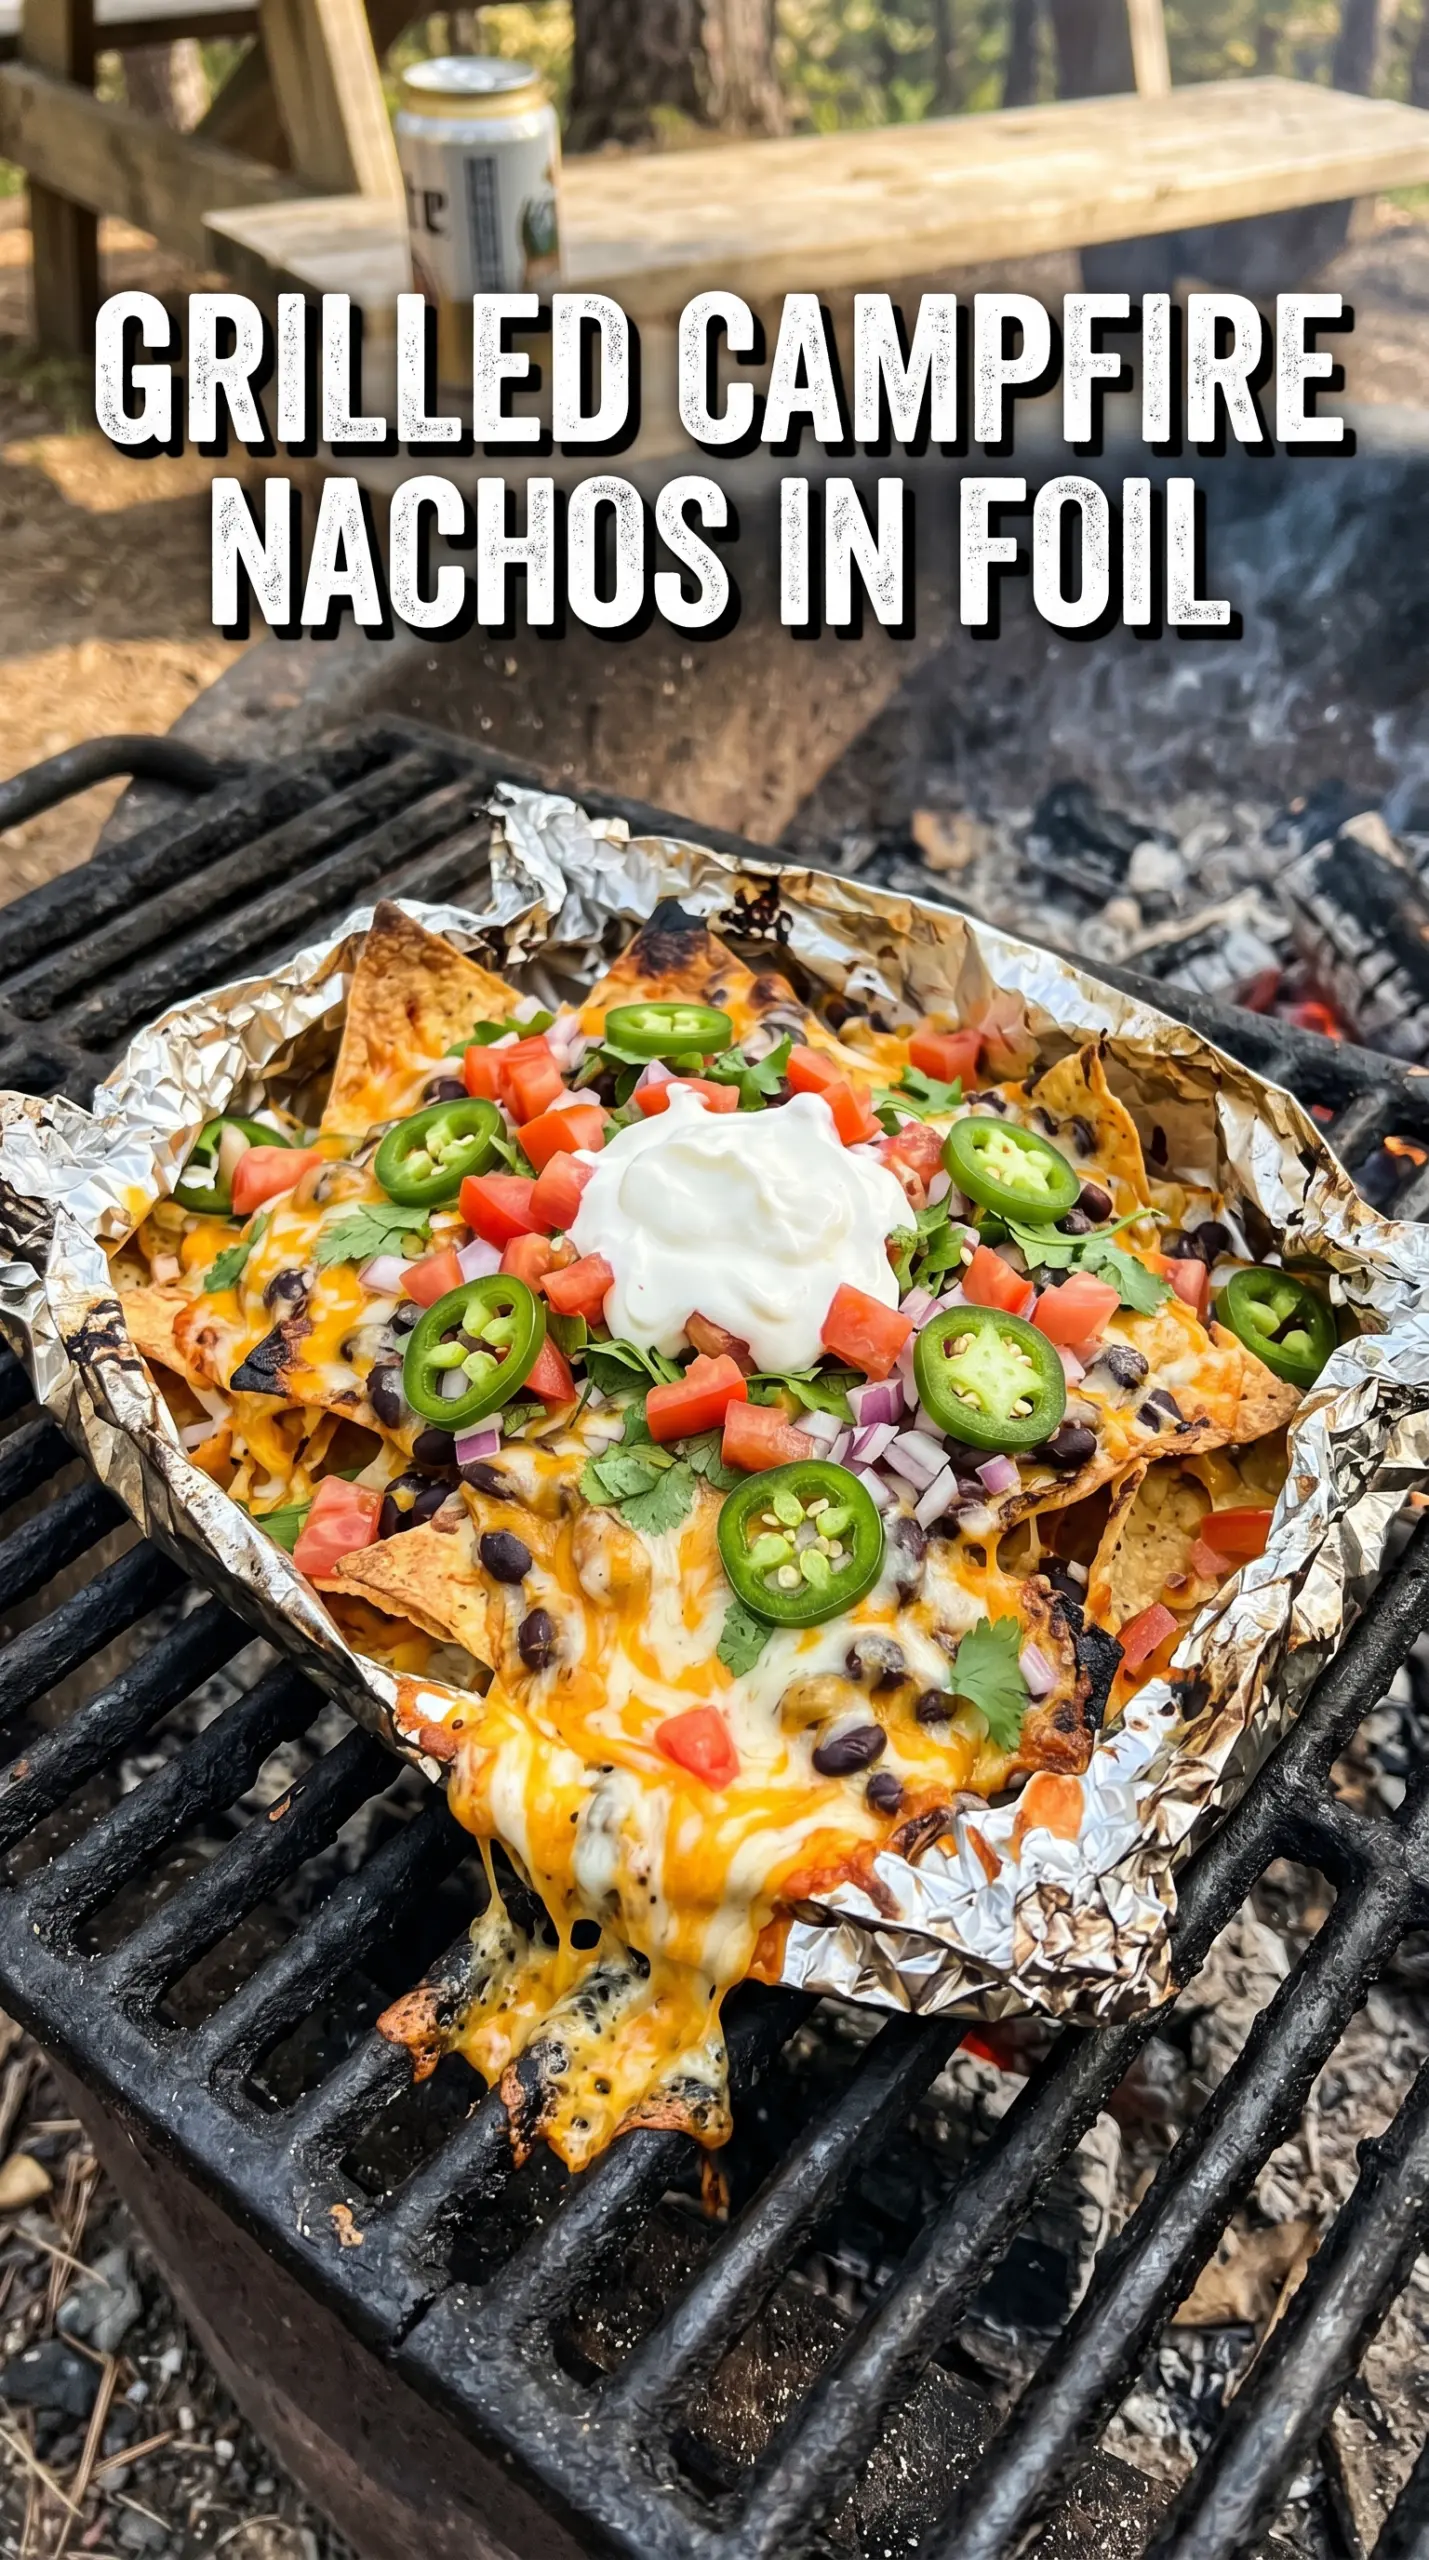
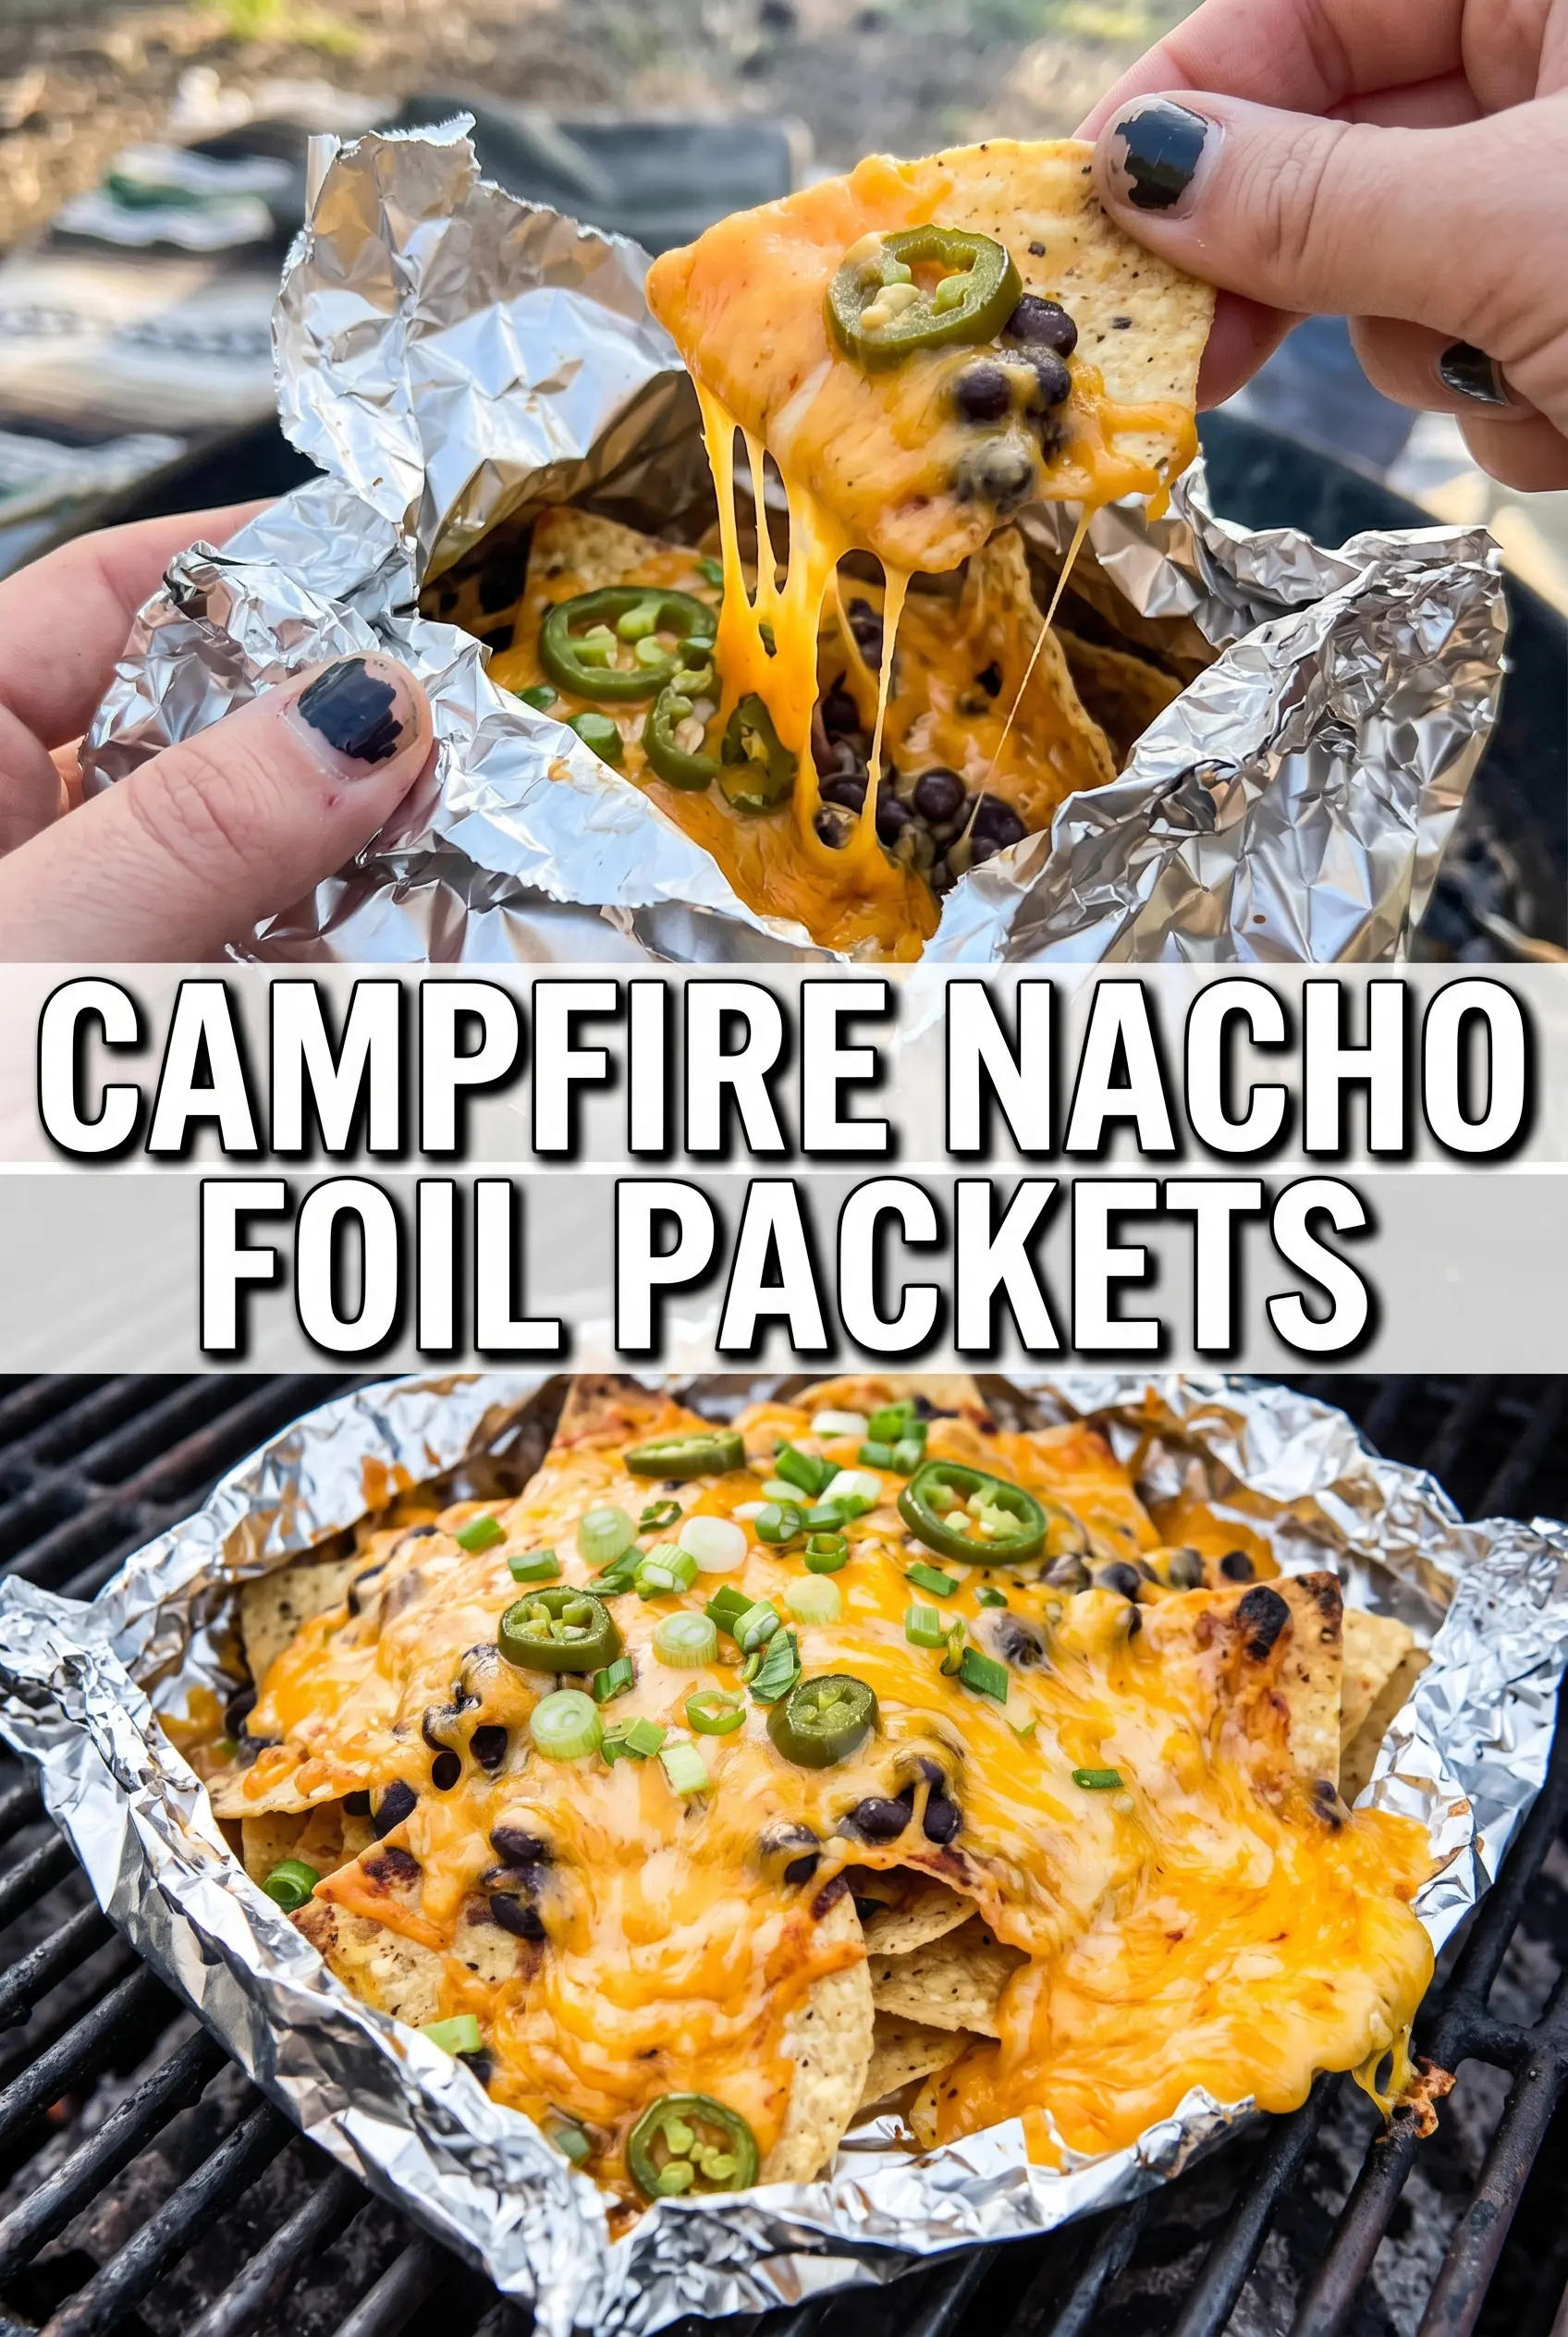
Grilled campfire nacho packets hit the table with the best kind of chaos: molten cheese, crisp-edged chips, smoky heat, and enough toppings to feel like a full meal in foil. Each packet turns into its own little nacho pile, which means nobody has to fight over the corner pieces or scrape a shared pan. When the foil opens, the cheese is melted through, the beans and meat are warmed, and the chips underneath still have some structure instead of collapsing into mush.
The trick here is balance. Heavy-duty foil keeps the packets sturdy over the grate, and the heat has to stay moderate so the cheese melts before the chips burn. A little space inside each packet helps the steam move around without turning everything soggy. I also like using a mix of black beans and cooked meat because the beans keep the filling from feeling too heavy, while the meat adds the savory base that makes these taste complete.
Below, you’ll find the timing that keeps the chips from going limp, plus a few easy swaps for making these packets work with what you already have on hand.
The cheese melted all the way through and the chips at the edges stayed crisp instead of turning soggy. These were a hit around the fire and disappeared fast.
These grilled campfire nacho packets are perfect when you want smoky, cheesy nachos with almost no cleanup.
Why the Foil Has to Stay Loose Enough for Steam to Move
Campfire nachos fail when the packet is wrapped too tightly. Tight foil traps steam against the chips, and that’s how you end up with a soft, collapsed mess instead of layers that still have some bite. Give each packet a little air inside before sealing, and the heat can melt the cheese while the chips on the edges toast instead of turning soggy.
The other common mistake is blasting them over fire that’s too hot. Medium heat is the sweet spot here. You want the cheese fully melted and the filling warmed through by the time the chips at the bottom start to soften. If the grate is screaming hot, the foil can scorch before the center of the packet catches up.
- Heavy-duty foil — This matters more than people think. Thin foil tears when you flip or lift the packets, especially once the cheese starts to melt and the fillings get heavier.
- Tortilla chips — Sturdy chips hold up best. Thin restaurant-style chips can work, but thick chips survive the steam better and give you that better bite underneath the toppings.
- Cooked ground beef or chicken — The meat just needs to be cooked before it goes into the packet. Raw meat won’t cook evenly in the short grill time here, and it can make the chips leak moisture before the cheese melts.
- Black beans — They add body and keep the packets from feeling like just chips and cheese. Rinse and drain them well so they don’t dump extra liquid into the foil.
What Each Ingredient Is Actually Doing in These Foil Packets
- Foil packets (the containment and cooking vessel) — Heavy-duty foil keeps everything together and steams the ingredients gently. Double-wrap to prevent holes.
- Protein (chicken, beef, or pork) — Cut into even pieces so everything cooks at the same rate. Thinner pieces cook faster in the steam environment.
- Fresh vegetables (bell peppers, onions, zucchini) — Cut to similar sizes so they finish at the same time. Vegetables release their own moisture, which becomes the cooking liquid.
- Seasoning and salt (proper flavor throughout) — Don’t skimp on seasoning because the steaming environment can make flavors taste muted. Season generously.
- Butter or oil (the cook and carrier) — A little fat helps prevent sticking and carries flavor throughout the packet. It also keeps the ingredients from drying out.
- Fresh herbs (cilantro, parsley, or dill) — These add freshness to packets that can otherwise taste heavy or one-dimensional. Add some before sealing.
- Acidic element (lemon, lime, or vinegar) — A squeeze of fresh juice brightens the steamed ingredients and prevents them from tasting flat or muted.
- Proper heat management (medium to high campfire heat) — Packets need steady heat to steam evenly. Rotate them halfway through so both sides cook equally.
Building the Packets So the Chips Stay Crisp Where It Counts
Layering the Base
Start with a square of heavy-duty foil and divide the chips among the four sheets. Keep the chips in a loose mound instead of pressing them flat, because a packed-down layer traps steam and turns into a soft sheet. The goal is for the center to melt and warm while the edges stay just a little textured.
Adding the Toppings
Scatter the cheese, beans, meat, and jalapeños over the chips evenly. Don’t bury everything under one heavy spot or the bottom will steam unevenly and the top will dry out. The cheese should be visible across the surface so it can melt into the chips and hold the packet together when you open it.
Sealing for the Grill
Fold the foil into sealed packets, leaving a little room above the filling so the heat can circulate. Crimp the edges tightly enough that nothing leaks, but don’t press the foil so hard against the toppings that the cheese sticks to the wrapper as it melts. Set the packets on a medium grill grate or campfire grate and cook for 12 to 15 minutes, checking for melted cheese and hot filling before pulling them off.
Opening and Finishing
Open the packets carefully because the steam is intense and it builds fast. Use tongs and peel the foil back away from your face, then finish with salsa, sour cream, and guacamole while the nachos are still hot. The cold toppings do the work of balancing the salt and heat, and they also keep the whole thing from feeling one-note.
Make It Meatless Without Losing the Heft
Skip the beef or chicken and double the black beans, or add seasoned corn and diced bell pepper for more texture. You’ll lose some savory depth, so lean harder on the cheese and finish with extra salsa for brightness. The packets still hold together well because the beans give them enough substance to feel like a full appetizer.
Turn Them Into Spicy Chicken Nachos
Use shredded cooked chicken and add pickled jalapeños or a few dashes of hot sauce to the filling before sealing the packet. Chicken keeps the nachos lighter than beef and takes on the smoke from the grill nicely, but it needs enough seasoning to stand up to the chips and cheese. This version works especially well if the chicken is already seasoned from another meal.
Gluten-Free Campfire Nachos
Use certified gluten-free tortilla chips and check that your seasoning on the meat is gluten-free too. The method doesn’t change, which is why this is such an easy recipe to adapt for a mixed group. The key is still the same: sturdy chips and medium heat so the packets don’t turn into a soggy layer of crumbs.
Storage and Reheating
- Refrigerator: Store leftovers in a sealed container for up to 2 days. The chips soften as they sit, so expect a much less crisp texture.
- Freezer: These don’t freeze well. The chips and toppings lose their texture after thawing, and the whole packet turns mushy.
- Reheating: Reheat leftovers in a skillet over low heat or in a 350°F oven until warmed through. Microwaving softens the chips even more, which is the fastest way to lose the texture that makes these worth serving in the first place.
Questions I Get Asked About This Recipe
Grilled Campfire Nacho Packets
Ingredients
Equipment
Method
- Divide tortilla chips among 4 heavy-duty aluminum foil sheets, spreading them into an even layer on each sheet so they melt around the edges.
- Top each pile with shredded Mexican cheese blend so it covers the chips in a thick, even layer for melt and coverage.
- Spoon drained black beans over the cheese on each packet, distributing them so every bite includes beans.
- Add cooked ground beef or chicken to each packet, placing it over the cheese so it heats quickly during grilling.
- Layer sliced jalapeño on each packet in thin pieces so the heat disperses throughout the melted nachos.
- Fold the foil into sealed packets, leaving a little room for heat circulation so steam doesn’t fully collapse the chips.
- Place the packets on a campfire grate over medium heat for 12-15 minutes, until the cheese is fully melted and the contents are hot through.
- Remove the packets from the heat and carefully open each one, watching for escaping steam and keeping the nachos in place.
- Top with salsa, sour cream, and guacamole before serving so the toppings stay fresh and not cooked down.


