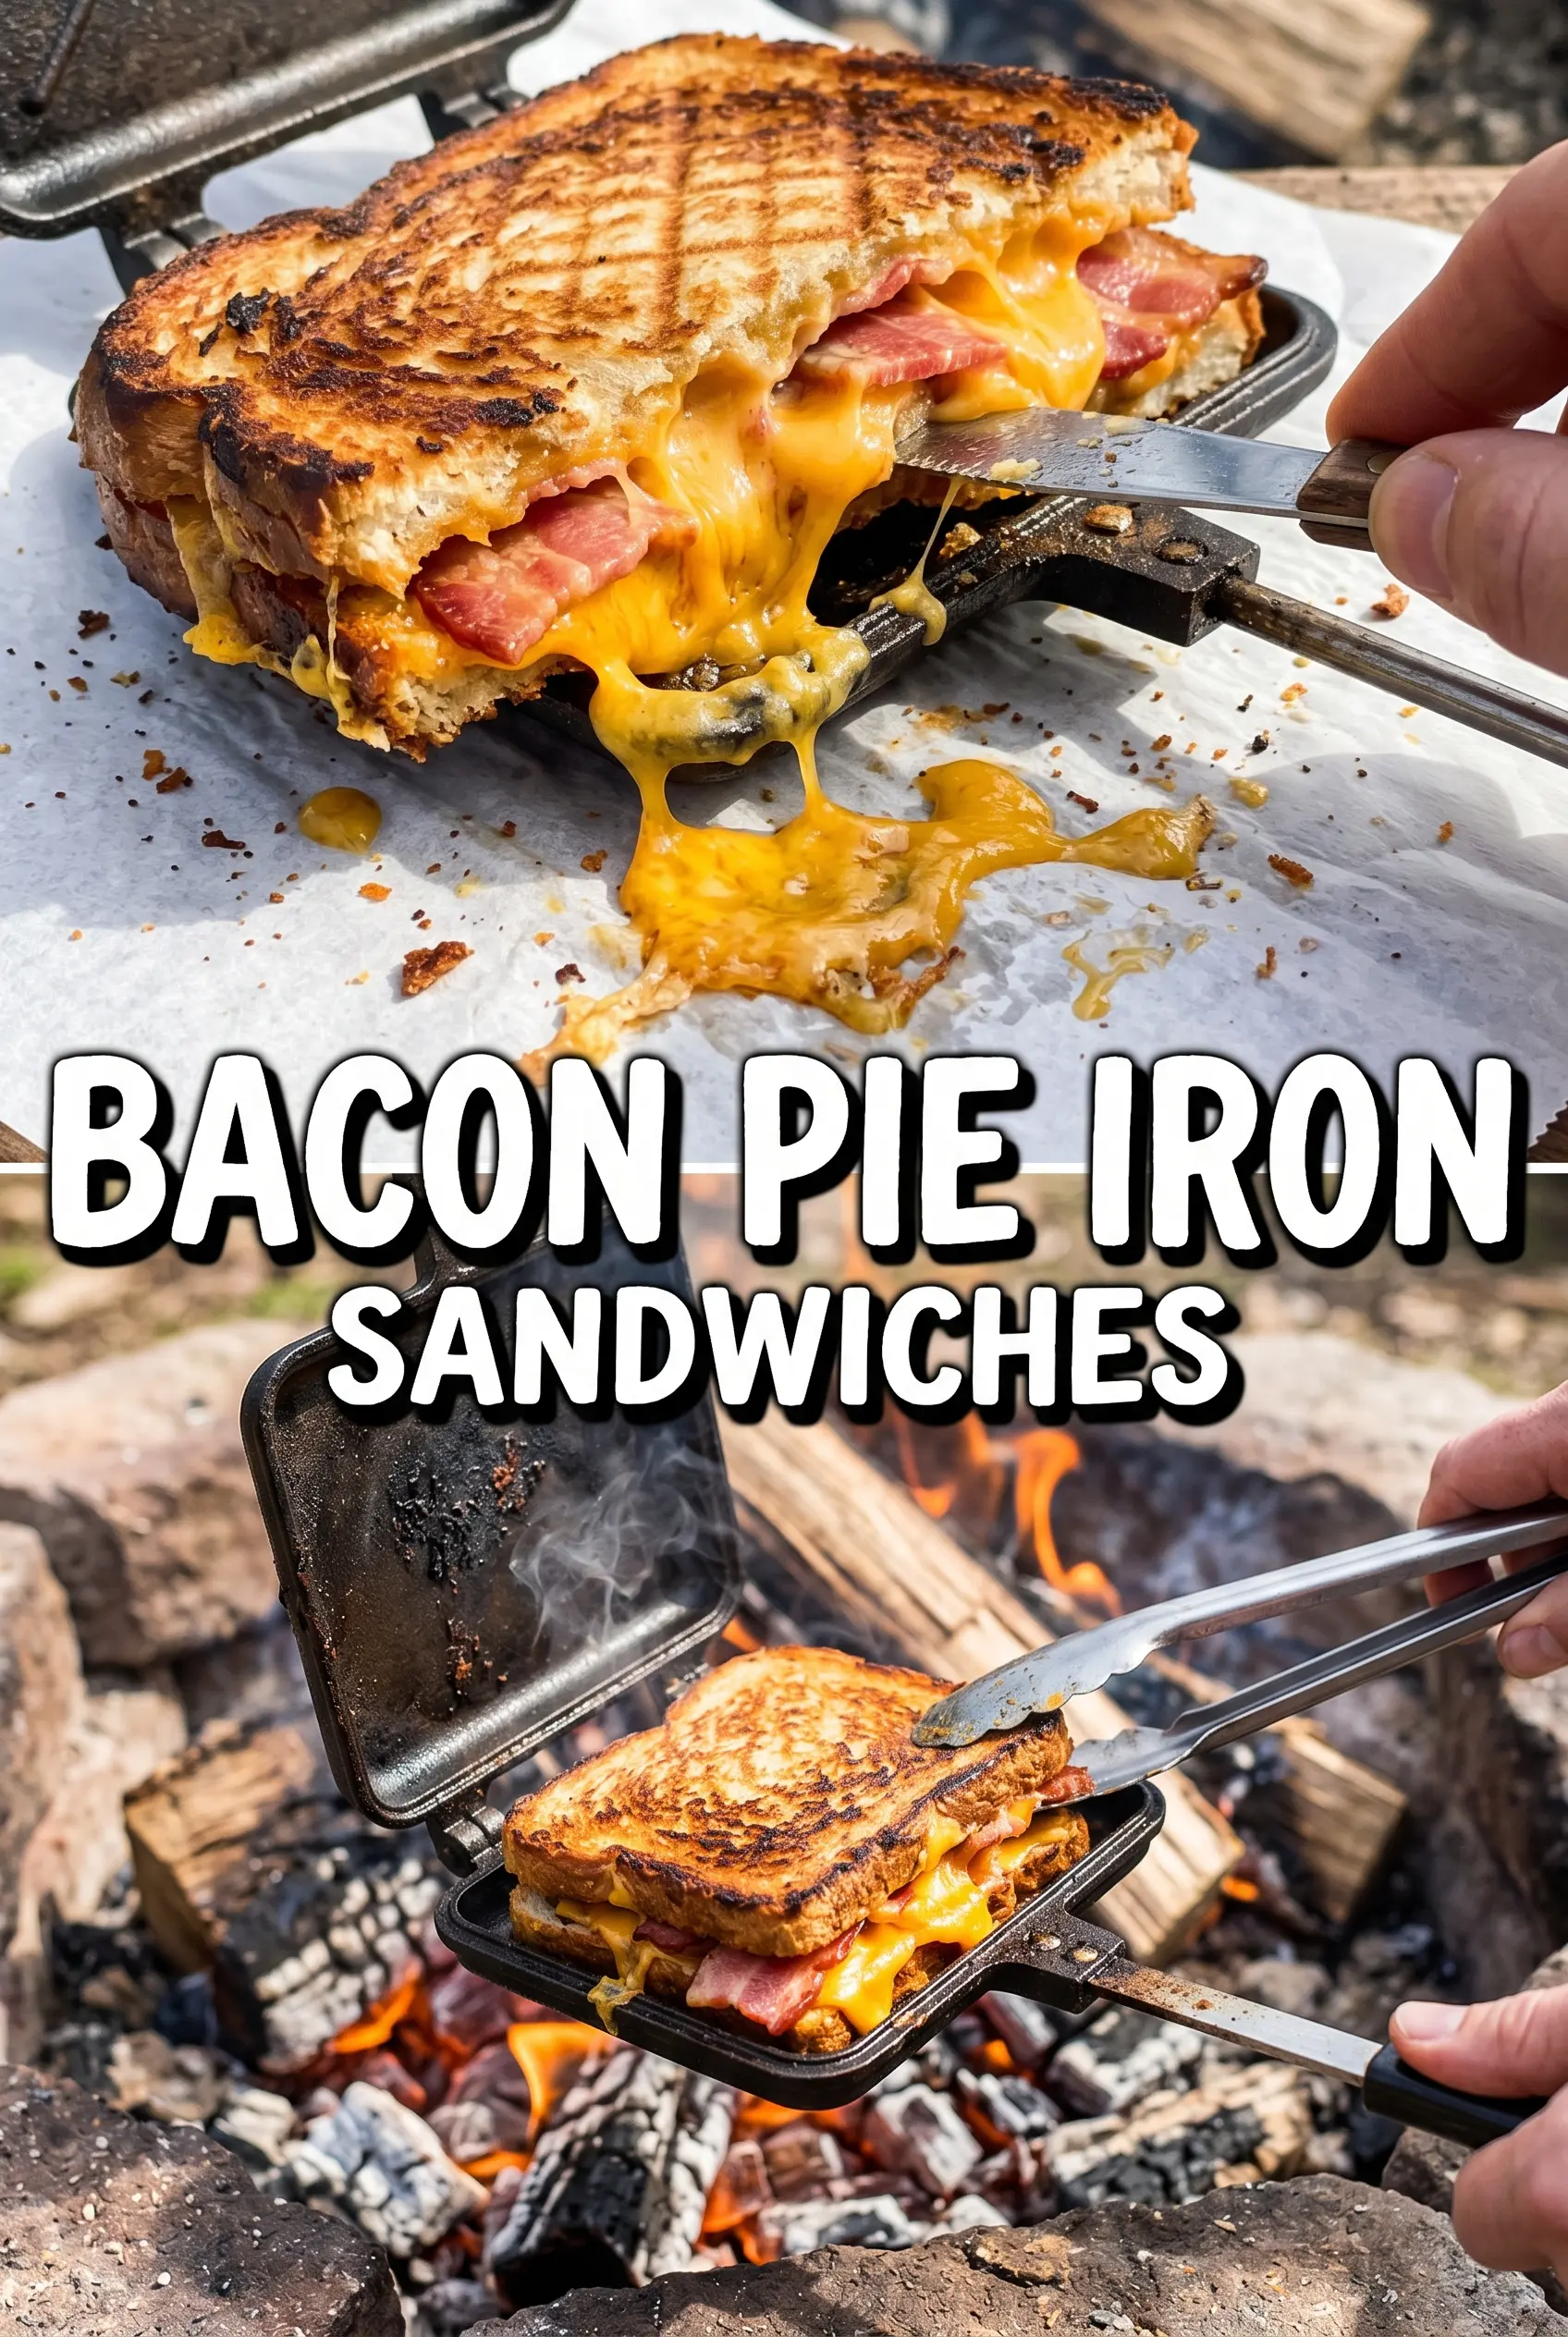
Bacon Pie Irons turn a simple breakfast into something you actually look forward to making at camp. The bread crisps up into a buttery shell, the cheese melts into the eggs, and the bacon keeps every bite salty and satisfying. When the iron opens cleanly and the sandwich comes out with a deep golden crust, you know breakfast is going to be a good one.
The trick is keeping the filling balanced. Too much egg or cheese, and the bread won’t seal well; too little, and the sandwich feels dry. Scrambled eggs work best here because they set fast and stay tender inside the bread, while pre-cooked bacon brings flavor without adding extra time over the fire. The buttered bread also matters more than people think — it’s what gives you that crisp, even toast instead of a pale, stuck-on sandwich.
Below, you’ll find the timing cues that help these cook evenly over coals, plus a few smart swaps if you want to change the filling without losing the texture that makes pie irons so good.
The bread toasted up evenly and the cheese melted all the way through without the filling leaking out. I made these over campfire coals and they were gone before I could even make the second batch.
Save these bacon pie irons for your next campfire breakfast — the crispy bread, melted cheddar, and bacon-packed center come together fast.
The Part That Keeps the Sandwich from Sogging Out
Pie irons punish overfilled sandwiches. Once the bread starts to toast, the pressure from the iron squeezes everything inward, and if there’s too much egg or cheese inside, the edges won’t seal. That’s when filling leaks out and scorches on the metal instead of staying tucked inside the sandwich.
The best approach is a thin, even layer of scrambled eggs, bacon laid flat, and one slice of cheddar that melts without turning the sandwich into a bulging mound. Cook the bacon first so it’s already crisp and rendered; raw bacon won’t cook evenly in the short time the bread needs. Medium-heat coals matter here too. Too hot, and the bread burns before the cheese melts. Too cool, and you get pale bread and rubbery filling.
- Scrambled eggs — These should be just set, not wet. Loose eggs steam into the bread and make the center soggy, so cook them until they hold together in soft curds.
- Cooked bacon — Pre-cooked bacon gives the sandwich its smoky salt without leaving you waiting for raw meat to finish in the iron.
- Cheddar cheese — Cheddar melts cleanly and adds enough sharpness to cut through the bacon. Mild cheddar works best, but any good melting cheese will do the job.
- Bread — Sandwich bread is sturdy enough to toast without cracking. Thin bread gets brittle; thick bread can stay doughy in the middle unless the iron is held over steady heat.
Building the Filling So It Melts Before the Bread Burns

Butter on the outside of the bread is doing the heavy lifting here. It helps the slices brown evenly and gives you that crisp, almost flaky surface when the pie iron opens. Use a soft layer, not a thick smear, or the bread can get greasy before it ever gets properly toasted.
If you want the cheese to melt right as the bread finishes, start with scrambled eggs that are still a little tender. They’ll finish in the pie iron from the residual heat. If the eggs are fully dry before they go in, the sandwich can taste flat. A small pinch of salt and pepper is enough; the bacon and cheddar already bring plenty of seasoning.
- Butter — Soft butter spreads more evenly and browns better than cold butter. If you use melted butter, brush it on lightly so the bread doesn’t soak through.
- Eggs — Slightly underdone scrambled eggs are ideal because they finish cooking inside the iron. Fully cooked eggs can go rubbery after a few minutes over coals.
- Salt and pepper — Season the eggs lightly before assembling. Bacon and cheese add salt, so go easy unless your bacon is especially mild.
Getting the Golden Crust Without Burning the Filling
Butter and Stack the Bread
Butter one side of each slice, then place the first slice in the pie iron butter-side down. Add the eggs, bacon, and cheese in the center, keeping everything away from the edges so the bread can seal. Top with the second slice, butter-side up, and close the iron firmly. If the filling reaches the edges, it will squeeze out and stick to the metal.
Cook Over Steady Coals
Set the pie iron over hot coals, not open flame. Flame chars the outside before the inside has time to melt. Cook for about 3 to 4 minutes per side, then open it and check the color. You want deep golden bread and fully melted cheese; if the bread still looks pale, give it another minute rather than ripping it open too soon.
Release and Serve Hot
Open the iron slowly so you don’t tear the crust. A well-cooked sandwich should lift cleanly, with the cheese stretched between the halves and the bacon still snug inside. Let it sit for a minute before biting in, because the filling stays hotter than you think and the first mouthful can burn if you rush it.
How to Adjust These for Different Campers and Different Pantries
Use turkey bacon instead of pork bacon
Turkey bacon works if that’s what you have, but it won’t give you the same rich drippings or smoky depth. Cook it until it’s crisp before assembling, or it can turn soft inside the sandwich.
Make it vegetarian with sautéed mushrooms
Skip the bacon and use well-browned mushrooms for a savory, meatless filling. Cook them until their moisture is gone, or the sandwich will steam from the inside and soften the bread.
Go gluten-free with sturdy sandwich bread
A good gluten-free sandwich bread can work here, but choose one that holds together when pressed. Very airy loaves break apart in the iron, so use a denser slice and keep the filling modest.
Swap in a dairy-free cheese
A meltable dairy-free cheese can work, but choose one that softens rather than dries out. Some brands stay stiff, so expect less stretch and a little less creaminess in the center.
Storage and Reheating
- Refrigerator: Store leftovers for up to 2 days. The bread softens as it sits, so the crust won’t stay as crisp.
- Freezer: I don’t recommend freezing these. The eggs and bread both change texture after thawing, and the sandwich gets watery.
- Reheating: Reheat in a skillet over medium-low heat or in a toaster oven until the bread crisps back up and the center is hot. The mistake to avoid is microwaving, which makes the bread chewy and the cheese greasy.
Answers to the Questions Worth Asking
Bacon Pie Irons
Ingredients
Equipment
Method
- Butter one side of each bread slice so the crust browns evenly in the pie iron.
- Place one slice, butter-side down, into the preheated pie iron to form the bottom layer.
- Layer the bottom bread with scrambled eggs, then add cooked bacon on top.
- Add cheddar cheese across the layers so it melts and helps bind the sandwich.
- Season with salt and pepper to taste for even flavor in every bite.
- Top with a second bread slice, butter-side up, to seal the filling between toasted bread.
- Close the pie iron and cook over campfire coals for 3-4 minutes per side until the outside is golden and the cheese melts.
- Open the pie iron and serve the sandwiches hot for the best cheesy stretch and crunch.


