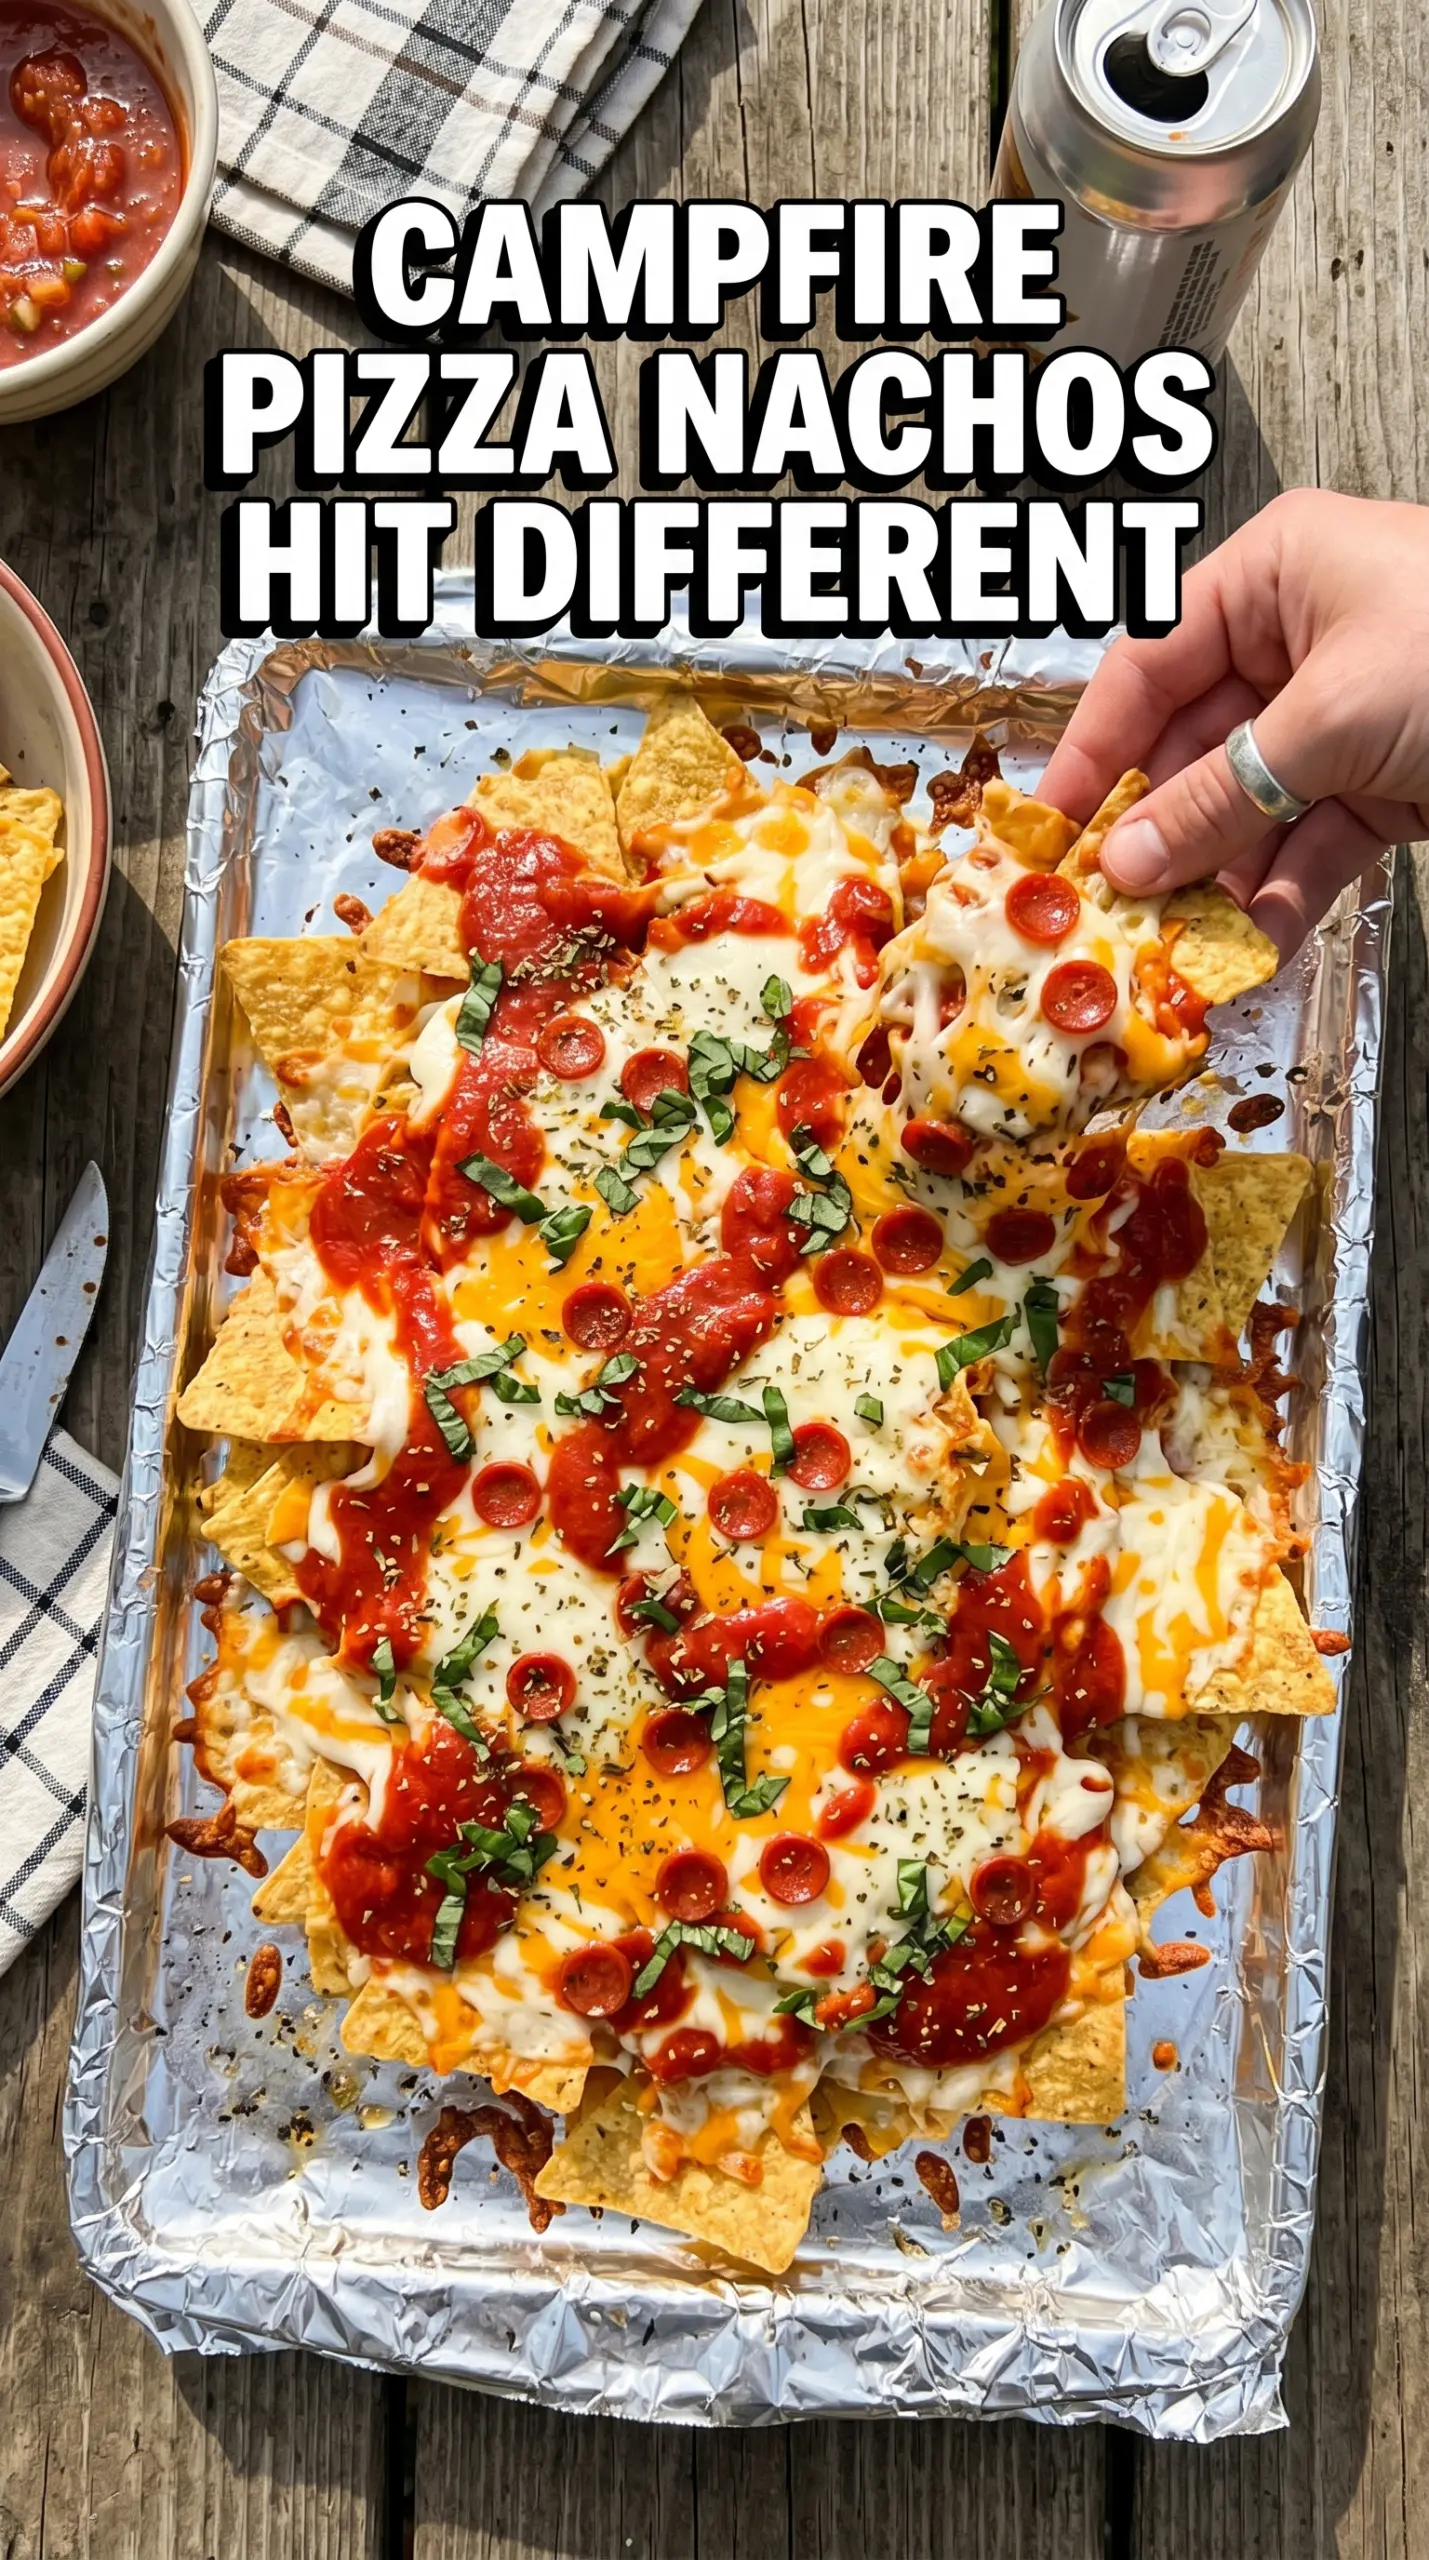
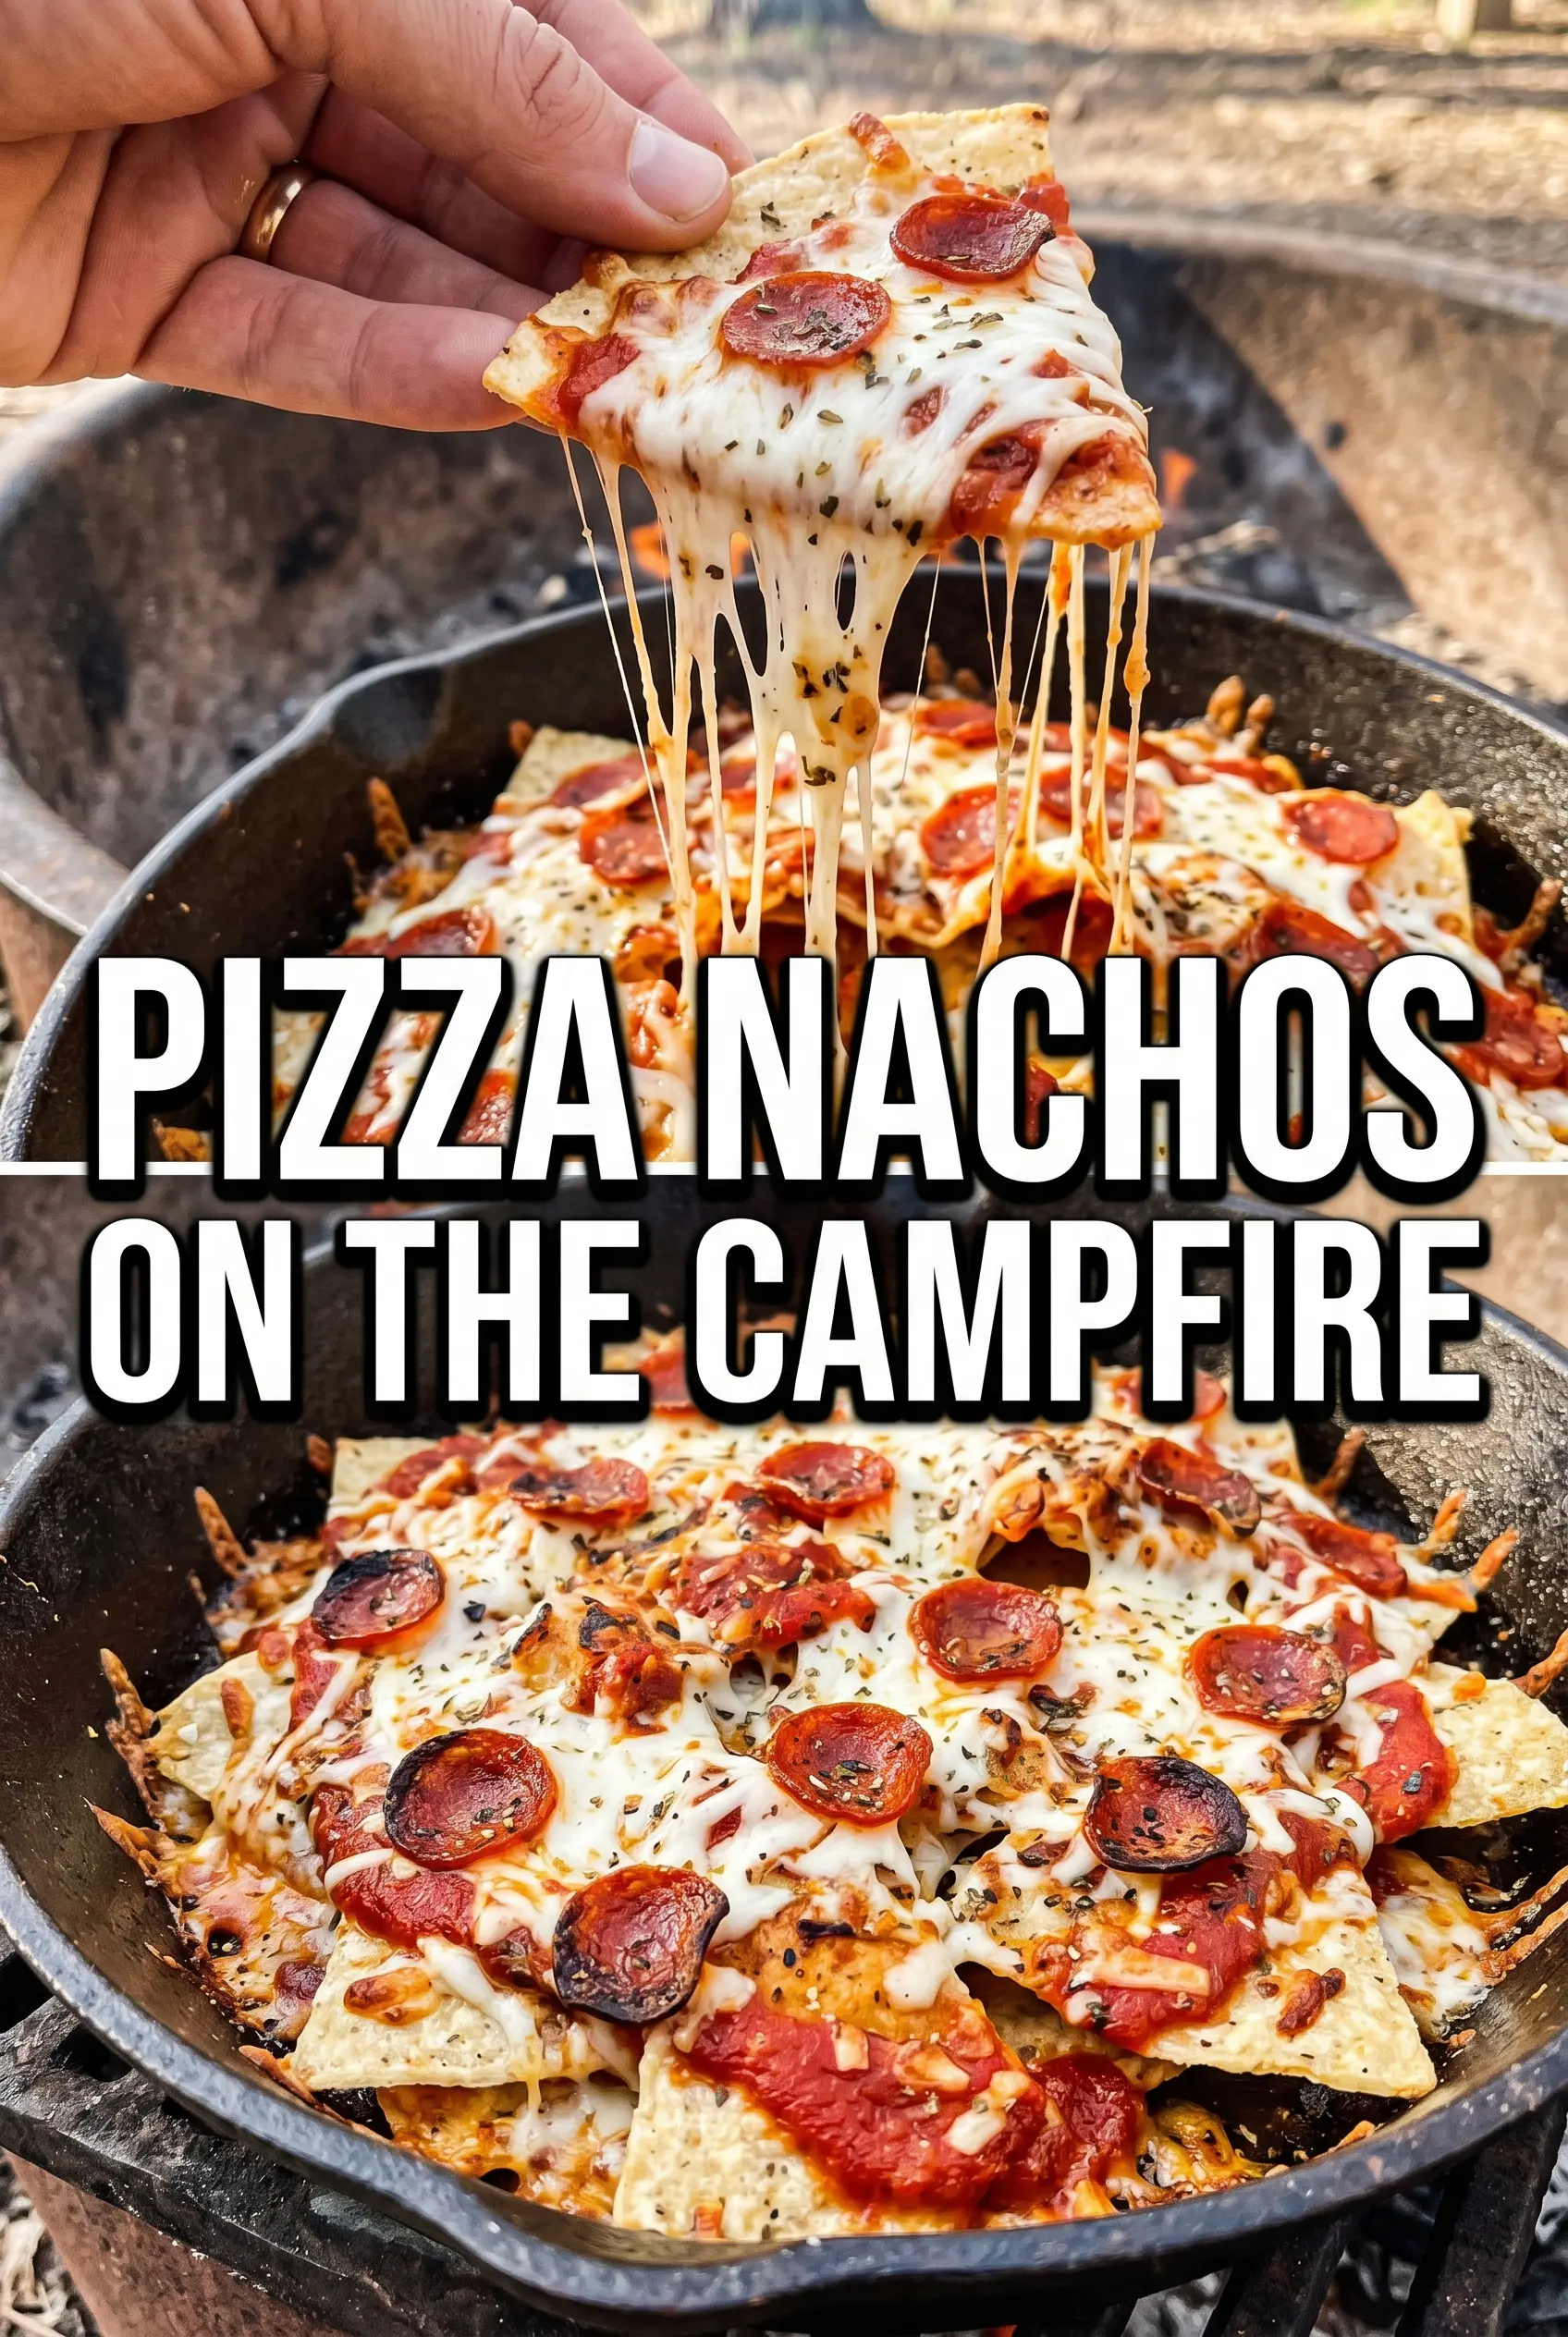
Campfire pizza nachos hit that sweet spot between casual and impressive: crispy chips underneath, molten mozzarella on top, and just enough pepperoni and sausage to make every handful taste like a slice of pizza gone gloriously off-script. The best part is the contrast. You get crunchy edges, stretchy cheese, and the smoky note from the fire all in one pan.
What makes this version work is the layering. Putting the chips and toppings in two rounds keeps the top from getting overloaded while the bottom stays usable instead of turning into a soggy mess. The disposable aluminum pan matters too, because it conducts heat evenly and makes it easy to move the whole thing on and off the grate without losing half the toppings to the fire.
Below, I’ve included the small details that keep the cheese melted and the chips crisp, plus a few smart swaps if you want to build these for different eaters around the fire.
The cheese melted evenly right over the campfire, and the bottom chips stayed crisp instead of getting soggy. My kids kept reaching for the pepperoni pieces first and we finished the pan fast.
Save these campfire pizza nachos for the next time you want a smoky, cheesy pan of snackable camp food with pizza toppings in every bite.
The Secret to Keeping Nachos Crisp Over the Fire
The biggest mistake with campfire nachos is piling everything into one layer and leaving it there too long. Chips on the bottom trap steam, and once that happens they stop tasting like chips and start tasting like damp cardboard. The fix is a double layer: chips, toppings, chips, toppings. That gives you pockets of crunch underneath and enough structure on top to carry the melted cheese.
Heat control matters more than exact timing here. A medium campfire should melt the cheese in about 8 to 10 minutes, but if the pan is sitting over hard flames, the cheese will brown before it melts through and the chips can scorch at the edges. You want steady heat from the grate, not direct licking flame.
- Disposable aluminum pan — This is the right pan for the job because it heats evenly and handles the fire without drama. A thin pan is fine here; a heavy dish slows everything down and makes it harder to manage over coals.
- Mozzarella — Low-moisture shredded mozzarella melts into those long, stretchy pulls you want. Pre-shredded works, but if you grate your own, it melts a little smoother because there’s less anti-caking starch.
- Pizza sauce — Keep this for dipping instead of pouring it over the pan. Adding sauce on top would wet the chips too early, while serving it on the side gives you that classic pizza finish without losing crunch.
- Italian sausage — Cook it fully before the fire. Raw sausage won’t have time to finish in the pan, and the extra fat from pre-cooking keeps the nachos from turning greasy as they heat.
What Each Ingredient Is Actually Doing in This Recipe
- Primary ingredient (the foundation) — This is the star of the dish and carries most of the flavor. Quality matters here more than anywhere else.
- Salt and pepper (the seasonings that matter most) — These enhance all other flavors without masking them. Apply generously; underseasoned dishes taste flat.
- Fat (butter, oil, or from the meat) — Fat carries flavors and keeps the dish from tasting dry. It’s also what makes food taste delicious and satisfying.
- Acid (lemon, lime, vinegar, or tomato) — Acid brightens the dish and prevents it from tasting one-dimensional or heavy. It also helps balance rich flavors.
- Aromatics (garlic, onion, ginger) — These add depth and complexity. They mellow and become sweet when cooked, different from their raw state.
- Spices or herbs (the personality) — These give the dish its character and make it distinctive. Toast them to bloom their flavors or add fresh ones to finish.
- Supporting ingredients (vegetables, proteins) — These add texture, nutrition, and complementary flavors. They should support the star ingredient, not compete with it.
- Proper cooking technique (heat, time, stirring) — Even with great ingredients, technique determines the final result. Pay attention to temperature and timing.
Building the Layers So Everything Melts at the Same Pace
Start With the First Chip Base
Spread half the tortilla chips across the bottom of the pan in a loose, even layer. Don’t crush them down; air space helps the heat move around them and keeps the texture light. If the bottom layer is packed too tightly, the chips in the center soften before the edges melt.
Stack the Toppings in Rounds
Add half the mozzarella, pepperoni, sausage, olives, and peppers, then repeat with the remaining chips and toppings. Distributing the cheese in two layers helps glue the pan together without burying the chips. The second layer also protects the first layer from drying out before the cheese melts.
Cook Over Steady Campfire Heat
Set the pan on a grill grate over medium fire and let it cook until the cheese looks fully melted and glossy, about 8 to 10 minutes. You’re waiting for the edges to soften and the top to lose that dry, shredded look. If the fire is running hot, pull the pan slightly off-center so the chips at the edge don’t darken before the cheese finishes.
Finish With the Pizza Sauce
Pull the pan from the heat as soon as the cheese is melted and the toppings are hot. Shower it with Parmesan and Italian seasoning, then serve immediately with warm pizza sauce for dipping. If you wait too long, the chips lose their snap, and that’s the one thing that makes these taste like a win instead of a compromise.
How to Adapt These for a Crowd, a Cooler, or a Meatless Pan
Meatless Pizza Nachos
Leave out the sausage and add more peppers, olives, or even mushrooms that have been cooked first. You still get the pizza feel, but the pan stays lighter and the topping layers don’t slide as much when you scoop.
Gluten-Free Campfire Nachos
Use certified gluten-free tortilla chips and check that your sausage and pizza sauce are gluten-free too. The technique doesn’t change, and this version holds its texture just as well because the chips are still layered dry under the cheese.
Make It Ahead for Camp
Cook the sausage, slice the vegetables, and pre-shred the cheese at home. Keep everything in separate containers and assemble the pan at the campsite so the chips stay crisp; once the chips and toppings meet, the clock starts ticking.
Extra Cheesy Party Pan
Add another half cup of mozzarella if you want a heavier, more pull-apart top layer. The tradeoff is less chip-to-topping ratio, so this works best when you’re serving it as a shared appetizer instead of a full snack spread.
Storage and Reheating
- Refrigerator: Store leftovers in an airtight container for up to 2 days. The chips will soften, but the flavor holds up.
- Freezer: Don’t freeze the finished nachos. The chips and vegetables turn soggy after thawing, and the cheese texture gets grainy.
- Reheating: Reheat on a sheet pan in a 375°F oven just until the cheese loosens again, about 5 to 7 minutes. Microwaving makes the chips limp fast, which is the fastest way to lose what makes this dish work.
Answers to the Questions Worth Asking
Campfire Pizza Nachos
Ingredients
Equipment
Method
- Spread half the tortilla chips in a disposable aluminum pan to form an even base with visible chips throughout.
- Layer half the mozzarella, pepperoni, Italian sausage, black olives, and bell peppers over the chips for a dense, top-heavy layer.
- Add remaining tortilla chips in a single layer to cover some of the toppings while keeping a few edges peeking through.
- Repeat with the remaining mozzarella, pepperoni, Italian sausage, black olives, and bell peppers so the pan looks fully loaded.
- Sprinkle Parmesan cheese and Italian seasoning over the top in an even coat.
- Place the pan on the grill grate over medium campfire and cook for 8-10 minutes until the cheese is fully melted and bubbling at the edges.
- Remove from heat and serve immediately with warm pizza sauce for dipping.


