Skillet chicken thighs hit the pan with a sizzle, then turn into the kind of dinner that looks like it took more effort than it did. The skin goes deeply golden and crackly in a cast iron skillet, while the meat underneath stays juicy and full of flavor. When you get the heat and timing right, this is the sort of chicken that makes everyone hover around the stove waiting for the first piece.
The trick is starting with bone-in, skin-on thighs and drying them well before they ever meet the pan. Moisture is the enemy of crisp skin, and that first stretch of undisturbed cooking is what builds the crust. The spice rub pulls double duty here: it seasons the chicken all the way through and gives the skin a savory, smoky edge that holds up to the butter baste at the end.
Below, I’ve laid out the part that matters most — how to get the skin truly crisp without overcooking the meat — plus the ingredient notes that actually affect the final result. If you’ve ever ended up with pale skin or greasy chicken, this version fixes both.
The skin turned out shatter-crisp in my cast iron skillet, and the butter garlic pan juices were perfect spooned over rice. I kept the chicken in for the full 10 minutes on the second side and it was still juicy.
Pin these skillet chicken thighs for the night you want crispy skin, juicy meat, and one pan to clean.
The Reason the Skin Stays Crisp Instead of Steaming
Most skillet chicken goes wrong before the pan even heats up. If the skin is damp, the chicken will steam first and brown second, which means you end up with rubbery skin and pale spots where the pan never got a chance to do its job. Patting the thighs completely dry matters more than any seasoning blend here.
The other thing that changes the outcome is patience. Once the chicken goes skin-side down, it needs to stay there until the fat renders and the skin releases on its own. If you try to force a flip early, the skin tears and leaves behind the best part of the crust. Cast iron helps because it holds steady heat, which keeps the skillet hot enough to brown without scorching.
What Each Ingredient Is Actually Doing in the Pan
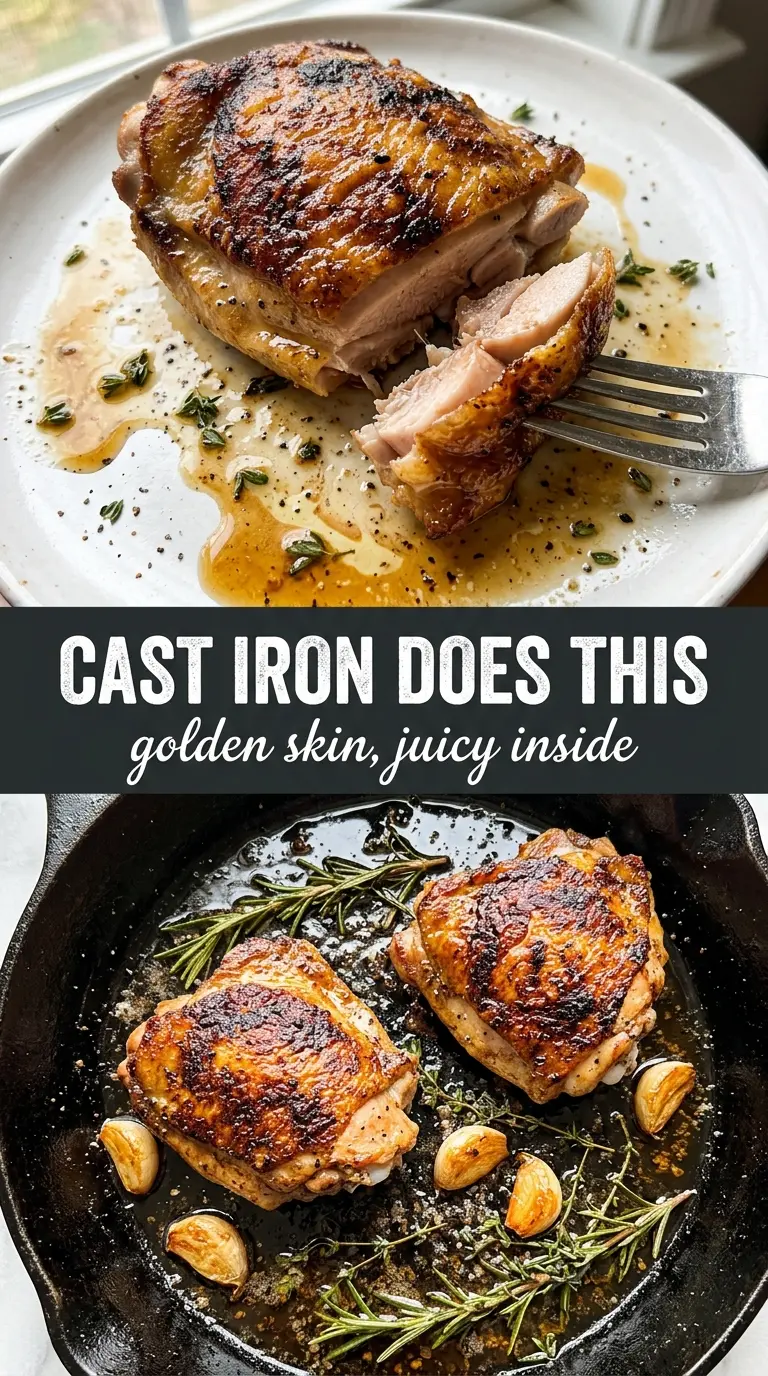
- Bone-in, skin-on chicken thighs — These stay juicy on the stovetop and give you the best chance at crisp skin. Boneless thighs cook faster, but you lose the built-in fat and the skin that makes this recipe worth making.
- Olive oil — Just enough to help the skin contact the hot skillet without sticking. You don’t need much because the thighs will render plenty of fat as they cook.
- Garlic powder, smoked paprika, onion powder, and dried thyme — This is a dry seasoning blend that clings to the skin and seasons the meat without adding extra moisture. Smoked paprika gives the chicken a deeper color and a little warmth, while thyme keeps it savory rather than sweet.
- Butter and smashed garlic — Add these after the first flip, not at the start. Butter burns fast over high heat, so it works best as a finishing baste that carries the garlic flavor into the pan juices.
- Fresh thyme and lemon — These don’t change the cooking, but they brighten the finished chicken. A squeeze of lemon cuts through the richness and makes the pan juices taste cleaner.
Building the Crust Before the Chicken Finishes Cooking
Seasoning and Drying the Thighs
Start by drying the chicken thoroughly with paper towels, then coat it all over with the spice mix. The surface should look evenly seasoned, not wet or pasted on. If the chicken still feels slick, blot it again; that moisture will sabotage the skin once it hits the skillet. Let it sit for a few minutes while the pan heats so the seasoning has time to settle.
Letting the Skin Render Undisturbed
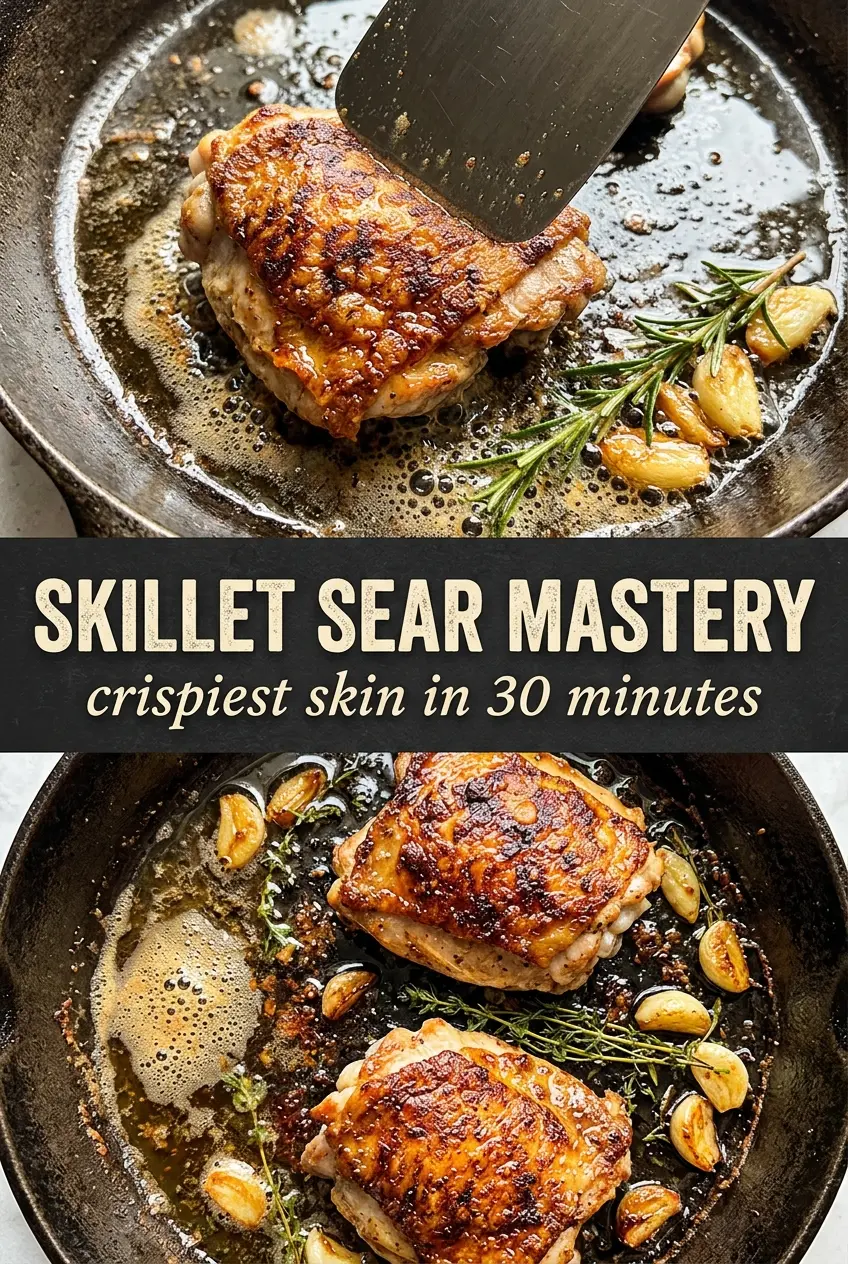
Heat the oil until it shimmers, then lay the thighs skin-side down and press them flat with a spatula for the first few seconds. You want steady contact, not constant movement. After that, leave them alone until the skin is deep golden and releases without dragging. If the pan is too hot, the skin will burn before the fat renders, so adjust the heat if you smell anything sharp or see dark patches forming too fast.
Finishing with Butter and Garlic
Flip the chicken, add the smashed garlic and butter, then spoon the melted butter over the thighs for a couple of minutes. The butter should foam gently, not brown aggressively. This is where the pan juices get glossy and fragrant. Reduce the heat once the second side is underway so the meat finishes through without drying out or scorching the garlic.
Checking for Doneness and Resting
Cook until the thickest part reaches 165°F, then rest the thighs for five minutes before serving. Resting keeps the juices in the meat instead of running straight onto the cutting board. If you cut too early, even perfectly cooked chicken can seem dry because the juices haven’t had time to settle. Spoon the pan juices over the top right before bringing it to the table.
How to Adapt These Skillet Chicken Thighs Without Losing the Crisp Skin
Dairy-Free Skillet Chicken Thighs
Skip the butter and finish the chicken with an extra tablespoon of olive oil or a spoonful of the rendered chicken fat from the pan. You lose a little of the buttery gloss, but the skin still stays crisp and the garlic still tastes rich once it hits the hot drippings.
Lower-Sodium Version
Cut the salt to 1/4 teaspoon and lean more on the smoked paprika, garlic powder, and thyme for flavor. The chicken will still brown and crisp the same way, but the seasoning will taste a little cleaner and less savory, so finish with lemon at the table.
Using Boneless Thighs
Boneless thighs cook faster and are easier to serve, but they won’t give you the same dramatic crispy skin. If you use them, shorten the second side and start checking early so they stay juicy; the pan will still make a good dinner, just not the same one.
Storage and Reheating
- Refrigerator: Store leftovers in an airtight container for up to 4 days. The skin won’t stay as crisp, but the meat reheats well.
- Freezer: These freeze well for up to 2 months. Wrap them tightly and thaw in the refrigerator overnight before reheating.
- Reheating: Warm in a 375°F oven until hot, or re-crisp in a skillet over medium heat. The biggest mistake is microwaving them straight from the fridge, which turns the skin soft and rubbery.
Answers to the Questions Worth Asking
Skillet Chicken Thighs
Ingredients
Equipment
Method
- Pat the chicken completely dry, then rub all over with garlic powder, smoked paprika, onion powder, dried thyme, salt, and black pepper.
- Heat the olive oil in a large cast iron skillet over medium-high heat until shimmering.
- Place chicken skin-side down and press firmly with a spatula, then cook undisturbed 8-10 minutes until the skin is deeply golden and releases easily.
- Flip the chicken, add the smashed garlic and butter to the pan, and baste the chicken with the melted butter for 2 minutes.
- Reduce heat to medium and cook 10-12 more minutes until internal temperature reaches 165F.
- Rest the chicken for 5 minutes, then serve with pan juices, fresh thyme, and lemon.


