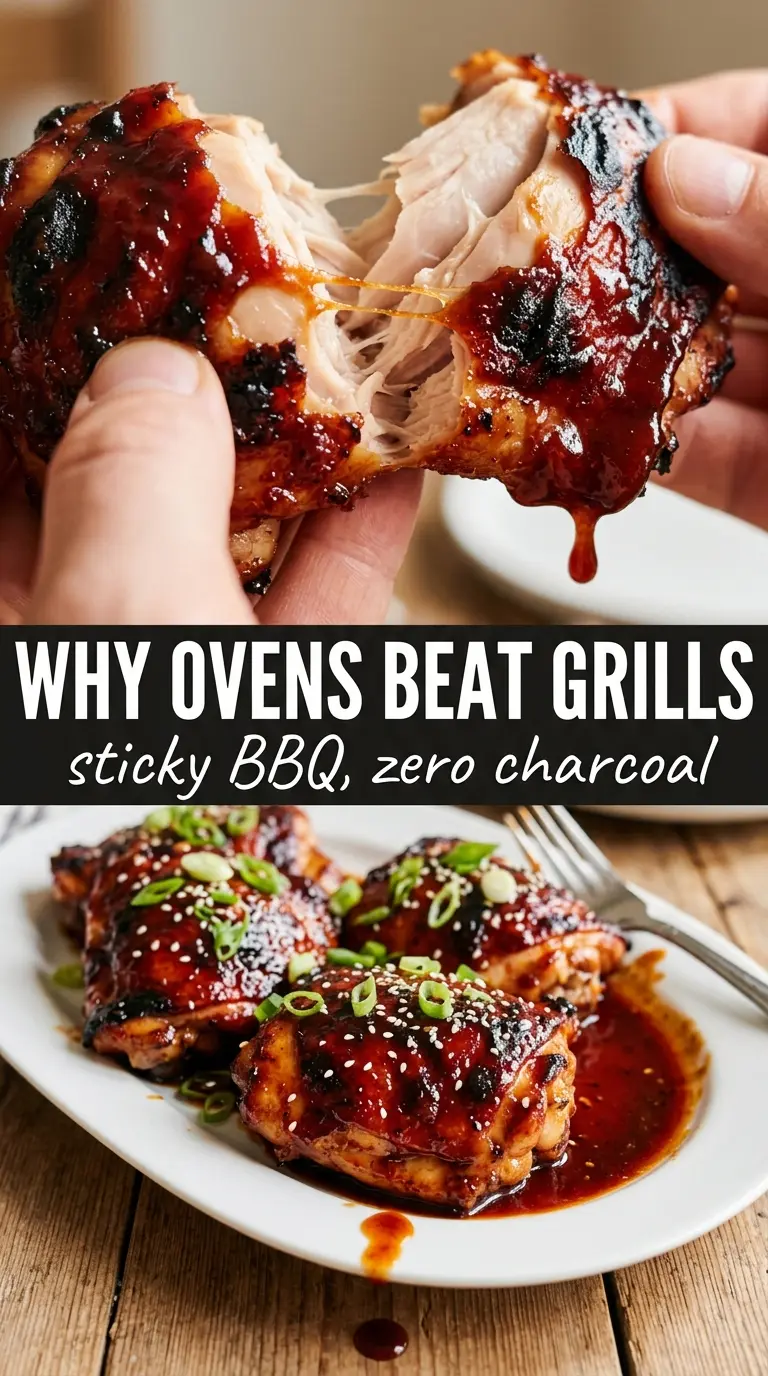
Sticky, deeply caramelized BBQ chicken thighs are one of those dinners that feels bigger than the effort it takes. The skin turns bronzed and crisp at the edges, the sauce tightens into a glossy lacquer, and every bite lands with that sweet-smoky hit that usually makes people think a grill had something to do with it. The oven does the heavy lifting here, and it does it well.
The trick is giving the chicken enough open heat to brown before the sauce goes on, then layering the BBQ sauce in stages so it thickens instead of sliding off. Bone-in, skin-on thighs stay juicy through the longer bake, and the wire rack keeps the bottoms from steaming in their own juices. A quick broil at the end pushes the sugars in the sauce into that mahogany finish without drying out the meat.
Below, I’m walking through the part that matters most: how to get that sticky coating without burning it, plus a few smart swaps and storage notes for the nights when you want baked BBQ chicken thighs on repeat.
The sauce caramelized into this sticky glaze instead of pooling at the bottom, and the chicken stayed juicy even after the broil. I’ve made this twice now and the skin came out crisp around the edges both times.
Like this sticky oven BBQ chicken? Save it for the night you want deeply caramelized chicken thighs without firing up the grill.
The Part Most People Miss Before the Sauce Goes On
The biggest mistake with oven BBQ chicken is saucing it too early. BBQ sauce usually contains sugar, and sugar burns long before chicken thighs are fully cooked. If you brush it on at the start, you get scorched edges and a dull, sticky mess instead of that dark, lacquered finish.
Starting with dry seasoning and a little oil gives the skin a chance to render and brown on its own. Then the sauce gets added in two layers near the end, which lets each coat tighten up and cling. That is what creates the thick, glossy crust people are after.
- Bone-in, skin-on chicken thighs hold up best in the oven and stay juicy while the skin crisps. Boneless thighs work in a pinch, but they cook faster and won’t give you the same rich texture.
- BBQ sauce is doing the flavor and the caramelization work, so use one you actually like eating. A thicker sauce will glaze better than a thin, watery one.
- Smoked paprika matters here because it builds a grilled flavor without needing smoke from a fire. Regular paprika works, but it won’t give the same depth.
- Wire rack keeps the chicken lifted so hot air can circulate all around it. If you bake it flat on a sheet pan, the bottoms steam and the skin never gets as crisp.
How to Build a Sticky Glaze Without Burning the Chicken
- Olive oil helps the seasoning spread evenly and supports browning. You don’t need much, just enough to coat the chicken so the spices don’t clump.
- Garlic powder and onion powder give the sauce a deeper savory base without adding moisture. Fresh garlic can scorch under this kind of heat, so the dried version is the safer choice.
- Fresh parsley is just a finishing note. It won’t change the dish, but it gives the plate a clean look and a little color against all that dark glaze.
- Salt and pepper should be used with the BBQ sauce in mind. If your sauce is already very salty, season the chicken lightly before it goes in the oven.
The Oven Schedule That Gets You from Juicy to Lacquered
Seasoning the Chicken First
Pat the thighs dry, then rub them with oil and the spice mixture until every side looks lightly coated. Dry skin is what helps the oven start crisping the chicken instead of trapping steam. If the thighs are wet when they go in, the seasoning slides around and the skin softens instead of tightening.
Letting the Oven Do the Browning
Set the thighs skin-side up on the rack and bake them uncovered for the first stretch. That first bake builds color and starts rendering the fat under the skin. You’re looking for the surface to look opaque and faintly golden around the edges before you touch it with sauce.
Painting on the BBQ Sauce in Layers
Brush on a generous layer of BBQ sauce, then return the pan to the oven so the sauce can set. A second layer after that gives you a thicker glaze and a deeper color. If the sauce looks thin or runs off the chicken, it needs more time in the oven, not more brushing — the heat is what makes it cling.
Finishing Under the Broiler
Broil for just a few minutes at the end, watching constantly. The goal is dark, sticky caramelization, not blackened sugar. If the sauce starts to smoke heavily or the edges go from mahogany to charcoal in seconds, pull the pan out right away.
Use Boneless Thighs When You Want Faster Dinner
Boneless, skinless thighs will cook faster and still take the glaze well, but you lose the crisp skin and a little of that rich, oven-roasted depth. Pull them earlier and watch the broiler more closely because they can overcook fast once the sauce is on.
Make It Dairy-Free and Gluten-Free Without Changing the Method
This recipe is already naturally dairy-free, and it can stay gluten-free if your BBQ sauce is certified gluten-free. The technique doesn’t change at all, which is the nice part — just check the label on the sauce before you start.
Swap in a Spicier Sauce for More Heat
A hot BBQ sauce or a sauce with chipotle brings more bite and a little smoky burn, which works well with the paprika. If you use a sweeter sauce, the glaze will set a little faster, so keep a closer eye on the broiler.
Double the Sauce Only If You Like Extra for Serving
You can scale the sauce up if you want plenty on the side, but don’t drown the chicken in it during the bake. Too much sauce early on turns the skin soft, while a final spoonful at the table gives you the extra gloss without losing texture.
Storage and Reheating
- Refrigerator: Store leftovers for up to 4 days. The skin softens a bit, but the meat stays flavorful.
- Freezer: These freeze well. Wrap tightly and freeze for up to 2 months, then thaw overnight in the fridge.
- Reheating: Reheat on a foil-lined baking sheet at 350F until hot, then give it a short blast under the broiler to wake up the glaze. The common mistake is microwaving too long, which makes the skin rubbery and the sauce separate.
Answers to the Questions Worth Asking
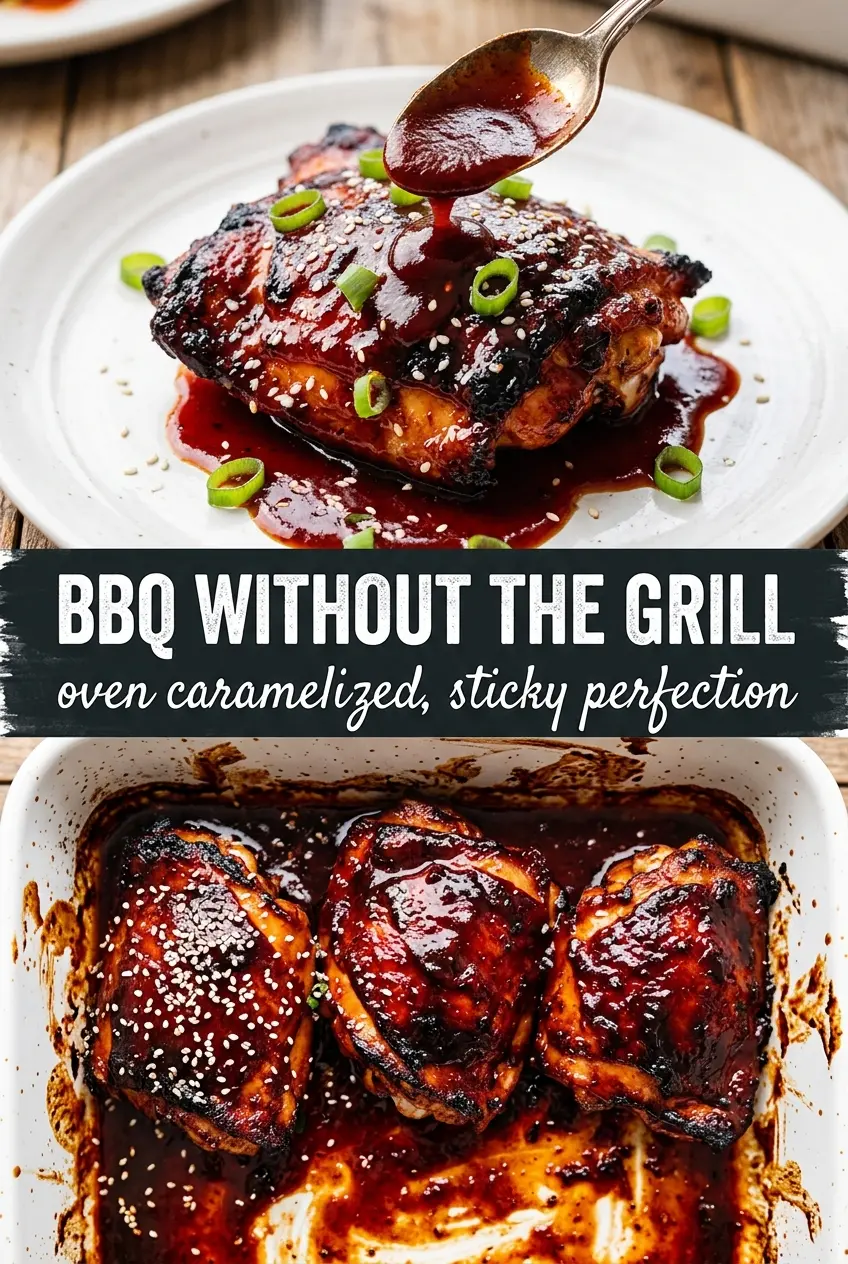
Caramelized BBQ Chicken Thighs In The Oven
Ingredients
Equipment
Method
- Preheat the oven to 400F and place a wire rack inside a foil-lined baking sheet so fat drips away for crisping skin.
- Rub the chicken with olive oil, garlic powder, smoked paprika, onion powder, salt, and pepper, coating both exposed surfaces for even flavor.
- Place the chicken skin-side up on the rack and bake for 25 minutes at 400F until the skin looks set and lightly golden.
- Brush generously with BBQ sauce, then bake for 10 minutes at 400F so the sauce begins to thicken and cling.
- Brush with more BBQ sauce and bake for 5 more minutes at 400F until the glaze looks deeper and stickier.
- Broil for 3-4 minutes, watching carefully, until the sauce is deeply caramelized with a lacquered mahogany shine.
- Rest the chicken for 5 minutes, then serve with extra BBQ sauce and fresh parsley garnish.


