Garlic butter chicken thighs earn their place on the dinner rotation because they give you that deep, restaurant-style sear without drying out the meat. The chicken stays juicy under a crisp, golden surface, and the pan butter picks up all the browned bits from the skillet so every spoonful tastes richer than the last. It’s the kind of meal that looks like you worked harder than you did.
The trick is starting the chicken in a hot skillet and leaving it alone long enough to build color before turning it. After that, the butter goes in with garlic and herbs only after the heat comes down, which keeps the garlic from scorching and turning bitter. The final basting is what ties it all together; the foamy butter coats the chicken and finishes it with a glossy, savory crust.
Below, I’ll walk through the small details that make this recipe reliable, including how to keep the butter from burning and what to do if your thighs are thicker than average. A few simple cues at the stove make all the difference here.
The chicken browned beautifully, and the garlic butter stayed golden instead of burning. I basted for the full two minutes and the thighs came out juicy with that glossy finish you normally only get at a steakhouse.
Love the golden sear and garlic butter finish? Save these garlic butter chicken thighs for the nights when you want a skillet dinner that tastes restaurant-made.
The Trick to Keeping Garlic Butter Golden Instead of Bitter
The part that ruins this dish for most people is rushing the butter stage. Chicken needs high heat to brown, but garlic does not; if you throw the garlic in while the skillet is still screaming hot, it burns before the butter has a chance to pick up flavor. The better move is to sear the chicken first, then lower the heat and let the butter melt into a gentle foam.
That foam matters. It tells you the butter is hot enough to baste the chicken but not so hot that the milk solids are turning black. Fresh thyme and rosemary add enough aroma to make the pan smell like a proper dinner, but the real payoff is the browned fond left behind from the chicken. That’s what turns the butter into a sauce instead of just melted fat.
What Each Ingredient Is Doing in the Skillet
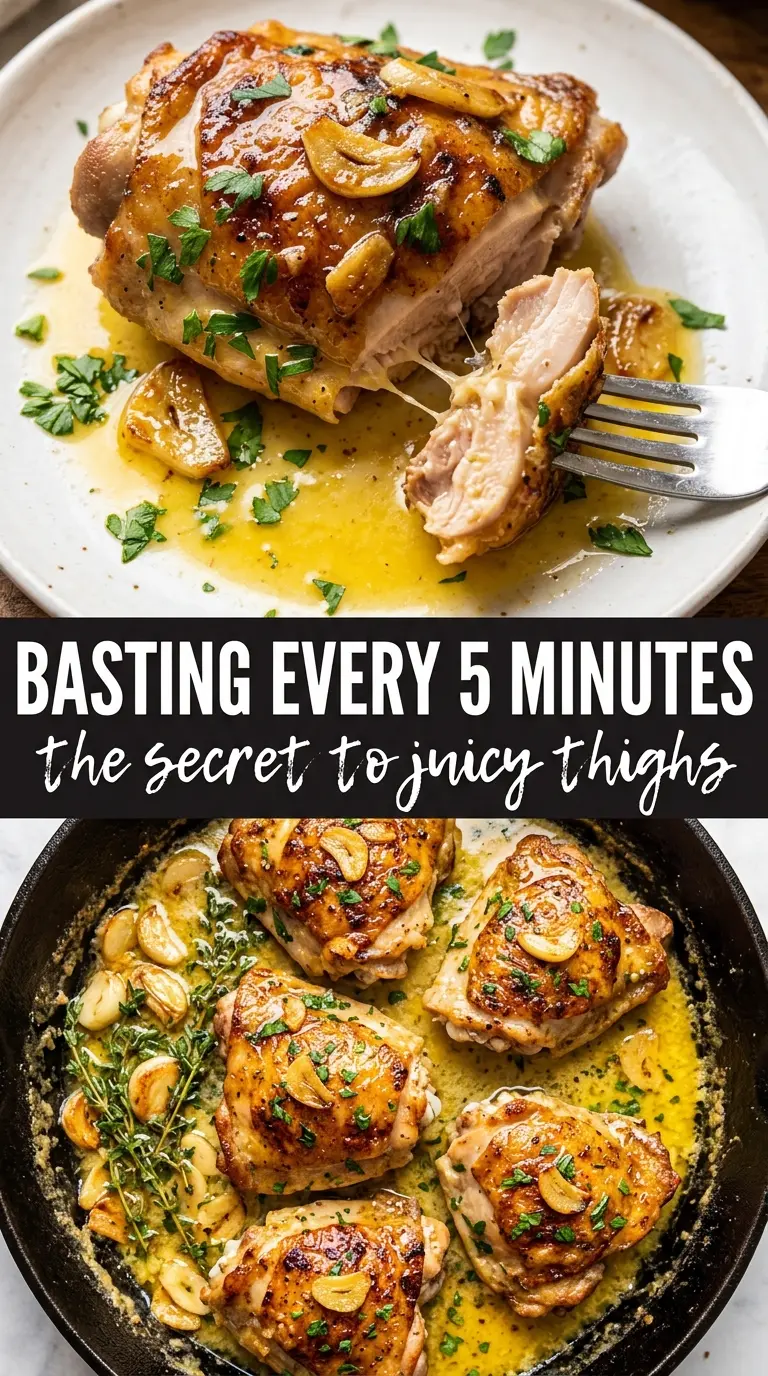
- Chicken thighs — Thighs stay juicy under strong heat and forgive a little overcooking in a way chicken breasts won’t. Boneless cooks fastest, but bone-in gives you even more flavor and a little extra insurance against drying out.
- Butter — This is the baste and the sauce. Use unsalted butter so you control the seasoning, and add it after the chicken is browned so it can foam without scorching.
- Garlic — Smashed cloves perfume the butter without disappearing into burnt bits. Whole cloves are better here than minced garlic, which can turn bitter fast in a hot pan.
- Thyme and rosemary — These herbs stand up to the butter and give the pan sauce that classic savory edge. If you only have one, use thyme first; rosemary is stronger and can take over if you’re heavy-handed.
- Olive oil — The oil helps the chicken sear before the butter goes in. It also raises the burn point a little, which keeps the skillet from smoking too early.
- Lemon wedges — A squeeze at the end cuts through the richness and wakes everything up. It’s a small finish, but it makes the butter taste cleaner and brighter.
How to Sear the Chicken, Then Turn the Pan Into Sauce
Seasoning for a Deep, Even Crust
Pat the chicken dry before seasoning it generously with salt and pepper. Moisture on the surface slows browning, so dry chicken gives you a better crust from the start. Let the seasoning sit while the skillet heats; that little pause helps the salt start pulling flavor into the meat instead of just sitting on top.
Building Color in the Hot Skillet
Heat the olive oil in a large heavy skillet over medium-high heat, then lay the chicken in without crowding the pan. You should hear an immediate sizzle. Leave it alone for 5 to 6 minutes so the surface can develop a deep golden crust; if it sticks at first, it usually needs another minute before it releases cleanly. Flip and cook the second side until the chicken is cooked through, then move it to a plate.
Turning Butter, Garlic, and Herbs Into the Finish
Drop the heat to medium before adding the butter, garlic, thyme, and rosemary. The butter should foam, not brown aggressively, and the garlic should turn lightly golden at the edges, not dark. If the pan is still too hot, pull it off the burner for 20 to 30 seconds before the garlic goes in. That small adjustment keeps the sauce sweet and fragrant instead of bitter.
Basting Until the Chicken Glazes
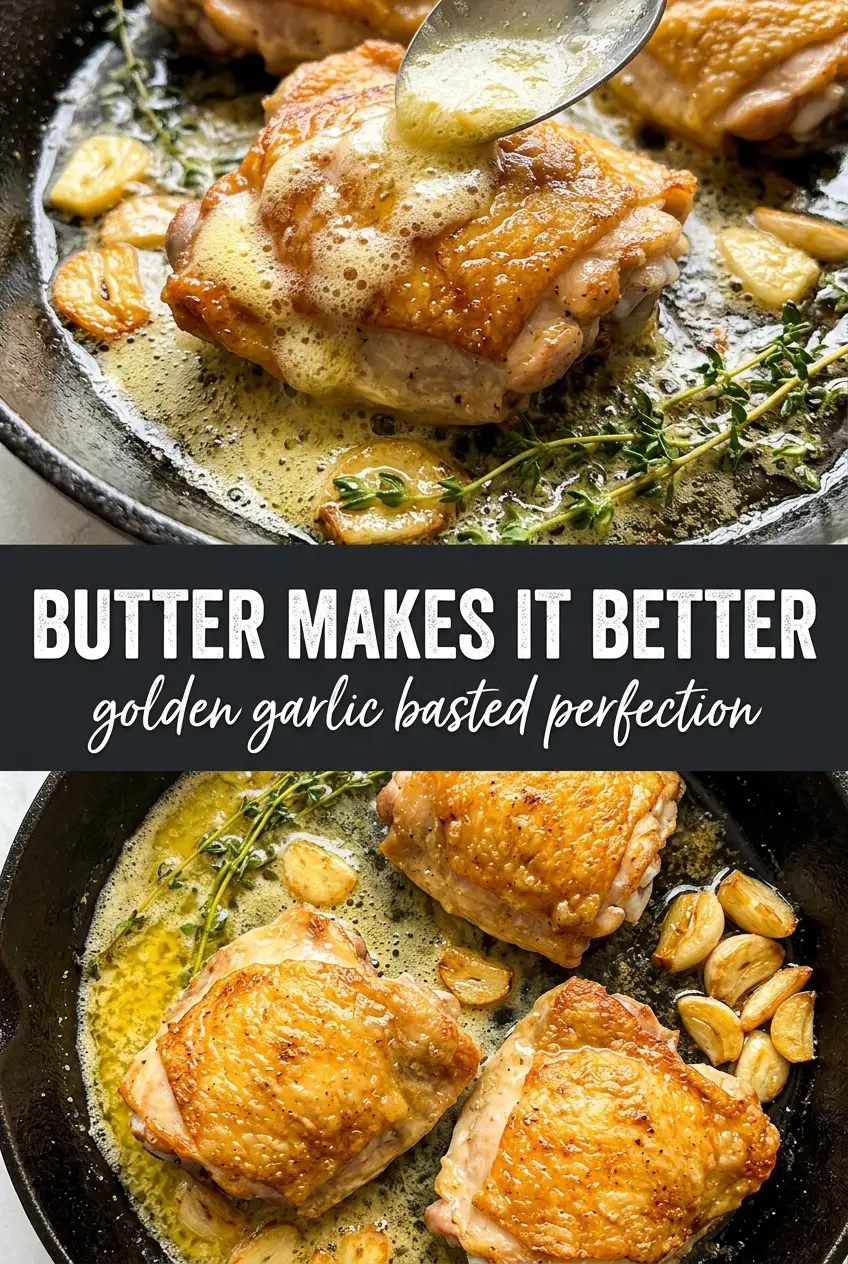
Return the chicken to the skillet and tilt the pan so the butter pools on one side. Spoon the butter over the chicken repeatedly for about 2 minutes until the thighs look glossy and well coated. This step finishes the meat with flavor instead of just warming it back up, so don’t rush it. Serve the chicken right away and spoon the garlic butter from the pan over the top.
How to Adapt These Garlic Butter Chicken Thighs Without Losing the Good Part
Use bone-in thighs for a deeper roast-style finish
Bone-in thighs need a few extra minutes on the stove, but they bring a little more flavor and tend to stay even juicier. Keep the heat at medium-high for the sear, then lower it a touch longer during the butter baste so the outside doesn’t overcook before the center is done.
Make it dairy-free with olive oil and broth
You can swap the butter for a mix of extra olive oil and a splash of chicken broth, but you’ll lose the foamy baste and some of the richness. The dish will still taste garlicky and herb-forward, just a little lighter and less glossy.
Use chicken breasts, but watch the heat closely
Chicken breasts work, but they dry out faster and need gentler heat once they hit the pan. Pound them to an even thickness so they cook at the same pace, then pull them as soon as they reach doneness and spoon the butter over immediately.
Storage and Reheating
- Refrigerator: Store in an airtight container for up to 4 days. The butter will firm up, but the flavor holds well.
- Freezer: Freeze for up to 2 months, though the butter sauce may separate a little after thawing. Wrap tightly and freeze with the pan juices if possible.
- Reheating: Warm gently in a covered skillet over low heat with a splash of water or broth. High heat dries the chicken out and can make the butter greasy.
Answers to the Questions Worth Asking
Garlic Butter Chicken Thighs
Ingredients
Equipment
Method
- Season chicken generously with salt and pepper on both sides. Make sure the seasoning fully coats the surfaces for even flavor.
- Heat olive oil in a large heavy skillet over medium-high heat until shimmering. Add chicken and sear 5-6 minutes per side until golden and cooked through, then remove and set aside.
- Reduce heat to medium, then add butter, smashed garlic, thyme, and rosemary. Cook until the butter foams and the garlic turns golden, about 2 minutes.
- Return chicken to the pan and tilt it slightly. Use a spoon to baste the chicken repeatedly with the garlic butter for 2 minutes.
- Serve immediately with the garlic pan butter spooned over the top. Add lemon wedges to brighten each bite.


