Dense, fudgy brownies under a thick layer of cream cheese frosting make this flag dessert land exactly where it should: rich at the center, cool and tangy on top, and bright with fresh berries in every slice. The brownie base stays sturdy enough to cut clean squares, which matters when you’re building a design on top instead of just spooning on a topping and hoping for the best.
The trick is to let the brownies cool all the way before the frosting goes on. If they’re even slightly warm, the cream cheese layer softens and the berries start to slide, which turns a neat flag into a messy red-and-blue blur. A box mix works fine here because the frosting and fruit carry the visual impact, but a homemade brownie works too as long as it bakes up dense rather than cakey.
Below, I’m breaking down the part that matters most: how to get the frosting smooth enough for clean stripes, how to lay out the berries so the flag reads clearly, and what to do if you need to make these ahead for a party tray.
The frosting set up beautifully and the strawberry rows stayed in place when I cut the brownies. I was worried the blueberries would sink, but chilling them for 30 minutes made the whole pan slice cleanly.
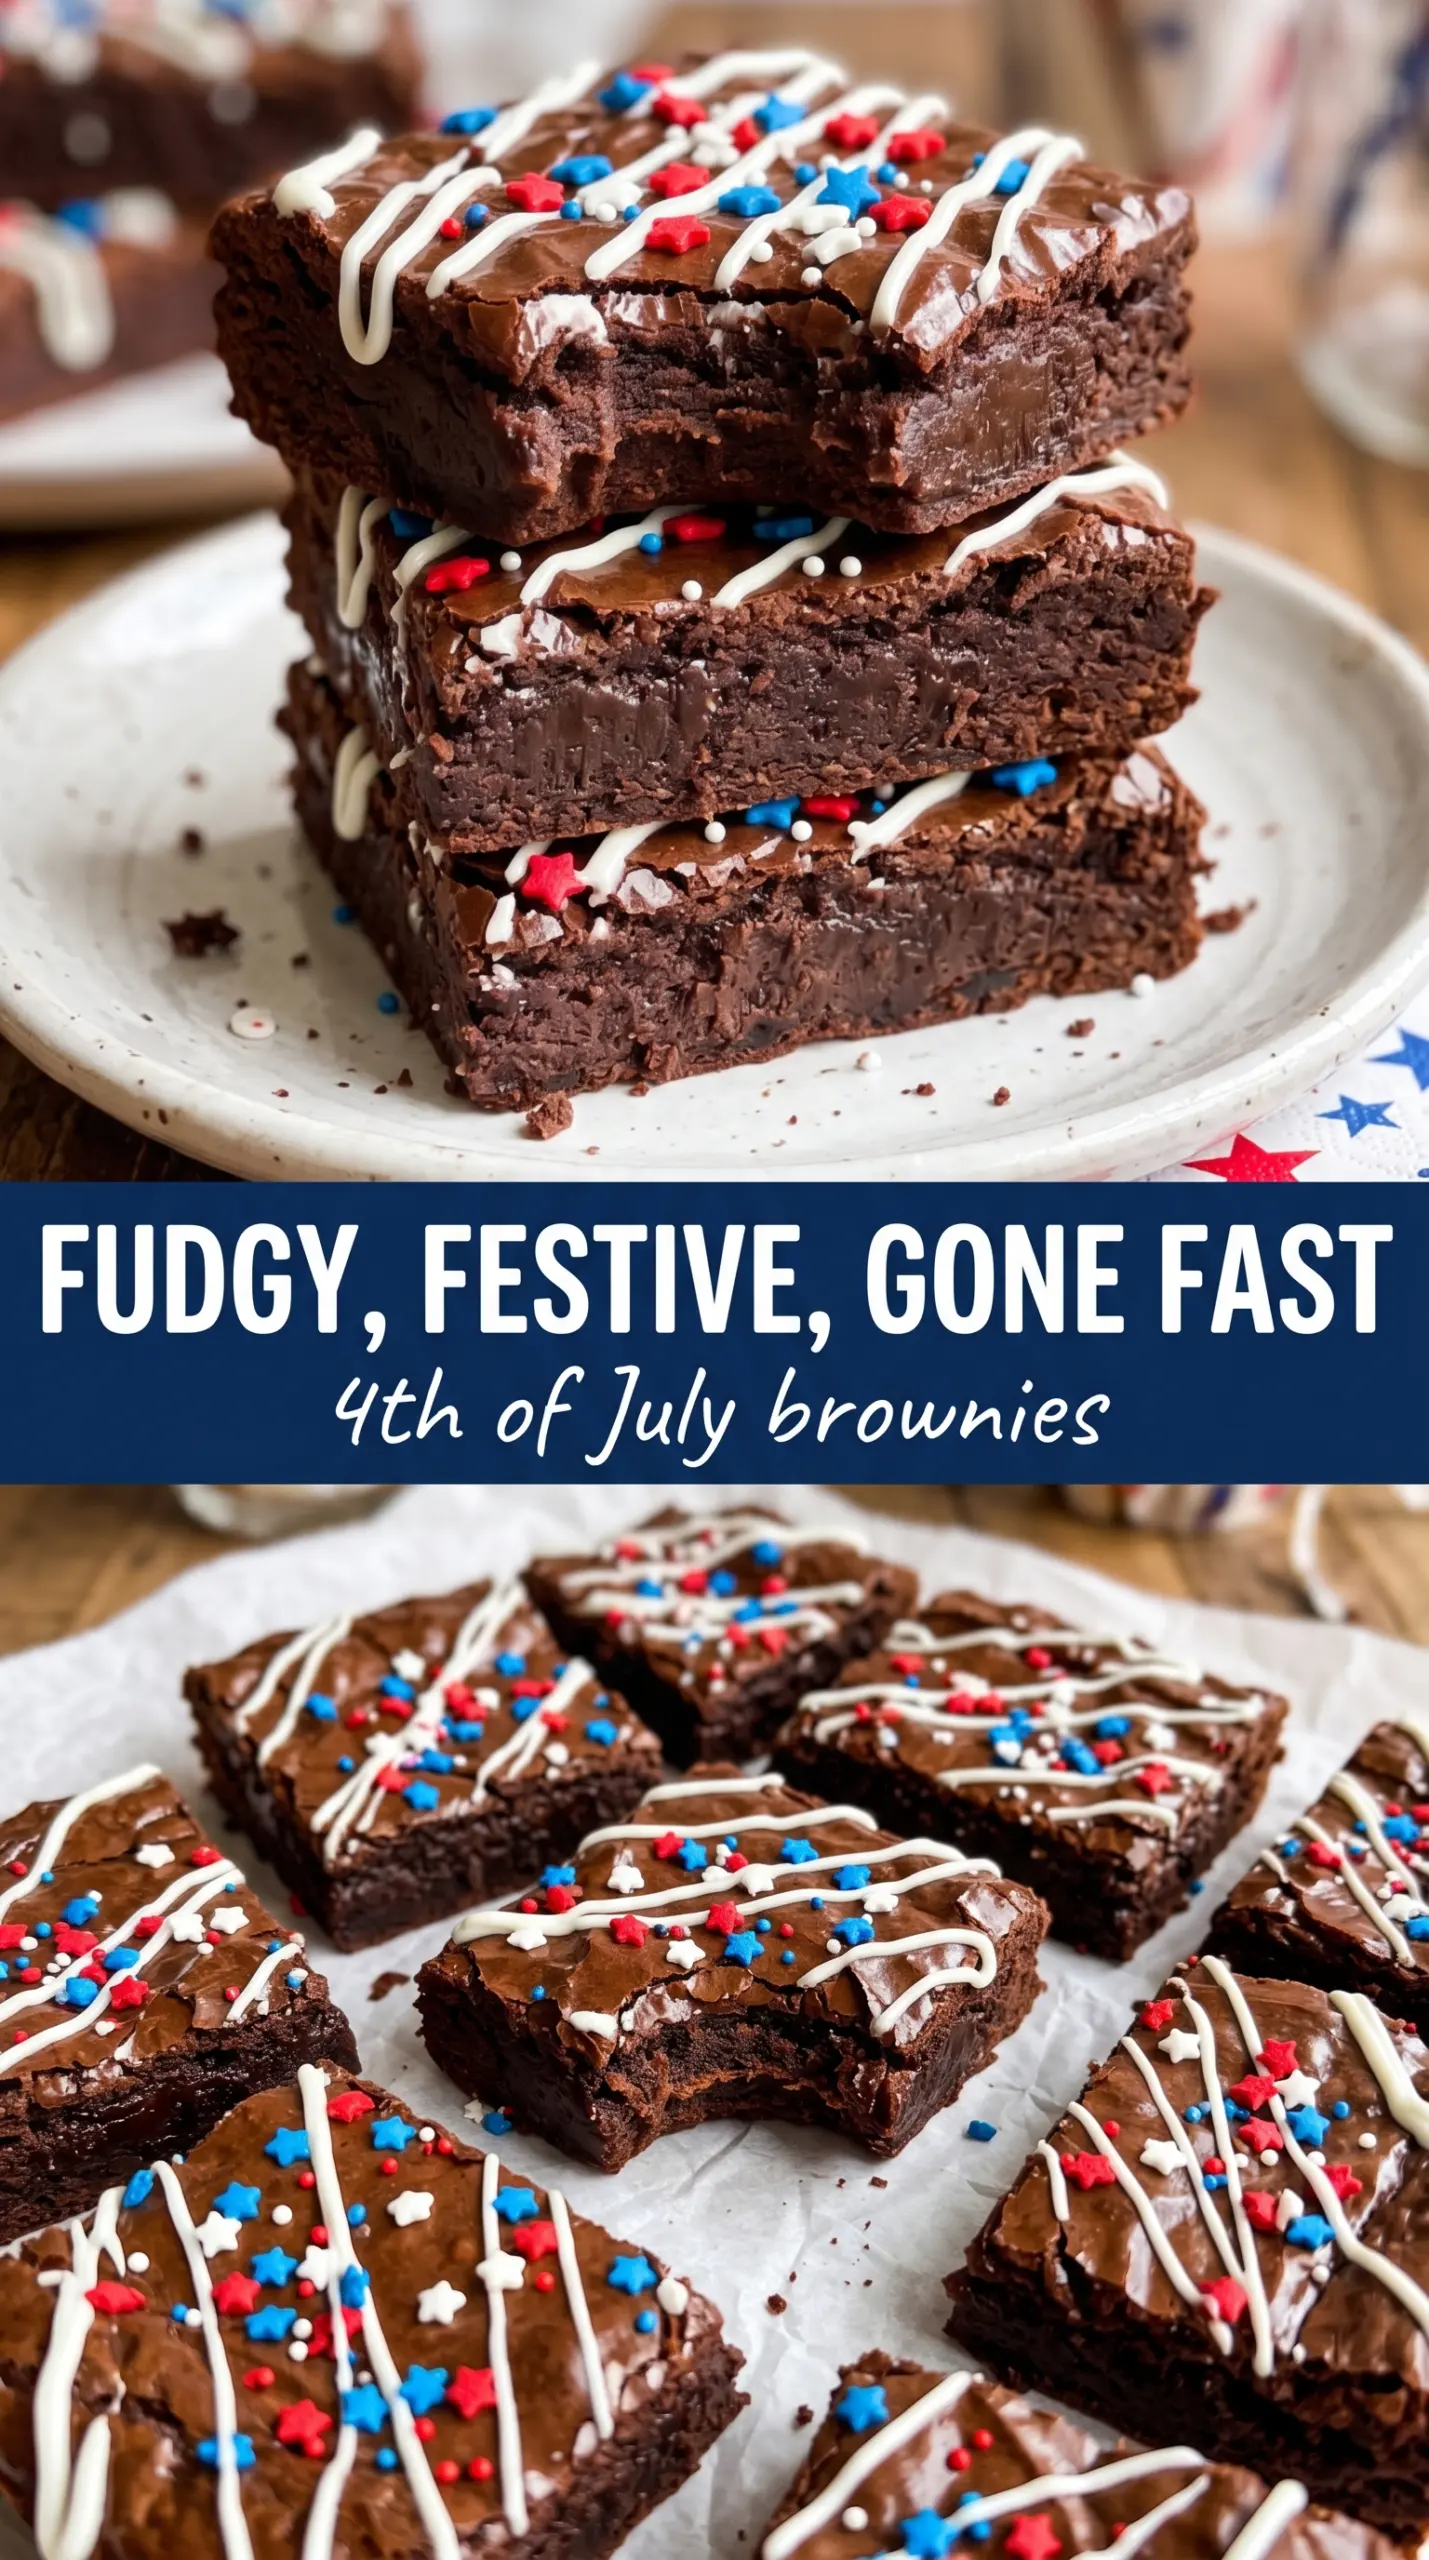
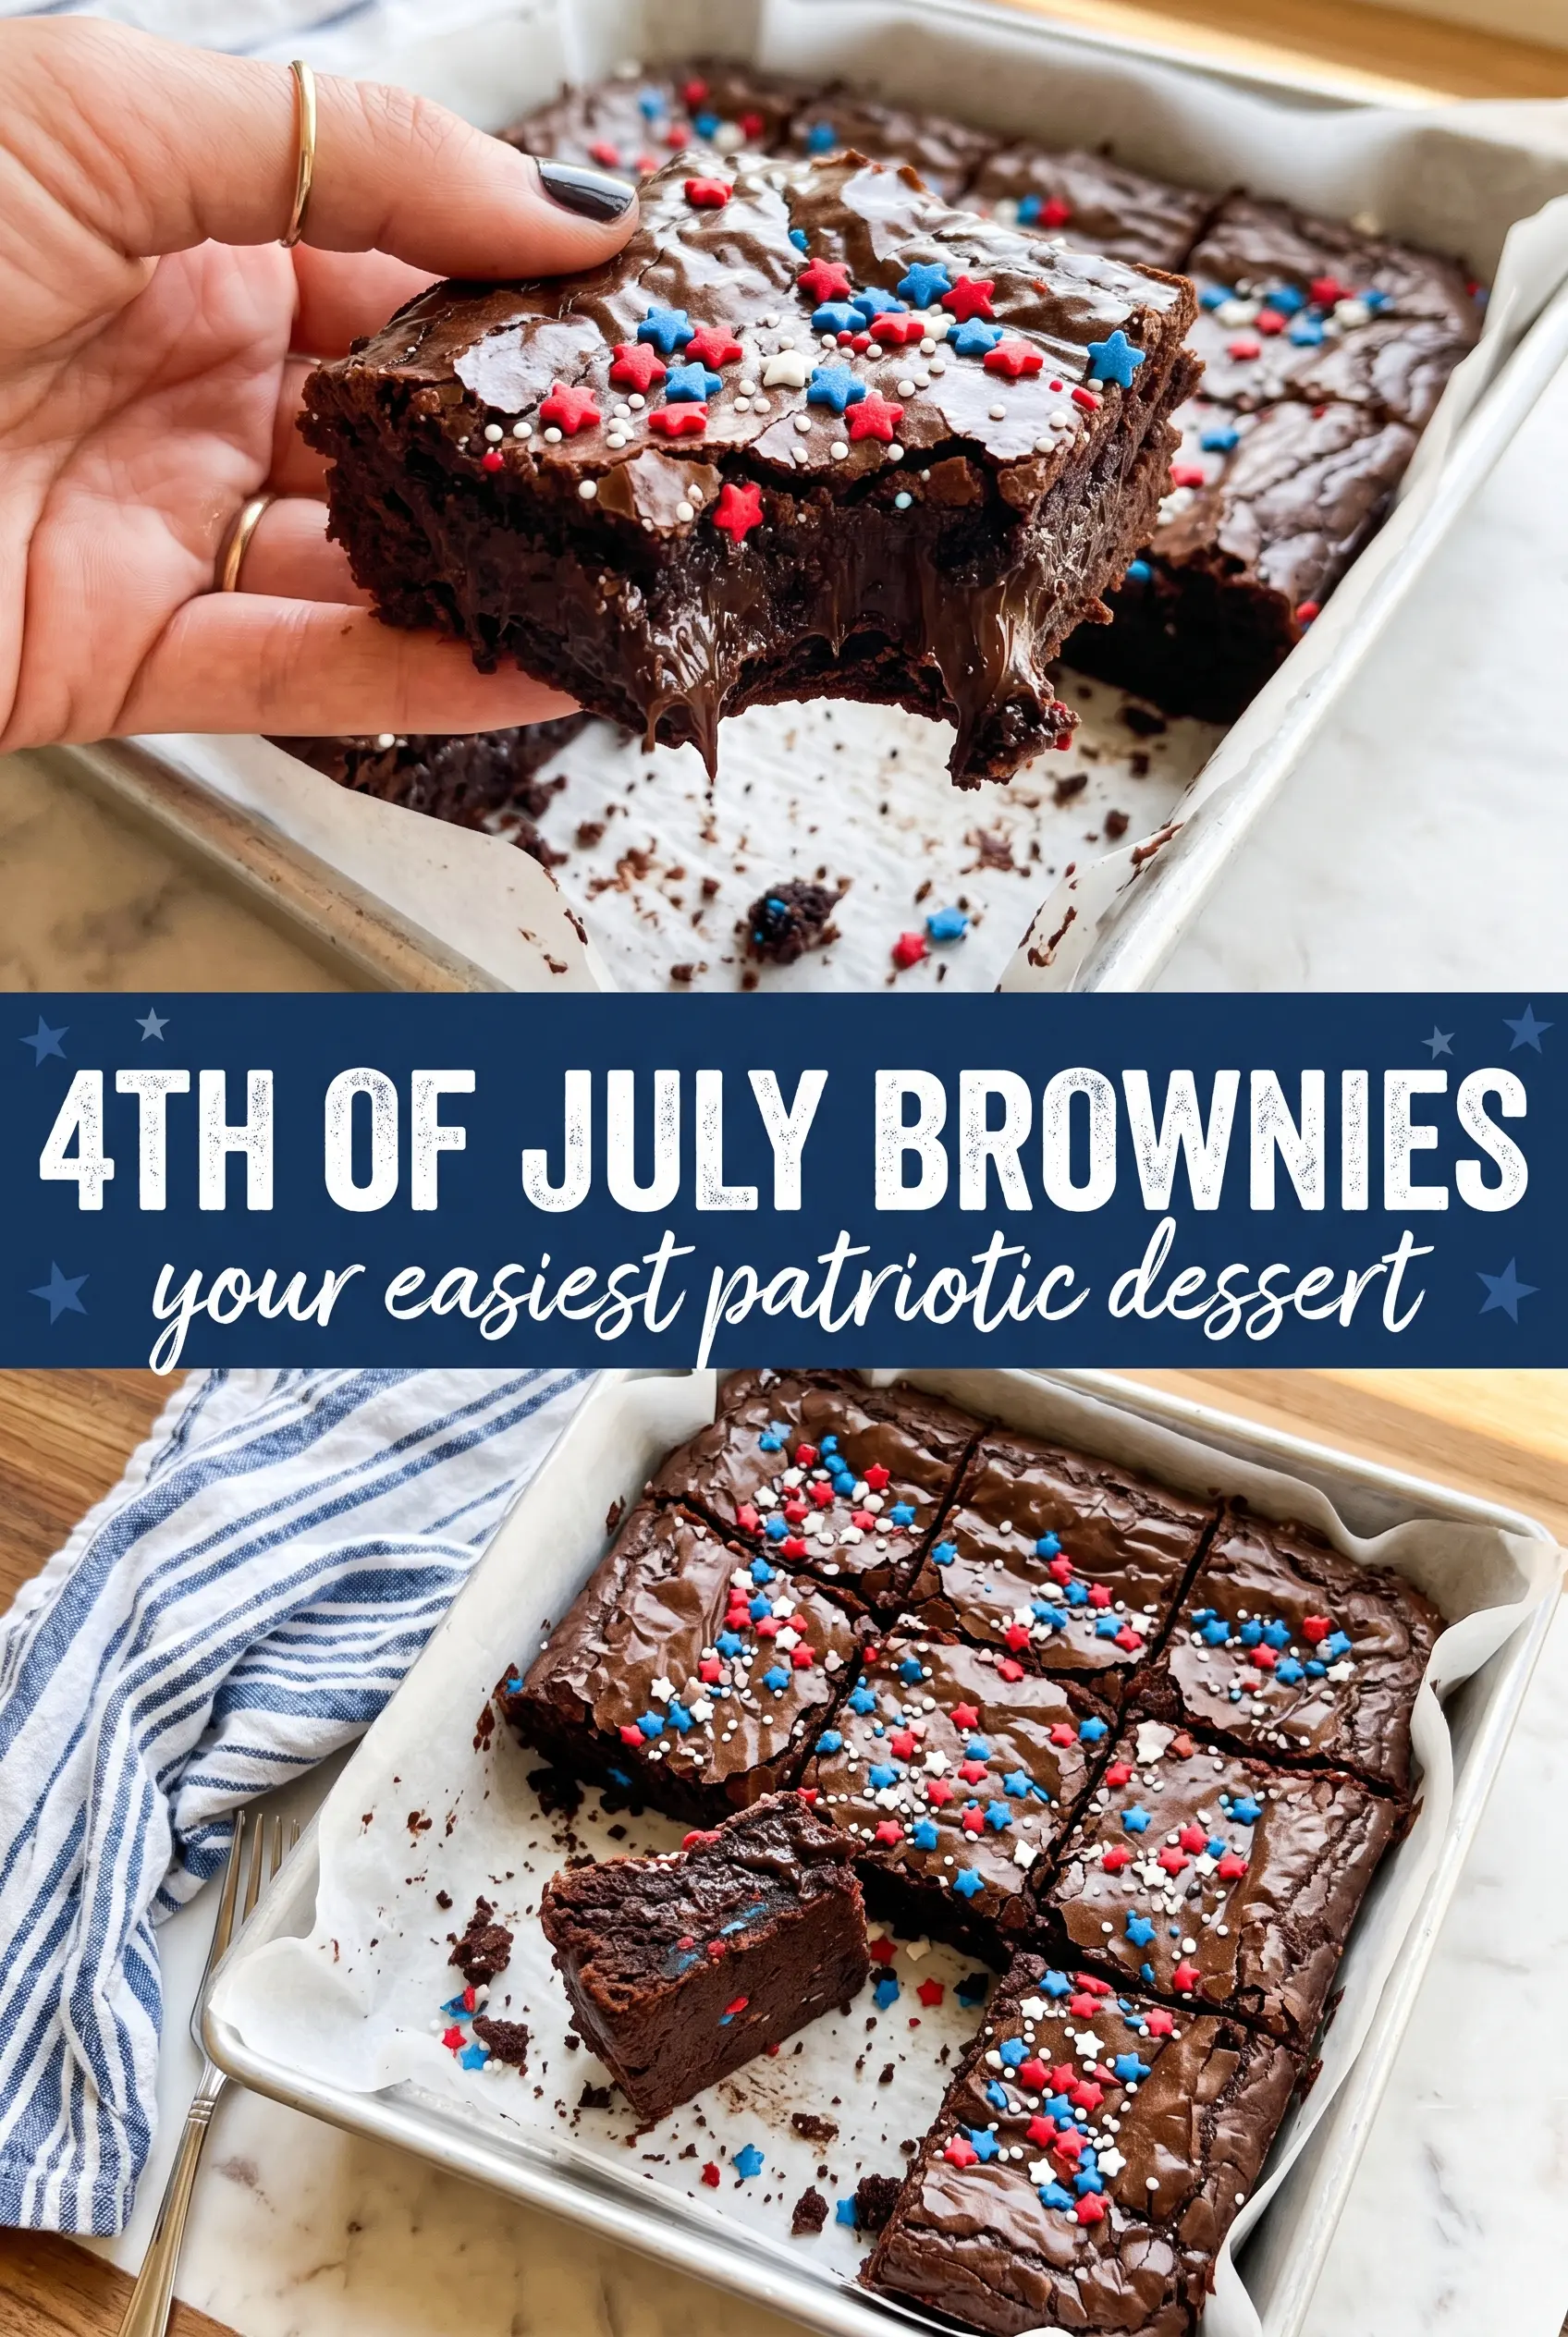
These 4th of July brownies slice best after the frosting chills, and the berry flag stays sharp enough to show off on a dessert table.
Why the Brownies Need to Cool Before the Flag Goes On
The biggest mistake with decorated brownies is rushing the topping onto a warm base. Heat softens the frosting, melts the structure underneath, and sends the fruit shifting the moment you try to cut it. A brownie that’s fully cool gives you a firm surface, which is what keeps the white layer smooth and the flag pattern readable.
Dense brownies work better than cakey ones because they hold their edges when sliced. If your brownie mix is especially airy, underbake it by a minute or two less than the box suggests, then let the pan finish setting as it cools. You want fudgy and settled, not dry and crumbly.
- Fudge brownie mix — A fudgy base gives you the best contrast with the cool frosting. If you use homemade brownies, pick a recipe that bakes dense rather than fluffy so the squares hold up under the topping.
- Cream cheese — This is what gives the frosting its tang and body. Full-fat cream cheese tastes best and firms up better than low-fat, which can go loose and soft after chilling.
- Butter — Softened butter helps the frosting whip smooth and spreadable. It’s doing more here than just adding flavor; it keeps the texture from feeling heavy.
- Milk — Add it slowly. The frosting should spread in an even layer without running. Too much milk is the difference between a neat flag and one that slides around under the berries.
- Strawberries and blueberries — Fresh fruit matters here because frozen berries bleed and weep onto the frosting. Slice the strawberries fairly thin so they lie flat and create clean red stripes instead of bumpy rows.
What Each Ingredient Is Actually Doing in This Recipe
- Primary ingredient (the star) — Quality matters most. Choose the best you can find.
- Cooking medium (oil, butter, or broth) — This carries flavors and prevents dryness.
- Seasonings (salt, pepper, spices, herbs) — Layer flavors so nothing overpowers. Build depth gradually.
- Aromatics (garlic, onion, herbs) — Cook with fat to bloom flavors. Become the foundation.
- Supporting ingredients — Complement the main ingredient without overpowering it.
- Sauce or liquid (if applicable) — Brings flavors together. Balance richness with acid.
- Acid (lemon, vinegar, wine, or other) — Brightens and prevents flat-tasting results.
- Final finish (garnish, glaze, or sauce) — Prevents one-dimensional taste and adds visual appeal.
Building the Frosting and Fruit Pattern Without a Mess
Mixing the Frosting to the Right Thickness
Beat the cream cheese and butter first until they’re smooth and no longer streaky. Then add the powdered sugar, vanilla, and just enough milk to make the frosting spreadable, not loose. If it looks glossy and holds a soft ridge when you drag a spoon through it, you’re there. If it feels pourable, it’s too thin to hold the berry pattern cleanly.
Spreading the White Layer Evenly
Spoon the frosting over the completely cooled brownies and push it gently into the corners with an offset spatula or the back of a spoon. Don’t press hard or you’ll pull up crumbs and turn the topping gray. A smooth, even layer gives you a crisp backdrop for the flag, and it also keeps the fruit from sinking unevenly.
Laying Out the Flag
Start with the blueberries in the upper left corner and pack them tightly so the canton looks solid from edge to edge. Then build the strawberry rows across the remaining space, keeping the slices flat and close together. Leave clean white gaps between the rows so the frosting shows through like stripes; if the berries are crowded too tightly, the design reads as a patchwork instead of a flag.
Chilling for a Clean Slice
Refrigerate the pan for at least 30 minutes before cutting. That short chill firms the frosting just enough to keep the berries from dragging when the knife goes through. Use a sharp knife and wipe it clean between cuts if you want square edges and a neat pattern in every piece.
How to Adapt These Brownies for Different Crowds and Kitchens
Make them gluten-free
Use a gluten-free brownie mix or a homemade gluten-free brownie base that bakes up dense. The frosting and fruit are naturally gluten-free, so the texture of the brownie is the only part that needs attention. Watch the bake time closely, since some gluten-free mixes dry out fast at the edges.
Use whipped cream cheese frosting for a lighter top
If you want a softer, fluffier topping, beat in an extra spoonful of milk and whip the frosting a little longer. The tradeoff is less structure, so this version is best if you’re serving the brownies soon after chilling rather than letting them sit out for hours.
Swap the berries for a different red, white, and blue look
Raspberries can stand in for the strawberries if you want a sharper red stripe, but they’re more delicate and can weep faster. You can also add extra blueberries to make the canton denser. Keep the fruit fresh, not frozen, or the frosting will discolor and the clean flag look will disappear.
Storage and Reheating
- Refrigerator: Store covered for up to 3 days. The brownies stay fudgy, but the berries are best the first day or two.
- Freezer: I don’t recommend freezing the finished brownies because the frosting texture softens and the berries turn watery after thawing. You can freeze the unfrosted brownie base if you want to get ahead.
- Reheating: Don’t reheat the decorated brownies. Serve them cold or at cool room temperature so the frosting stays firm and the flag pattern stays sharp.
Answers to the Questions Worth Asking
4th of July Brownies
Ingredients
Equipment
Method
- Bake the brownies in a 9x13 pan according to package directions until set in the center, then let cool completely—at least 1 hour—before frosting.
- Keep the pan untouched during cooling so the brownies firm up enough to slice cleanly later.
- Beat the cream cheese, butter, powdered sugar, vanilla extract, and milk together until smooth and spreadable.
- If the frosting feels too thick, beat in an additional 1 tablespoon milk until it spreads easily.
- Spread the cream cheese frosting in an even layer over the cooled brownies.
- In the upper left corner, arrange a rectangle of blueberries tightly packed to form the canton.
- Create red stripes across the rest of the brownies by laying sliced strawberries flat in horizontal rows.
- Leave alternating gaps between strawberry rows so the white frosting shows through as the flag stripes.
- Refrigerate the decorated brownies for 30 minutes to set the frosting.
- Cut into squares and serve straight from the pan after chilling.


