Honey Pepper Chicken Pasta lands in that sweet spot where the sauce clings to every ridge of pasta instead of pooling at the bottom of the bowl. The honey gives it a glossy, almost sticky finish, while the black pepper keeps the whole dish from tasting flat or one-note. It’s the kind of skillet dinner that looks like it took more effort than it did, which is usually a good sign you’ve got the balance right.
What makes this version work is the order: the chicken gets a real sear first, then the sauce builds in the same pan so all those browned bits end up back in the bowl. The cornstarch slurry gives the sauce body without making it heavy, and the pasta water loosens everything just enough to coat the noodles instead of turning the whole thing gluey. Parmesan goes in at the end, where it melts into the honey pepper sauce instead of getting grainy.
Below, I’ve included the small details that matter most — how dark to let the chicken get, when the sauce should thicken, and what to do if you want a little more heat or a little less sweetness.
The sauce thickened up exactly how you said and coated the penne instead of sliding off. I added a little extra black pepper at the end and my husband asked if I could make it again next week.
Love the glossy honey pepper sauce and tender chicken? Save this Honey Pepper Chicken Pasta for a quick skillet dinner with bold black pepper heat.
The Trick to Keeping Honey Sauce Glossy Instead of Sticky
Honey sauces can go from silky to clingy in a hurry if they boil too hard or sit too long on the heat. The fix here is simple: build the sauce, let it simmer just until it starts to thicken, then move fast once the pasta goes in. You want a sauce that coats the back of a spoon and drapes over the noodles, not one that turns into caramel the second it cools.
The other thing that matters is black pepper. This isn’t a background seasoning. It’s part of the sauce’s structure, and if you hold back too much, the honey takes over and the dish tastes sweeter than it should. The chicken also needs a proper sear before it’s sliced, because that browned surface gives the sauce depth that plain poached chicken just can’t.
- Don’t rush the simmer. The cornstarch needs a minute or two to activate, and the sauce should thicken before the pasta goes in.
- Keep the heat moderate. High heat makes honey sauce tighten too much and can dull the garlic.
- Season the chicken before it hits the pan. That first layer of salt and pepper carries through the whole dish.
- Use the pasta water on purpose. It loosens the sauce without watering down the flavor.
What Each Ingredient Is Actually Doing in This Dish
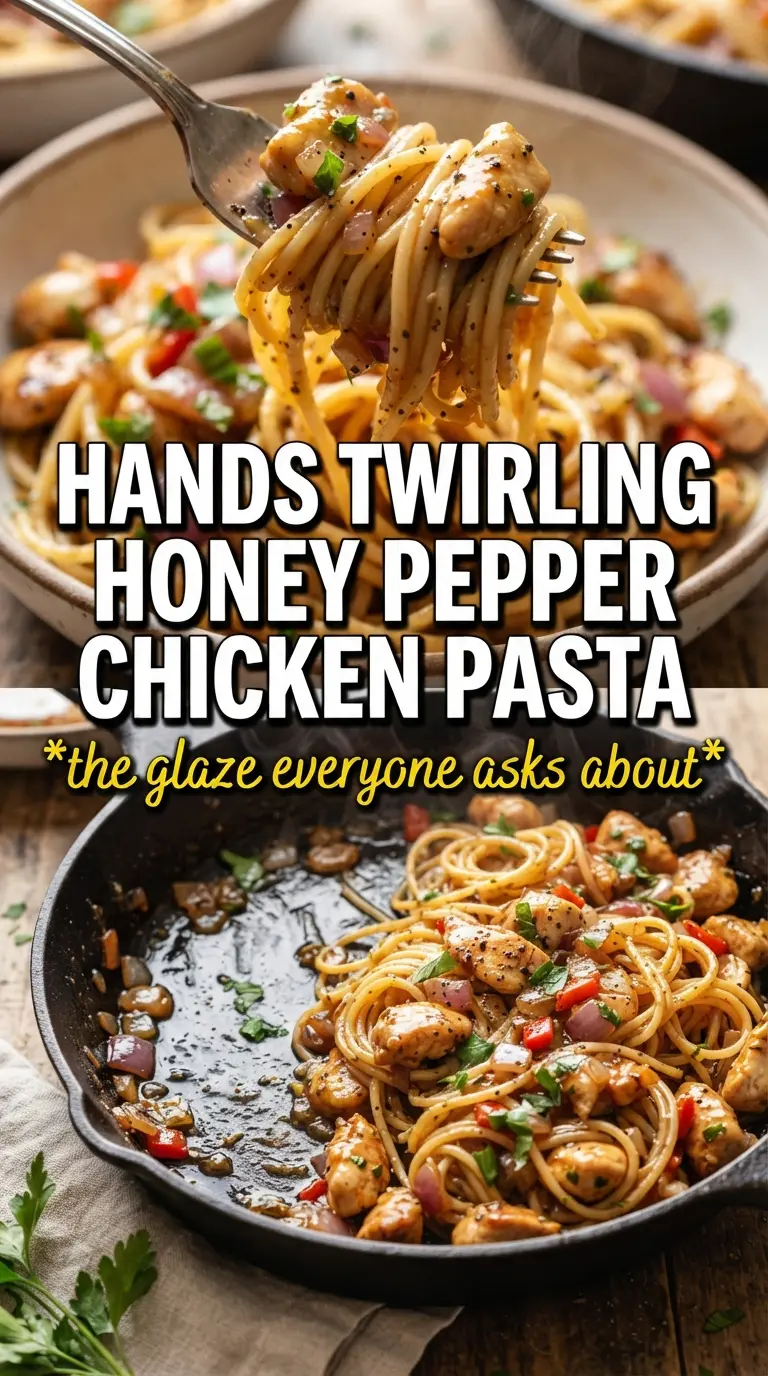
- Chicken breast — Sliced thin, it cooks quickly and stays tender. If the pieces are thick, the outside overcooks before the center is done.
- Honey — This is the glossy backbone of the sauce. You can reduce it slightly if you want less sweetness, but don’t swap in maple syrup unless you want a different, heavier flavor.
- Soy sauce — It adds salt and a little savory depth so the honey doesn’t taste one-dimensional. Low-sodium soy works fine here if that’s what you keep on hand.
- Black pepper and red pepper flakes — The pepper gives the recipe its name and its bite, while the flakes add warmth. If you want a milder finish, cut the red pepper flakes in half before touching the black pepper.
- Cornstarch slurry — This thickens the sauce quickly and keeps it glossy. Whisk it in while the sauce is simmering, not boiling hard, or it can turn pasty.
- Parmesan — It adds salt, body, and a little nuttiness at the end. Grate it finely so it melts into the sauce instead of clumping.
Building the Sauce and Pasta in the Right Order
Searing the Chicken First
Heat the butter until it foams, then add the seasoned chicken in a single layer. You’re looking for golden edges and a surface that releases from the pan without sticking; if it’s tearing, it needs another minute. Don’t crowd the pan, or the chicken will steam and turn pale instead of picking up color. Cook it just until done, then pull it out so it doesn’t dry out while the sauce comes together.
Turning the Pan Drippings Into Sauce
Add the garlic to the same pan and stir it for about a minute, just until fragrant. Pour in the broth, honey, soy sauce, black pepper, and red pepper flakes, scraping up the browned bits from the bottom as you go. That fond is where the deep flavor comes from, so don’t leave it behind. Once the sauce starts bubbling, whisk in the cornstarch slurry and let it simmer until it looks slightly thickened and glossy.
Bringing Everything Together
Drop the cooked pasta into the sauce and toss it until each piece is coated. Add pasta water a splash at a time if the sauce tightens before it coats the noodles evenly. Return the chicken and any juices to the pan, then finish with parmesan off the heat so it melts smoothly instead of turning grainy. The last handful of parsley gives the dish a fresh finish and keeps the sauce from feeling heavy.
How to Adapt This for Different Eaters and Different Nights
Use chicken thighs instead of breast
Thighs stay juicier and bring a little more richness to the pan. They need a few extra minutes to cook through, but they’re more forgiving if your slices aren’t perfectly even.
Make it gluten-free
Use your favorite gluten-free penne or rigatoni and swap in tamari for the soy sauce. Gluten-free pasta can go soft fast, so stop cooking it while it still has a little bite and finish it in the sauce.
Dial back the sweetness
Cut the honey to 1/3 cup and keep the black pepper full-strength. You’ll get a sharper, more savory sauce that still feels glossy and balanced without tasting dessert-like.
Storage and Reheating
- Refrigerator: Store in an airtight container for up to 4 days. The pasta will absorb some sauce as it sits.
- Freezer: It freezes, but the pasta softens after thawing. For the best texture, freeze the chicken and sauce separately from freshly cooked pasta.
- Reheating: Warm gently in a skillet over low heat with a splash of broth or water. Microwaving on high can tighten the sauce and dry out the chicken.
Answers to the Questions Worth Asking
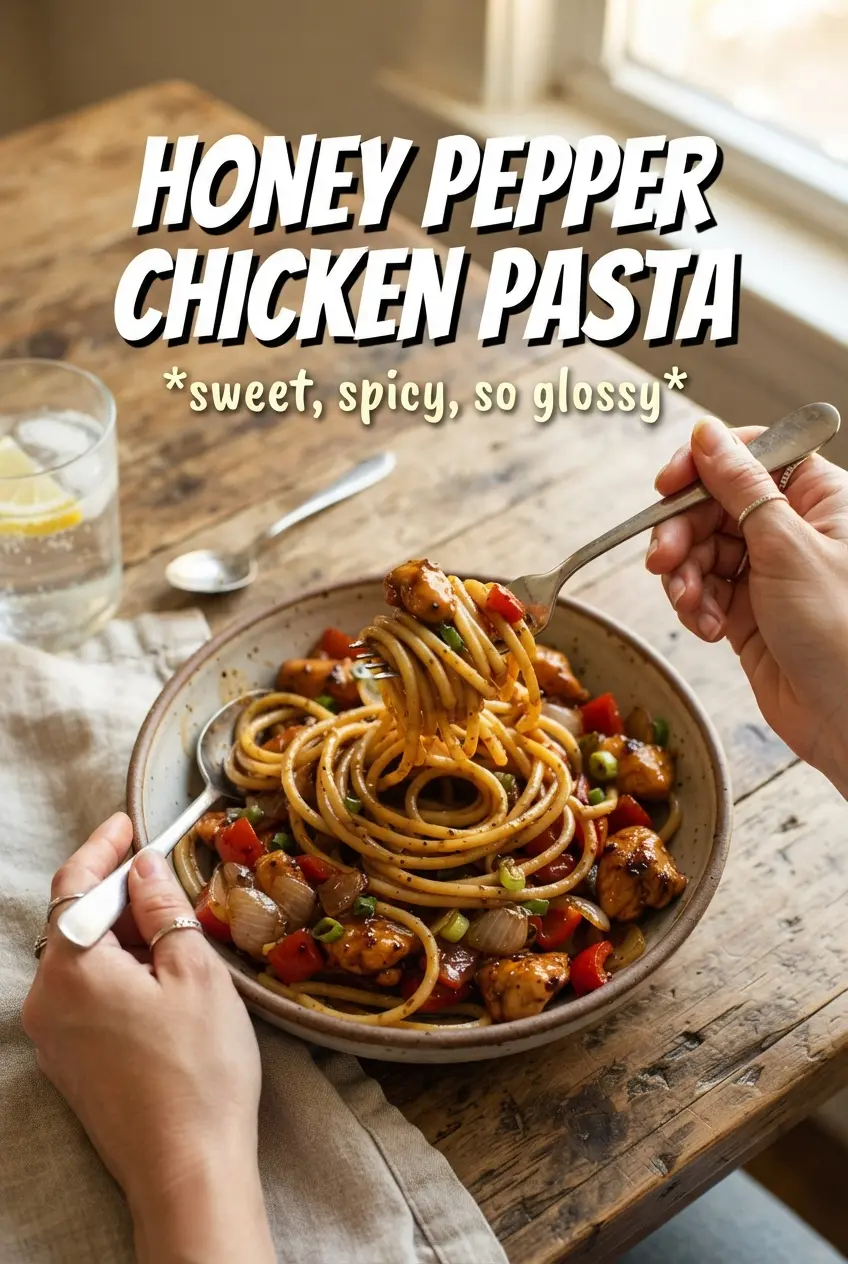
Honey Pepper Chicken Pasta
Ingredients
Equipment
Method
- Bring a pot of salted water to a boil, then cook penne or rigatoni until al dente (about 10–12 minutes). Reserve 1/2 cup pasta water and drain the pasta, setting it aside for tossing.
- Heat butter in a cast iron skillet over medium-high heat until melted and foamy. Season the sliced chicken breast with salt and generous black pepper, then sear 4–5 minutes per side until golden; remove from the pan and slice if needed.
- In the same skillet, sauté minced garlic over medium heat for 1 minute until fragrant. Add chicken broth, honey, soy sauce, black pepper, and red pepper flakes, stirring to combine.
- Whisk cornstarch slurry (cornstarch mixed with 2 tablespoons water) into the sauce. Simmer until thickened, about 3–5 minutes, stirring so it turns glossy.
- Add the drained pasta to the sauce, tossing and adding reserved pasta water as needed for a smooth coating. Return the chicken to the skillet and toss until heated through.
- Turn off the heat and finish by tossing in grated parmesan until melted and creamy. Top with fresh parsley and serve immediately.


