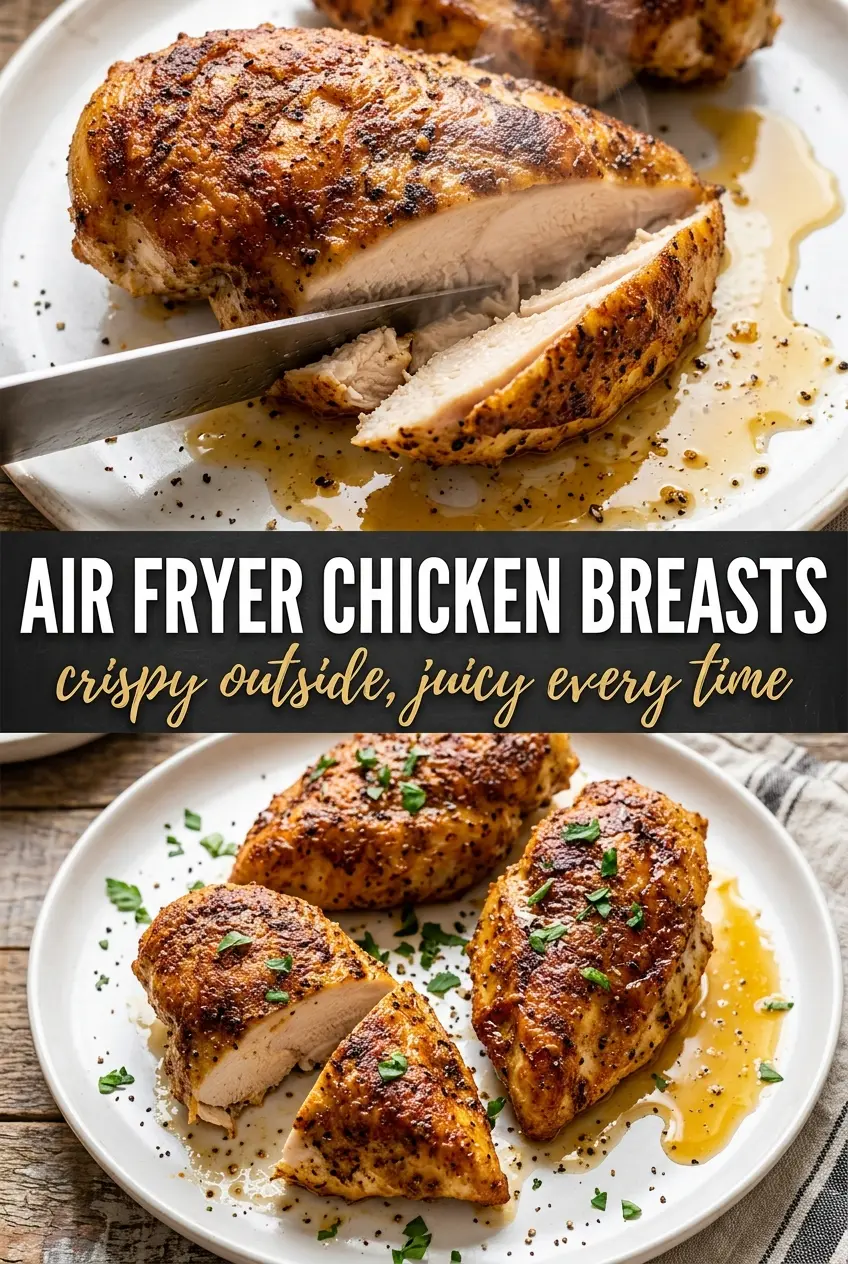
Juicy air fryer chicken breasts are one of those dinners that earns a permanent spot in the rotation because they cook fast, stay tender, and come out with a seasoned crust that actually tastes like dinner. The air fryer does the hard part for you: it moves hot air all around the chicken so the outside picks up color while the inside stays moist instead of drying out in a skillet or oven.
The trick is starting with chicken breasts that are even in thickness. That one step keeps the thin end from overcooking while the thick end catches up, which is the main reason chicken breast turns chalky or stringy. A little olive oil helps the spices cling and encourages browning, while smoked paprika and garlic powder give the chicken enough flavor to stand on its own without a heavy marinade.
Below, I’m walking through the small details that make a big difference here: how thick to pound the chicken, what temperature gives you the best balance of browning and juiciness, and what to do if your air fryer runs hot or the breasts are larger than average.
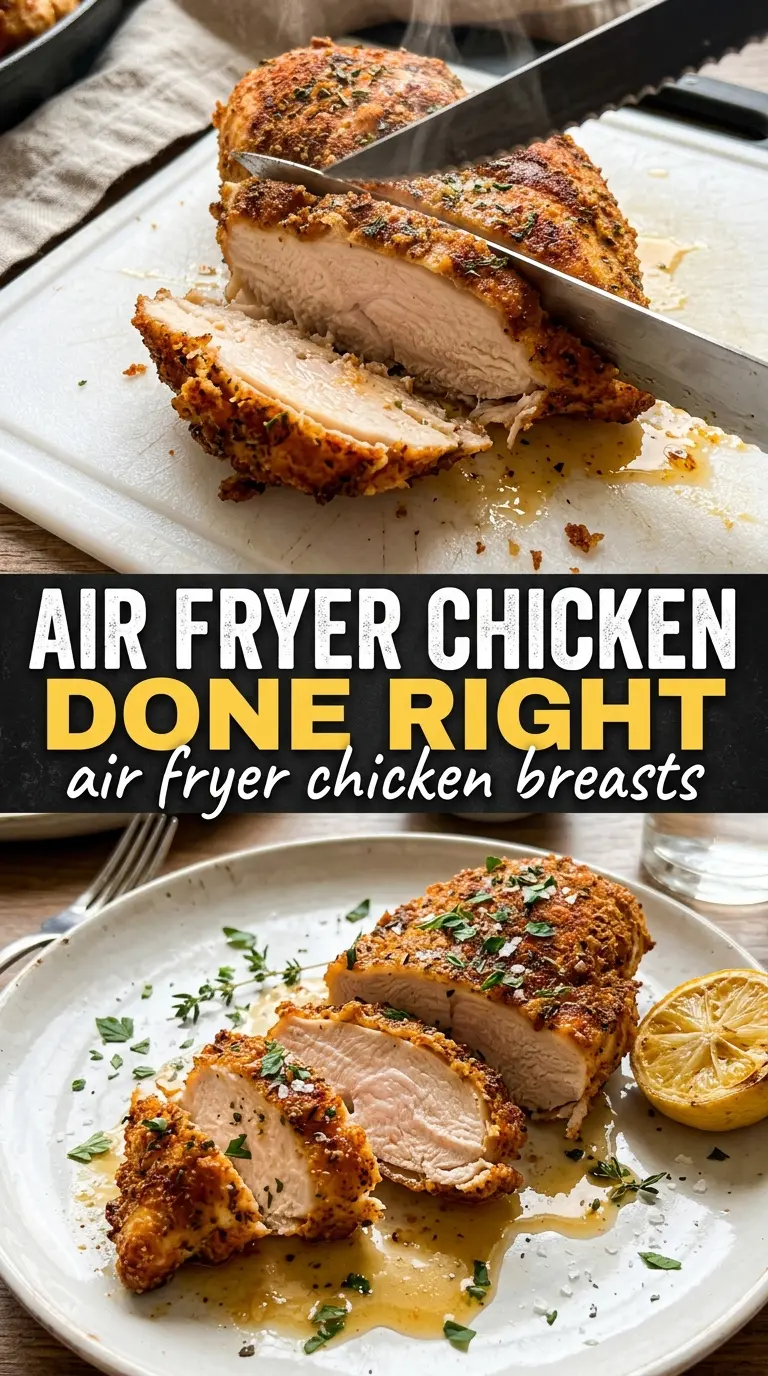
The chicken stayed juicy all the way through, and the seasoning formed that little savory crust on the outside without getting dry. I used the lemon at the end like you suggested, and it made the whole thing taste brighter.
Save these juicy air fryer chicken breasts for a fast dinner with a golden seasoned crust and a tender center.
The Part That Keeps Air Fryer Chicken Breast Juicy Instead of Chalky
Most air fryer chicken breast recipes fail for the same reason: the chicken is uneven, the heat is too aggressive, and the meat comes out done on the edges before the center has a chance to catch up. Pounding the breasts to an even 3/4-inch thickness solves more than one problem at once. It helps the chicken cook evenly, and it gives you a better chance at that clean slice without a dry ring around the outside.
The other thing that matters here is the rest time. Chicken breast keeps cooking after it comes out of the air fryer, and if you slice it too soon, the juices run onto the cutting board instead of staying in the meat. That five-minute rest is short, but it changes the texture from merely cooked to actually juicy.
What Each Ingredient Is Actually Doing in This Recipe
- Primary ingredient (the star) — Quality matters most. Choose the best you can find.
- Cooking medium (oil, butter, or broth) — This carries flavors and prevents dryness.
- Seasonings (salt, pepper, spices, herbs) — Layer flavors so nothing overpowers. Build depth gradually.
- Aromatics (garlic, onion, herbs) — Cook with fat to bloom flavors. Become the foundation.
- Supporting ingredients — Complement the main ingredient without overpowering it.
- Sauce or liquid (if applicable) — Brings flavors together. Balance richness with acid.
- Acid (lemon, vinegar, wine, or other) — Brightens and prevents flat-tasting results.
- Final finish (garnish, glaze, or sauce) — Prevents one-dimensional taste and adds visual appeal.
What Each Ingredient Is Doing in the Basket
- Chicken breasts — Boneless, skinless breasts are lean, which is why timing and thickness matter so much. Smaller breasts will cook faster, and larger ones may need a couple extra minutes; the thermometer matters more than the clock.
- Olive oil — This helps the seasoning stick and promotes browning on the surface. You don’t need much, but skipping it leaves the spices patchy and the exterior drier.
- Garlic powder, smoked paprika, onion powder, Italian seasoning — This blend gives the chicken a savory crust without a wet marinade. Smoked paprika adds color and a little depth, while garlic and onion powder give you that roasted, seasoned taste that plain salt and pepper can’t quite deliver.
- Salt and black pepper — Salt seasons the meat all the way through, not just the surface, so don’t hold back. Pepper adds a small sharp note that keeps the chicken from tasting flat.
- Lemon wedges and fresh herbs — These aren’t garnish for the sake of garnish. A squeeze of lemon wakes up the seasoning and cuts through the richness of the oil, especially if you’re serving the chicken with rice, potatoes, or pasta.
How to Cook the Chicken So It Stays Tender All the Way Through
Pounding to Even Thickness
Lay the chicken between two sheets of plastic wrap or parchment and pound it to about 3/4 inch thick. The goal isn’t to flatten it into a cutlet; it’s to remove the skinny tail end that burns out before the center is done. If the breast is already close to even, give it just enough pressure to level it out. Uneven chicken is the fastest way to get a dry edge and an underdone center.
Seasoning the Surface
Rub the chicken with olive oil first, then coat both sides with the spice mixture until every part looks evenly seasoned. You want a thin, glossy coating, not a wet paste. If the spice clumps in spots, the chicken will brown unevenly and taste blotchy instead of well seasoned. Press the seasoning on lightly with your hands so it actually adheres.
Air Frying at the Right Heat
Preheat the air fryer to 375F, then place the chicken in a single layer with a little space between pieces. Cook for 9 minutes per side, then check the thickest part with an instant-read thermometer. If your air fryer runs hot or your chicken breasts are on the smaller side, start checking a minute early on the second side. The chicken is done at 165F, but pulling it right at that point and letting it rest keeps it from drying out.
Resting Before You Slice
Transfer the chicken to a plate and let it rest for 5 minutes before cutting. This gives the juices time to settle back into the meat instead of spilling out the second your knife hits it. Slice against the grain for the cleanest bite and the most tender texture. If the center looks slightly pink but the thermometer reads 165F, trust the thermometer, not the color.
How to Adjust This for Different Air Fryers and Different Dinners
For Smaller or Larger Chicken Breasts
If your chicken breasts are smaller than 6 ounces, start checking them a few minutes early because they can dry out fast. If they’re large and thick, pound them down more aggressively or add a few extra minutes on the second side, but let the thermometer decide when they’re done.
Garlic and Herb Instead of Smoked Paprika
Swap the smoked paprika for extra Italian seasoning and a little dried thyme if you want a softer, more herb-forward chicken. You’ll lose the warm smoky note, but the chicken still browns well and works beautifully for salads, sandwiches, or pasta.
Dairy-Free and Gluten-Free by Default
This recipe is already both dairy-free and gluten-free as written, which makes it an easy one to serve alongside almost anything. Just check your seasoning blends if you swap in a store-bought mix, since some can include fillers or anti-caking agents that change the texture.
Storage and Reheating
- Refrigerator: Store in an airtight container for up to 4 days. The coating softens a little, but the chicken stays good for lunches and meal prep.
- Freezer: Freeze sliced or whole chicken for up to 2 months, wrapped well so it doesn’t dry out. Thaw overnight in the fridge before reheating.
- Reheating: Reheat gently in the air fryer at 325F for a few minutes or in a covered skillet with a splash of water. High heat is what turns leftover chicken breast rubbery, so warm it just until hot.
Questions I Get Asked About This Recipe
Air Fryer Chicken Breasts
Ingredients
Equipment
Method
- Pound the chicken breasts to an even thickness, about 3/4 inch, so they cook evenly.
- Rub the chicken with olive oil, then coat both sides thoroughly with garlic powder, smoked paprika, onion powder, Italian seasoning, salt, and black pepper.
- Preheat the air fryer to 375F so it’s hot and ready for fast cooking.
- Place the chicken in the air fryer basket and air fry for 9 minutes.
- Flip the chicken and air fry for another 9 minutes until the outside looks golden-brown and seasoned.
- Check the internal temperature with an instant-read thermometer; it should reach 165F and the juices should run clear.
- Rest the chicken for 5 minutes before slicing so the juices redistribute and the center stays tender.
- Serve with lemon wedges and fresh herbs for bright flavor alongside the golden exterior.


