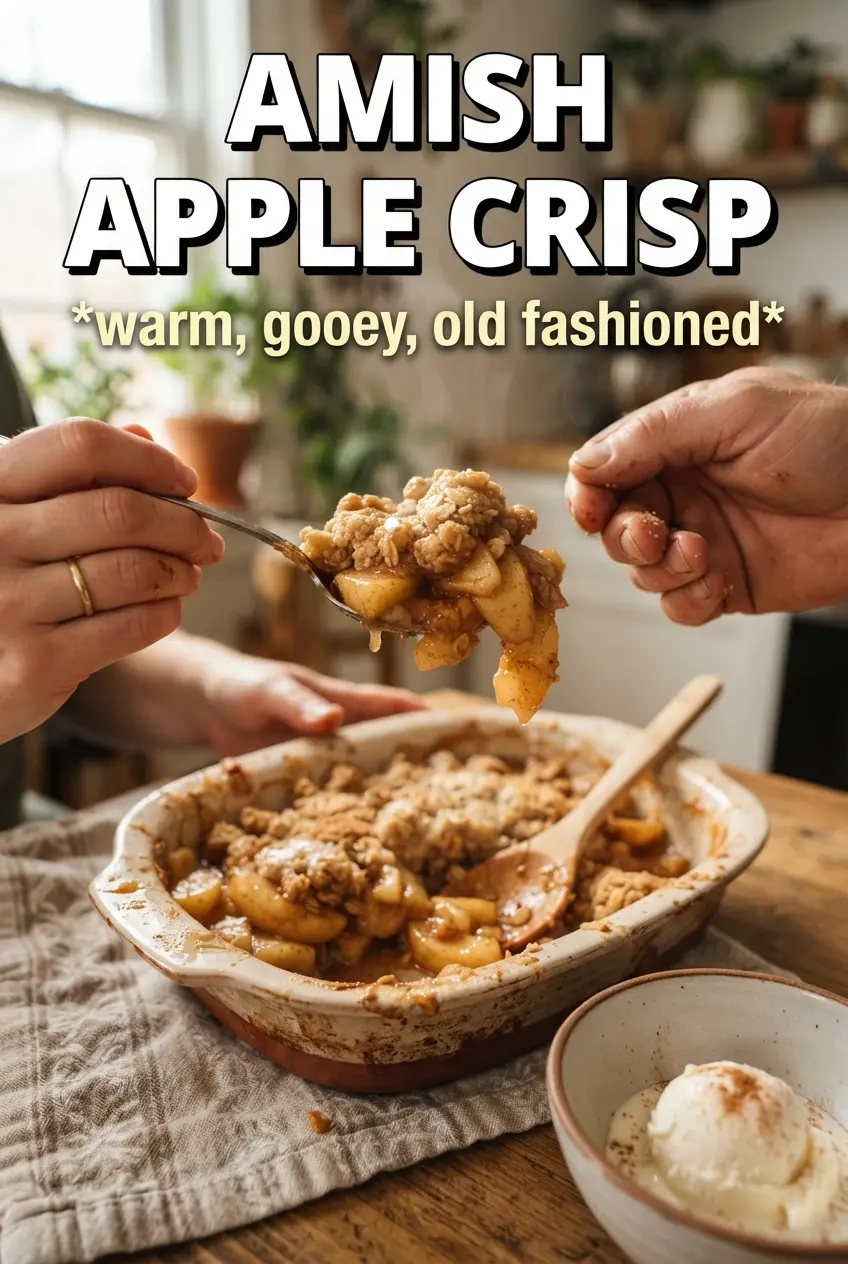
Amish apple crisp bakes into a deep dish of tender spiced apples and a thick, craggy oat topping that turns crisp at the edges and buttery in the middle. What makes it worth keeping in the rotation is the contrast: the filling softens into a glossy layer while the topping stays rustic and substantial instead of disappearing into the fruit.
The trick is in the balance. A little flour in the apples keeps the juices from running thin, and the mix of brown sugar, granulated sugar, cinnamon, nutmeg, and allspice gives the filling enough warmth without turning it muddy. The crumble works because the butter stays cold and gets cut in just until the mixture forms big, uneven clumps. Those clumps bake into the best parts of the dessert.
Below, I’ve included the detail that matters most: how to keep the topping from turning sandy, what kind of apples hold up best, and the one serving step that makes this crisp taste like it came straight from a farmhouse kitchen.
The topping baked up thick and crunchy instead of soggy, and the apples turned perfectly soft without getting mushy. I served it with vanilla ice cream and my husband went back for seconds before dinner was even cleaned up.
Save this Amish apple crisp for the nights when you want thick oat crumble, warm spice, and a pan of bubbling apples under ice cream.
The Reason the Crumble Stays Thick Instead of Turning Sandy
Most apple crisps go wrong in one of two places: the apples release too much liquid, or the topping melts into a fine, dry layer that never turns into a real crumble. This version avoids both by using a deep layer of fruit and a topping that starts with cold butter and ends with uneven clumps. Those clumps matter. They hold pockets of butter and sugar that brown into crisp edges instead of baking into dust.
The other thing that helps here is the pan size. A 10×15 roasting pan gives the apples room to bubble without overflowing, while a 9×13 dish makes a taller, more compact crisp. Either way, don’t pack the topping down. A light press is enough to help it stay in place while leaving the surface rough enough to catch heat and brown.
What the Apples, Oats, and Lard Are Each Doing Here
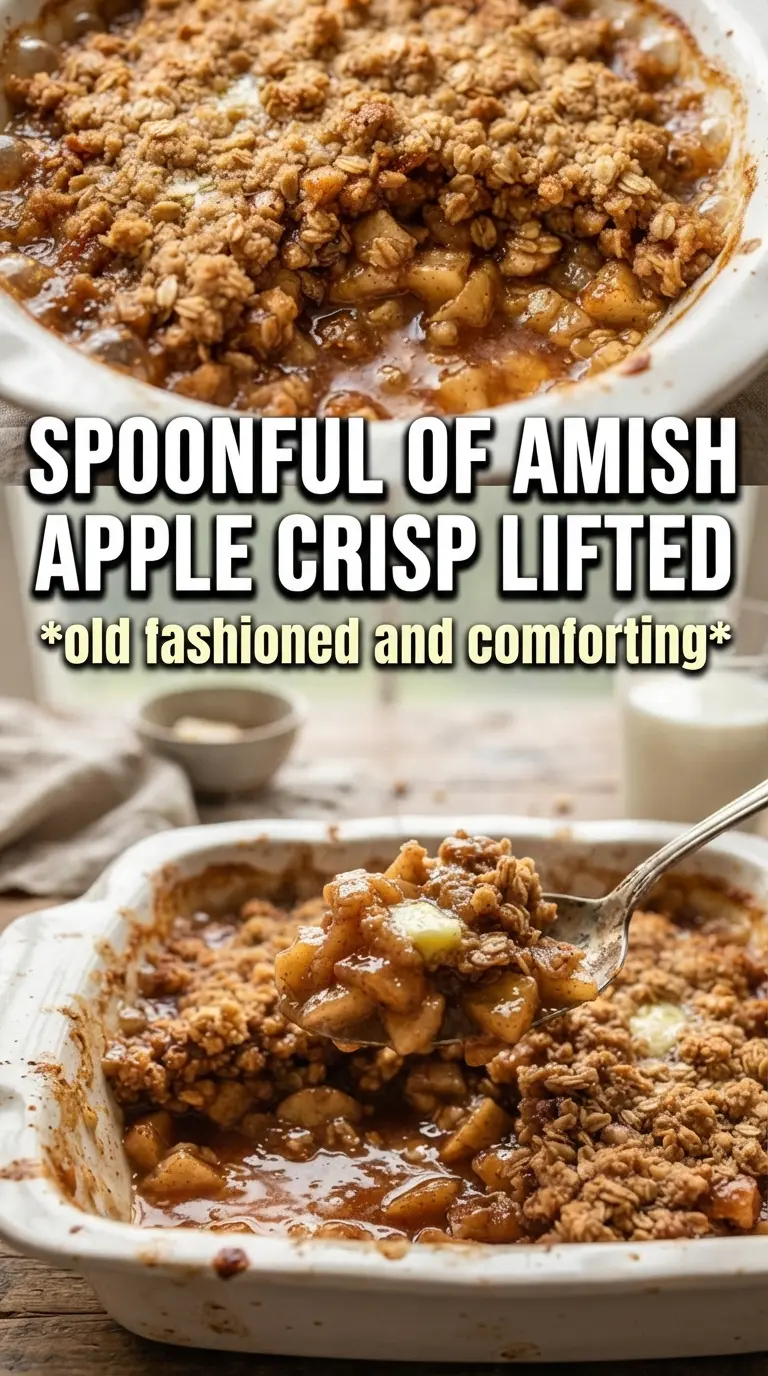
The apples carry the whole dessert, so use ones that hold their shape after baking. A mix of tart and sweet apples works best; if all you have are sweeter apples, the lemon juice and measured sugar keep the filling from turning flat. Slice them evenly so they soften at the same rate. Thin slices break down too fast, while thick chunks stay hard in the center.
- Rolled oats — These give the topping its toothsome, rustic texture. Quick oats turn softer and more compact, which works in a pinch, but the crisp won’t have the same chunky bite.
- Brown sugar — Brown sugar brings the deeper caramel note and helps the crumble clump. You can swap in a little extra granulated sugar, but the topping will taste sharper and less rich.
- Cold butter and lard — Cold fat is what keeps the topping crumbly instead of greasy. The lard, if you use it, gives the most traditional texture and a faint savory depth. If you don’t keep lard around, use all butter and cut it in with your fingertips until the mixture looks like rough pebbles and big chunks.
- Lemon juice — This doesn’t make the crisp taste lemony. It keeps the apples bright and helps balance the sugar, especially if your apples lean sweet.
Building the Filling and Topping Without Losing the Texture
Toss the Apples Until Every Slice Is Coated
Mix the sliced apples with the sugars, spices, flour, and lemon juice until every piece looks lightly glossed. The flour will look dusty at first, then disappear as the fruit starts to moisten. Spread the apples into the pan in a deep, even layer so the filling bakes from edge to center at the same pace. If the apples mound too high in the middle, the top browns before the fruit is fully tender.
Cut the Fat In Just Until Clumps Form
Combine the crumble ingredients, then work the cold butter and lard in with your hands until you have a mix of coarse crumbs and larger clumps. Stop before it turns into a paste. If the topping looks sandy, the fat was too warm or mixed too long, and it won’t bake into those crisp, knobby clusters. A few uneven bits of butter are good here; they melt into the best pockets of crunch.
Bake Until the Edges Bubble and the Top Turns Deep Gold
Spread the crumble thickly over the apples and press very gently so it stays put. Bake until the topping is deeply golden and the apple filling bubbles all around the edges, which tells you the fruit has softened and the juices have thickened. If the top looks done before the filling is bubbling, give it a few more minutes. The crisp is ready when the scent turns buttery and the pan sounds active, not quiet.
Let It Rest Before Serving
Give the pan at least 15 minutes on the counter before scooping. That pause lets the juices settle and keeps the filling from running across the plate. It also gives the topping a chance to firm up, so you get actual crumble instead of a hot, collapsing pile. Vanilla ice cream and a small pour of cold cream finish it the way this dessert wants to be served.
How to Adapt This Amish Apple Crisp for Different Kitchens
All-Butter Version
If you don’t use lard, replace it with an equal amount of butter. The crisp will still bake up well, but the topping tastes a little richer and slightly less old-fashioned. Keep the butter cold and stop mixing as soon as the crumb looks shaggy and clumpy.
Gluten-Free Crisp
Use a good 1:1 gluten-free flour blend in place of the all-purpose flour in both the filling and topping. The texture will be a little more delicate, but the oats still give the crisp plenty of body. Check that your oats are certified gluten-free if that matters for your kitchen.
Less-Sweet Filling
If your apples are already sweet, drop the granulated sugar in the filling slightly and keep the brown sugar. You’ll get a cleaner apple flavor and the spice will stand out more. Don’t cut the sugar too hard, though, or the filling can taste flat instead of balanced.
Make-Ahead for Company
You can mix the crumble ahead and keep it chilled, then assemble and bake the crisp just before serving. If you want to prep the apples earlier, toss them with the lemon juice first so they don’t brown while you work. This dessert is best fresh from the oven, but it holds heat well enough for a relaxed dinner table.
Storage and Reheating
- Refrigerator: Store covered for up to 4 days. The topping softens a bit, but the flavor holds.
- Freezer: Freeze baked portions tightly wrapped for up to 2 months. The topping won’t be as crisp after thawing, but it still works well for a quick dessert.
- Reheating: Warm in a 325F oven until the filling is hot and the top re-crisps, about 15 to 20 minutes for a smaller portion. The microwave makes the topping soft, so use the oven when you want the texture back.
Questions I Get Asked About This Amish Apple Crisp
Amish Apple Crisp
Ingredients
Equipment
Method
- Preheat the oven to 350F and grease a large 10x15 roasting pan or 9x13 baking dish, coating the bottom and sides lightly so the crisp releases cleanly.
- Toss the apple slices with granulated sugar, brown sugar, cinnamon, nutmeg, allspice, all-purpose flour, and lemon juice until the fruit looks evenly coated.
- Spread the seasoned apples in the prepared pan in a deep, even layer so they bake uniformly.
- In a mixing bowl, combine all-purpose flour, rolled oats, both sugars, cinnamon, and salt.
- Cut in the cold cubed butter (and lard if using) with your hands until you get large crumbly clumps that hold together when pinched.
- Spread the crumble thickly over the apples and press very gently so the topping stays lumpy rather than compacted.
- Bake for 50-55 minutes at 350F until the topping is deeply golden and the apple filling bubbles all around the edges.
- Rest the crisp for 15 minutes so the juices thicken before serving.
- Serve warm with vanilla ice cream and pour cold heavy cream over each portion.