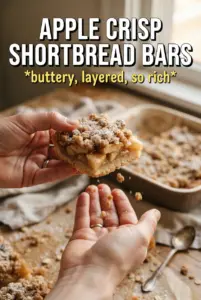
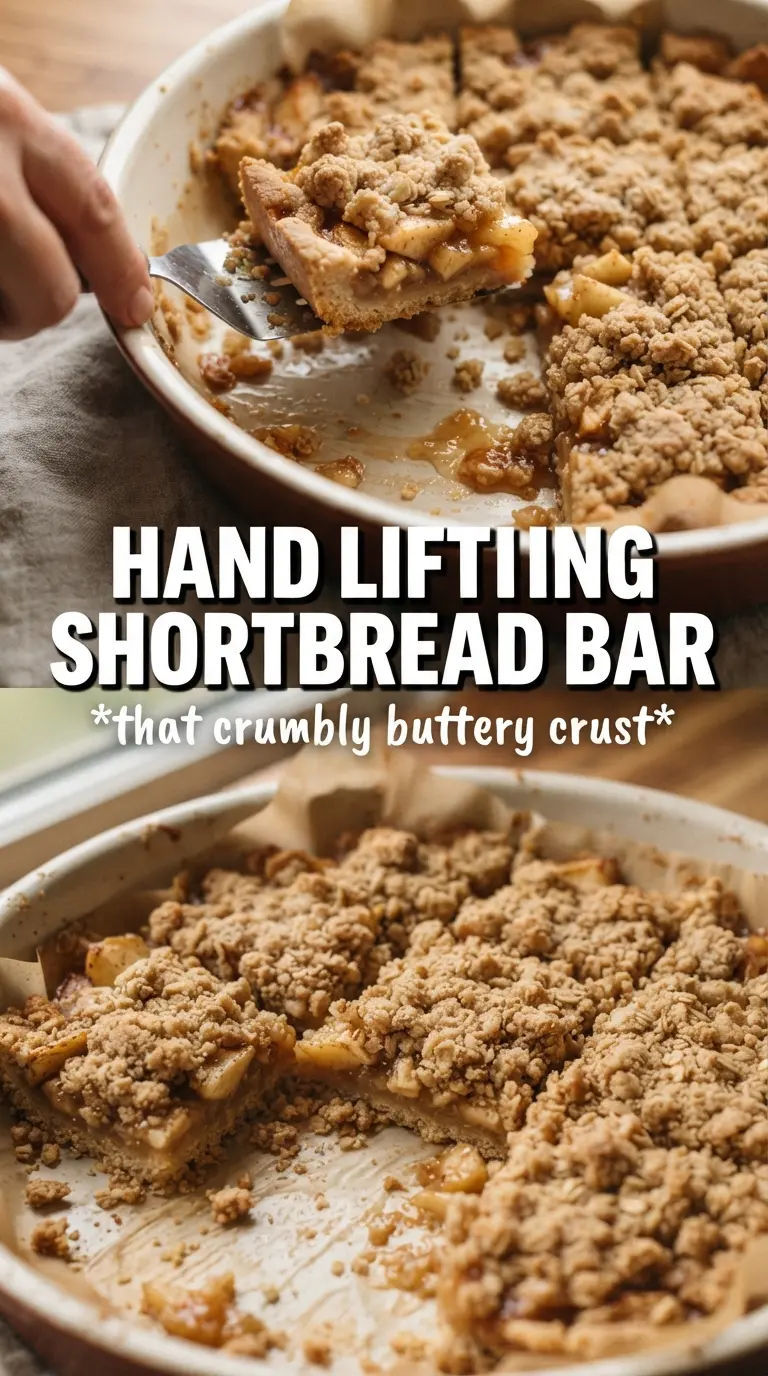
Buttery shortbread, tender cinnamon apples, and a crisp oat crumble give these Apple Crisp Shortbread Bars the kind of layered bite that disappears fast from a dessert tray. The base bakes up firm enough to hold clean squares, but it still tastes rich and crumbly, not dry or cookie-like. Once the apples soften and their juices bubble up through the topping, the whole pan smells like an apple crisp that learned how to slice neatly.
The trick here is using one mixture for both the crust and the crumble. That keeps the recipe simple, but it also gives you the right contrast: a pressed bottom layer that supports the filling and a loose, jagged topping that browns in the oven. Cold butter matters. If it starts to melt before it hits the oven, you lose those sandy bits that make the topping crisp instead of dense.
Below, I’ll walk through the part that matters most — how to keep the base sturdy and the apples from turning watery — plus the small adjustments that help these bars work with different apples or dietary swaps.
The crumble stayed crisp on top and the apple layer set up beautifully once it cooled. I used Honeycrisp apples and the bars sliced cleanly after chilling overnight.
Save these apple crisp shortbread bars for when you want a buttery crust, spiced apples, and a crisp oat topping in one easy dessert.
The One Thing That Keeps These Bars from Turning Soggy
The line between a sturdy bar and a soft, messy one comes down to the bottom layer. A shortbread base needs to be pressed firmly enough to bake into a proper crust, but not packed so hard that it turns leaden. Baking it for the first 12 minutes before adding the apples gives it a head start, which matters because raw apples release a lot of juice once they hit the heat.
The cornstarch in the filling isn’t there just for structure on paper. It thickens the apple juices as they bubble, so the filling stays sliceable instead of leaking across the pan. If your apples are extra juicy, the bars can still work, but they need the full cooling time before you cut them. Warm bars will slump no matter how carefully you baked them.
- Pressing the base firmly — Use the bottom of a measuring cup or your fingers to flatten the mixture into an even layer. Thin, patchy spots bake unevenly and can crumble when sliced.
- Par-baking the crust — That first bake keeps the bottom from soaking up too much apple juice. Skip it and the bars will taste underbaked in the center.
- Cooling completely — The filling firms as it cools. If you cut in too soon, the layers won’t hold together cleanly.
What Each Ingredient Is Actually Doing in the Pan
- All-purpose flour — This gives the shortbread its structure. A gluten-free 1:1 baking blend can work here, but the texture will be a little more delicate and crumbly.
- Rolled oats — Oats bring the crisp, nubby texture that makes the topping taste like apple crisp instead of plain shortbread. Quick oats can stand in, but the topping will be finer and less rustic.
- Brown sugar — Brown sugar keeps the base moist and adds a deeper caramel note. Light or dark both work; dark brown sugar gives the bars a stronger molasses edge.
- Cold unsalted butter — Cold butter is the difference between a crumbly topping and a greasy one. Cube it first and cut it in until the mixture looks like damp sand with pea-sized bits left behind.
- Apples — Use firm baking apples that hold their shape, like Honeycrisp, Granny Smith, or a mix. Softer apples break down too much and can turn the filling mushy.
- Cornstarch and lemon juice — Cornstarch thickens the juices, and lemon juice keeps the apples tasting bright instead of flat. If you leave out the lemon, the filling can taste heavier than it should.
Building the Layers So the Bars Slice Cleanly
Mix the Crumble Without Warming the Butter
Stir the flour, oats, brown sugar, cinnamon, and salt together first, then cut in the butter until the mixture clumps when squeezed but still falls apart when poked. You want visible pieces of butter throughout, not a smooth dough. If the mixture starts looking pasty, the butter has warmed too much and the topping will bake up dense instead of crisp.
Give the Crust Its Head Start
Press about two-thirds of the mixture into a parchment-lined 9×13 pan and bake it until it looks set at the edges and matte on top. It won’t look finished yet, and that’s the point. That short bake protects the crust from the apple juices and gives the bars the support they need for clean slicing.
Cook the Apples Only by Baking Them
Toss the sliced apples with sugar, cinnamon, nutmeg, cornstarch, and lemon juice until every slice looks lightly coated. Spread them over the hot base in an even layer, then scatter the remaining crumble on top. If the apples are piled too thick in the center, the middle of the pan will take longer to bubble and may stay loose underneath the topping.
Wait for the Filling to Bubble All the Way Through
Bake until the top is deeply golden and you can see the filling actively bubbling around the edges and in the center. Those bubbles tell you the cornstarch has fully thickened. If the topping looks done but the filling isn’t bubbling, give it a few more minutes or the bars may stay loose after cooling.
Use Pears Alongside the Apples
Swap out up to half the apples for firm pears if you want a softer, more floral filling. Bartlett pears are too soft for this; use Bosc or Anjou so the slices hold their shape. The bars will taste a little juicier and less sharp, which works well if you want a milder dessert.
Make It Gluten-Free
Use a good 1:1 gluten-free flour blend in place of the all-purpose flour, and check that your oats are certified gluten-free. The bars will still hold together, but the base may be a little more fragile when warm, so let them cool fully before lifting from the pan.
Skip the Caramel for a Less Sweet Finish
The bars are sweet enough on their own, but a light caramel drizzle adds a deeper bakery-style finish. If you want the apples to stay front and center, dust the top with a little powdered sugar instead of adding sauce. The texture stays the same either way.
Storage and Reheating
- Refrigerator: Store covered for up to 5 days. The crumble softens a little in the fridge, but the flavor stays good.
- Freezer: These freeze well. Wrap individual bars tightly and freeze for up to 2 months; thaw in the fridge before serving.
- Reheating: Warm a bar in a 300°F oven for 8 to 10 minutes if you want the topping to crisp up again. The microwave will heat the filling, but it softens the crust fast.
Answers to the Questions Worth Asking
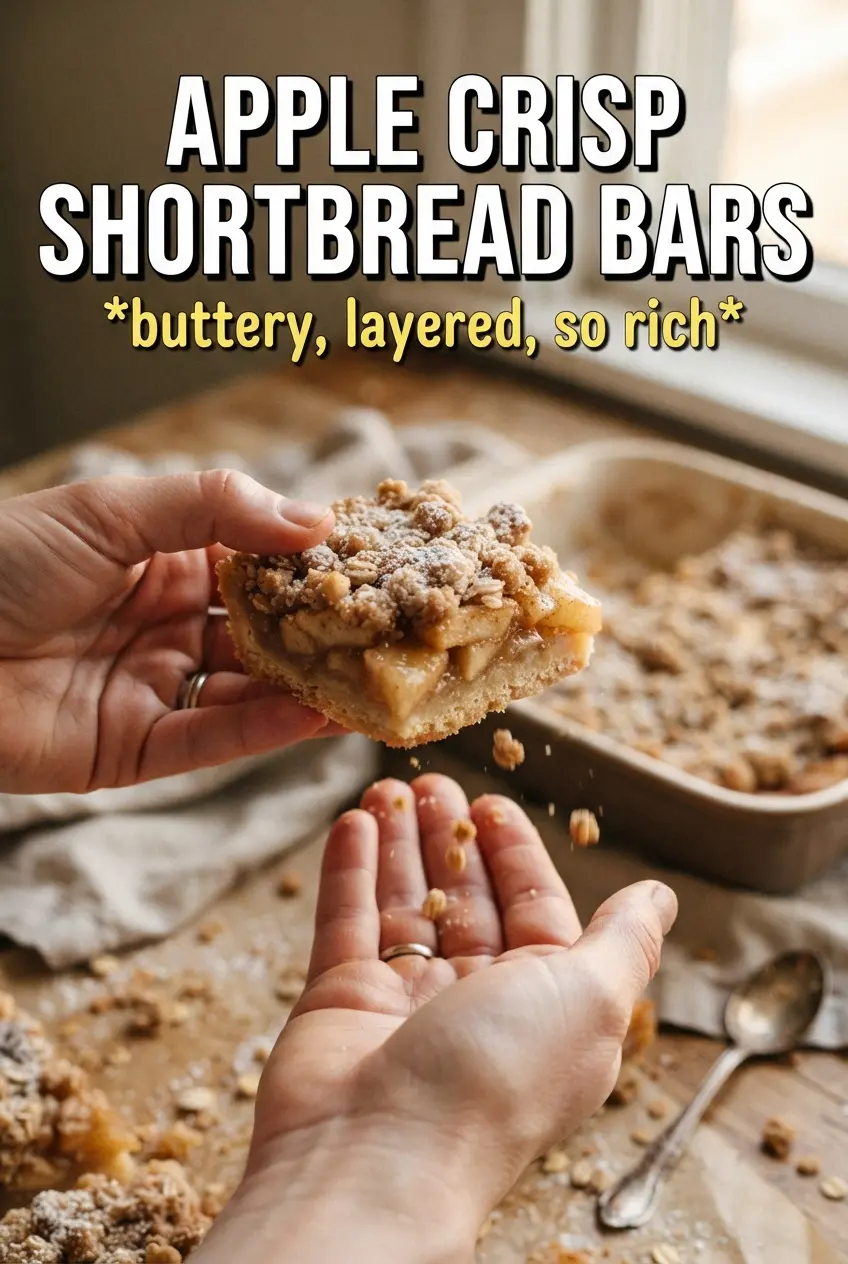
Apple Crisp Shortbread Bars
Ingredients
Equipment
Method
- Preheat oven to 375F and line a 9x13 pan with parchment.
- Mix all-purpose flour, rolled oats, brown sugar, cinnamon, and salt, then cut in cold cubed butter until the mixture looks crumbly.
- Reserve 1 cup of the crumb mixture for the topping.
- Press the remaining mixture firmly into the prepared pan.
- Bake the base for 12 minutes, until slightly set.
- Toss thinly sliced apples with granulated sugar, cinnamon, nutmeg, cornstarch, and lemon juice until evenly coated.
- Layer the apple mixture over the hot baked base.
- Scatter the reserved crumble evenly over the apples.
- Bake 30-35 minutes at 375F until the topping is golden and the apples are bubbling (visual cue: juices should bubble through the crumble).
- Cool completely before slicing to help the bars hold their layers.
- Drizzle with caramel sauce to serve (visual cue: caramel streaks across the top of each bar).