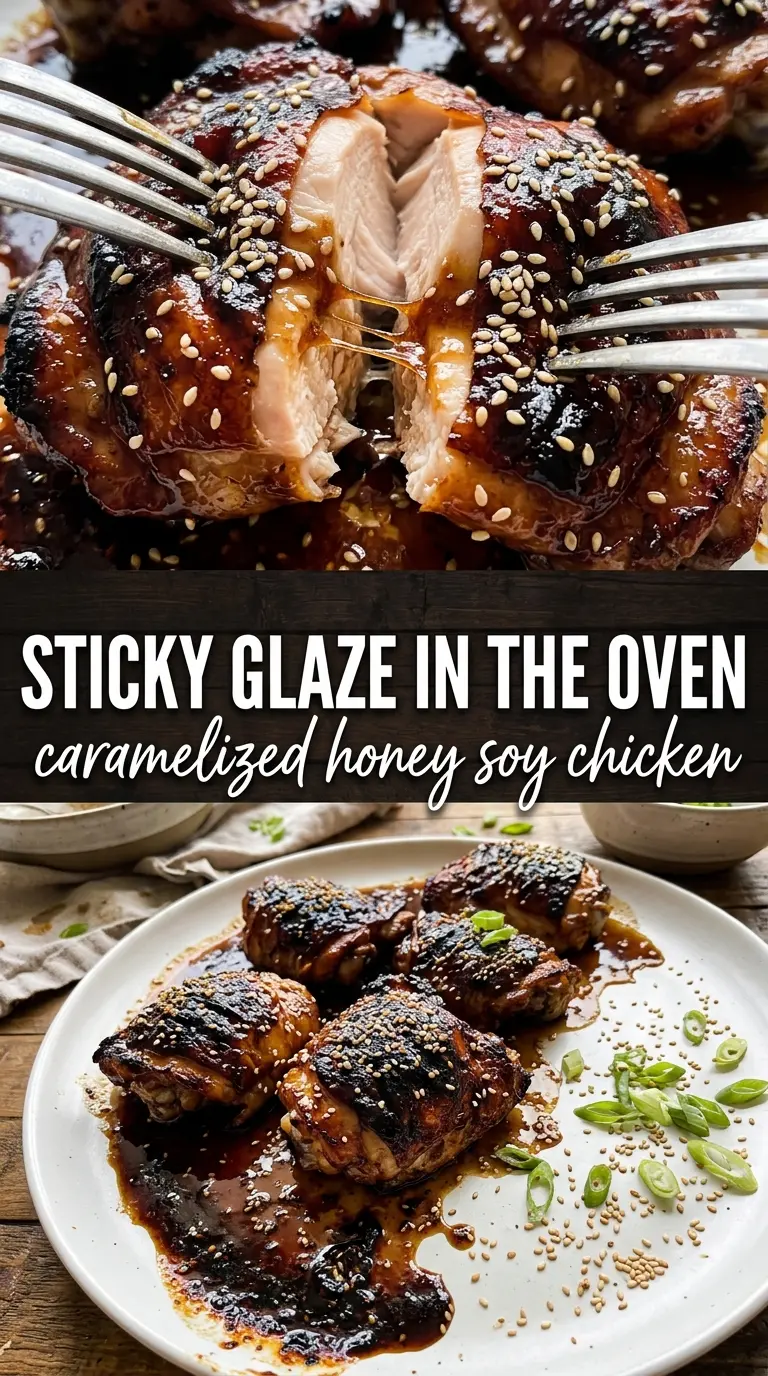
Sticky, lacquered chicken thighs are one of those dinners that disappear fast because they hit every note at once: salty, sweet, savory, and just a little bit fiery at the edges. The skin turns deeply golden in the oven while the sauce bubbles down into a glaze that clings to every bite instead of running off the pan.
What makes this version work is the balance in the marinade. Honey brings the shine and caramelization, soy sauce brings depth and salt, and a small splash of rice vinegar keeps the glaze from tasting heavy. Chicken thighs are the right cut here because they stay juicy long enough for the sauce to reduce without drying out, and the skin gives you a built-in shield against overcooking.
Below, you’ll find the small details that matter: how long to marinate, when to baste, and why a quick broil at the end gives you that sticky finish without burning the honey.
The glaze thickened right in the baking dish and coated the skin instead of pooling at the bottom. I marinated it for a few hours and the chicken came out juicy with those sticky caramelized edges everyone fought over.
Save these sticky honey soy chicken thighs for the night you want glossy oven-baked chicken with a caramelized pan sauce.
The Secret to Getting Honey Soy Chicken Sticky Instead of Burnt
The biggest mistake with honey-based marinades is putting them in too early and too hot. Honey scorches fast, especially on a dry oven surface, so the trick is to let the chicken roast first, then baste with the pan juices when the thighs are already mostly cooked. That gives the glaze time to thicken and darken without crossing into bitter.
Chicken thighs are forgiving, but they still need a little strategy. A hot oven helps the skin render and crisp, and the broil at the end is short on purpose. If you leave it under the broiler too long, the sugar in the honey will turn from glossy to black in a matter of minutes.
- Bone-in, skin-on chicken thighs — This cut stays juicy and gives you the best texture contrast. Boneless thighs will work, but they cook faster and won’t develop the same crisp skin.
- Honey — This is what creates the sticky finish. Maple syrup can stand in, but it tastes less floral and won’t cling quite as thickly.
- Soy sauce — Use regular soy sauce for the right salt level. Low-sodium works if that’s what you keep on hand, but the glaze will taste a little softer and you may want a touch more salt at the end.
- Rice vinegar — This keeps the marinade from turning one-note sweet. If you don’t have it, apple cider vinegar is the closest swap, just use a little less because it tastes sharper.
- Sesame oil, garlic, and ginger — These give the sauce its deeper savory edge. Don’t skip the sesame oil if you want that toasted finish; it’s small in amount but important in flavor.
What Each Ingredient Is Actually Doing in This Chicken Dish
- Chicken (pat dry for browning) — Room temperature cooks more evenly. Even pieces ensure uniform doneness.
- Oil or butter (the browning medium) — High-heat oil essential for proper searing. Creates pan flavor.
- Seasonings (salt, pepper, spices) — Apply generously. Chicken carries the entire flavor profile.
- Aromatics (garlic, ginger, herbs) — Cook with fat to bloom flavors. Become the foundation.
- Sauce or braising liquid (if using) — This keeps chicken moist. Balance richness with acid.
- Vegetables (if using) — Layer by cooking time so everything finishes together.
- Acid (vinegar, wine, lime, or pineapple) — This brightens and prevents one-dimensional flavor.
- Proper doneness (165°F internal temperature) — Use thermometer for accuracy. Overcooked is dry.
How the Marinade Turns Into a Glaze in the Oven
Whisking the Sauce
Start by whisking the honey, soy sauce, olive oil, garlic, rice vinegar, sesame oil, ginger, and red pepper flakes until the honey loosens and the mixture looks smooth. If the honey sits in a stubborn ribbon at the bottom of the bowl, keep whisking for another few seconds before adding the chicken. You want every thigh coated evenly so the glaze cooks in the same way across the pan.
Marinating for Flavor, Not Just Time
Thirty minutes gives the chicken enough time to pick up the garlic, ginger, and soy, but a longer marinate deepens the flavor even more. Up to 24 hours is fine. If you go that long, keep it covered in the refrigerator and bring it out while the oven preheats so the thighs aren’t ice-cold when they hit the pan.
Roasting the Skin Side Up
Arrange the chicken skin-side up in a baking dish and pour the marinade over the top. Don’t tuck the thighs under the sauce; the skin needs direct oven heat to brown and render. Bake at 425°F until the chicken is almost done and the skin is turning bronzed at the edges, then spoon the pan juices over the top so the glaze starts to tighten.
Finishing Under the Broiler
The last 2 to 3 minutes under the broiler are what turn the sauce from glossy to sticky. Stay close and watch for the glaze to bubble, darken, and cling to the chicken in shiny patches. If the sauce looks dark before the skin does, move the pan down a rack immediately; honey can go from caramelized to burnt faster than you expect.
Ways to Adjust the Sweet-Savory Balance Without Losing the Glaze
Make it gluten-free
Use tamari or a certified gluten-free soy sauce in the same amount. The flavor stays close to the original, though some brands are a little less sharp, so taste the finished pan sauce before serving and add a pinch of salt only if it needs it.
Make it dairy-free and pantry-friendly
This recipe is already dairy-free, which makes it an easy option for mixed diets. If you’re missing rice vinegar, use apple cider vinegar instead and keep the amount modest so the sauce still tastes rounded instead of sharp.
Add heat without throwing off the balance
Increase the red pepper flakes to 1 teaspoon or add a spoonful of chili-garlic sauce to the marinade. That gives the glaze a sharper finish, but keep the honey at the same level so the sauce still caramelizes instead of drying out.
Use boneless thighs for a faster dinner
Boneless thighs cook faster and are easier to portion, but they won’t give you quite the same juicy bite or skin crispness. Start checking them early and shorten the bake time, since the glaze can thicken before the meat is fully done if you’re not watching closely.
Storage and Reheating
- Refrigerator: Store leftovers in an airtight container for up to 4 days. The skin softens a bit, but the flavor gets even deeper.
- Freezer: Freeze cooked thighs and pan sauce for up to 2 months. Wrap them well or use a freezer-safe container so the glaze doesn’t pick up freezer flavor.
- Reheating: Rewarm in a 350°F oven, covered loosely with foil, until hot through. Microwaving works in a pinch, but it softens the skin and can make the glaze separate.
Questions I Get Asked About This Recipe
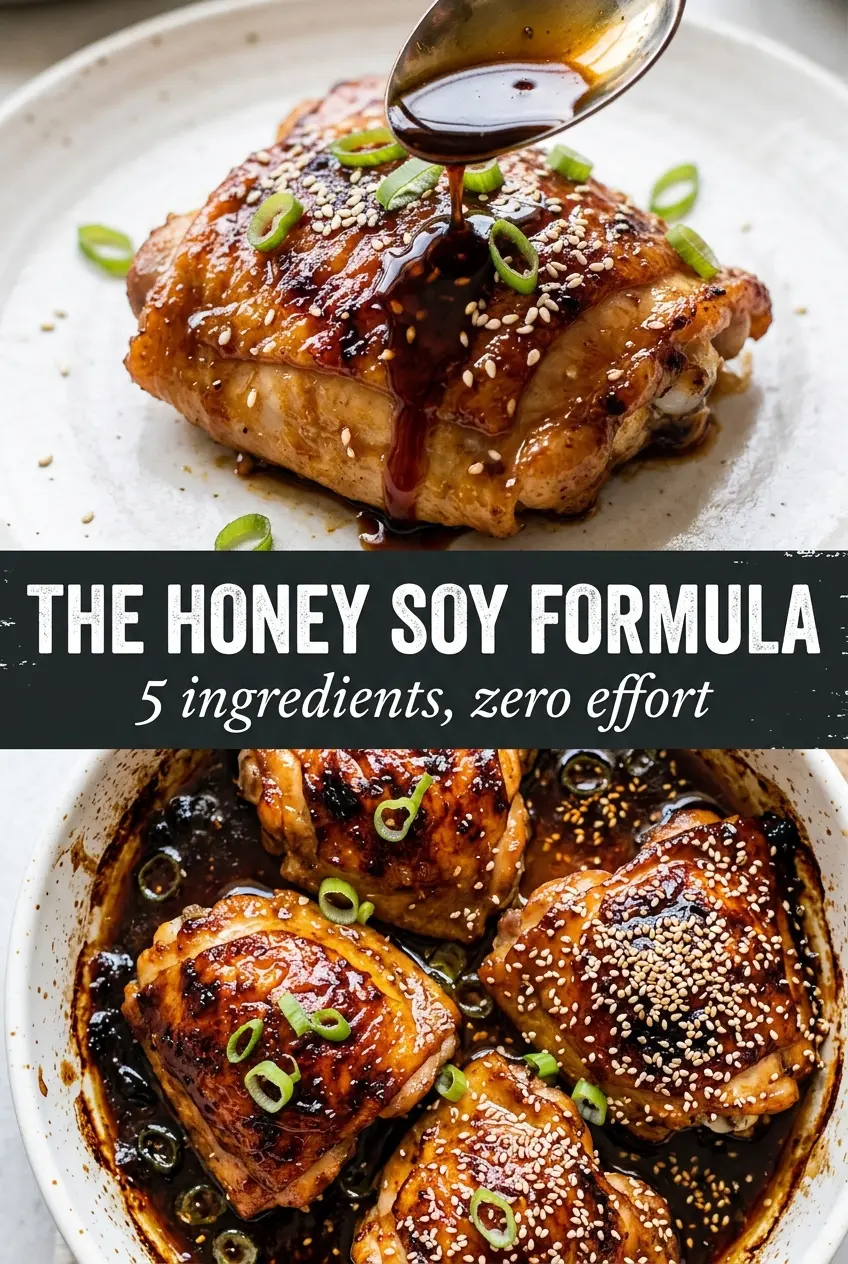
Baked Chicken Thighs In Honey Soy Sauce
Ingredients
Equipment
Method
- Whisk honey, soy sauce, olive oil, minced garlic, rice vinegar, sesame oil, grated ginger, and red pepper flakes until smooth and glossy.
- Transfer the marinade to a container large enough to hold the chicken in one layer.
- Add the bone-in skin-on chicken thighs to the marinade, making sure they’re well coated, then refrigerate for 30 minutes or up to 24 hours.
- Let the chicken sit in the refrigerator while marinating so the flavors penetrate the skin.
- Preheat the oven to 425F and arrange the chicken skin-side up in a baking dish, then pour the marinade over the top.
- Bake for 25 minutes, then baste with the pan sauce so the surface starts to lacquer.
- Bake for 10 more minutes until deeply caramelized and the skin looks sticky and dark-golden.
- Broil for 2 to 3 minutes for extra stickiness, watching closely to prevent burning.
- Garnish with sesame seeds and sliced green onions, then rest briefly before serving.


