Bloomin’ grilled apples hit that sweet spot between simple and showy: crisp-edged slices fanned open, brushed with cinnamon butter, then caramelized on the grill until the edges soften and the centers stay just a little firm. The whole thing looks dramatic on the plate, but the method is plain and practical, which is exactly why it works so well for dessert.
The key is cutting the apples deeply enough to fan them without slicing all the way through. That gives you all those little crevices where the melted butter, brown sugar, and cinnamon can settle in and turn glossy as the heat works through the fruit. Wrapping the bottom in foil keeps the apple upright and helps the lower half cook through without losing the shape you worked for.
Below, I’ve included the small details that keep the apples from collapsing on the grill, plus a few swaps and serving ideas that make this dessert easy to use whether you’re grilling for two or putting together a quick weeknight treat.
The slices opened up beautifully on the grill and the cinnamon butter soaked into every layer. Mine were tender in 14 minutes and held their shape the whole time.
Keep these bloomin’ grilled apples handy for the moment you want a caramelized grilled dessert with zero fuss and a scoop of ice cream on top.
The Cut That Keeps the Apples Standing Tall on the Grill
The biggest mistake here is slicing too far down or too wide between cuts. Once the apple is cut through at the bottom, it loses the structure that lets it fan open like a blooming onion. You want thin, even cuts from top to bottom, stopping just before the knife reaches the base so the fruit stays connected in one piece.
Granny Smith gives you a sharper bite and holds its shape well under heat. Honeycrisp works too and brings more natural sweetness, but it softens a little faster, so keep a close eye on it near the end of the grill time. Either way, the apple should be tender enough to yield when pierced, but not so soft that it turns mushy and collapses.
What the Cinnamon Butter Is Actually Doing Here
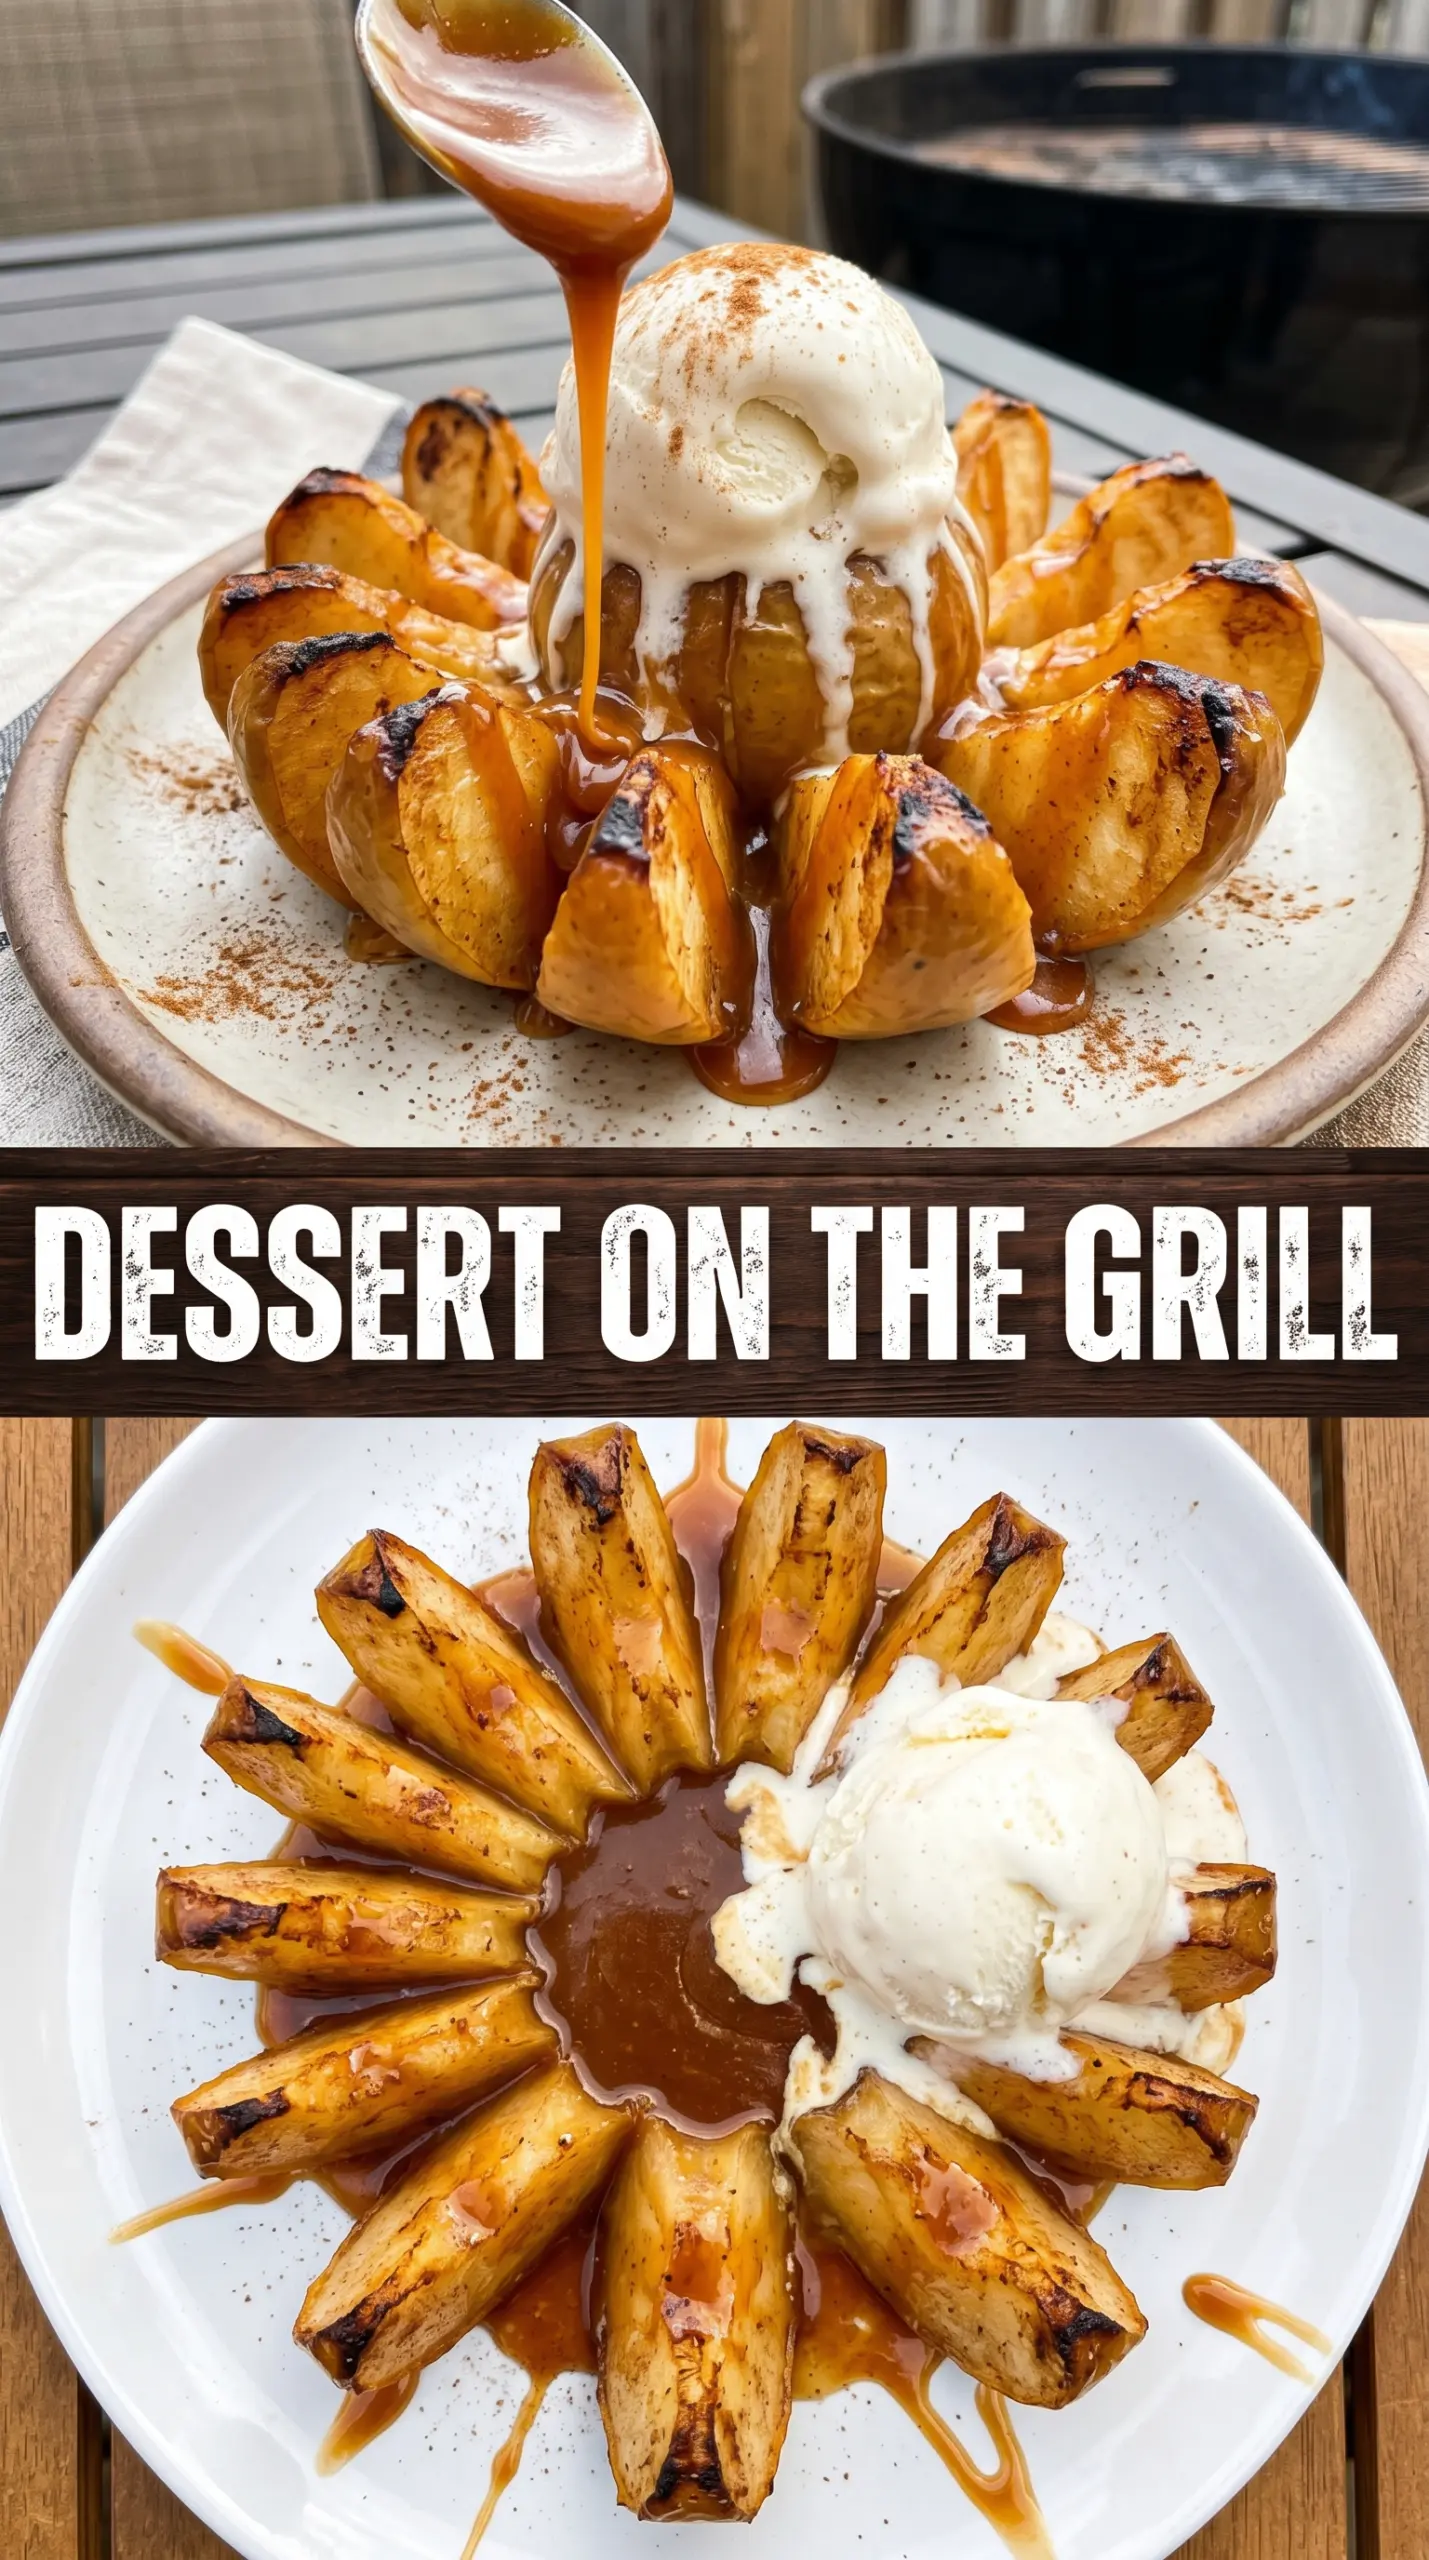
- Apples — Granny Smith gives the cleanest balance against the sweet topping, while Honeycrisp adds a softer, juicier finish. Use firm apples only; mealy apples slump before the centers are cooked.
- Butter — Melted butter helps the sugar cling to every slice and encourages browning on the grill. There isn’t a perfect substitute here if you want the same glossy finish, though coconut oil will work for a dairy-free version with a slightly different flavor.
- Brown sugar — This brings molasses depth and melts into the apple slices as they heat. White sugar will sweeten the fruit, but it won’t give you the same caramel note.
- Cinnamon — It’s not just perfume here; it rounds out the butter and sugar so the dessert tastes finished instead of just sweet. Fresh cinnamon makes a noticeable difference because this recipe depends on a short ingredient list.
- Vanilla ice cream — The cold creaminess against the warm apples is what makes the dessert land. If you skip it, the apples still work, but the contrast is part of the payoff.
How to Grill the Apples Without Losing the Bloom
Scoring the Apples Evenly
Start by cutting thin slices from top to bottom, stopping before the blade goes through the base. The goal is a tight stack of connected slices that can spread apart once the butter mixture goes on. If your cuts are too thick, the centers stay hard; if they’re too shallow, the apple won’t open up at all.
Coating the Layers
Mix the melted butter, brown sugar, and cinnamon until the sugar looks like a loose paste, then brush it between the slices and over the top. Get some into the center gaps, not just the surface, because that’s where the caramelized flavor builds. The apples should look glossy but not drowned.
Grilling to Tender and Caramelized
Wrap the bottom of each apple in foil so it sits upright on the grill and doesn’t burn at the base. Cook over medium heat for 12 to 15 minutes, closing the lid to trap enough heat to soften the fruit. If the grill runs hot, the sugar can darken too fast before the apple is tender, so keep the heat moderate and check for a fork-tender center with some shape left at the edges.
How to Make These Apples Fit Your Table
Dairy-Free Grilled Apples
Swap the butter for melted coconut oil or a plant-based butter with a high enough fat content to brush cleanly. Coconut oil gives a light tropical note, while vegan butter stays closer to the original flavor and browning.
Less Sweet, More Apple Forward
Cut the brown sugar back to 2 tablespoons and add an extra pinch of cinnamon. You’ll get a dessert that tastes more like baked apple with caramel edges and less like candied fruit.
No Grill, Use a Grill Pan or Broiler
A grill pan on the stove gives you the same caramelized edges, though you’ll need to turn the apples carefully so they don’t topple. The broiler works in a pinch, but watch closely because the sugar can go from bronzed to burnt in a minute.
Storage and Reheating
- Refrigerator: Store leftovers in an airtight container for up to 2 days. The apples soften as they sit, so expect a looser texture the next day.
- Freezer: These don’t freeze well. The apple structure breaks down and turns watery after thawing.
- Reheating: Warm in a 300°F oven until heated through, or use short bursts in the microwave if you don’t mind a softer result. Don’t reheat over high heat, or the sugar topping can scorch before the center warms.
Questions I Get Asked About This Recipe
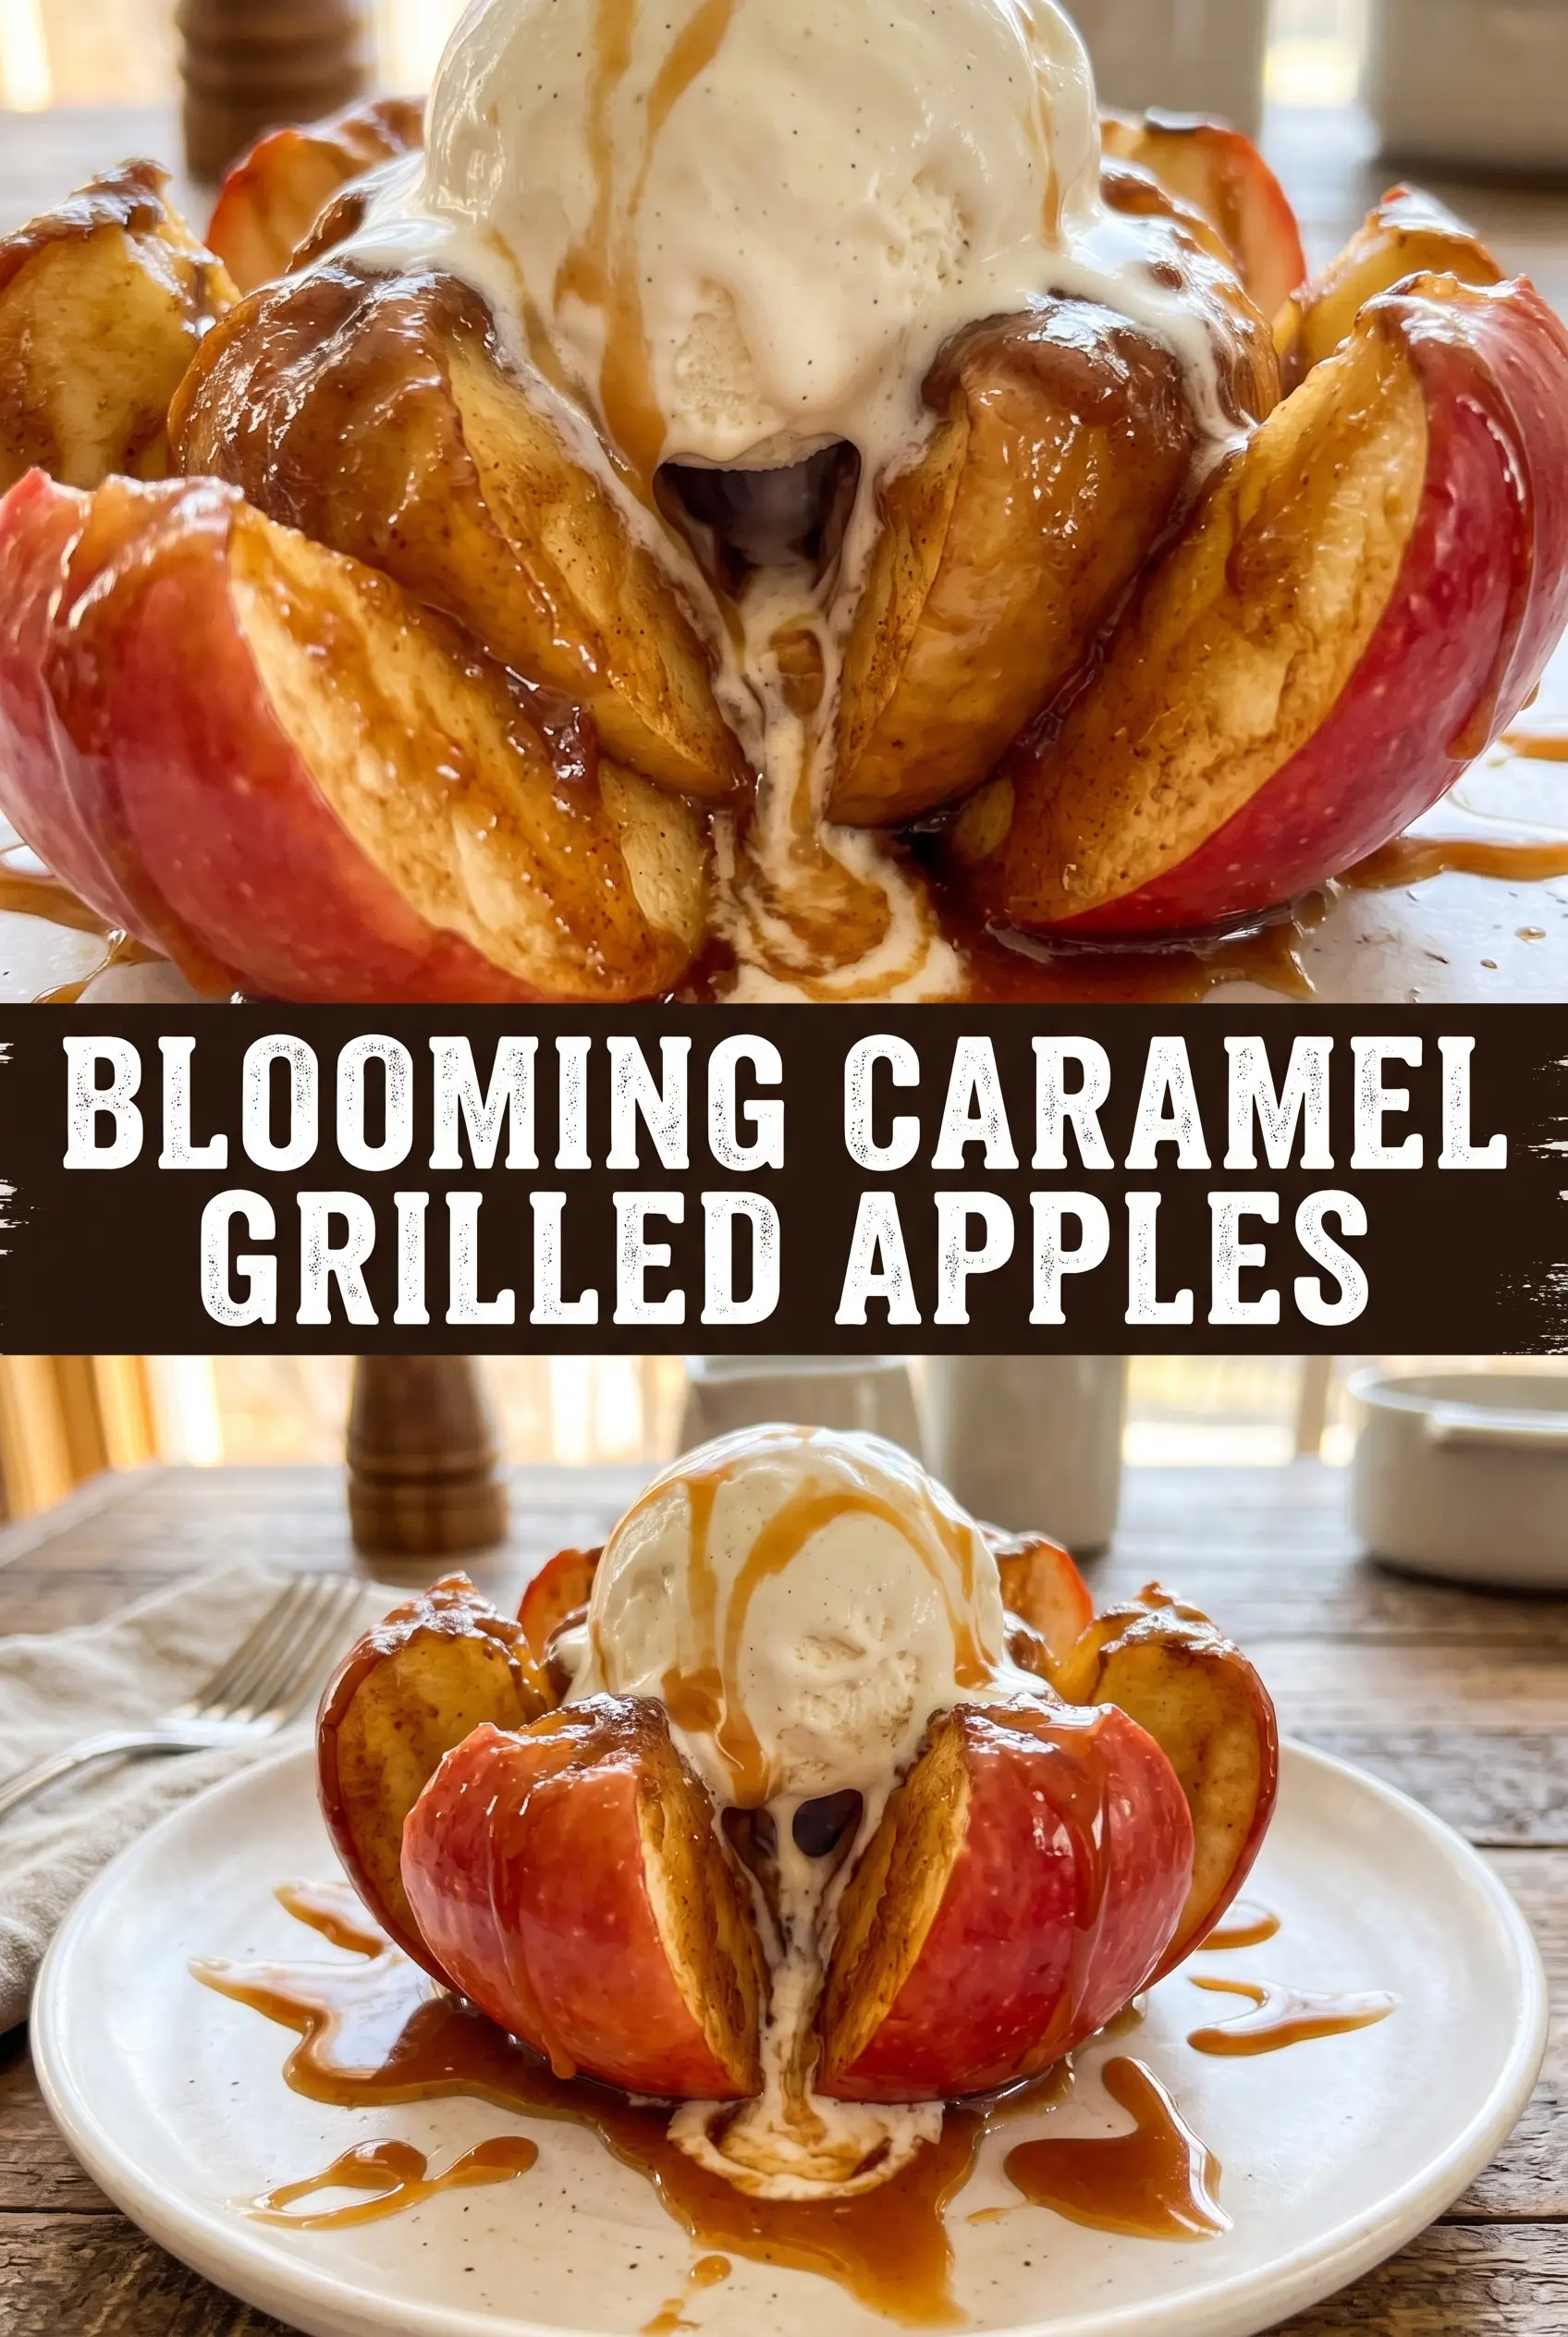
Bloomin' Grilled Apples
Ingredients
Equipment
Method
- Cut thin slices into each apple from top to bottom, stopping before you cut all the way through so the apple stays intact and can open like a bloom.
- Wrap the bottom of each apple in foil, leaving the top exposed for even grilling.
- Mix the melted butter, brown sugar, and cinnamon until it looks like a thick, pourable cinnamon butter coating.
- Fan the apple slices open slightly and brush the inside and tops with the cinnamon butter mixture so the cinnamon sugar is visible.
- Grill over medium heat for 12-15 minutes, until the apples are tender and caramelized, with butter visibly melting between the slices.
- Serve the apples warm with vanilla ice cream right away for contrast between hot caramelized fruit and cold cream.


