Sizzling campfire fajitas hit the table fast, with browned strips of chicken or steak, sweet peppers, and onions all cooked in one cast iron skillet over the fire. The smoke adds a little edge you just can’t get from a stovetop pan, and the vegetables stay bright and crisp-tender instead of turning soft and dull.
What makes this version work is the order. The meat cooks first so it can brown hard without crowding the vegetables, then the peppers and onions go into the same skillet to pick up the seasoned drippings left behind. Cast iron matters here because it holds steady heat over a live flame, which gives you char instead of steam. Thin slicing also makes the whole dish cook quickly enough for camp, where nobody wants to babysit dinner.
Below, I’ve included the few details that keep fajitas from going limp at the campsite, plus the easiest way to adapt them if you’re cooking for mixed eaters or working with what’s already in the cooler.
The peppers stayed crisp with just enough char, and the chicken picked up all that smoky seasoning from the skillet. I was shocked how fast it came together over the fire.
Save these campfire fajitas for the night you want a smoky skillet dinner with charred peppers, tender meat, and almost no cleanup.
The Trick to Getting Char Without Turning the Vegetables to Mush
The biggest mistake with fajitas over a fire is crowding the skillet. If the pan is packed, the meat and vegetables release steam faster than the skillet can drive it off, and you end up with gray strips and soft onions instead of browned edges. Give the meat its own turn, then cook the peppers and onions in the hot drippings left behind.
Heat matters more than speed here. You want the oil shimmering and the skillet hot enough that the first piece of meat sizzles loudly the moment it hits the pan. If the fire is weak, wait for a hotter coal bed or move the skillet to a stronger part of the grate; a lukewarm pan is the fastest way to lose the fajita sear.
- Thin-sliced chicken or steak — Thin slices cook fast and stay tender. If the pieces are thick, the outside overcooks before the center catches up.
- Cast iron skillet — This holds heat better than thin cookware, which is why it gives you the browned edges that make fajitas taste like fajitas.
- Fajita seasoning — A store-bought blend works fine, but it needs direct contact with the meat and hot oil to bloom into something deeper than dry spice.
- Bell peppers and onions — Use all three colors if you can. They’re not just pretty; the mix gives you sweeter and sharper notes in the same pan.
What Each Ingredient Is Actually Doing in the Skillet
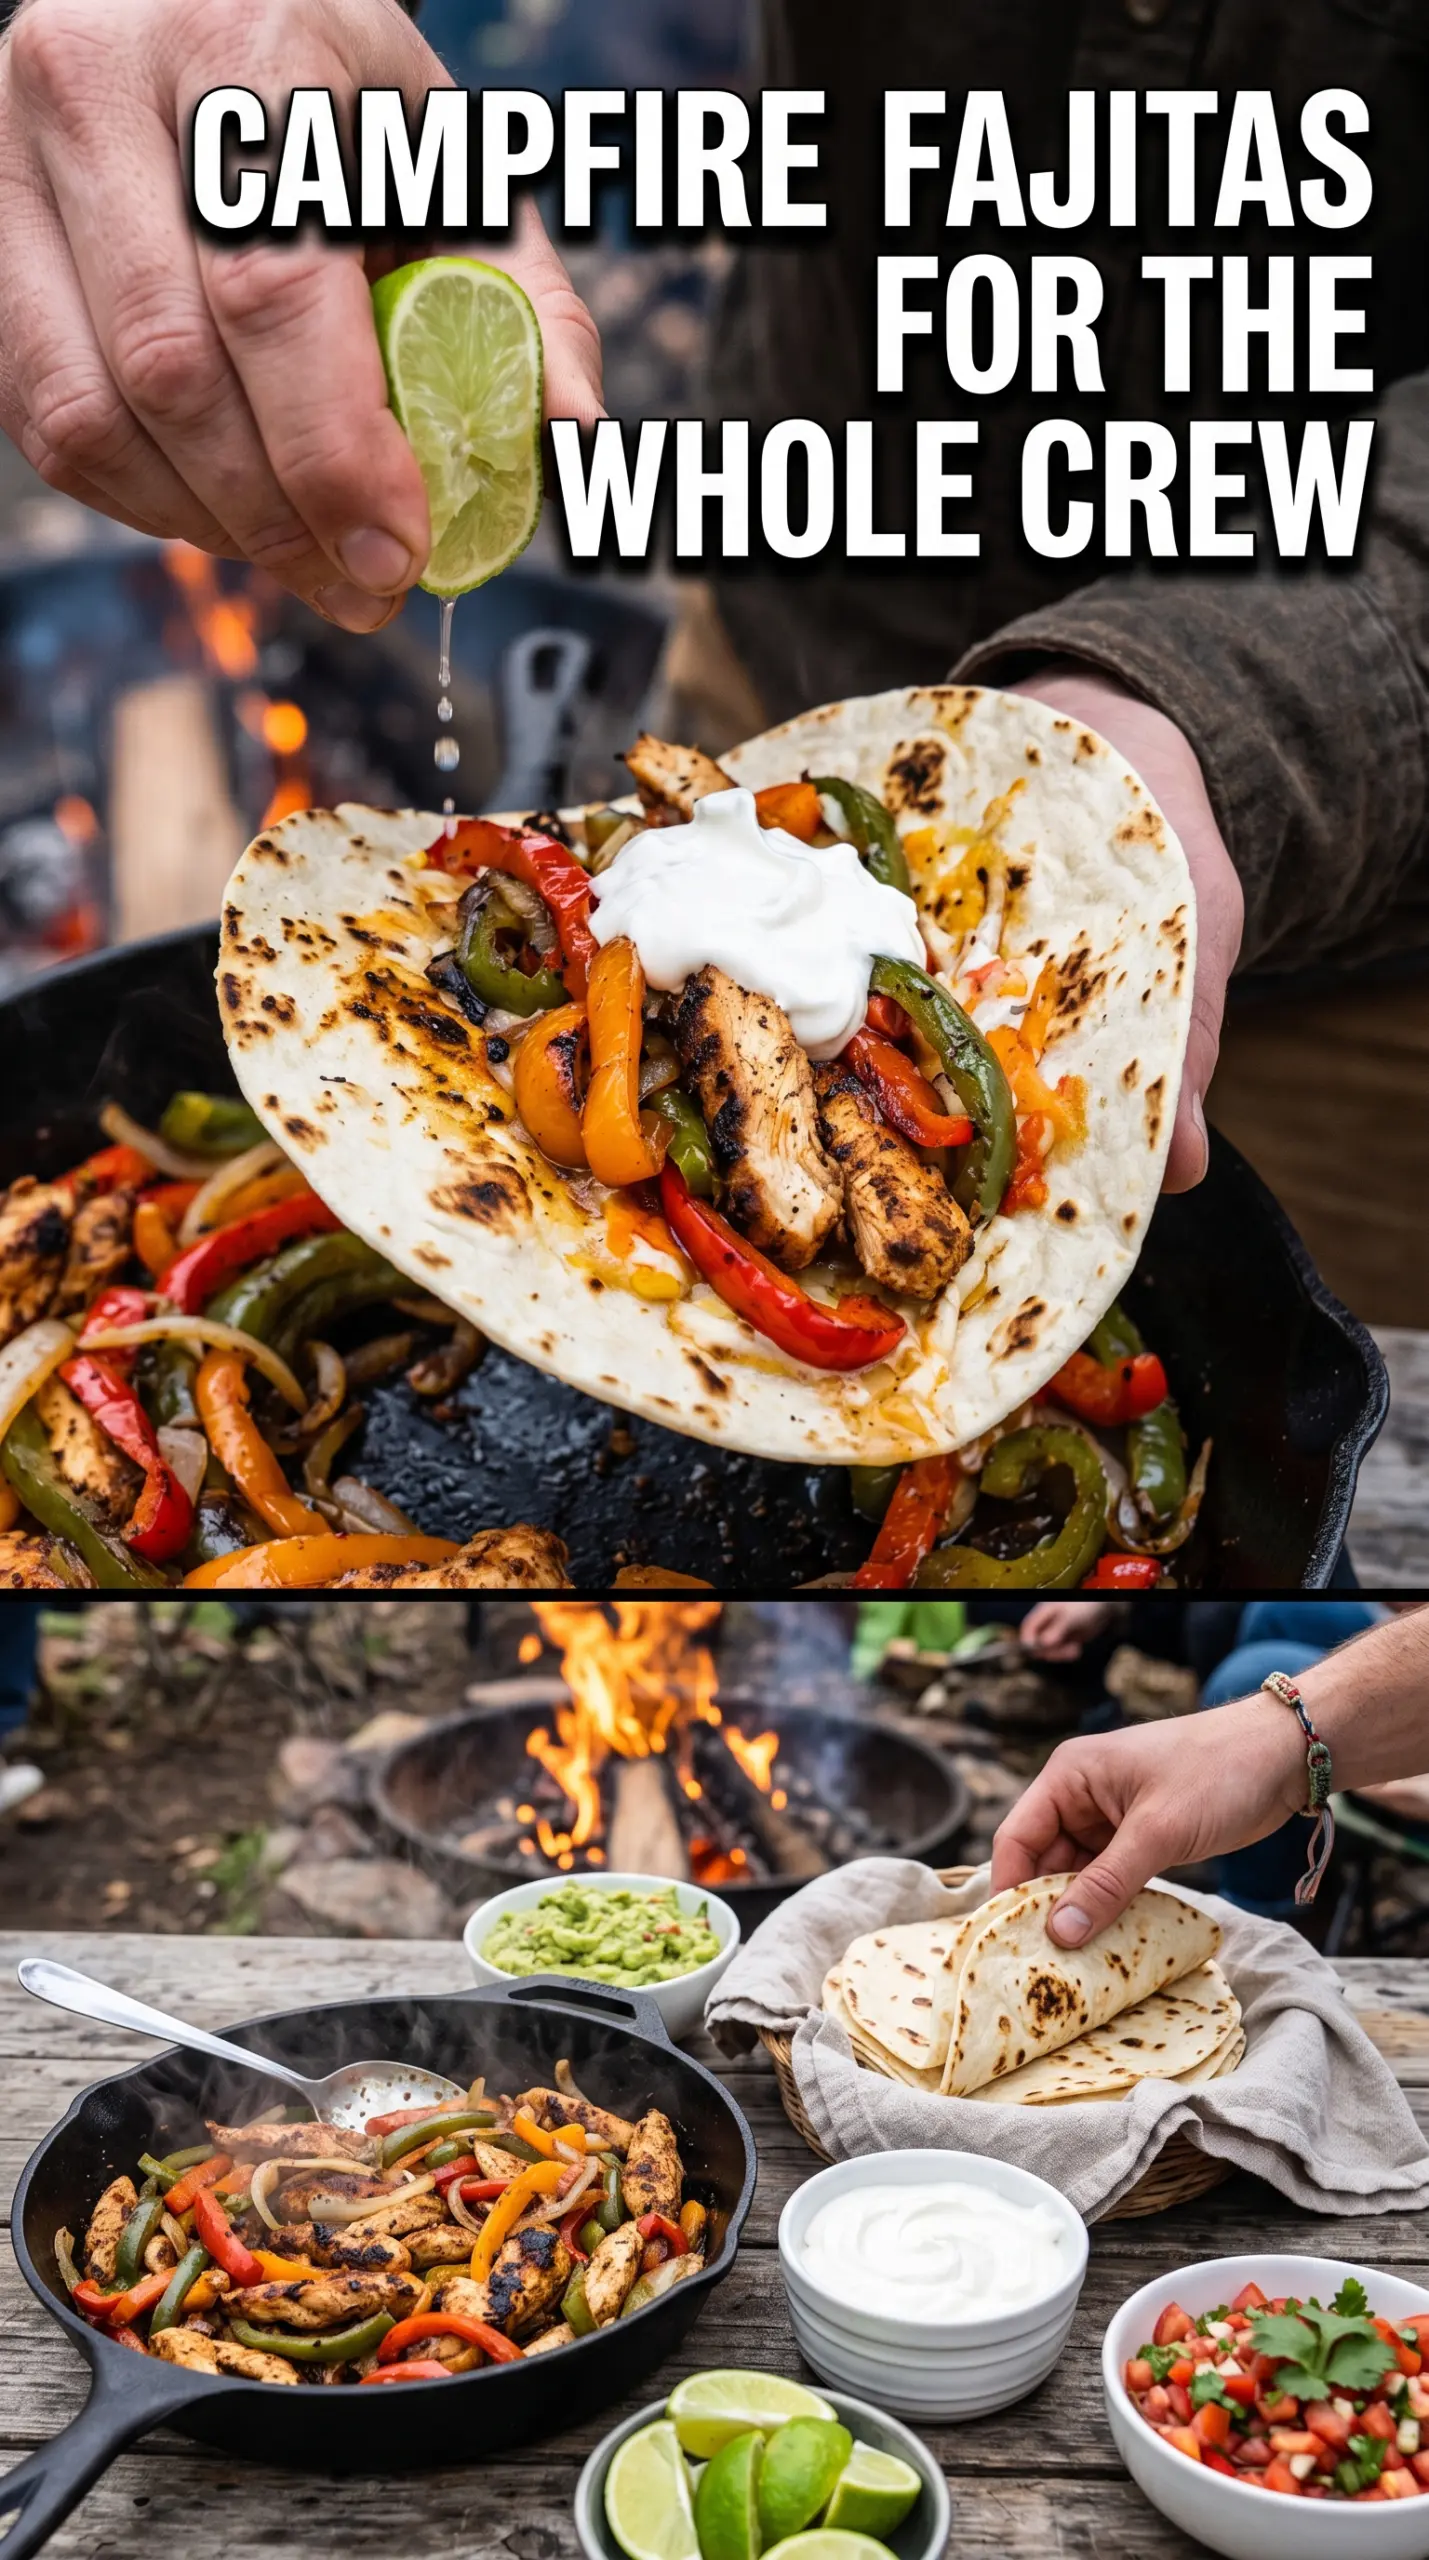
- Chicken breast or steak — Chicken stays lean and mild, while steak brings a deeper, beefier bite. Either one works as long as it’s sliced thin across the grain so it stays tender over the fire.
- Oil — This helps the seasoning cling and keeps the skillet from grabbing the meat. A neutral oil is best; something strongly flavored will fight the fajita seasoning.
- Fajita seasoning — This is the backbone of the dish. If yours is salty, don’t add extra salt until after cooking, because the fire reduces moisture fast and the seasoning can concentrate.
- Flour tortillas — Flour tortillas hold up better than corn here because they stay soft and flexible next to the hot filling. Warm them briefly over the fire so they don’t split when you fold them.
- Lime wedges and toppings — Lime wakes up the smoky meat and charred vegetables. Sour cream, guacamole, salsa, cheese, and cilantro each add something different, so let people build their own balance at the table.
Building Campfire Fajitas in the Right Order
Get the Skillet Hot Before the Meat Goes In
Set the cast iron skillet over the campfire and let it preheat with the oil in it. The oil should move easily across the pan and look glossy, not smoking hard. If you add the meat too early, it releases liquid before it can brown, and you lose the seared edges that give fajitas their best texture.
Brown the Meat in One Layer
Season the sliced chicken or steak, then lay it into the skillet in a fairly even layer. You should hear an immediate, steady sizzle. Let it cook until the outside is browned and the pieces are cooked through, then pull it out before it gets dry; thin meat over fire goes from done to tough fast.
Char the Peppers and Onions After the Meat Comes Out
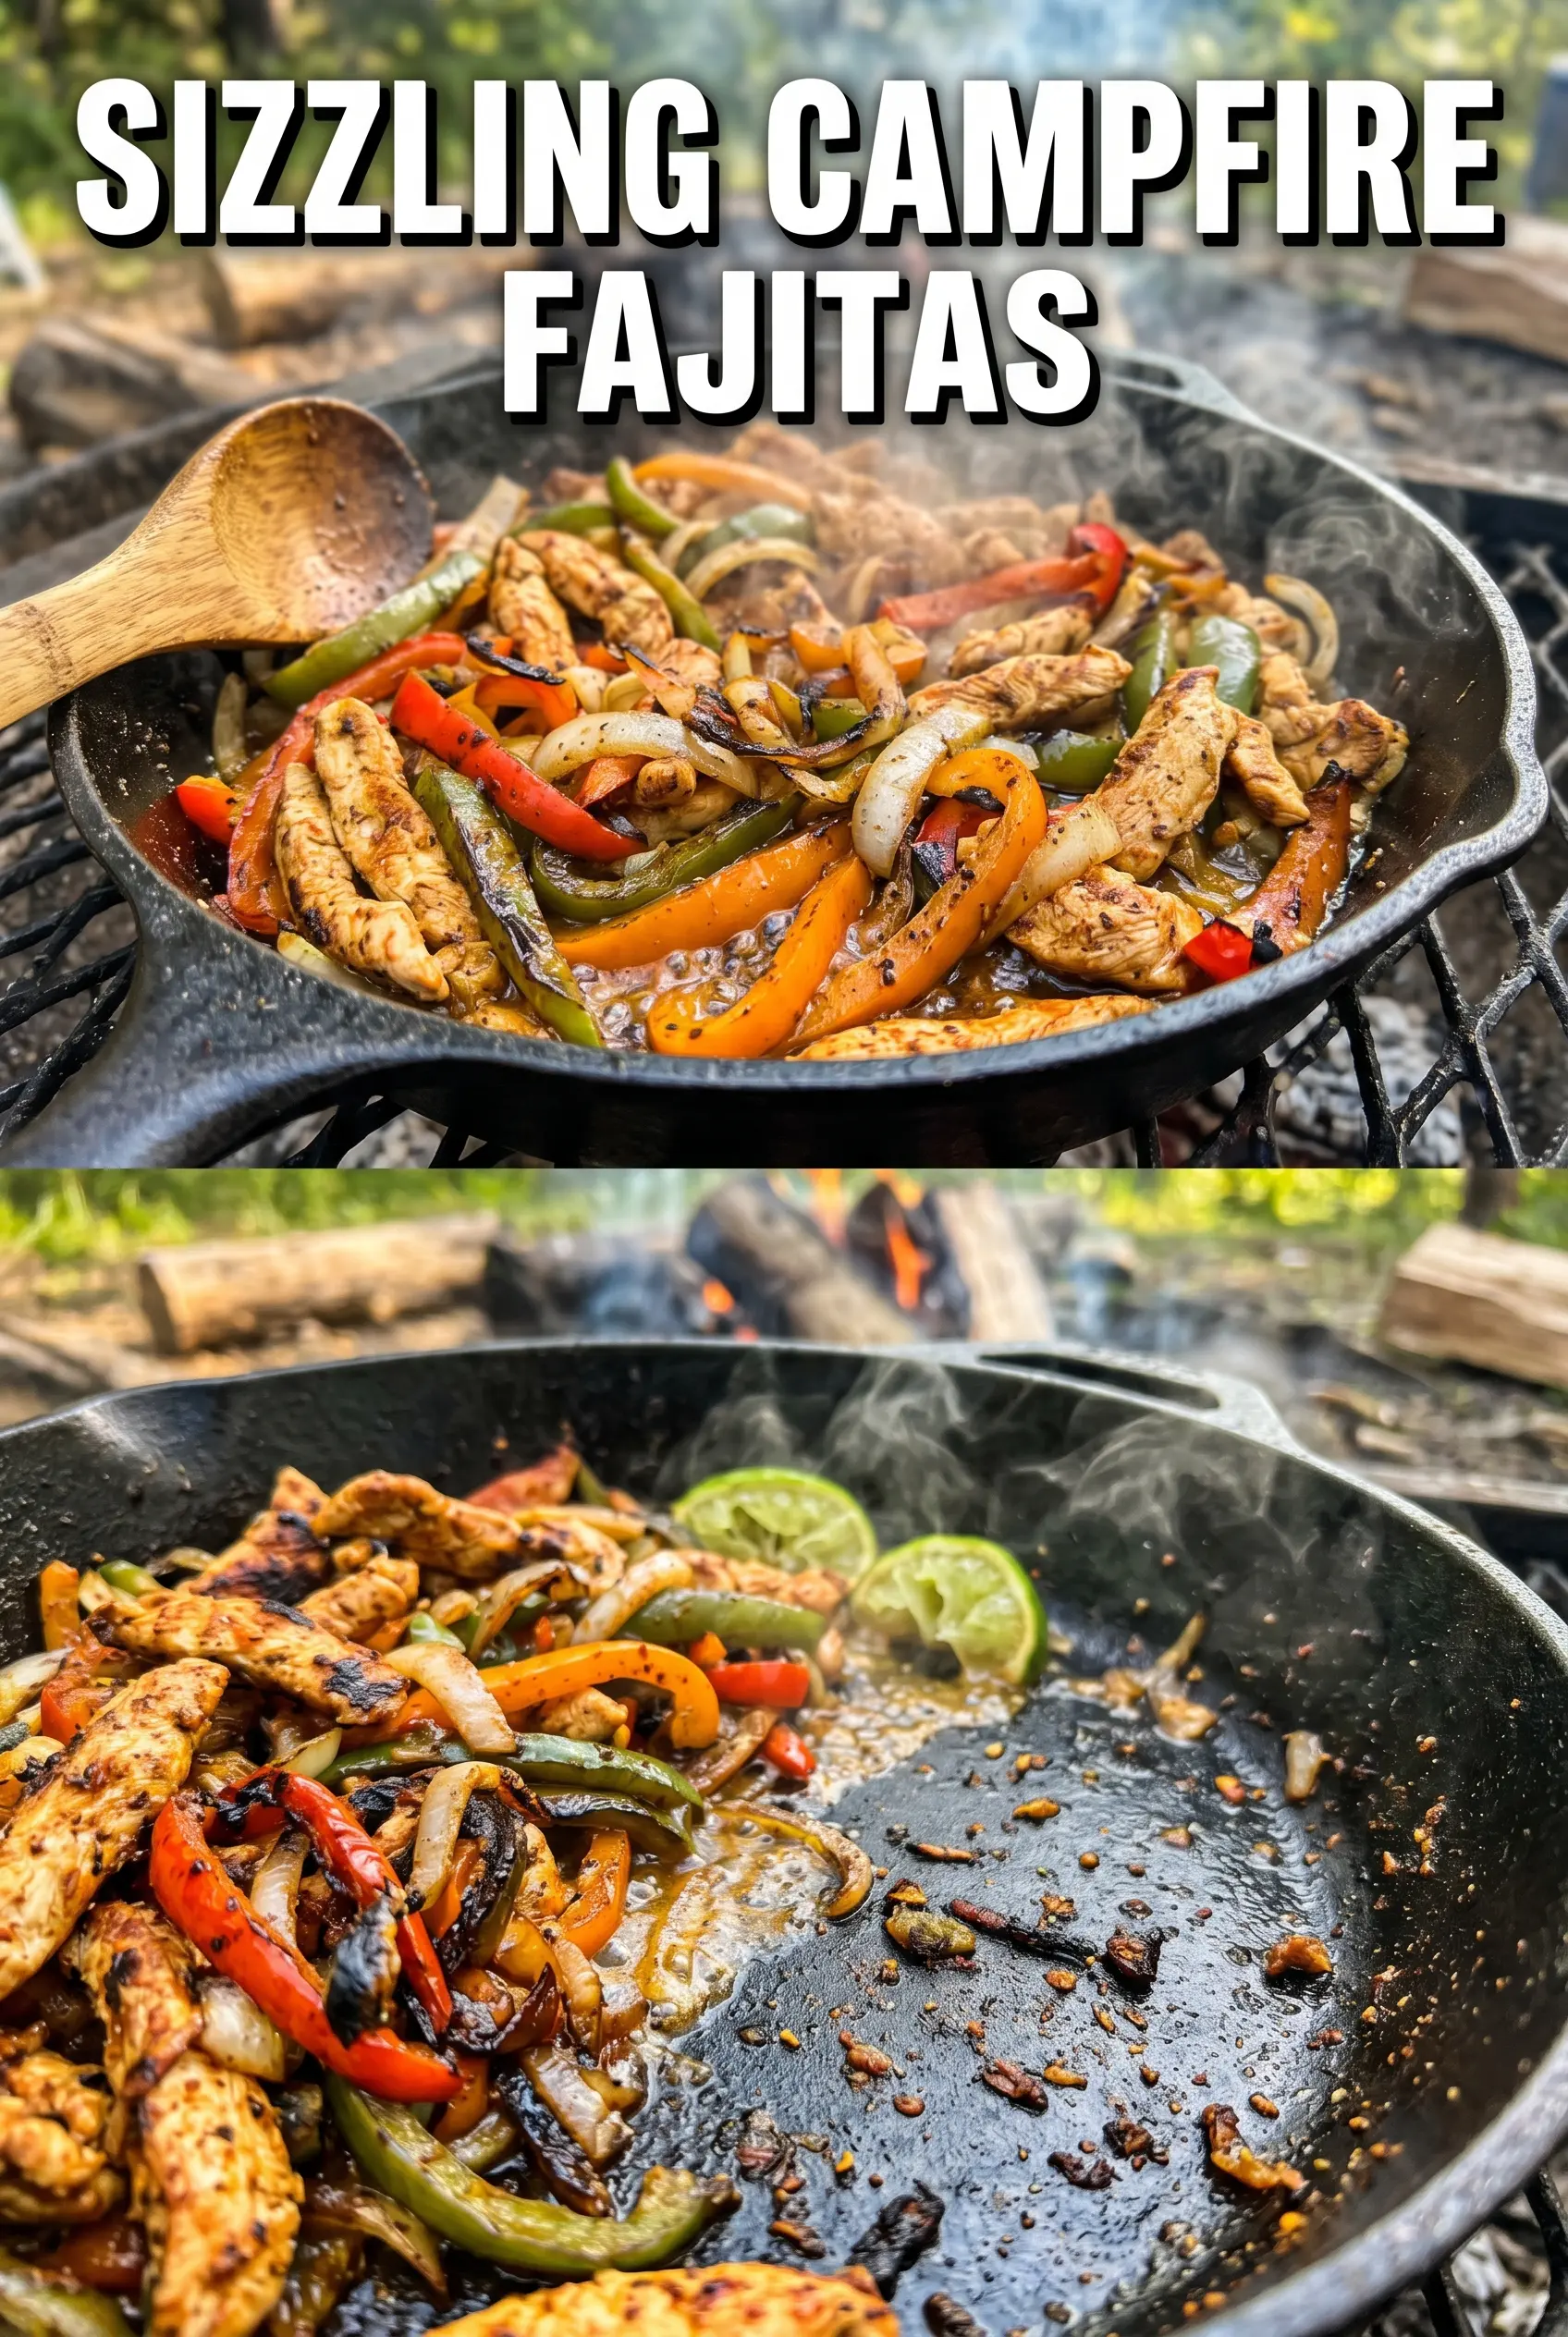
Add the peppers and onions to the same skillet without wiping it clean. Those browned bits left behind carry the best flavor in the pan. Cook until the onions soften and the peppers have a few dark edges, but stop before they collapse completely. That little bit of bite keeps the fajitas from turning soft once they hit the tortillas.
Bring Everything Back Together at the End
Return the meat to the skillet and toss it with the vegetables just long enough to rewarm and coat everything in the juices. This final toss should happen off the hottest part of the fire if the pan is blazing, because the meat only needs a minute or two here. Warm the tortillas separately and serve right away while the skillet is still sizzling.
Make It with Steak Instead of Chicken
Skirt steak, flank steak, or sirloin all work well here. Steak gives you a richer, more classic fajita flavor, but it needs the same thin slicing against the grain so it stays tender over the fire.
Dairy-Free and Gluten-Free Serving Style
The filling itself is naturally dairy-free and gluten-free, so the only swaps happen at the table. Use gluten-free tortillas if needed, and keep the cheese and sour cream on the side so everyone can build their own plate without changing the base recipe.
Turn It into a Vegetarian Skillet
Swap the meat for thick strips of portobello mushrooms, zucchini, and extra peppers. The skillet will still pick up great char, but you’ll want to cook the vegetables in batches so they brown instead of steaming in their own moisture.
Storage and Reheating
- Refrigerator: Store the fajita filling for up to 3 days. The peppers will soften a little, but the flavor holds up well.
- Freezer: The cooked meat freezes better than the vegetables. If you want to freeze the whole batch, expect the peppers and onions to lose some texture after thawing.
- Reheating: Reheat in a skillet over medium heat until hot, not in the microwave if you want to keep any of the browning. Add a splash of oil if the mixture looks dry, and warm the tortillas separately so they stay soft.
Answers to the Questions Worth Asking
Campfire Fajitas
Ingredients
Equipment
Method
- Heat the oil in a large cast iron skillet over the campfire until it shimmers and looks loose, not smoky.
- Season the sliced chicken or steak with fajita seasoning, add it to the hot skillet, and cook for 8-10 minutes until browned and cooked through; remove and set aside.
- Add the bell peppers and onions to the skillet and cook for 8-10 minutes until tender and slightly charred.
- Return the browned meat to the skillet and toss together with the peppers and onions until evenly mixed.
- Warm the flour tortillas over the fire until flexible and lightly heated, about 30-60 seconds per side.
- Serve the fajita mixture with the warm tortillas and set out sour cream, guacamole, salsa, cheese, cilantro, and lime wedges for topping and squeezing.


