Golden, crispy campfire hash browns are the kind of breakfast side that disappears fast, especially when they come out of a hot cast iron skillet with the edges browned and the middle tender. The trick is getting enough heat to crisp the potatoes without burning the onion or turning the whole pan into a soft pile. When it works, you get shattery edges, a buttery center, and that smoky outdoor flavor that only comes from cooking over real fire.
This version leans on frozen hash browns, which are a smart shortcut for camp cooking because the potatoes are already shredded and ready to go. Butter gives the best flavor, but oil holds up a little better if your fire runs hot and uneven. The key is spreading the potatoes in an even layer and leaving them alone long enough to build a crust before you start flipping.
Below, I’ll show you how to keep the skillet hot enough for browning, how to season the potatoes so they taste like more than plain starch, and how to adjust the dish if you want to add cheese or make it dairy-free.
I’ve made campfire potatoes for years, but this was the first time the hash browns got crispy all the way through instead of turning soggy in the middle. The paprika and onion made them taste like a diner breakfast cooked outside.
Save these campfire hash browns for your next outdoor breakfast when you want crispy skillet potatoes with almost no cleanup.
The Part Most Campfire Hash Browns Get Wrong
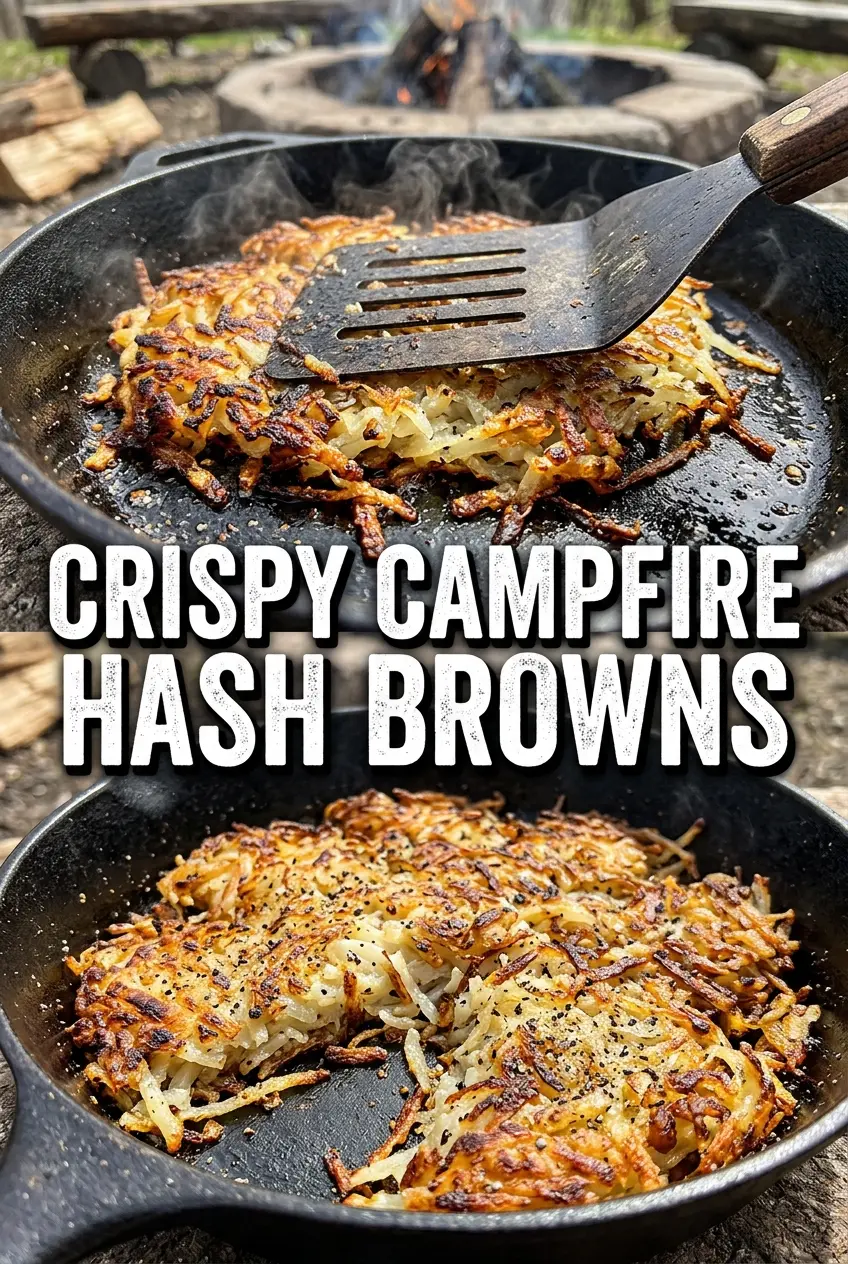
The biggest mistake is rushing the first side. Over a campfire, the skillet heat swings fast, and if you keep stirring, the potatoes never get the chance to form a crust. Spread them out, press them into the pan, and leave them alone until the bottom takes on a deep golden color and releases with a little resistance.
Frozen hash browns also carry extra moisture from thawing, which can steam the skillet instead of crisping it. If yours look wet, let them sit in the pan a minute or two before seasoning and flipping. That small pause gives the surface time to dry and helps the edges brown instead of turn gummy.
- Heat control matters more than high flames. A steady bed of coals or medium fire heat gives you browning without blackening the butter.
- Onion should be diced small. Big pieces stay crunchy while the potatoes cook; smaller dice softens into the hash and seasons every bite.
- Flipping too soon tears the crust. Wait until the potatoes hold together in one sheet before turning sections over.
What Each Ingredient Is Actually Doing in the Skillet
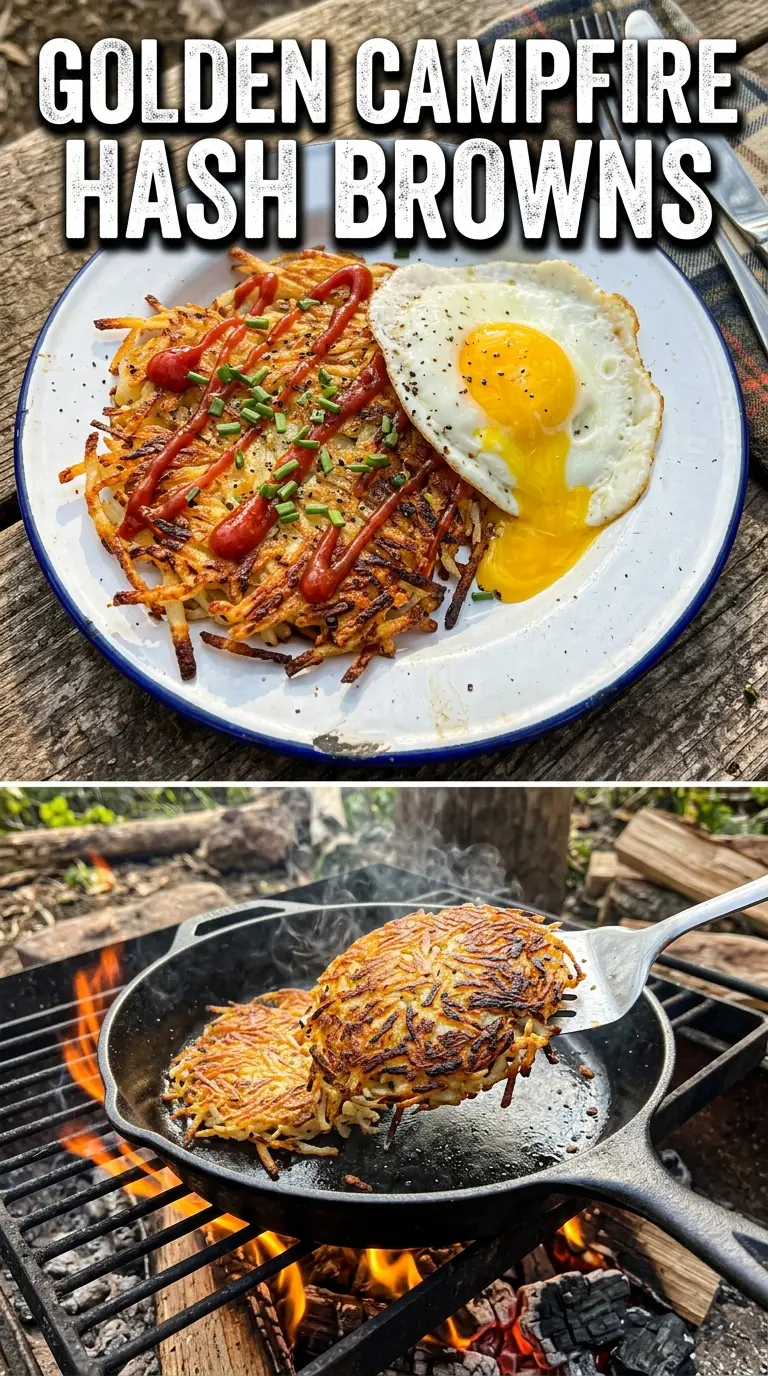
- Frozen hash browns — These are the backbone of the recipe because they’re already shredded and cook evenly over uneven camp heat. Fresh potatoes can work, but they need rinsing, drying, and a little more management to keep them from turning gray or soggy.
- Butter or oil — Butter gives the best campfire flavor and helps the edges brown, while oil is the safer choice if your fire runs hot and the pan is exposed. If you use butter only, watch it closely so the milk solids don’t scorch before the potatoes crisp.
- Onion — Onion adds sweetness and depth as it softens in the pan. Dice it finely so it cooks at the same pace as the potatoes instead of staying raw and sharp.
- Paprika and garlic powder — These are there to make the potatoes taste seasoned all the way through, not just salty on top. Smoked paprika works nicely if you want a deeper campfire note.
- Cheese and green onions — Both are optional, but they add a final hit of richness and freshness. Add the cheese at the very end so it melts without trapping steam under the potatoes.
Getting the Crispy Edges Before the Fire Dies Down
Heating the Skillet
Set the cast iron skillet over the fire and let the fat heat until it looks glossy and moves easily across the pan. If the butter is foaming aggressively or browning in seconds, the skillet is too hot and the potatoes will scorch before they crisp. You want lively heat, not a ripping-hot pan.
Building the Hash
Add the hash browns and onion in one even layer, then season from above so the salt and spices distribute across the whole pan. Press the mixture down lightly with a spatula to maximize contact with the skillet. If the layer is piled up in the center, the middle steams while the edges burn, so keep it flat and spread out.
Letting the Bottom Set
Cook the potatoes undisturbed until the underside turns deep golden and starts to release in one piece. That usually takes a few minutes, depending on your fire and skillet size. When you try to move them and they still feel stuck, give them more time; the crust isn’t ready yet.
Turning and Finishing
Flip in sections instead of trying to turn the whole skillet at once. This keeps the crispy pieces intact and makes it easier to brown the second side without breaking up the hash. Add the cheese at the end if you’re using it, then pull the skillet off the heat and let it sit for a minute so the melted cheese settles instead of sliding off.
How to Adapt These Hash Browns for Different Camps and Crowds
Dairy-Free Campfire Hash Browns
Use oil instead of butter and skip the cheese. You’ll lose a little richness, but the potatoes will still get crisp, and a finish of extra pepper or smoked paprika gives them enough punch to stand on their own.
Cheesy Skillet Hash
Stir in shredded cheese only after the potatoes are crisp and the heat is lowered. If you add it too early, it melts into the pan and softens the crust, which is the exact opposite of what you want here.
Vegetarian Breakfast Base
Serve the hash browns with eggs, sautéed peppers, or black beans for a fuller breakfast without changing the method. The potatoes carry the meal, so the rest just needs to add protein and a little color.
Cooking for a Crowd
Cook in batches if the skillet is crowded, because too many potatoes at once will trap steam and soften the crust. Keep finished batches warm near the edge of the fire, uncovered, so they stay crisp instead of steaming in a covered pan.
Storage and Reheating
- Refrigerator: Store leftovers in an airtight container for up to 3 days. The crust will soften, but the flavor holds up well.
- Freezer: Freeze after cooling completely, then reheat from frozen in a skillet or oven. They won’t be as crisp as fresh, but they do freeze better than many breakfast potatoes.
- Reheating: Reheat in a hot skillet with a little oil over medium heat. Don’t microwave them if you want the edges back; that turns them soft and steamy instead of crisp.
Questions I Get Asked About This Recipe
Campfire Hash Browns
Ingredients
Equipment
Method
- Heat the butter or oil in a large cast iron skillet over the campfire until it shimmers, showing it’s hot enough to crisp the potatoes.
- Add the frozen hash browns and diced onion, then spread everything into an even layer so the surface can brown.
- Season with salt, black pepper, garlic powder, and paprika, then press the layer down lightly for better browning.
- Cook for 15-20 minutes, flipping occasionally with a spatula until the hash browns are golden brown and visibly crisp at the edges.
- Top with shredded cheese and green onions if desired, then cook just until the cheese melts slightly, about 1-2 minutes.
- Serve the campfire hash browns hot as a breakfast base or side dish.


