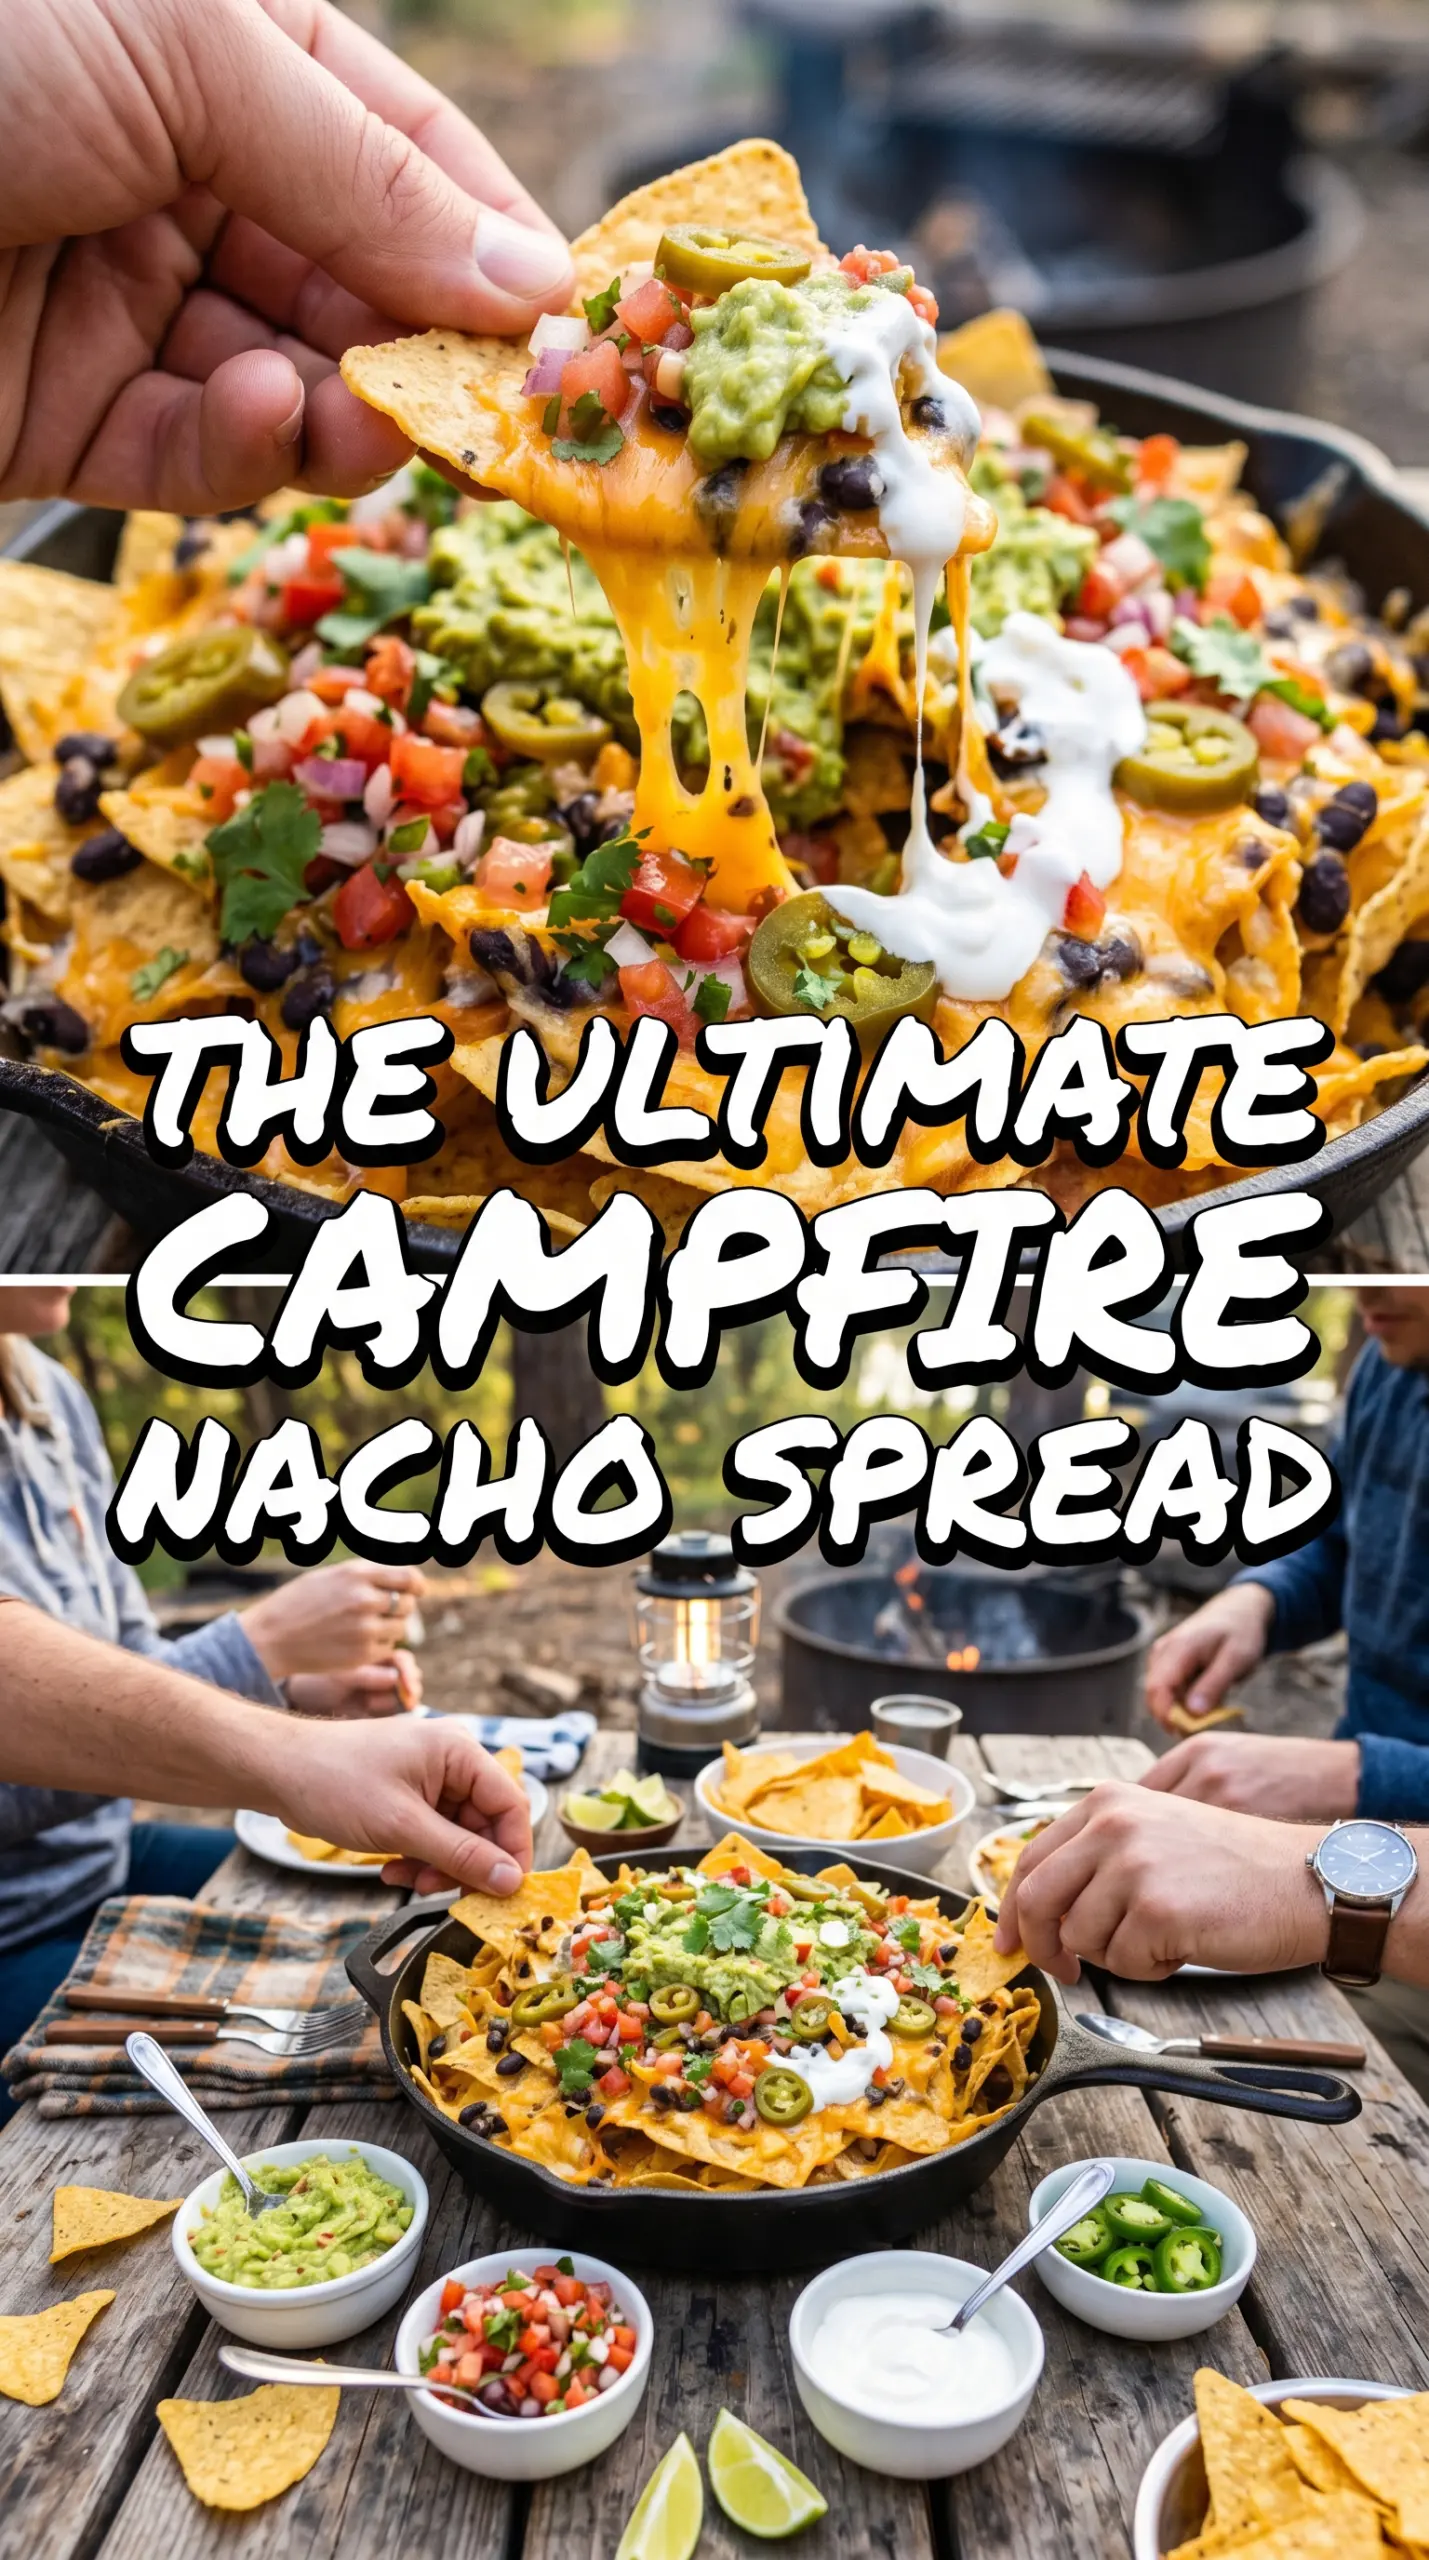
Campfire nachos hit the table fast, disappear even faster, and never need much convincing. The best version is built for shared grabbing: sturdy chips underneath, hot taco beef tucked into the layers, and cheese that melts into every pocket instead of sliding off the top in one heavy blanket. When it’s done right, you get crisp edges, creamy toppings, and just enough char from the heat to make the whole skillet feel like the main event.
The trick is layering twice instead of dumping everything on top at once. That keeps the bottom chips from turning into a soggy mass while still giving you those loaded bites with beans, corn, beef, and cheese in every scoop. Cast iron helps here because it holds heat evenly over the grate, but an aluminum pan works too if that’s what you’ve got at the campsite. The important part is keeping the heat at a steady medium so the cheese melts before the chips scorch.
Below, I’ve included the small adjustments that make these nachos work over an open flame, plus the topping order that keeps them from collapsing the second they leave the fire.
The cheese melted through all the layers instead of just sitting on top, and the chips at the bottom stayed crisp enough to scoop up the beef and beans without breaking apart.
Love these cast iron campfire nachos? Save them to Pinterest for the nights when you want a fast, crowd-pleasing skillet loaded with beef, beans, and melted cheese.
The Layering Trick That Keeps Campfire Nachos Crisp
Most loaded nachos fail for one simple reason: everything gets piled in one heavy layer, and the bottom chips steam before the cheese has a chance to melt. The fix is to build them in two rounds. That gives the heat a path through the skillet and keeps some of the chips exposed enough to stay crisp while the middle turns molten and saucy.
The other thing that matters is where the wet toppings go. Tomatoes, sour cream, guacamole, and cilantro belong after the skillet comes off the fire. If those go on before heating, they cool the cheese down and soften the chips faster. The campfire should melt, not simmer.
- Double layering — Half the chips, half the filling, then repeat. This creates pockets of melted cheese all the way through instead of one thick top layer.
- Cast iron or sturdy foil pan — Cast iron holds steady heat and gives the best result, but an aluminum pan works when you’re camping light. Thin disposable pans need extra care because they can hot-spot fast.
- Steady medium heat — Low heat makes the chips dry out before the cheese softens; high heat scorches the bottom before the center is ready.
What Each Topping Is Actually Doing in This Skillet
- Tortilla chips — Start with thick, sturdy chips. Thin chips break under the weight of the toppings and go soft faster over the fire.
- Ground beef with taco seasoning — This is the main savory layer and it should be fully cooked before it hits the skillet. If it’s greasy, drain it well or the nachos will turn oily at the bottom.
- Mexican cheese blend — A blend melts more smoothly than a single cheese and gives you that stretchy, bubbly top. Pre-shredded cheese is fine here, though freshly shredded melts a touch smoother if you’ve got the time.
- Black beans and corn — These add body and a little sweetness. Drain them well or they’ll release steam and soften the chips underneath.
- Tomatoes, jalapeño, sour cream, guacamole, cilantro, lime — These finish the dish with freshness and contrast. They go on at the end so the hot skillet doesn’t break the guacamole or wilt the herbs.
Building the Skillet So the Bottom Doesn't Turn Soggy
Start With a Wide Base
Spread half the chips in a single layer across the skillet or pan, then add half the beef, beans, corn, and cheese. Don’t mound everything in the center or the middle will cook faster than the edges and you’ll end up with a burnt spot under one pile and bare chips around it. A wider spread gives the fire more even contact with the whole dish.
Repeat the Layers Before Heating
Add the remaining chips and repeat the toppings so the nachos are built like a stack, not a dump. The second layer protects some of the chips from direct heat and gives the cheese somewhere to melt into. If the pan looks overloaded, stop there — a crowded skillet is fine, but if it’s packed above the rim, the top won’t heat evenly.
Watch for the Melt, Not the Clock
Set the skillet over medium campfire heat for 12 to 15 minutes, but watch the cheese instead of trusting the timer alone. You want the cheese fully melted and bubbling around the edges, with just a little color on the exposed chips. If the bottom starts to darken too fast, move the skillet farther from the flame or raise it higher on the grate.
Finish Fast and Serve Right Away
Take the pan off the fire and add the tomatoes, jalapeños, sour cream, guacamole, cilantro, and lime wedges immediately. The longer the hot chips sit under the wet toppings, the faster they lose their crunch. These nachos are at their best in the first few minutes after they come off the heat, when the cheese is still stretchy and the toppings are cool.
Three Ways to Adjust These Nachos for the Group You've Got
Vegetarian Campfire Nachos
Skip the beef and double the beans, corn, and cheese. You can also add sautéed peppers and onions if you’ve got a skillet going nearby. The result is lighter but still sturdy enough to feel loaded, especially if you keep the toppings well-drained.
Dairy-Free Version
Use a good melting dairy-free shreds blend and swap the sour cream and guacamole topping for extra salsa or a dairy-free crema. Dairy-free cheese won't always brown the same way, but it will still melt well if you keep the heat moderate and cover the skillet loosely for a few minutes.
Lighter Chips-and-Toppings Swap
If you want less richness, use half the cheese and add extra tomatoes, beans, and jalapeños after heating. You’ll lose some of the classic gooey pull, but the skillet stays fresher and the chip texture holds up a little longer.
Storage and Reheating
- Refrigerator: Store leftovers in an airtight container for up to 2 days. The chips will soften, but the flavors still hold up.
- Freezer: I don't recommend freezing assembled nachos. The chips lose their texture and the fresh toppings don't thaw well.
- Reheating: Reheat only the base layer in a skillet or oven until hot, then add fresh cold toppings after. Microwaving turns the chips limp fast, which is the one mistake that ruins leftover nachos.
Questions I Get Asked About This Recipe
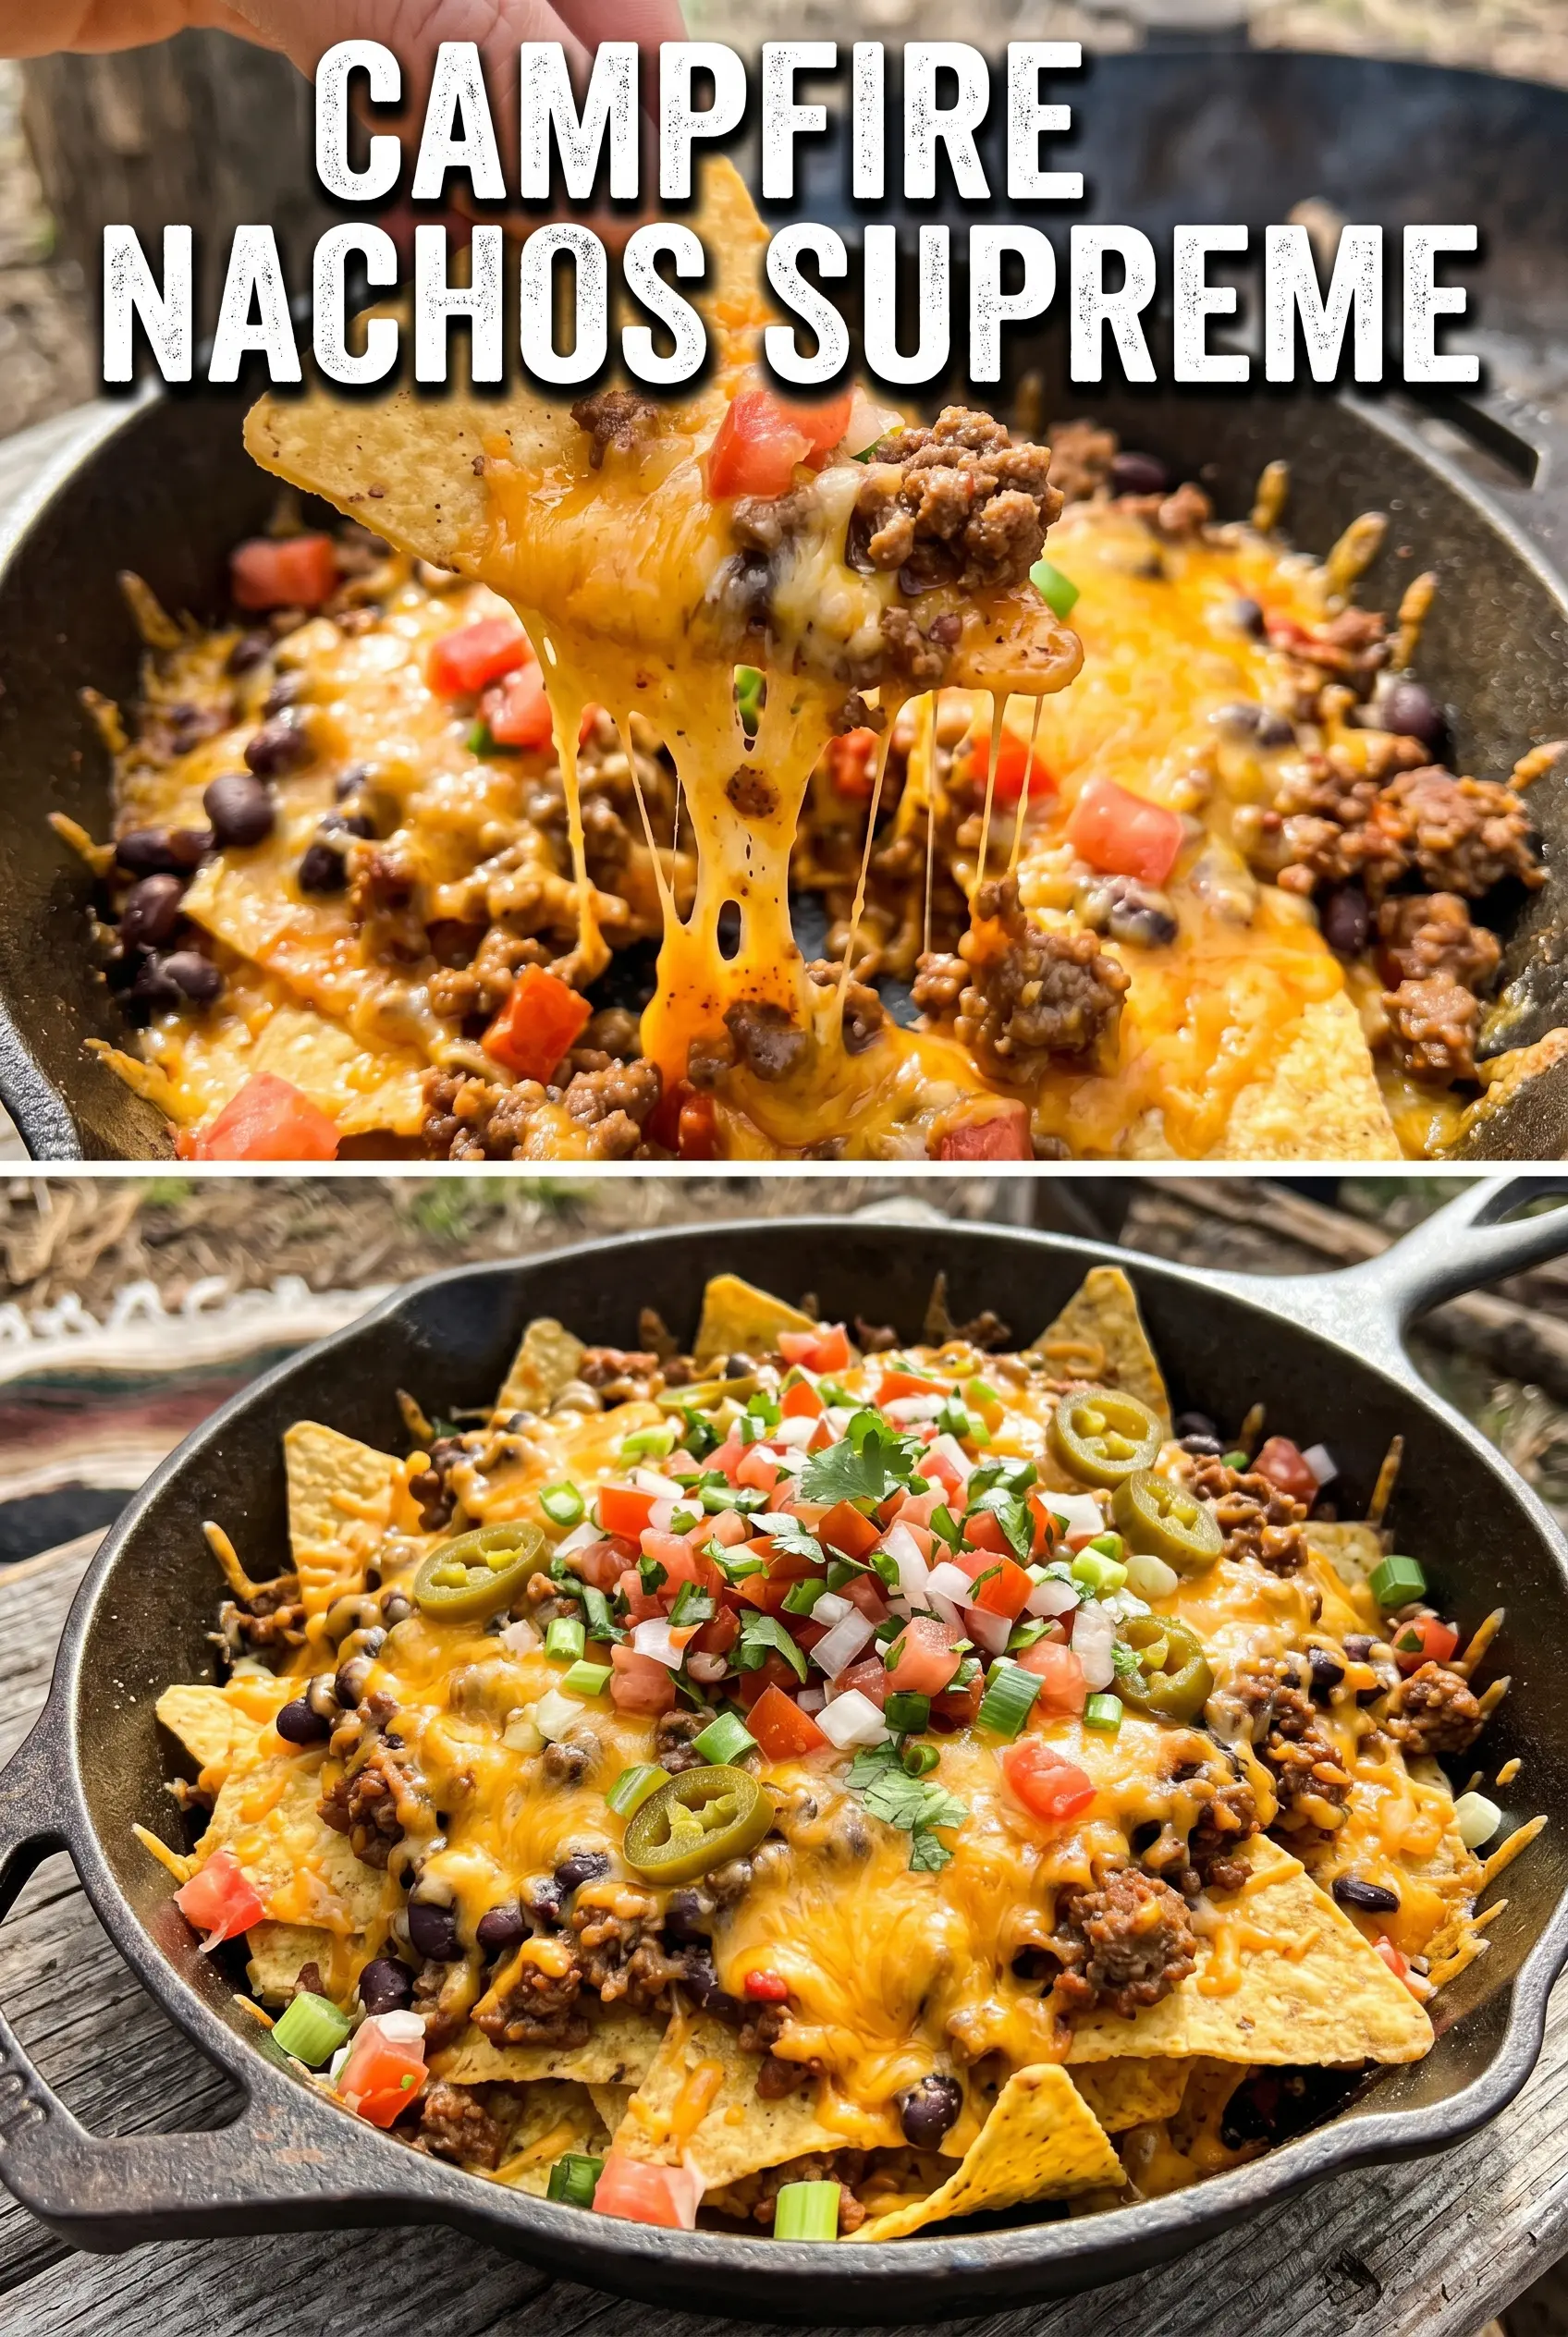
Campfire Nachos Supreme
Ingredients
Equipment
Method
- Layer half the tortilla chips in a large cast iron skillet or aluminum pan so they sit in an even, piled base.
- Top the first layer with half the ground beef, black beans, corn, and shredded Mexican cheese blend to form a dense, cheesy layer.
- Add the remaining tortilla chips and repeat the ground beef, black beans, corn, and shredded Mexican cheese blend for a second loaded layer.
- Place the skillet on a campfire grate over medium heat for 12-15 minutes, cooking until the cheese melts and turns bubbly with visible stretching.
- Remove the skillet from the heat and immediately top with diced tomatoes, sliced jalapeños, sour cream, guacamole, and chopped cilantro.
- Serve the nachos right away with lime wedges on the side for squeezing.


