Golden toast, bubbling peach filling, and a crisp buttery edge are what make Campfire Peachies worth hauling the pie iron out for. The bread turns shatter-crisp on the outside while the fruit softens into a jammy center, and the cinnamon sugar gives each bite that peach pie flavor without any fuss. When they come off the fire right, they feel like a treat that took much more effort than it did.
The key is keeping the heat gentle and steady. Campfire coals cook this best because flames brown the bread too fast before the filling warms through, and a thin layer of butter on the outside helps the sandwich toast instead of drying out. Using peach pie filling instead of fresh fruit also gives you a thicker, less leaky center, which matters a lot when you’re cooking in a hinged iron over open heat.
Below, I’ve included the little timing details that keep the bread from burning, plus a few easy swaps if you want to change the filling or make these at home instead of at camp.
The peach filling got hot and bubbly without leaking all over the fire, and the bread came out crisp instead of greasy. I followed the 2-3 minutes per side and it was perfect for our camping dessert.
Save these Campfire Peachies for the next time you want a peach pie iron dessert with crisp bread and gooey filling over the fire.
The part that keeps the bread crisp instead of soggy
The mistake most people make with pie iron desserts is overfilling them. Peach pie filling looks harmless going in, but it heats up fast and spreads, and if you pack it in too generously the bread steams before it toasts. A modest spoonful gives you that soft, jammy center without forcing the seam open or leaking into the fire.
Heat matters just as much as the filling amount. Coals give you an even, controlled toast, while open flame scorches the outside before the middle has time to warm. If the iron starts smoking hard or the bread is browning in spots before two minutes are up, move it farther from the heat and slow the whole process down.
What the bread, butter, and filling are each doing here

- White bread — Soft sandwich bread seals well and toasts evenly in a pie iron. Thicker artisan bread can split at the edges before the center crisps, so plain white bread is the safer choice here.
- Peach pie filling — This is what gives you the thick, spoonable center and prevents the sandwich from turning watery. Fresh peaches need extra sugar and a thickener, and even then they release more juice than you want over a campfire.
- Cinnamon sugar — It boosts the peach flavor and gives the filling a pie-like finish without needing extra spices. If you skip it, the dessert still works, but it tastes flatter.
- Butter — Buttering the outside of the bread is what creates the crisp, bronzed crust. Use enough to coat the surface evenly, but don’t leave thick clumps or the sandwich can fry instead of toast.
- Powdered sugar — This is a finish, not a requirement, but it gives the hot sandwich that classic fair-style look and a light sweetness on the outside.
Getting the pie iron timing right over the coals
Building the sandwich
Butter one side of each bread slice, then place one slice butter-side down in the pie iron. Spoon the peach filling onto the center and keep it away from the edges so the seal has room to close cleanly. A light sprinkle of cinnamon sugar over the filling is enough; too much can make the filling gritty and encourage leaking when it melts.
Cooking over steady heat
Close the pie iron and set it over hot coals, not licking flames. Cook for 2 to 3 minutes on the first side, then flip carefully and cook the second side until the bread is deep golden and crisp. If the iron feels too hot to hold near the handle for a second, it’s probably hot enough to scorch the bread, so pull it back a little.
The finish and the rest
Lift the sandwich out gently and let it rest for 2 minutes before dusting with powdered sugar. That short cooling time lets the filling thicken so it doesn’t pour out on the first bite. If you cut or bite it too soon, the center runs hot and loose instead of staying tucked inside the toast.
How to adjust Campfire Peachies for your fire, your pantry, or your crowd
Make them dairy-free
Swap the butter for a plant-based butter spread that’s meant for baking or toast. You still get a crisp exterior, though the flavor is a little less rich and the browning can be slightly lighter.
Use fresh peaches when they’re in season
Dice peeled peaches and toss them with sugar and a pinch of cornstarch before filling the sandwich. The texture is brighter and less syrupy than canned filling, but you’ll need to cook a little more carefully because fresh fruit leaks more easily.
Try a brown sugar-cinnamon version
Stir a little brown sugar into the peach filling before cooking for a deeper caramel note. The result tastes closer to peach cobbler, but it does make the filling a touch wetter, so keep the portions modest.
Storage and Reheating
- Refrigerator: Best eaten right away, but leftovers keep for 1 day wrapped in foil. The bread softens as it sits.
- Freezer: I don’t recommend freezing these. The filling turns mushy and the bread loses its crisp texture after thawing.
- Reheating: Reheat in a dry skillet over low heat or in a toaster oven until the outside firms back up. Don’t use the microwave unless you want soft bread and hot filling without any crunch.
Questions I Get Asked About This Recipe
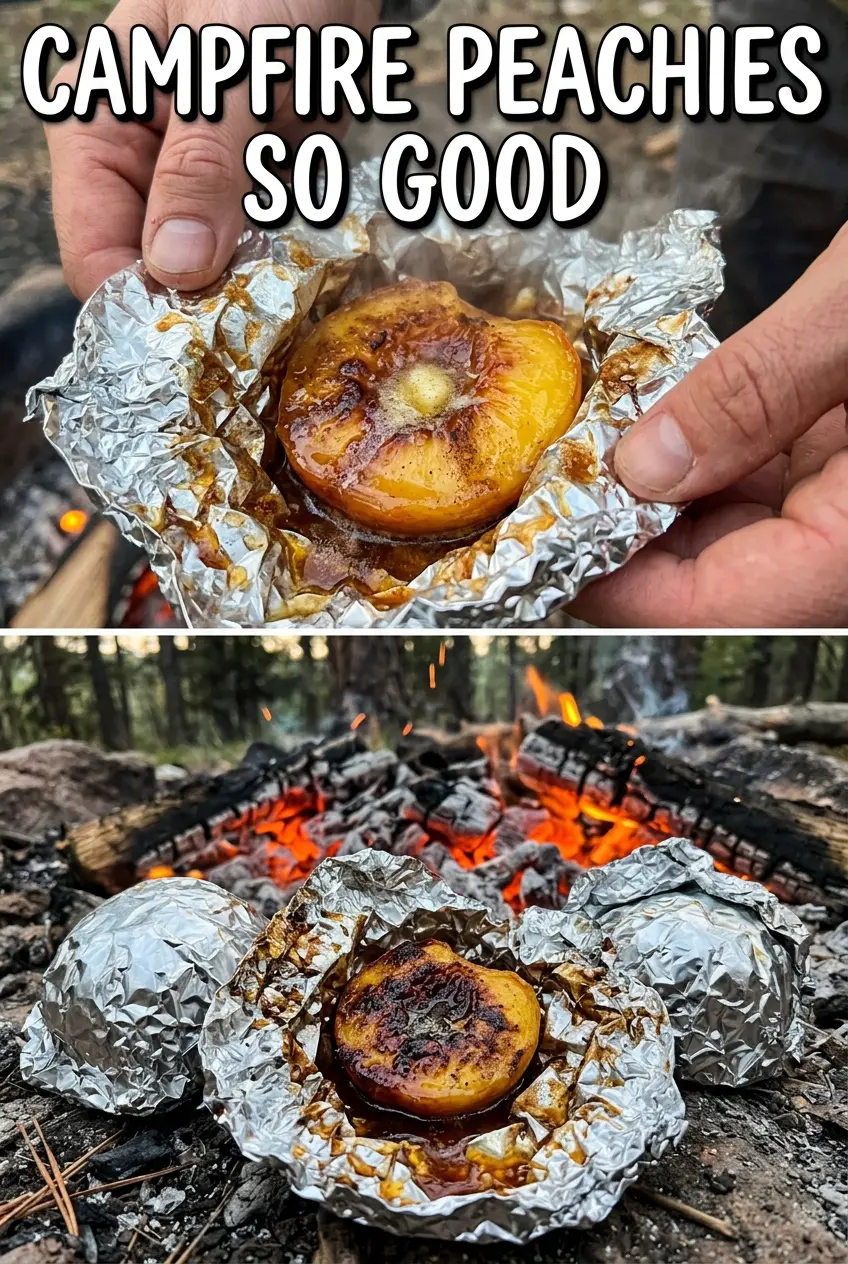
Campfire Peachies
Ingredients
Equipment
Method
- Butter one side of each slice of white bread so the toasted side browns evenly.
- Place one bread slice, butter-side down, into a preheated pie iron.
- Spoon peach pie filling onto the bread, then sprinkle cinnamon sugar over the filling.
- Top with a second bread slice, butter-side up.
- Close the pie iron and cook over campfire coals for 2-3 minutes per side until the bread is golden and crisp, with peach filling visibly oozing at the seams.
- Carefully remove the sandwich from the pie iron and let it cool for 2 minutes so the filling sets slightly.
- Dust with powdered sugar and serve while warm.


