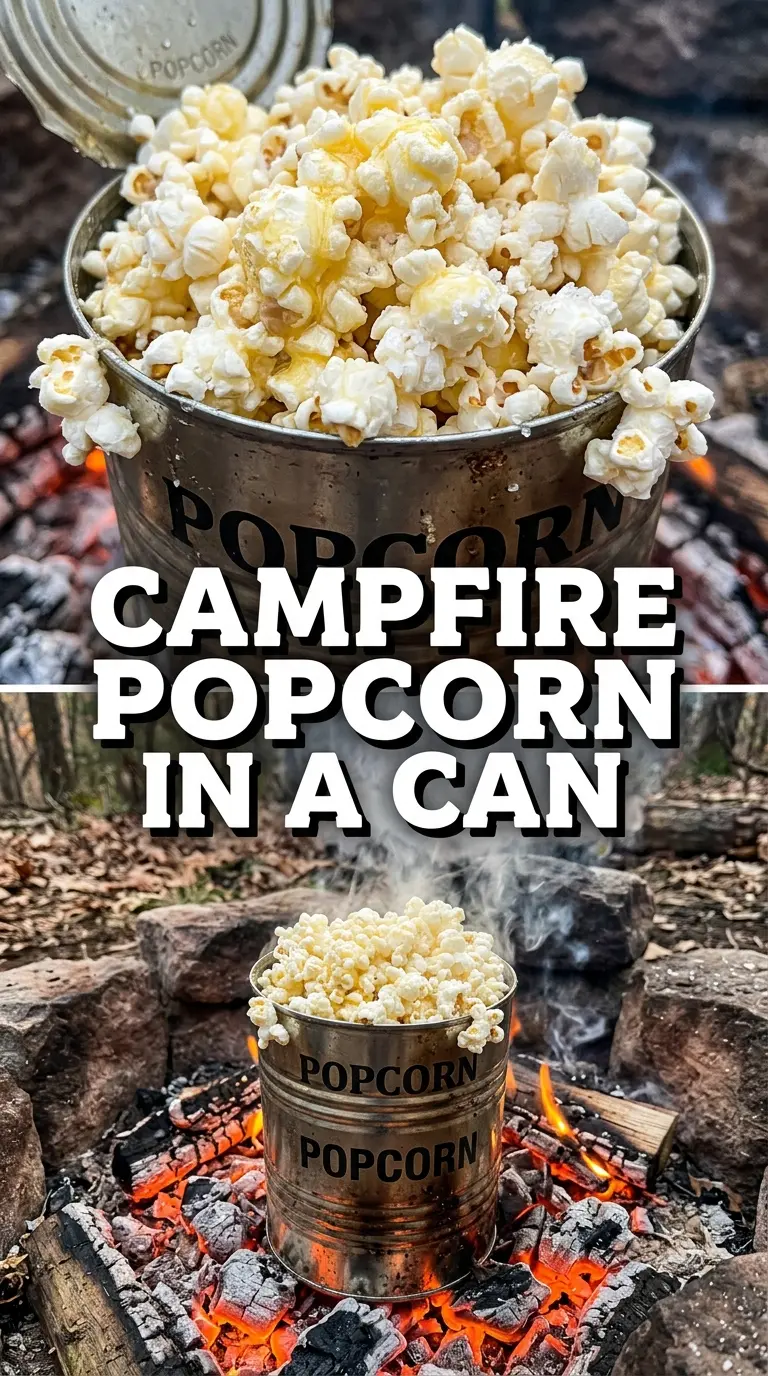
Campfire popcorn in a can turns a handful of kernels into the kind of snack people gather around for. The popping sounds start slow, then pick up fast, and before long you’ve got a bowl of hot, lightly smoky popcorn that tastes better because you made it over the fire yourself. It’s simple in the best way, with no special gear beyond a metal coffee can, a little wire, and steady shaking.
The trick is keeping the can moving the whole time. That’s what keeps the kernels from scorching on the bottom while the oil heats evenly and the popping stays active. The small holes in the can matter too — they give steam a place to escape, which helps the popcorn stay crisp instead of turning chewy.
Below, I’ve included the details that make this work reliably over a campfire, plus a few ways to season it once it’s in the bowl. If you’ve ever had half-popped kernels or burnt patches, the process notes will save you a lot of trial and error.
The popcorn came out crisp and evenly popped, and shaking the can the whole time kept it from burning. We added melted butter at the end and it tasted like a movie snack with a campfire twist.
Like this campfire popcorn? Save it to Pinterest for an easy outdoor snack with smoky crunch and buttery finishing options.
The Part Most People Get Wrong: Heat Control Over the Fire
The biggest mistake with campfire popcorn is holding the can too close to roaring flames. Popcorn needs hot, steady heat, not direct blasting fire. If the bottom gets too hot too fast, you’ll burn the oil before enough kernels have time to pop, and the popcorn at the bottom will taste bitter while the top barely cooks.
Shaking matters as much as heat. Every few seconds, the kernels and oil need to move so the hot spots don’t stay parked on one section of the can. When the popping starts to slow, take the can off the fire right away. Waiting for every last kernel to pop usually means the good popcorn gets overdone.
What Each Ingredient Is Doing in This Fire-Kettle Snack
- Popcorn kernels — Use fresh kernels if you can. Old popcorn still works sometimes, but stale kernels pop poorly and leave you with more duds. If you’ve got a bag that’s been sitting around for ages, don’t expect a full, fluffy batch.
- Vegetable oil — This gives you a neutral base that handles campfire heat well. Canola or avocado oil also work. Avoid butter in the can itself; it burns too fast over open flame and can ruin the batch before the kernels finish popping.
- Salt — Add it after popping, not before. Salt in the can can settle unevenly and won’t season the popcorn as cleanly. Finishing salt right in the bowl gives you better control.
- Melted butter — Optional, but it’s the easiest way to turn plain popcorn into a richer snack. Drizzle it lightly and toss right away so the popcorn doesn’t get soggy.
- Large metal coffee can — This is the piece that makes the method work. It needs to be metal, not coated plastic or thin disposable material. The holes in the bottom are important because they let steam escape.
- Coat hanger or sturdy wire — This is your handle and your safety line. It needs to hold the can securely and stay cool enough to manage while you shake it over the fire.
Building the Batch So It Pops Cleanly Instead of Burning
Punching and Preparing the Can
Start by punching several small holes in the bottom of the can, not huge ones. You want ventilation, not escape routes for the kernels. Add the popcorn kernels and oil, then secure the lid tightly so the popcorn doesn’t launch itself into the fire. If the lid is loose, the popping pressure will make a mess and the kernels will brown unevenly.
Shaking Over the Fire
Hold the can over the campfire and keep it moving the entire time. A gentle shake every second or two is enough to keep the kernels coated and prevent scorching. If the can sits still, the kernels on the bottom burn before the rest are ready. The popping should sound active and steady, then taper off near the end.
Knowing When to Pull It Off
Take the can away when the popping slows to a few seconds between pops. That last stretch matters because residual heat keeps cooking the popcorn even after it leaves the flames. If you wait too long, the bottom layer will taste toasted in a bad way, not pleasantly smoky. Let it sit for a moment before opening the lid so the steam settles down.
How to Adapt This for Different Camp Trips and Diets
Dairy-Free and Naturally Vegan
Skip the butter and finish with salt only, or toss the popcorn with a little olive oil if you want something richer. The texture stays crisp, and the flavor leans more toasty and clean.
Extra-Buttery Movie-Style Version
Melt the butter separately and drizzle it over the popcorn in two additions, tossing between each one. That keeps the kernels from collapsing under too much moisture at once, so you get a better coating instead of a soggy bowl.
Simple Savory Seasoning
Try a light dusting of garlic powder, smoked paprika, or ranch-style seasoning after popping. Add it while the popcorn is still warm so the seasoning sticks. Heavy seasoning can overpower the clean corn flavor, so start with less than you think you need.
Storage and Reheating
- Refrigerator: Best eaten the day it’s made. If you store it airtight for a day or two, the popcorn loses its crispness and turns a little chewy.
- Freezer: Don’t freeze it. The texture doesn’t recover well once popcorn has been exposed to moisture and cold.
- Reheating: If it softens, spread it on a baking sheet and warm it in a low oven for a few minutes. The mistake is microwaving it, which makes the popcorn leathery instead of crisp.
Answers to the Questions Worth Asking
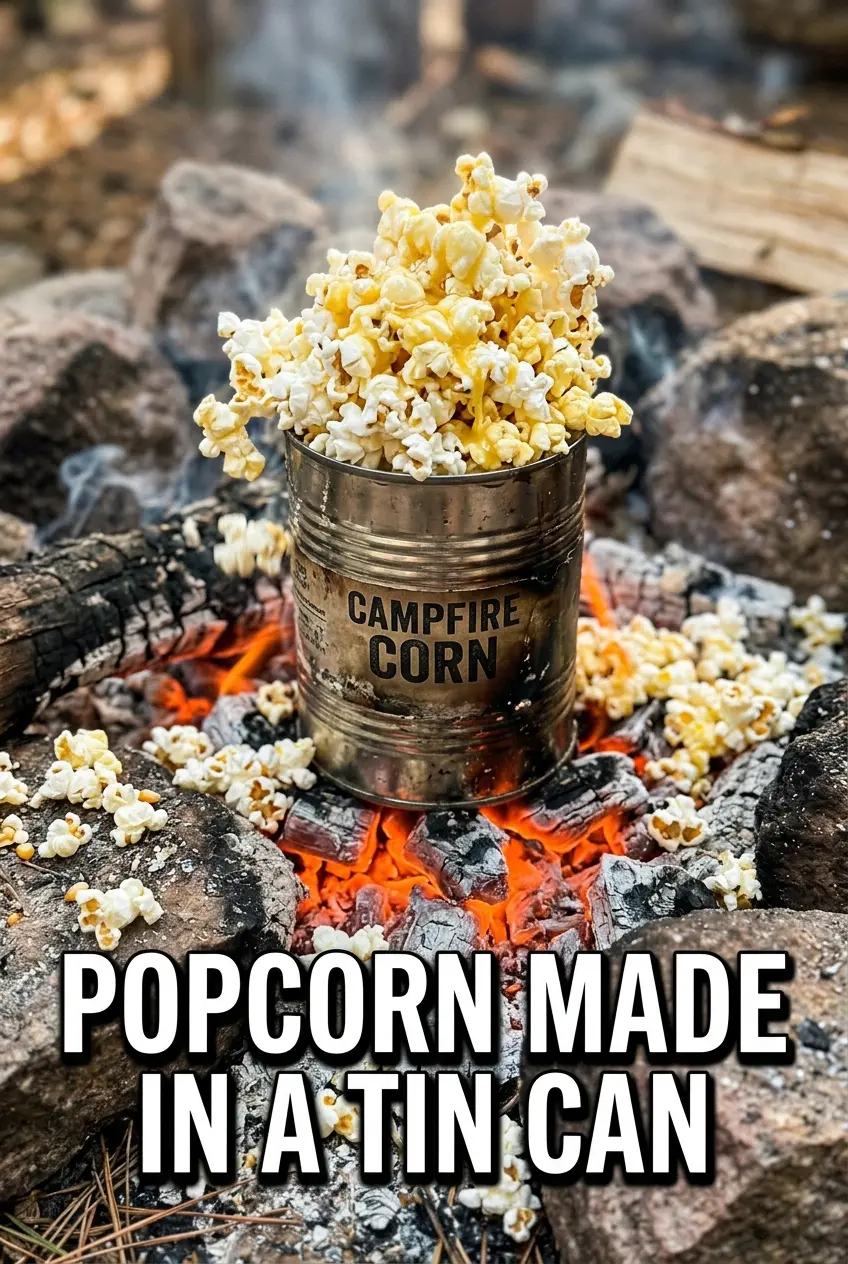
Campfire Popcorn in a Can
Ingredients
Equipment
Method
- Punch several small holes in the bottom of the can for ventilation.
- Secure the lid after adding popcorn kernels and vegetable oil to the can.
- Create a handle by wrapping coat hanger or sturdy wire around the can.
- Hold the can over campfire flames and shake constantly for 8-10 minutes until popping slows, keeping kernels visible as they pop.
- Carefully remove the lid and pour the popcorn into a bowl, avoiding steam.
- Season with salt and melted butter if desired, then toss briefly to coat.


