Camping grilled nachos hit the table with the kind of messy, molten appeal that makes people hover around the fire waiting for the pan to come off. The chips stay sturdy enough to hold the toppings, the cheese melts into every gap, and the edges pick up just enough toast from the grill grate to give each bite a little crunch. It’s the kind of camp meal that feels low-effort in the best possible way, but still lands like you planned ahead.
The trick is building the nachos in layers instead of dumping everything on top at once. That keeps the bottom chips from turning into a soggy pile and gives the beans, beef, and cheese a chance to heat through evenly. A disposable aluminum pan helps a lot here because it conducts heat fast and makes cleanup painless when you’re cooking over fire.
Below, you’ll find the timing that keeps the cheese melted without burning the chips, plus a few smart swaps if you want to turn these into vegetarian campfire nachos or use what’s already in your cooler.
The layers kept the chips from getting soggy, and the cheese melted into a perfect gooey top in just about 10 minutes over the fire. We ended up making a second pan the next night.
Save these campfire nachos for the next night you want a fast, smoky appetizer with melty cheese and zero fuss.
Why the Chips Stay Crunchy Instead of Going Limp
The biggest mistake with nachos over a fire is building one heavy mound and expecting the bottom layer to survive. It won’t. The chips nearest the pan need some airflow and some room between toppings so they warm through without steaming into a soggy base. Layering the chips, cheese, beans, and beef in two thinner rounds gives you more surface area for melting and less trapped moisture underneath.
Using pre-cooked ground beef matters here because the grill time is short. If the meat still needs to cook, the chips will overbake before the filling is ready. The same goes for the beans: drained black beans add body and heat quickly, while extra liquid from wet toppings belongs on the finished pan, not inside it.
What Each Ingredient Is Actually Doing in These Nachos
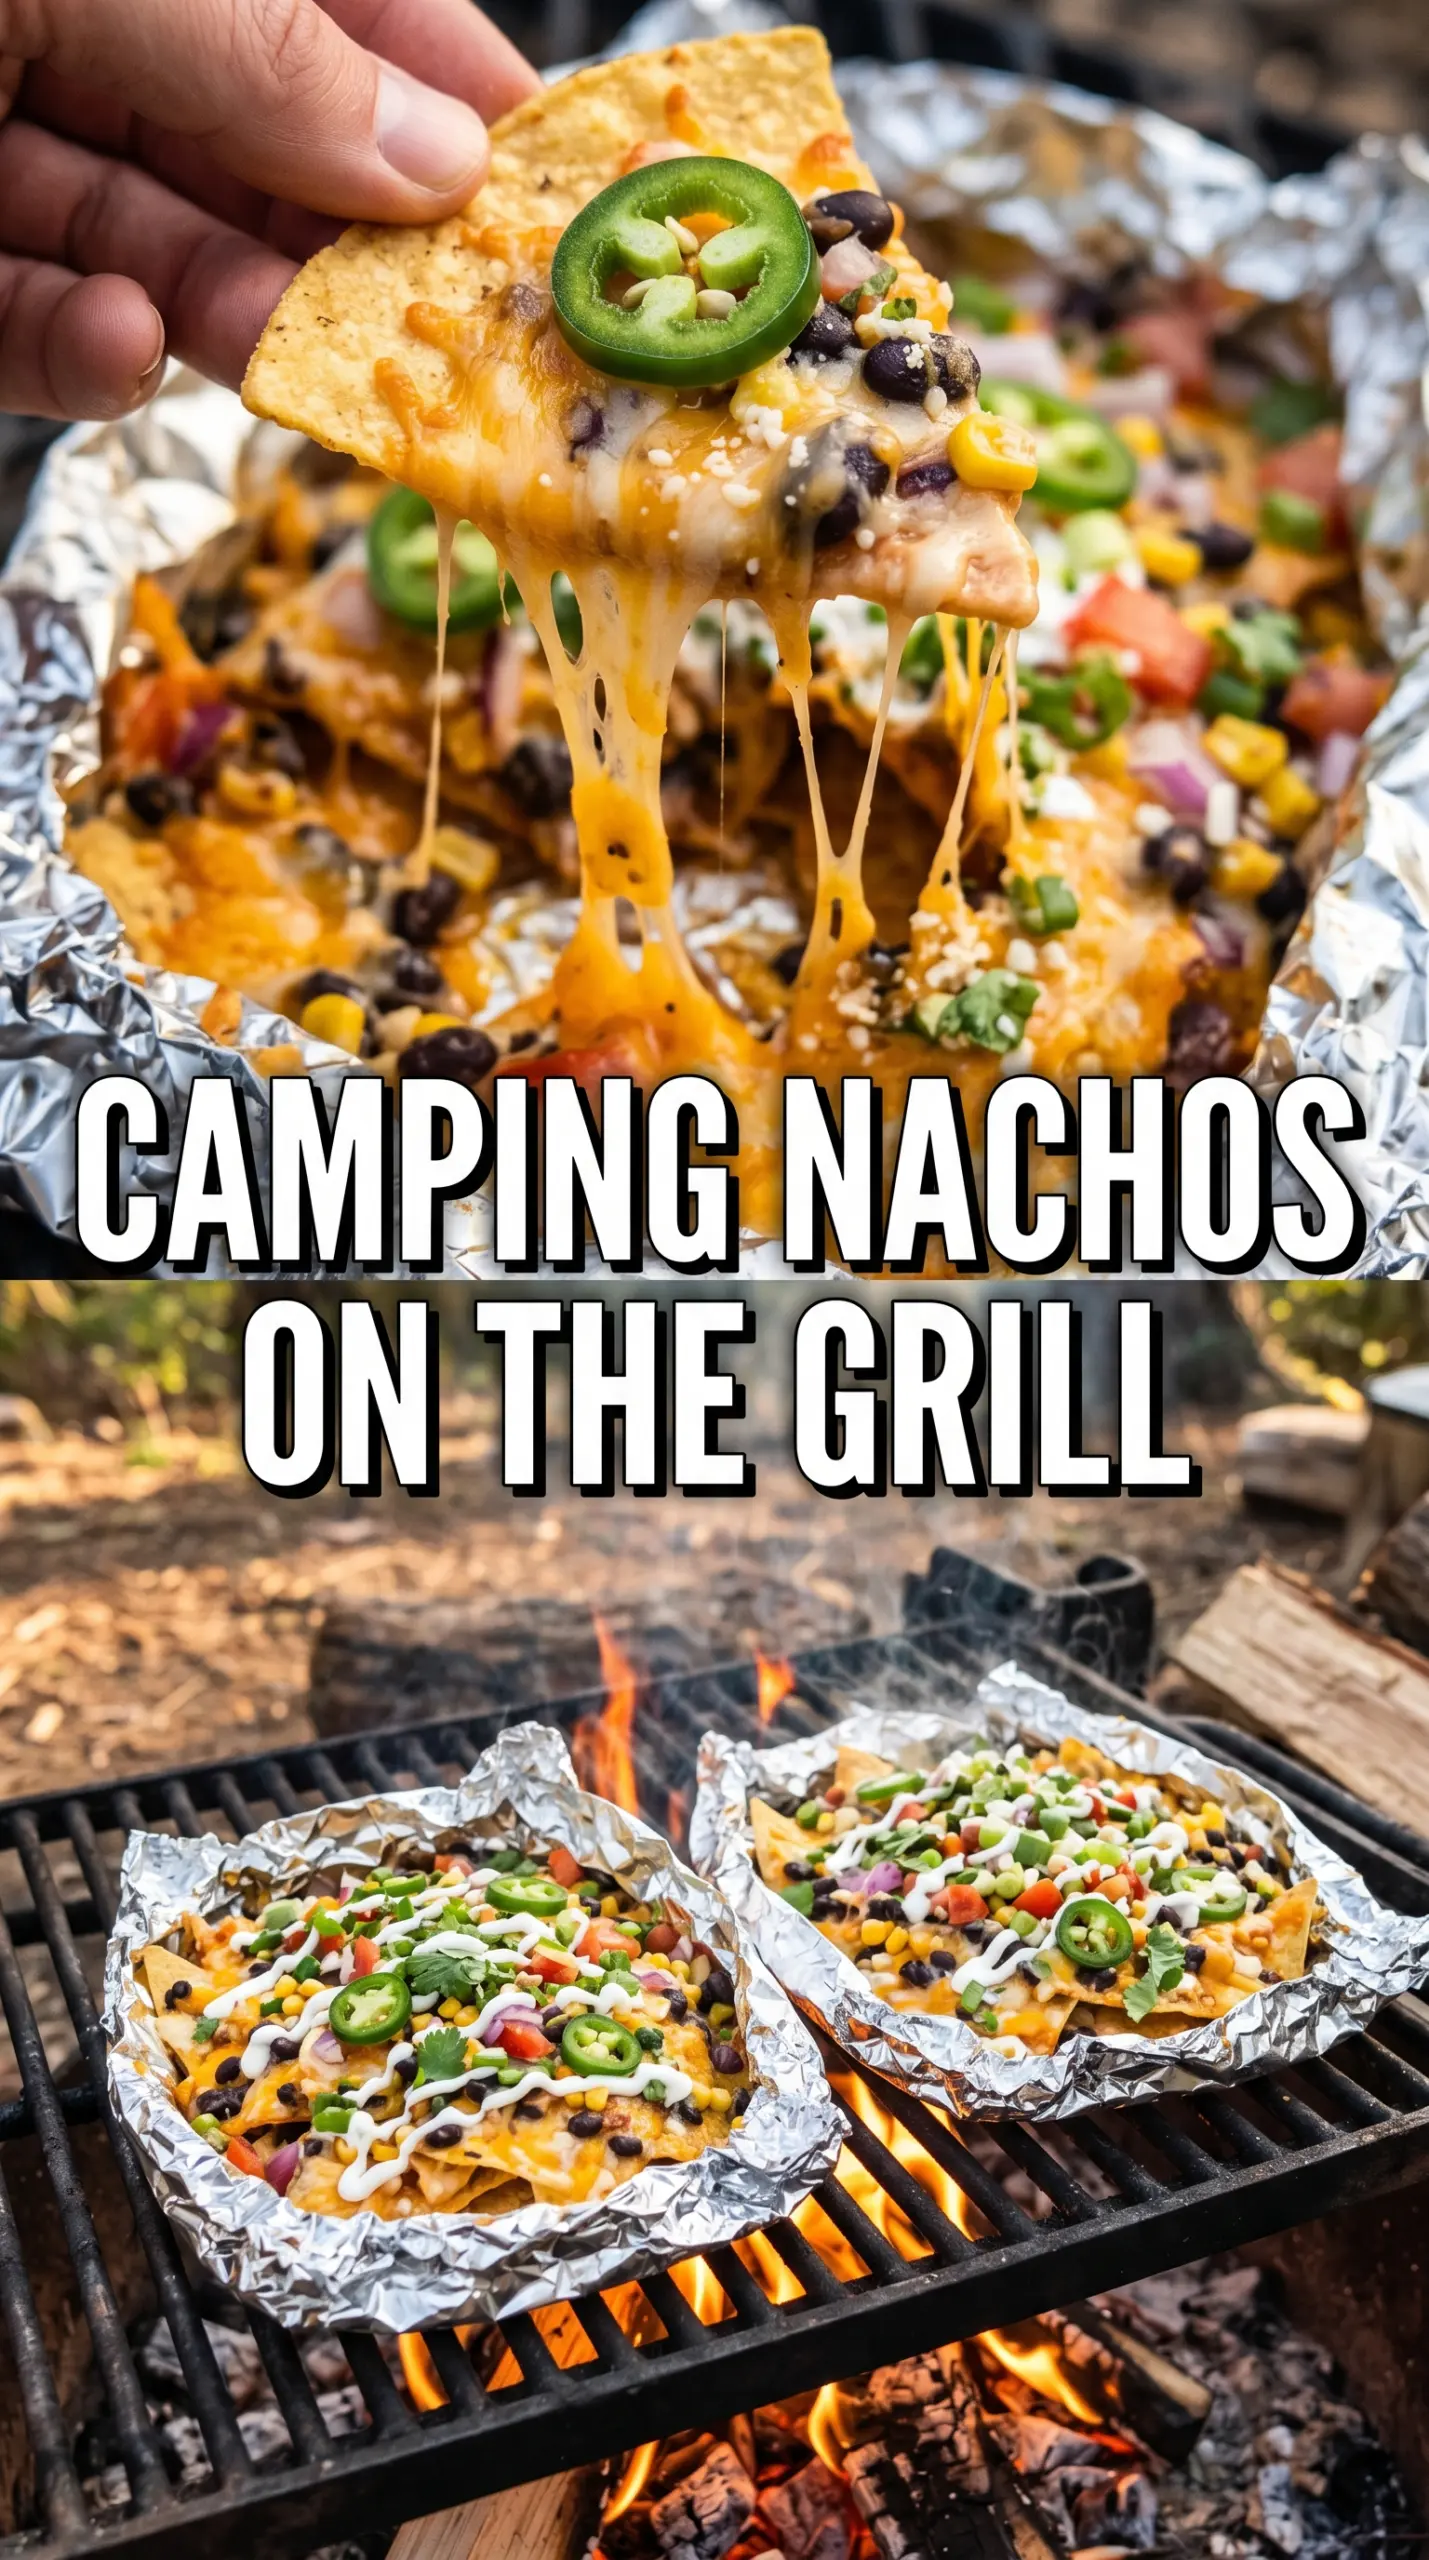
- Tortilla chips — Choose sturdy chips with some thickness. Thin chips break under the weight of the toppings and go soft faster. If all you have are thinner chips, use a little less filling on each layer and keep the pan in a shallower mound.
- Shredded Mexican cheese blend — This is the melt engine. A pre-shredded blend works fine for camping because it’s convenient and reliable, though freshly shredded cheese melts a little smoother if you’ve got the time. A blend with Monterey Jack in it gives the best gooey pull.
- Ground beef — Cook it before you head to the campsite if possible. Hot, seasoned beef heats through fast and adds the savory backbone that makes these nachos feel like a meal. If the beef is greasy, drain it well or the chips at the bottom will soften too quickly.
- Black beans — They add heft and keep the nachos from feeling one-note. Drain them well so they don’t drip moisture into the pan. Pinto beans work too, but black beans hold their shape a little better and fit the Mexican-American flavor here.
- Salsa, sour cream, jalapeños, cilantro, lime — These stay off the heat and go on at the end for brightness and contrast. If you cook the sour cream or cilantro into the pan, they lose the fresh finish that makes the whole dish pop. The lime wedges matter more than people think; a squeeze at the end cuts through the cheese and beef.
Getting the Pan Hot Enough Without Burning the Bottom
Build the Layers, Then Stop
Start with half the chips in a large disposable aluminum pan, then add half the cheese, beans, and beef. Repeat with the remaining ingredients so the pan has two lighter layers instead of one dense pile. That second layer matters because it helps the top melt while the bottom doesn’t get crushed into paste. If your pan is overloaded, remove a few chips before cooking; a shallow pan is better than a heaped one.
Watch for Bubbling at the Edges
Set the pan on a grill grate over medium campfire heat, not directly in the hottest flames. After about 8 minutes, the cheese at the edges should be fully melted and starting to bubble, and you should see a little color on the exposed chips. If the chips start darkening too fast, move the pan to a cooler spot on the grate. Campfires run hotter and less evenly than stovetops, so a small shift in position makes a big difference.
Finish After the Heat Comes Off
Pull the pan from the fire as soon as the cheese is melted and glossy. Add the salsa, sour cream, jalapeños, cilantro, and lime after cooking so they stay fresh and don’t break down. If you top the nachos too early, the salsa can soak the chips before the cheese has a chance to set. Serve them immediately while the pan is still hot and the chips are crisp at the edges.
How to Make These Nachos Work with What You Packed
Vegetarian Campfire Nachos
Skip the ground beef and add an extra half cup of black beans, or swap in seasoned sautéed peppers and onions if you have them prepped. The nachos stay filling, but the flavor leans lighter and a little brighter. A spoonful of smoky salsa helps replace the savory depth you lose from the meat.
Dairy-Free Nachos
Use your favorite dairy-free shredded cheese that melts well, then cook a minute or two longer if needed because some plant-based blends take longer to loosen. The texture won’t be as stretchy as the original, but the layered build still works. Add plenty of salsa and lime at the end to keep the flavor bold.
Make Them Spicier Without Changing the Base
Mix a little chopped jalapeño into the beef before layering, or add pickled jalapeños on top after cooking for a sharper bite. Fresh peppers give heat plus crunch, while pickled ones bring tang. Both work, but the pickled version stands out more once the cheese melts.
Storage and Reheating
- Refrigerator: Store leftovers in an airtight container for up to 2 days. The chips soften, so expect a less crisp texture after chilling.
- Freezer: These don’t freeze well. The chips and sour cream turn mushy when thawed, and the whole pan loses the texture that makes it worth serving.
- Reheating: Warm leftovers in a dry skillet over low heat or in a 325°F oven just until heated through. Add fresh salsa, sour cream, and cilantro after reheating so the toppings don’t dull the chips even more.
Questions I Get Asked About This Recipe
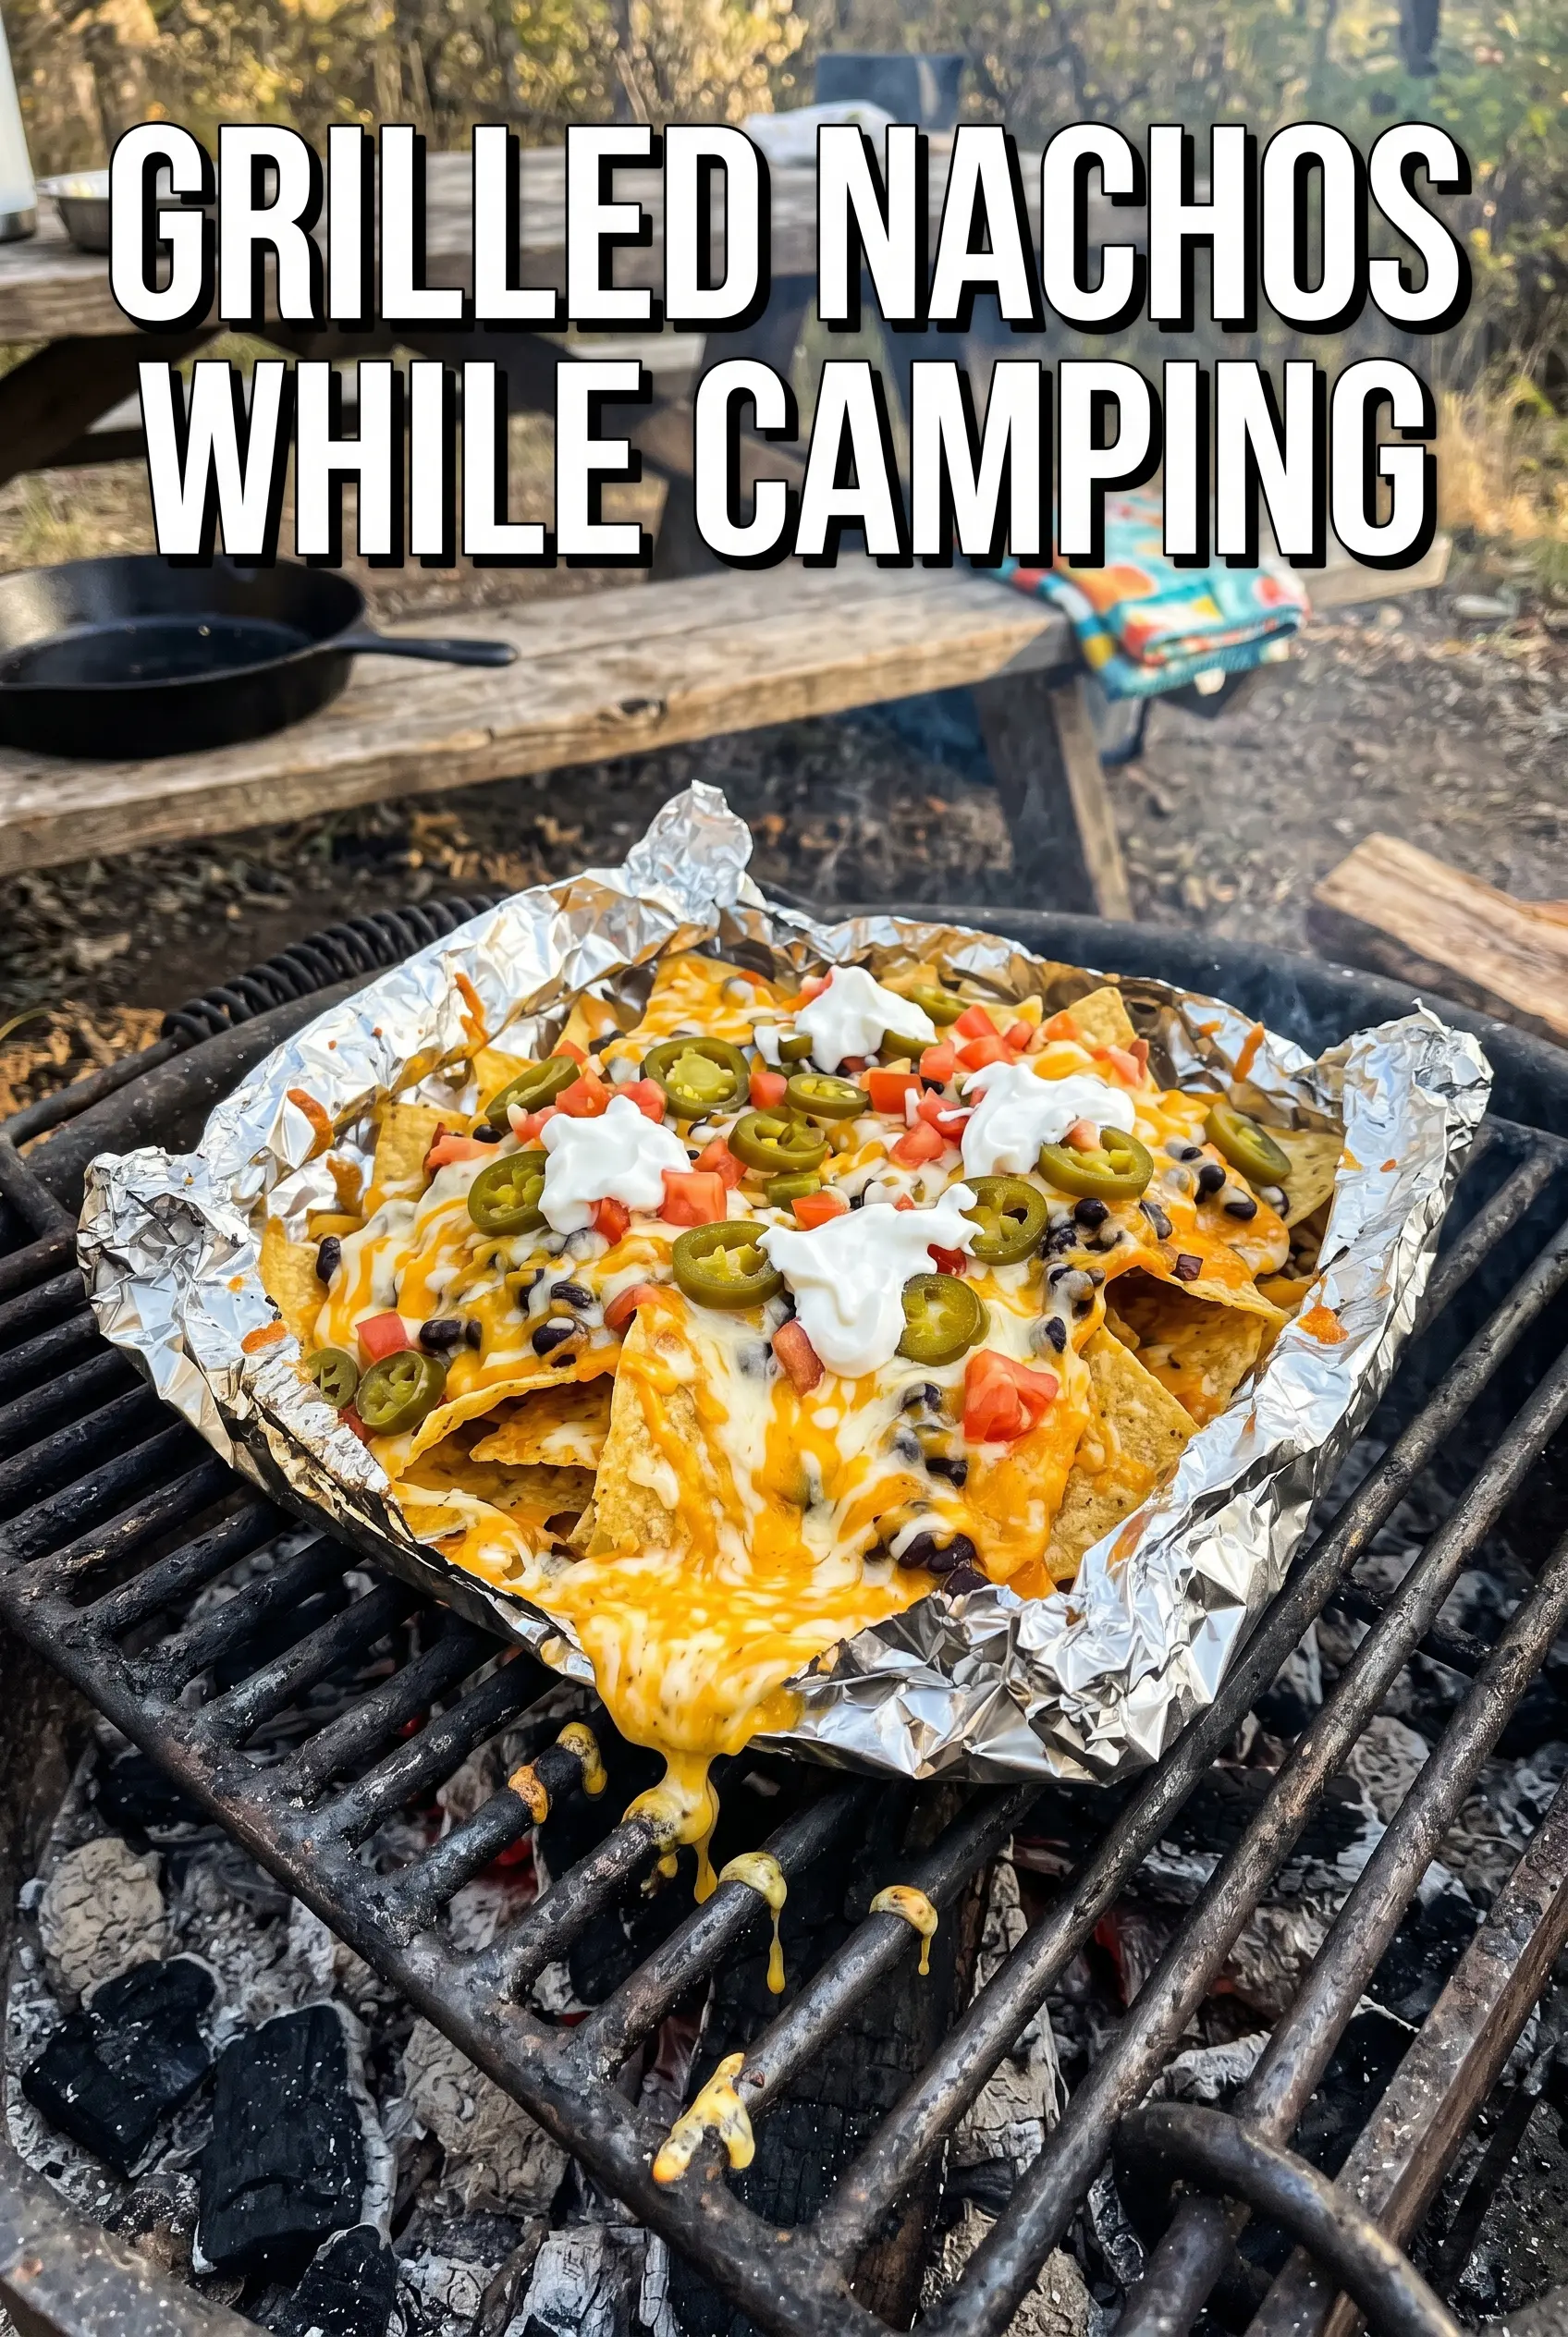
Camping Grilled Nachos
Ingredients
Equipment
Method
- Line a large disposable aluminum pan with half the tortilla chips.
- Layer the pan with half the cheese, beans, and cooked ground beef.
- Repeat with the remaining tortilla chips, cheese, beans, and beef.
- Place the pan on the grill grate over medium campfire heat and cook for 8 minutes.
- Continue cooking for 0-2 minutes, until the cheese is fully melted and visibly bubbly around the edges.
- Remove from the heat and top the nachos with salsa and sour cream.
- Add jalapeños and sprinkle cilantro over the top.
- Serve immediately with lime wedges on the side.


