Camping hot dogs hit the table fast, but the good ones still have that little bit of campfire char that makes people reach for seconds. The skin gets blistered and smoky, the inside stays juicy, and the toasted bun picks up just enough warmth to keep everything from feeling flat.
The trick is keeping the hot dogs moving. If they sit in one spot over the flames, the outside burns before the center heats through. Over the coals or a lower flame, they take on a deeper, more even color and that snap you want when you bite in. A brief toast on the buns matters too, because a warm bun holds the toppings instead of turning soggy the second you add ketchup or chili.
Below, I’ve included the small campfire details that make this work without fuss, plus a few topping variations and the one reheating note that matters if you’ve got leftovers.
The hot dogs browned evenly and the buns picked up just enough toast over the fire. My kids built their own with ketchup and cheese, and nobody complained about waiting for dinner.
Campfire hot dogs with blistered skins and toasted buns are the kind of easy dinner worth keeping for every trip.
The Fire Isn’t the Problem — The Heat Pattern Is
Most campfire hot dogs go wrong because they’re held directly in the flames the whole time. That gives you black spots before the center is hot, and the casing can split open before it has any chance to brown evenly. Coals or a gentler edge of the fire give you control, which matters more than raw heat here.
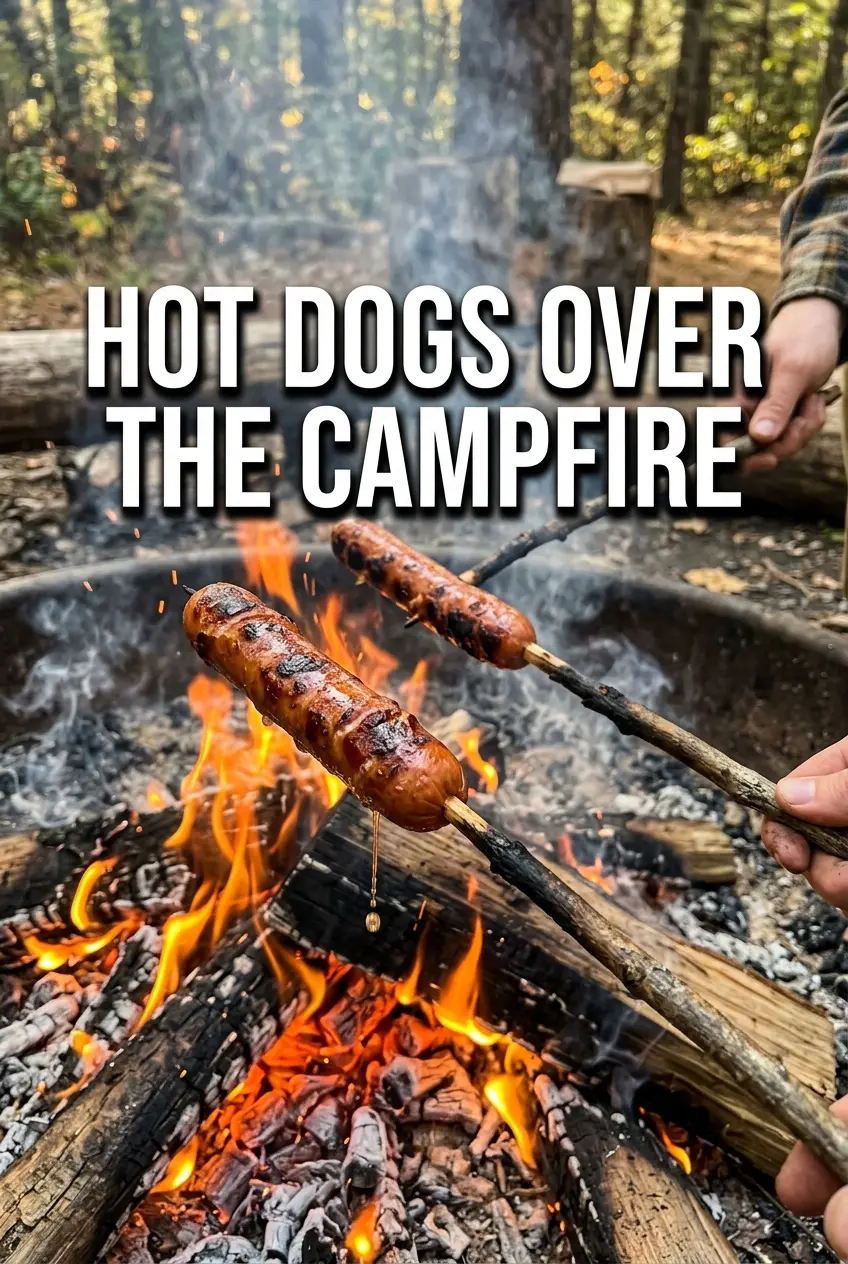
Rotate the sticks often and keep the hot dogs moving through the hottest and cooler pockets of the fire. You’re looking for steady blistering, not a full burn. If the skin starts to wrinkle hard and crack, the heat is too aggressive and you need to back off.
- Hot dogs — Standard pork, beef, or turkey dogs all work here. Thicker franks need a little longer over the fire, while thinner ones can overcook fast, so keep an eye on the skin once it starts to color.
- Buns — Soft buns are fine, but fresh ones hold up better once you add chili or sauerkraut. If they’re a little stale, a quick toast over the fire helps bring them back.
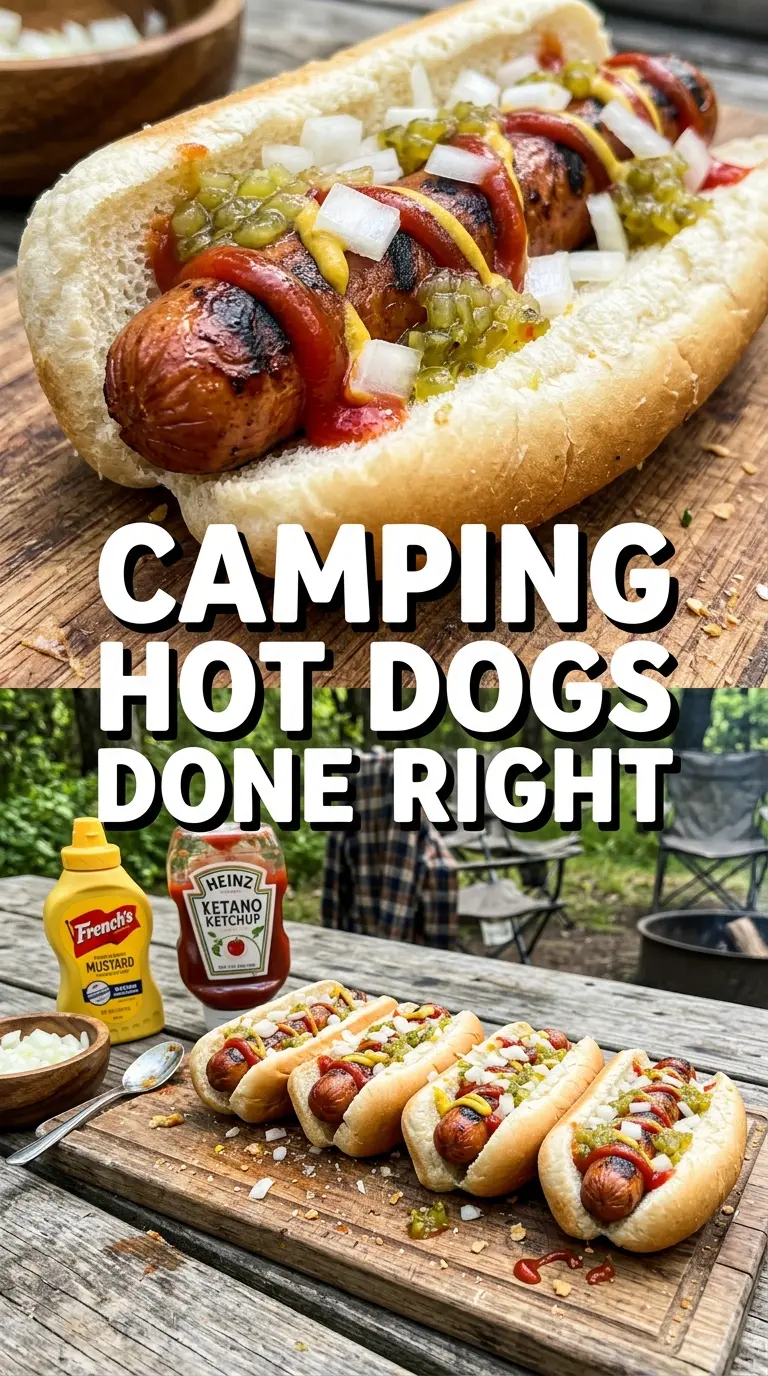
- Condiments and toppings — The hot dog is the main event, but toppings change the whole feel of the meal. Cheese, onions, and chili add heft; mustard and relish keep it classic and sharp.
What to Watch While the Hot Dogs Roast
Hold each hot dog on the stick or fork and turn it every few seconds. The first sign you’re on track is a little blistering on the skin, followed by a deeper golden-brown color with dark char marks in spots. If one side starts to sag or split, move it farther from the flame and let the heat do its work more slowly.
Toast the buns only briefly. They should pick up warmth and a little color, not turn brittle or burnt. Build the hot dogs right after roasting so the buns stay soft and the toppings melt slightly from the residual heat.
Make Them Chili Dogs
Spoon warm chili over the roasted hot dogs and add a little shredded cheese on top. The heat from the dog and chili softens the cheese fast, so the whole thing eats like a proper camp meal instead of a plain hot dog. Use sturdy buns or they’ll collapse under the weight.
Keep It Dairy-Free
Skip the cheese and lean on mustard, relish, onions, and jalapeños. You lose the creamy finish, but the hot dog still has plenty of punch from the smoke and the condiments.
Make It Gluten-Free
Use gluten-free buns and check the chili or sauerkraut labels if you’re adding them. The roasting method doesn’t change at all, and the texture stays just as good as long as the buns are warmed briefly instead of overtoasted.
Turn Them Into a Crowd Tray
Roast the hot dogs first, then set them in a covered pan or wrapped foil tray near the fire while everyone builds theirs. That keeps them hot without drying them out, and it works well when the whole point is letting people eat in shifts.
Storage and Reheating
- Refrigerator: Store leftover cooked hot dogs for up to 3 days. The buns will soften, so keep them separate if you can.
- Freezer: The cooked hot dogs freeze fine for about 2 months, but the buns don’t hold up well. Freeze the dogs on their own and thaw overnight before reheating.
- Reheating: Warm the hot dogs in a skillet over low heat, wrapped in foil near a campfire, or in the microwave in short bursts. The biggest mistake is blasting them with high heat, which splits the casing and dries out the center.
Answers to the Questions Worth Asking
Camping Hot Dogs
Ingredients
Method
- Skewer each hot dog lengthwise on a roasting stick or long fork. Keep them secure so they roast evenly without slipping.
- Hold the hot dogs over campfire flames or coals, rotating frequently, for 8-10 minutes until heated through and slightly charred. Look for charred spots and a hot center.
- Toast buns briefly over the fire if desired. Watch for light toasting so they warm without burning.
- Place hot dogs in buns and add desired condiments and toppings. Serve immediately while hot.


