Caramelized BBQ chicken thighs earn their spot in the rotation because they give you the best parts of barbecue without a lot of fuss: crisp skin, sticky edges, and meat that stays juicy even if the grill runs a little hot. The sauce turns glossy and dark instead of burning, and the sugar in the glaze works with the chicken skin instead of fighting it.
The trick is timing. The thighs need enough direct heat to render the skin and build color before the sauce goes on, but the glaze waits until the end so the sugars can caramelize instead of turn bitter. Bone-in, skin-on thighs hold up to that heat better than leaner cuts, which is why this recipe stays forgiving even when you’re cooking for a crowd.
Below you’ll find the small details that matter most: how to keep the skin crisp, when to start basting, and what to do if your sauce starts to darken too fast. Once you’ve done it once, the method makes perfect sense.
The skin came out shatter-crisp before the sauce went on, and the glaze turned sticky and dark without burning. I followed the basting timing exactly and the thighs stayed juicy all the way through.
Save these caramelized BBQ chicken thighs for the nights when you want crispy skin, smoky sauce, and almost no cleanup.
The Skin Has to Crisp Before the Sauce Ever Touches It
With chicken thighs, the biggest mistake is rushing the sauce. If you glaze too early, the sugar in the BBQ sauce steams instead of caramelizes, and the skin goes soft under a sticky coating that never quite sets. Start skin-side down and let the fat render until the surface looks deeply golden and pulls back from the edges of the meat.
That first side does the heavy lifting. Once the skin is crisp, the thighs can handle the flip and the final basting without falling apart. If your grill runs hot in spots, move the chicken as needed so the sauce doesn’t blacken before the center reaches temperature.
What the Sauce Ingredients Are Doing Here
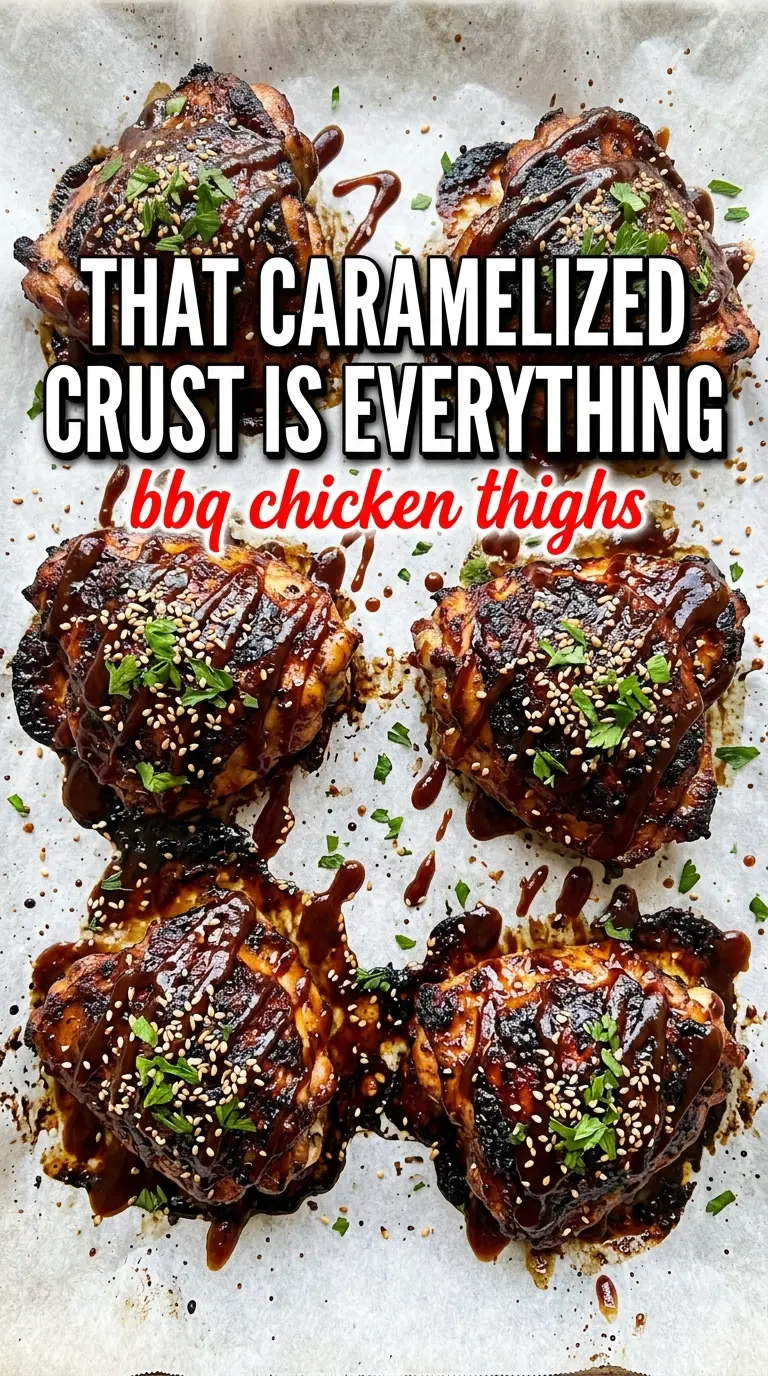
- Chicken thighs — Bone-in, skin-on thighs stay juicy on the grill and give you the best chance at crisp skin with a sticky glaze. Boneless thighs work in a pinch, but they cook faster and won’t give you the same deep caramelized edge.
- BBQ sauce — Use a sauce you already like, because it becomes the backbone of the finished dish. A thinner sauce brushes on more evenly; a very thick sauce can be loosened with a splash of vinegar or water so it doesn’t clump.
- Brown sugar — This is what helps the glaze go glossy and dark. It’s also the ingredient that can burn fastest, so it belongs in the sauce at the end of cooking, not on the grill grate by itself.
- Apple cider vinegar — It keeps the sauce from tasting flat and helps cut through the richness of the thighs. If you swap in lemon juice, the result will be brighter and sharper, but less rounded.
- Smoked paprika — This adds a low, smoky depth even if you’re cooking over a basic gas grill. Regular paprika will work, but you’ll lose some of that charred barbecue note that makes the sauce taste fuller.
Grilling the Thighs So the Glaze Caramelizes, Not Burns
Season and Set Up the Grill
Pat the thighs dry, then season them with salt, pepper, and olive oil so the skin starts out as dry as possible. Clean grill grates matter here; if the skin sticks, it tears before it has a chance to crisp. Preheat to medium heat and give the grates time to stabilize, because chicken thighs need steady heat more than a screaming-hot fire.
Build the First Layer of Color
Lay the thighs skin-side down and leave them alone long enough for the fat to render and the skin to turn deeply golden. You’ll hear the sizzle quiet down a little as the moisture cooks off, which is a good sign. If the skin is still pale when you try to flip it, it needs a few more minutes; early flipping is how you end up with rubbery skin.
Flip, Then Start the Glaze
Once the first side is crisp, flip the thighs and cook the second side until they’re nearly done. This is when the BBQ sauce mixture comes in. Brush it on generously, then keep turning and basting so the sugars build a lacquer instead of a thick, wet coating. If the sauce starts to darken too quickly, move the thighs to a cooler part of the grill and let the heat work more slowly.
Finish at Temperature, Not by the Clock
The thighs are done when the thickest part reaches 165°F and the glaze looks sticky and set. Don’t chase a hard char on the sauce at the end; that last minute or two should give you shine, not bitterness. Let the chicken sit for a few minutes before serving so the juices settle back into the meat and the coating stays in place.
How to Adjust These BBQ Chicken Thighs Without Losing the Good Parts
Use boneless thighs for faster grilling
Boneless thighs cook in less time and are easier to serve, but they won’t hold quite as much smoky flavor or crisp skin. Pull them earlier and glaze more gently, since they dry out faster than bone-in pieces.
Make it dairy-free and gluten-free without changing the method
This recipe is naturally dairy-free, and it stays gluten-free as long as your BBQ sauce does. Check the label, because some sauces use malt vinegar or thickeners that bring gluten back in quietly.
Turn up the smoke without adding more sugar
If you want a deeper barbecue taste, add a touch more smoked paprika or finish with a few drops of liquid smoke in the sauce. Don’t overdo it; the goal is a smoky edge, not a campfire note that takes over the chicken.
Storage and Reheating
- Refrigerator: Store leftovers in an airtight container for up to 4 days. The skin softens as it sits, but the flavor gets deeper.
- Freezer: Freeze cooked thighs for up to 2 months, wrapped well so the sauce doesn’t get icy. Thaw overnight in the fridge before reheating.
- Reheating: Warm in a 350°F oven until heated through, loosely covered at first, then uncovered for the last few minutes to help the skin recover a little texture. The common mistake is microwaving too long, which makes the glaze dull and the chicken stringy.
Questions I Get Asked About This Recipe
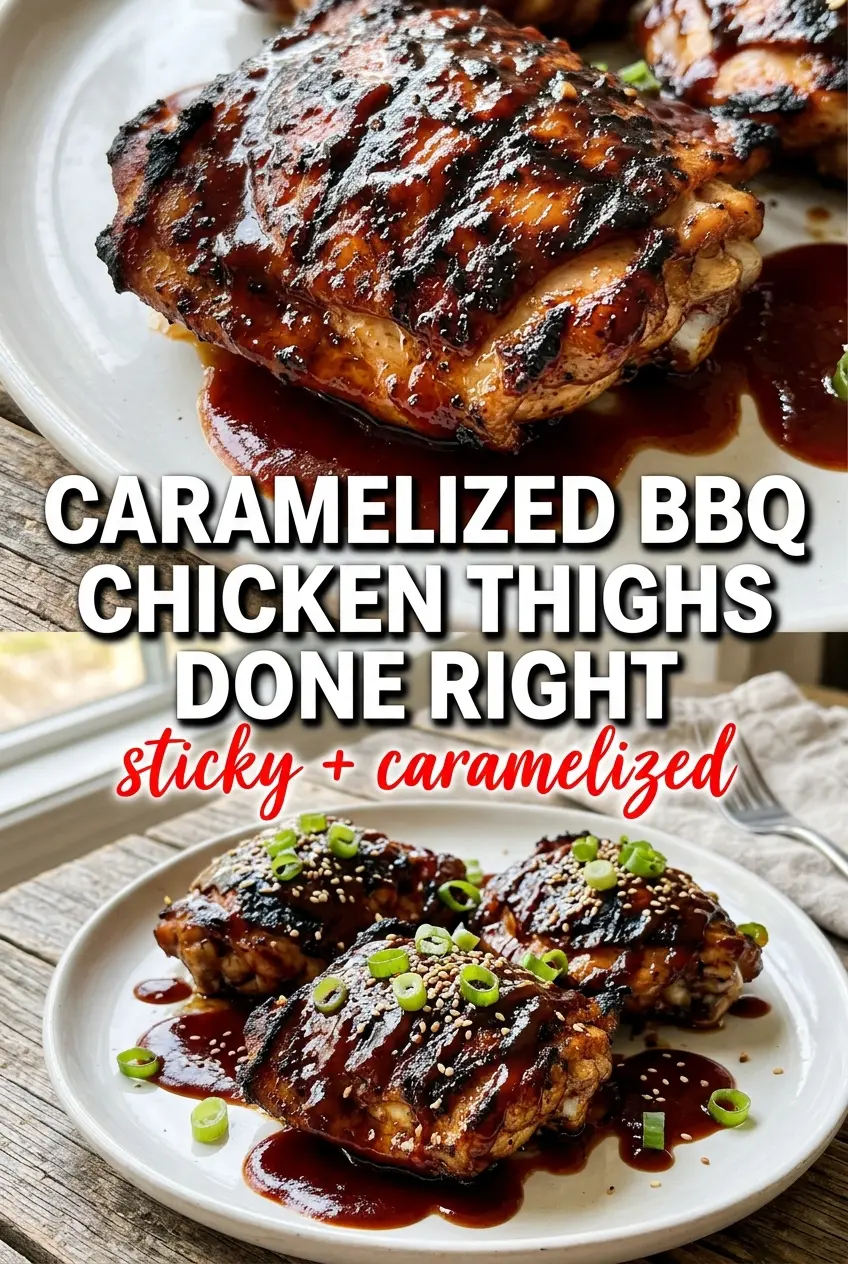
Caramelized BBQ Chicken Thighs
Ingredients
Equipment
Method
- Season chicken thighs with salt and pepper, then drizzle with olive oil and rub to coat all skin and meat surfaces. The thighs should look lightly glossy from the oil.
- Mix BBQ sauce, brown sugar, apple cider vinegar, and smoked paprika in a bowl until the brown sugar dissolves and the sauce looks smooth and speckled. Stir until no dry sugar remains.
- Preheat the grill to medium heat, then set up so the chicken can cook over steady, indirect-flame heat if needed. You should see consistent heat before placing the thighs down.
- Grill chicken skin-side down for 8-10 minutes until the skin is crisp and deep golden-brown. Visual cue: you should see tightening skin and clear grill char along the edges.
- Flip the thighs and grill for another 8-10 minutes until they are cooked and have grill marks on the second side. Visual cue: meat should look firmer and juices should run clear when pierced.
- Brush generously with BBQ sauce and grill for 5 more minutes per side, basting frequently so the sauce thickens and caramelizes. Visual cue: the sauce should darken, bubble, and turn sticky with a glossy caramel sheen.
- Continue grilling until internal temperature reaches 165°F and the sauce is caramelized. The thickest part of the thigh should register 165°F when checked at the bone.


