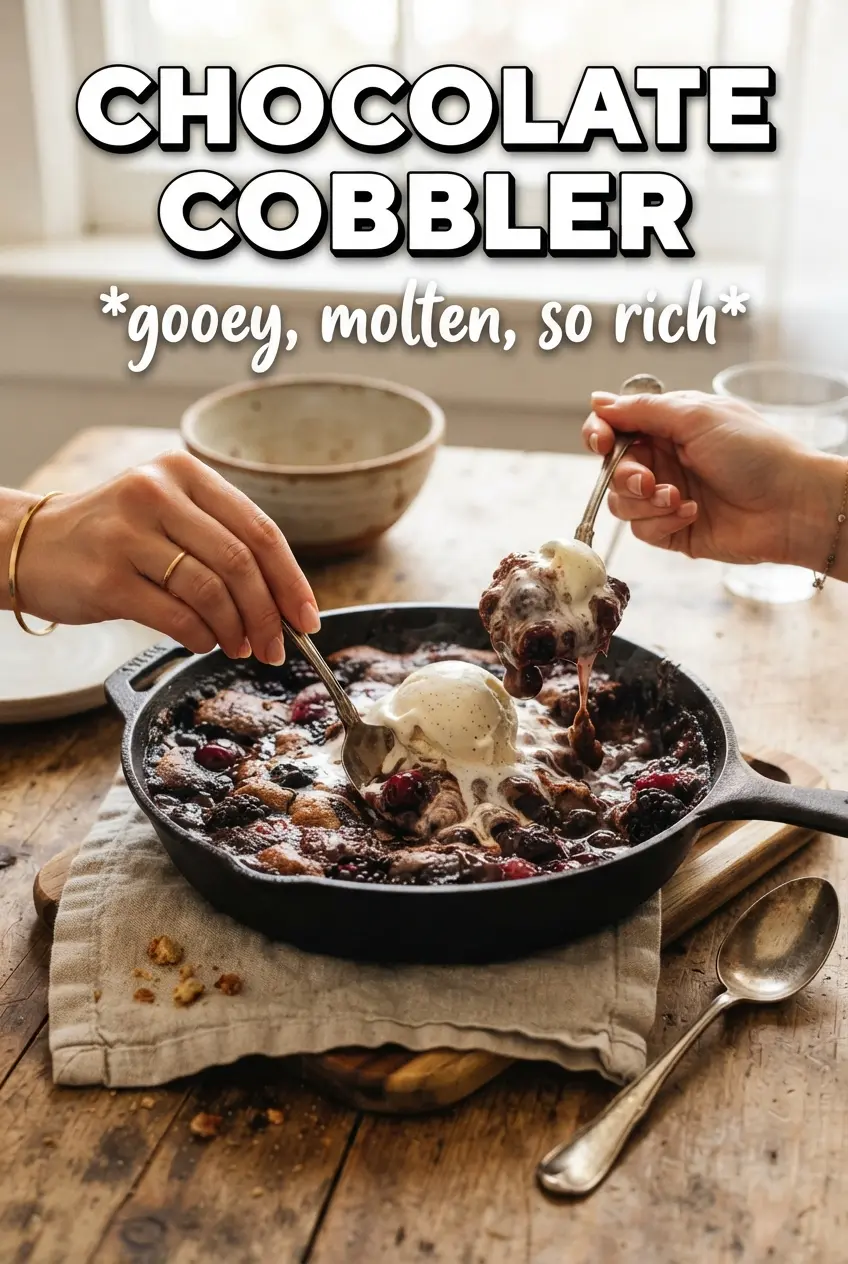
Chocolate cobbler bakes up with a soft cocoa cake on top and a pool of warm, fudgy sauce underneath, and that contrast is exactly why it earns a permanent spot on the dessert list. The top sets into a tender, spoonable crust while the bottom stays molten and glossy, so every serving comes out a little different in the best way.
The key is the layering. The batter goes in first, then the brown sugar and cocoa topping, then the hot water poured gently over everything without stirring. That last part looks wrong if you’ve never made cobbler before, but it’s what creates the sauce as the dessert bakes. If you stir, you lose the separation that makes the whole thing work.
Below, you’ll find the small details that matter most: how hot the water needs to be, what the top should look like when it’s done, and why this dessert is best served straight from the oven with a scoop of vanilla ice cream melting into the center.
The cake layer set up beautifully and the sauce underneath came out thick and pudding-like. I served it warm with vanilla ice cream and it disappeared fast.
Save this chocolate cobbler for the nights when you want a fudgy cake top and a molten sauce underneath, all from one baking dish.
The Part That Makes the Sauce Form Under the Cake
Chocolate cobbler works because the batter is thick enough to hold its shape, but loose enough that the hot water can move through the topping and turn the sugar into sauce as it bakes. That means the order matters. Batter first, dry topping second, hot water last. The oven does the rest.
The most common mistake is stirring after the water goes in. That wipes out the layers and gives you a muddy pan instead of a dessert with a set top and a syrupy bottom. The other mistake is underbaking. The center should look set on top, with the edges bubbling hard and the middle still looking just a little soft beneath the crust.
- Cocoa powder — Use a good unsweetened cocoa here. It carries the whole chocolate flavor, and since this dessert has only a short ingredient list, weak cocoa will taste flat.
- Brown sugar — This is what helps build the sauce. Packed brown sugar melts into the hot water and gives you that deep, caramel-chocolate layer underneath.
- Whole milk — The fat in whole milk gives the batter a smoother crumb. Lower-fat milk will work, but the top won’t be quite as tender.
- Hot water — It needs to be very hot, not lukewarm. That heat starts dissolving the sugar on contact and helps the sauce develop in the oven.
Building the Batter, Topping, and Sauce Without Mixing Them Together
Start by buttering the baking dish well so the sauce doesn’t glue itself to the sides. Whisk the dry batter ingredients until there are no cocoa streaks left, then stir in the milk, melted butter, and vanilla just until smooth. The batter should spread easily, not pour like a thin cake batter.
Mixing the Cake Layer
The batter is intentionally simple, and it should look thick and glossy once it’s mixed. If you keep beating after it comes together, the flour can toughen the top. Spread it evenly in the dish so the cobbler bakes in a level layer and the sauce can form underneath without one side overtaking the other.
Adding the Cocoa-Sugar Blanket
Mix the brown sugar and cocoa together before sprinkling it over the batter. That even layer matters because it turns into the sauce base as the water goes through it. If you dump it in clumps, some spots will be too sweet and others won’t thicken enough.
Pouring in the Hot Water
Pour the hot water slowly over the back of a spoon or along the edge of the pan so you don’t blast a hole through the topping. Don’t stir. The surface will look strange, almost like the dessert can’t possibly work, but that separation is the whole trick. Bake until the top is set and the sauce is bubbling around the edges.
Make It Darker and More Intense
Swap in Dutch-process cocoa for a deeper, less acidic chocolate flavor. The texture stays the same, but the taste leans richer and a little smoother, which works especially well if you like a more grown-up chocolate dessert.
Make It Dairy-Free
Use a neutral plant milk like oat or almond milk and swap the butter for melted dairy-free butter. The cobbler still bakes into a tender top, though the crumb will be slightly less rich than the version made with whole milk and real butter.
Use a Bigger Pan for a Thinner Dessert
A 9×13-inch pan gives you a thinner layer and more sauce spread across the bottom, but you’ll need to watch the bake time closely because it can set faster around the edges. The texture is a little less dramatic than in an 8×8, but it’s a good move for a crowd.
Storage and Reheating
- Refrigerator: Store covered for up to 4 days. The sauce will thicken and the top will firm up as it chills.
- Freezer: It freezes, but the texture changes. Freeze in portions, tightly wrapped, for up to 2 months, then thaw in the refrigerator before reheating.
- Reheating: Warm individual servings in the microwave until just hot, or reheat the whole dish loosely covered in a 300°F oven. Don’t blast it on high heat or the sauce can separate and the edges dry out before the center is hot.
Questions I Get Asked About This Recipe
Chocolate Cobbler
Ingredients
Equipment
Method
- Preheat the oven to 350F, then butter a 9x9 or 8x8 baking dish with a thin, even layer.
- Whisk all-purpose flour, granulated sugar, cocoa powder, baking powder, and salt in a mixing area until the dry ingredients look evenly combined with no cocoa lumps.
- Stir in whole milk, melted unsalted butter, and vanilla extract just until smooth, with no dry pockets remaining.
- Spread the batter into the prepared dish so it forms an even layer.
- Mix brown sugar and cocoa powder, then sprinkle the mixture evenly over the batter so it covers the surface.
- Pour the very hot water over everything and do not stir, watching it soak down between layers.
- Bake at 350F for 35-40 minutes, until the top is set and looks firm on the surface.
- Let the cobbler rest briefly, then serve warm with vanilla ice cream so the molten chocolate sauce is visible beneath the cake top.


