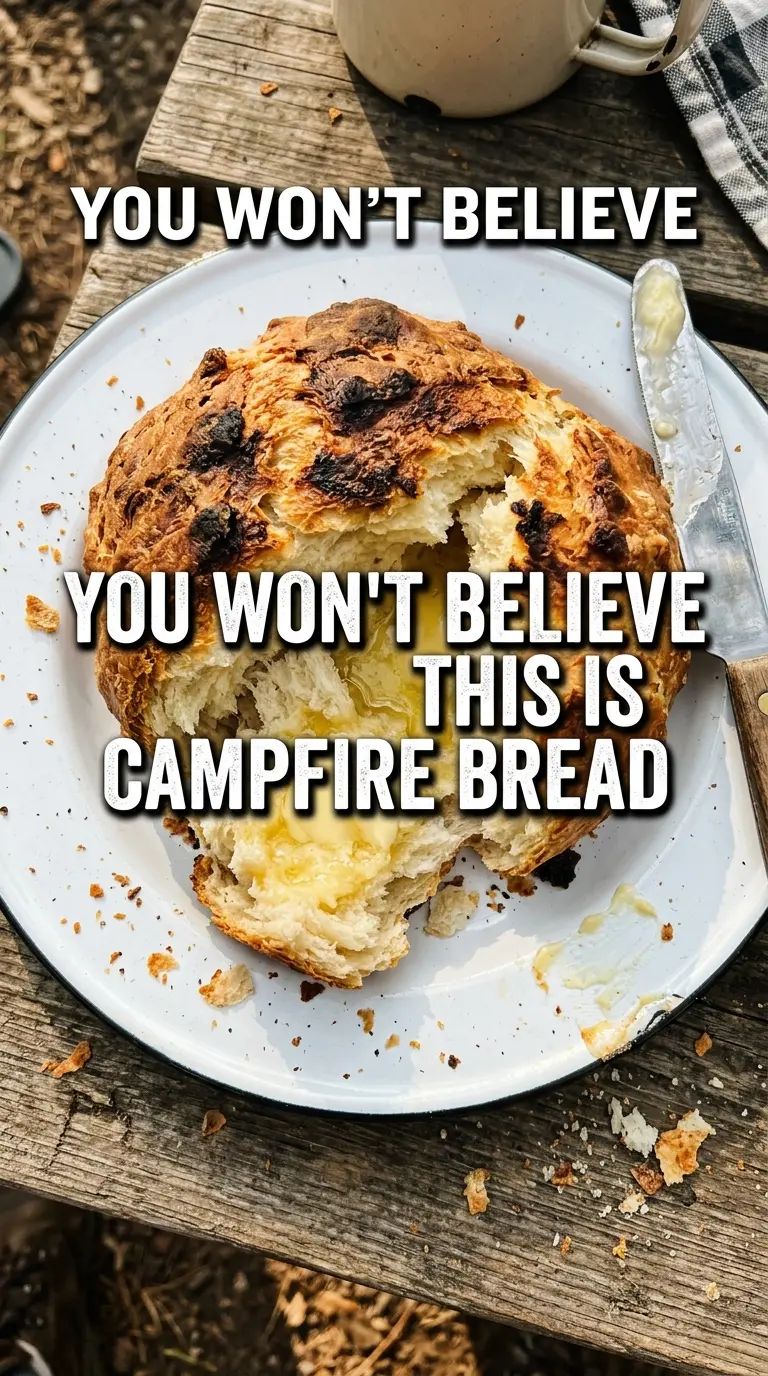
Golden campfire bread is one of those simple things that disappears fast because it hits the table with exactly what people want after a fire has been going for a while: a crisp, toasted crust outside and a soft, steamy middle inside. Wrapped around a roasting stick, it turns into something part snack, part side dish, and part kitchen trick that feels a little bit magical when the dough puffs and browns over the coals.
The dough stays tender because the fat and milk soften the crumb, while the baking powder gives it lift without needing yeast or a long rise. Mixing it in a zip-top bag keeps the dough from getting overworked, which matters here; tough camp bread usually starts with too much kneading or dough that’s too dry to wrap cleanly around the stick. Keeping the fire at coals, not roaring flames, gives you time to cook the center without blackening the outside.
Below, I’ve included the one cue that tells you the bread is done, plus a few swaps that help when you’re baking outdoors and working with whatever you packed.
The dough wrapped around the sticks without tearing, and the bread came off with a crisp outside and a fluffy center. We ate half of it plain before the butter even made it out of the cooler.
Save this fluffy campfire bread for the next fire night when you want a crisp, golden crust and a soft, pull-apart center on a stick.
The Coals Matter More Than the Flame
The biggest mistake with campfire bread is cooking it over active flames and expecting the center to keep up. Fire that’s licking the dough will scorch the outside before the inside has a chance to set, and then you end up with a shell that looks done but tastes doughy where it matters.
Hot coals give you steady heat and a little forgiveness. That lets the baking powder do its job and gives the butter in the dough time to melt through the crumb, which is what makes the interior tender instead of bready and tight.
- Rotating constantly keeps one side from overbrowning while the other side stays raw.
- A light hand when wrapping helps the dough cook through instead of sealing into a dense rope.
- Coals instead of open flame is the difference between golden and burnt.
- Cook until the bread feels set and sounds hollow when tapped, not just when it looks brown.
What Each Ingredient Is Actually Doing In This Bread
- All-purpose flour gives the dough enough structure to wrap around the stick without falling apart. Bread flour would make it chewier, which isn’t bad, but it changes the softer, biscuit-like texture this recipe is aiming for.
- Baking powder is the lift here. There’s no yeast, so this is what keeps the crumb from baking up flat and heavy.
- Butter adds flavor and tenderness. Melted butter works better than oil in this dough because it gives the bread a richer taste and a slightly more satisfying bite once it’s roasted.
- Milk softens the dough and helps it brown. If you need a substitute, use a plant-based milk with a little body, not plain water, or the bread will bake up drier and less flavorful.
- Roasting sticks matter more than they look like they should. Use clean, food-safe sticks or metal skewers made for heat; uneven or flimsy sticks make wrapping and rotating much harder.
How to Shape It So It Cooks Through Instead of Burnt on the Outside
Mixing the Dough in a Bag
Start by combining the dry ingredients in a zip-top bag, then add the melted butter and milk. Knead the bag until the dough just comes together and no dry flour remains at the bottom. If it feels shaggy but holds in one piece, that’s right; if it’s sticky enough to cling hard to the bag, add a dusting of flour so it can be handled outdoors without turning messy.
Rolling the Ropes
Divide the dough into 8 portions and roll each one into a rope that’s even in thickness. Thin spots will overcook, and thick spots will stay doughy, so aim for steady pressure from end to end. Wrap the rope around the stick with slight overlap, but don’t bunch it up too tightly or the center won’t get heat.
Roasting Over the Coals
Hold the bread over hot coals and turn it often, moving it around the fire so one side doesn’t take all the heat. You’re looking for a deep golden color and a surface that feels firm when lightly pressed. If the outside is browning fast before the center cooks, lift the bread farther from the heat source and slow down; rushing this part is how campfire bread ends up raw inside.
Serving It Warm
Slide the bread off the stick as soon as it’s cooked through and serve it warm with butter, jam, or honey. The crust is best in that first stretch after roasting, while the interior is still soft and steamy. If you let it sit too long, it firms up a bit, which still tastes good, but you lose that fresh-off-the-fire texture.
How to Adapt This for What You’ve Got Packed
Dairy-Free Campfire Bread
Swap the butter for melted vegan butter or neutral oil and use an unsweetened plant milk. The bread still browns and puffs, but it loses a little richness, so a generous swipe of butter-style spread or honey at the end helps bring back that full, warm flavor.
Less Sweet, More Savory
Cut the sugar to 1 tablespoon and finish the cooked bread with garlic butter or a pinch of flaky salt. You’ll get a bread that leans more toward dinner side dish than camp snack, with a slightly less tender crust and a more neutral base for savory toppings.
Gluten-Free Version
Use a 1:1 gluten-free baking blend that already contains xanthan gum. The dough will be a little more delicate to wrap, so handle it gently and avoid stretching it too thin around the stick or it can tear as it cooks.
Storage and Reheating
- Refrigerator: Store leftovers in an airtight container for up to 2 days. The crust softens as it sits, but the bread will still taste good.
- Freezer: You can freeze the baked bread, wrapped well, for up to 1 month. Thaw before reheating so the center warms evenly.
- Reheating: Warm in a 300°F oven for 5 to 8 minutes, or over low heat near the coals. High heat dries it out fast and turns the outside hard before the middle is hot.
Answers to the Questions Worth Asking
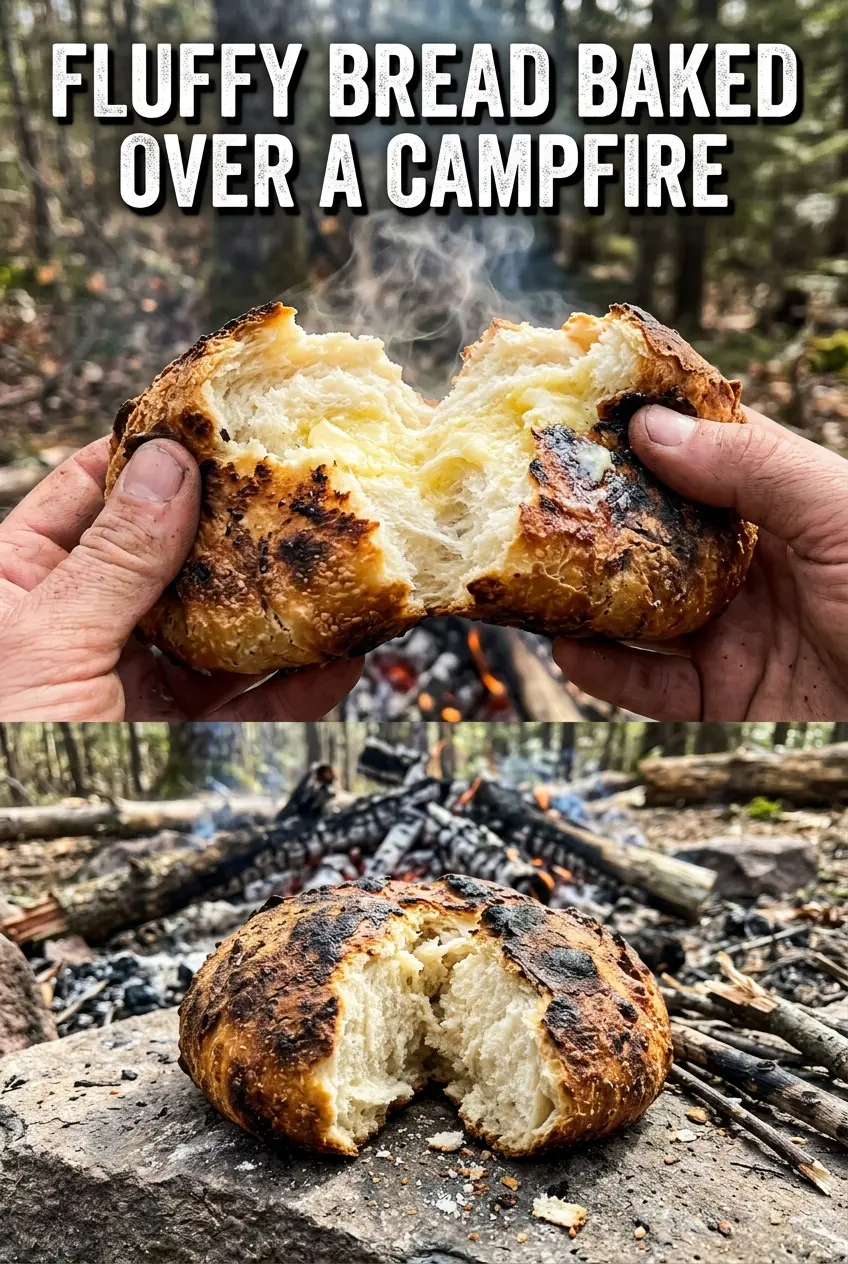
Fluffy Campfire Bread (Stick Bread / Bannock)
Ingredients
Method
- Add all-purpose flour, baking powder, salt, and sugar to a large zip-top bag and mix until evenly combined, using a quick shake as a visual cue that everything is distributed.
- Pour in melted butter and milk, seal the bag, and knead until a cohesive dough forms, about 1–2 minutes, until no dry flour remains on the sides of the bag.
- Divide the dough into 8 portions and keep them covered so they don’t dry out, aiming for portions that look similar in size.
- Roll each portion into a long rope and wrap it around the end of a roasting stick into a spiral, leaving no gaps so the dough bakes into one continuous loaf.
- Hold the stick over campfire coals and rotate constantly for 10–12 minutes until golden brown and cooked through, using the visual cue of a deep golden crust and a loaf that feels set when lifted carefully.
- Slide the bread off the stick and serve warm, with a visible airy interior when broken open.


