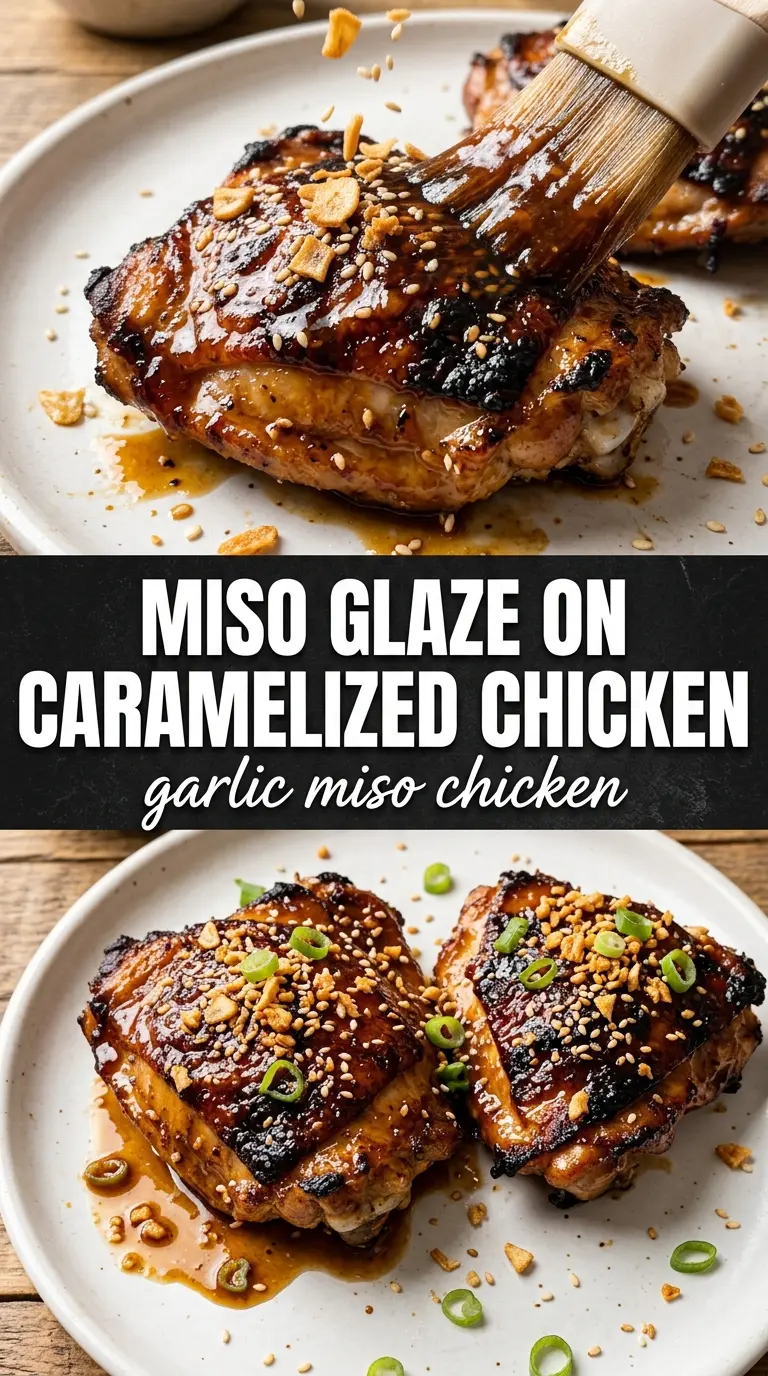
Garlic miso chicken comes out with a sticky, deeply caramelized crust and juicy meat underneath, and that contrast is exactly why it earns repeat status. The miso doesn’t just season the chicken; it browns into a glossy glaze with a savory edge that tastes much bigger than the short ingredient list suggests. When it hits the broiler, the marinade turns dark in spots, and those little charred bits are what make the dish taste layered instead of merely salty.
The trick is keeping the marinade balanced enough to cling without turning muddy or burning before the chicken cooks through. White miso gives a gentler, sweeter finish, while red miso pushes the flavor deeper and more intense. A little honey helps the surface caramelize, but the real backbone is the combination of miso, soy sauce, and garlic, which gives you that punchy umami base you can’t get from plain seasoning alone.
Below, I’ve added the timing cue that matters most during broiling, plus a few substitutions that still keep the glaze on track. If you’ve had miso sauces slide right off the chicken or turn bitter in the oven, this version fixes both problems.
The glaze turned out thick and glossy, and the broiler gave the chicken those caramelized spots without drying it out. I used red miso and the flavor was incredible with rice.
Save this garlic miso chicken for the nights when you want sticky, caramelized chicken thighs with almost no cleanup.
The Broiler Is Where the Miso Glaze Turns from Good to Great
A miso marinade can taste flat if it never gets enough heat to caramelize, and that’s the difference between a decent glazed chicken and one that tastes like it came out of a restaurant kitchen. The oven cooks the chicken through, but the broiler is what wakes up the sugars in the honey and mirin and puts those dark, savory edges on the surface. Skip that last blast of heat and you’ll still have dinner, just not the version people remember.
The other thing to watch is thickness. Boneless thighs are forgiving, but they still need to sit in a single layer so the glaze can brown instead of steaming in its own juices. If the pieces are crowded, the marinade stays pale and sticky instead of turning lacquered. Give the chicken space, and don’t walk away once the broiler starts doing its job.
What the Miso, Mirin, and Sesame Oil Each Bring to the Pan
- White or red miso paste — This is the base of the glaze, and it’s not interchangeable with plain salt or soy sauce. White miso is milder and a little sweeter, while red miso gives you a deeper, more intense savory finish. Use whichever you have, but don’t swap in a thin miso broth or the coating won’t cling.
- Mirin — This adds sweetness and helps the surface brown. If you don’t have it, use a mix of dry sherry or sake with a little honey, but the result won’t have quite the same soft sheen. Mirin matters because it keeps the glaze glossy instead of sharp.
- Soy sauce — This boosts the salty, fermented depth that makes the chicken taste full-bodied. Low-sodium soy sauce works fine here if that’s what you keep around. Just don’t use a sweet teriyaki-style sauce, or the glaze gets too sugary before it finishes cooking.
- Sesame oil — A little goes a long way, and it adds the toasty note that ties the garlic and miso together. This is one ingredient I wouldn’t skip, because the flavor reads immediately even in a small amount.
- Chicken thighs — Thighs stay juicy under high heat and tolerate the broiler better than breasts. You can use chicken breasts in a pinch, but you’ll need to watch the timing closely and pull them as soon as the center hits temperature, or they dry out fast.
Marinate, Roast, Broil, Then Stop Before the Glaze Burns
Mix the Marinade Until It’s Smooth
Whisk the miso, mirin, soy sauce, sesame oil, honey, garlic, ginger, and rice vinegar until the mixture looks glossy and mostly smooth. Miso can hide in little clumps if you rush, and those pockets won’t coat the chicken evenly. A smooth marinade clings better, which means you get that even lacquered finish after baking.
Let the Chicken Sit Long Enough to Pick Up Flavor
Coat the chicken thighs and marinate them for at least an hour, or overnight if you want a deeper result. The surface should look a little darker and tacky when it comes out of the marinade. If you go straight from bowl to oven, the glaze stays one-note and won’t penetrate past the surface.
Bake Until the Chicken Is Cooked Through
Set the chicken on a foil-lined baking sheet and bake at 400°F for 18 to 20 minutes. You’re looking for fully cooked meat with juices that run mostly clear and a glaze that’s starting to darken at the edges. If the pan is crowded, the chicken will steam instead of roast, so keep the pieces in a single layer.
Broil for Color, Not for Extra Cooking Time
Broil for 3 to 4 minutes until the glaze looks deeply caramelized and charred in spots. Stay close, because miso goes from browned to burned fast. If the top starts darkening unevenly, rotate the pan once rather than leaving it under the heat and hoping for the best.
How to Adapt the Glaze Without Losing the Sticky Finish
Make it gluten-free without losing depth
Use tamari in place of soy sauce and check that your miso paste is certified gluten-free. The glaze will still be rich and savory, and the texture won’t change.
Swap in chicken breasts for a leaner version
Chicken breasts work, but they cook faster and dry out sooner than thighs. Use thinner pieces or pound them slightly even, then start checking early so the glaze has time to caramelize without overcooking the meat.
Use red miso for a deeper, saltier finish
Red miso gives the chicken a stronger fermented edge and a darker color. It’s a great choice if you like a more assertive savory flavor, but keep an eye on the broiler because the darker sugars will color faster.
Storage and Reheating
- Refrigerator: Store leftovers in an airtight container for up to 4 days. The glaze will firm up a bit in the fridge, which is normal.
- Freezer: This freezes well for up to 2 months. Wrap portions tightly or store them with a little extra sauce so the chicken doesn’t taste dry after thawing.
- Reheating: Reheat in a 325°F oven, covered loosely with foil, until warmed through. The mistake people make is blasting it in the microwave, which turns the glaze rubbery and toughens the chicken.
Questions I Get Asked About This Recipe
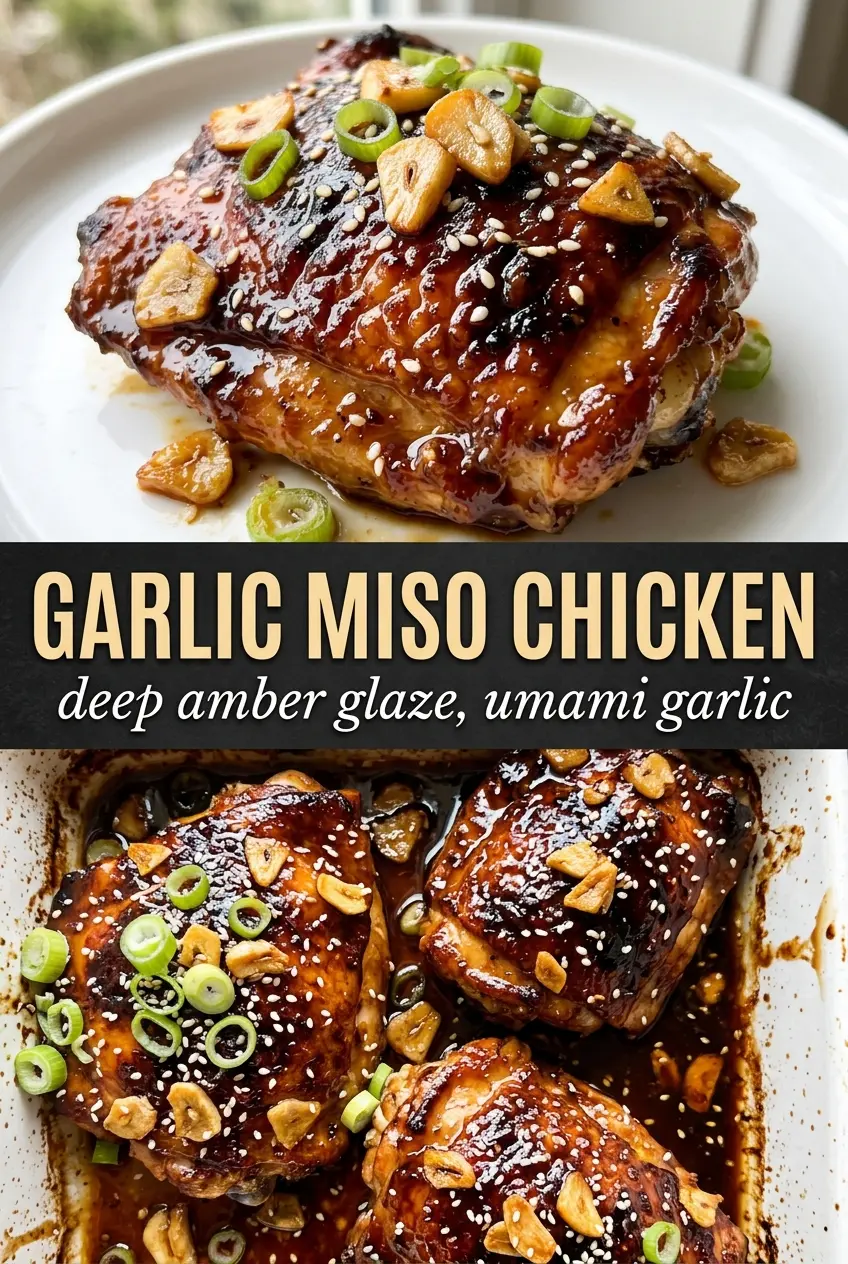
Garlic Miso Chicken
Ingredients
Equipment
Method
- Whisk miso, mirin, soy sauce, sesame oil, honey, garlic, ginger, and rice vinegar together until smooth and glossy.
- Add the chicken thighs and coat evenly, then refrigerate at least 1 hour or overnight to let the flavors penetrate.
- Preheat the oven to 400F and line a sheet pan with foil; place the chicken on the prepared baking sheet.
- Bake at 400F for 18-20 minutes, until the glaze looks set and beginning to brown at the edges.
- Broil for 3-4 minutes until the miso glaze is deeply caramelized and charred in spots, watching carefully because miso burns quickly.
- Garnish the hot chicken with sesame seeds and green onions, then serve immediately.


