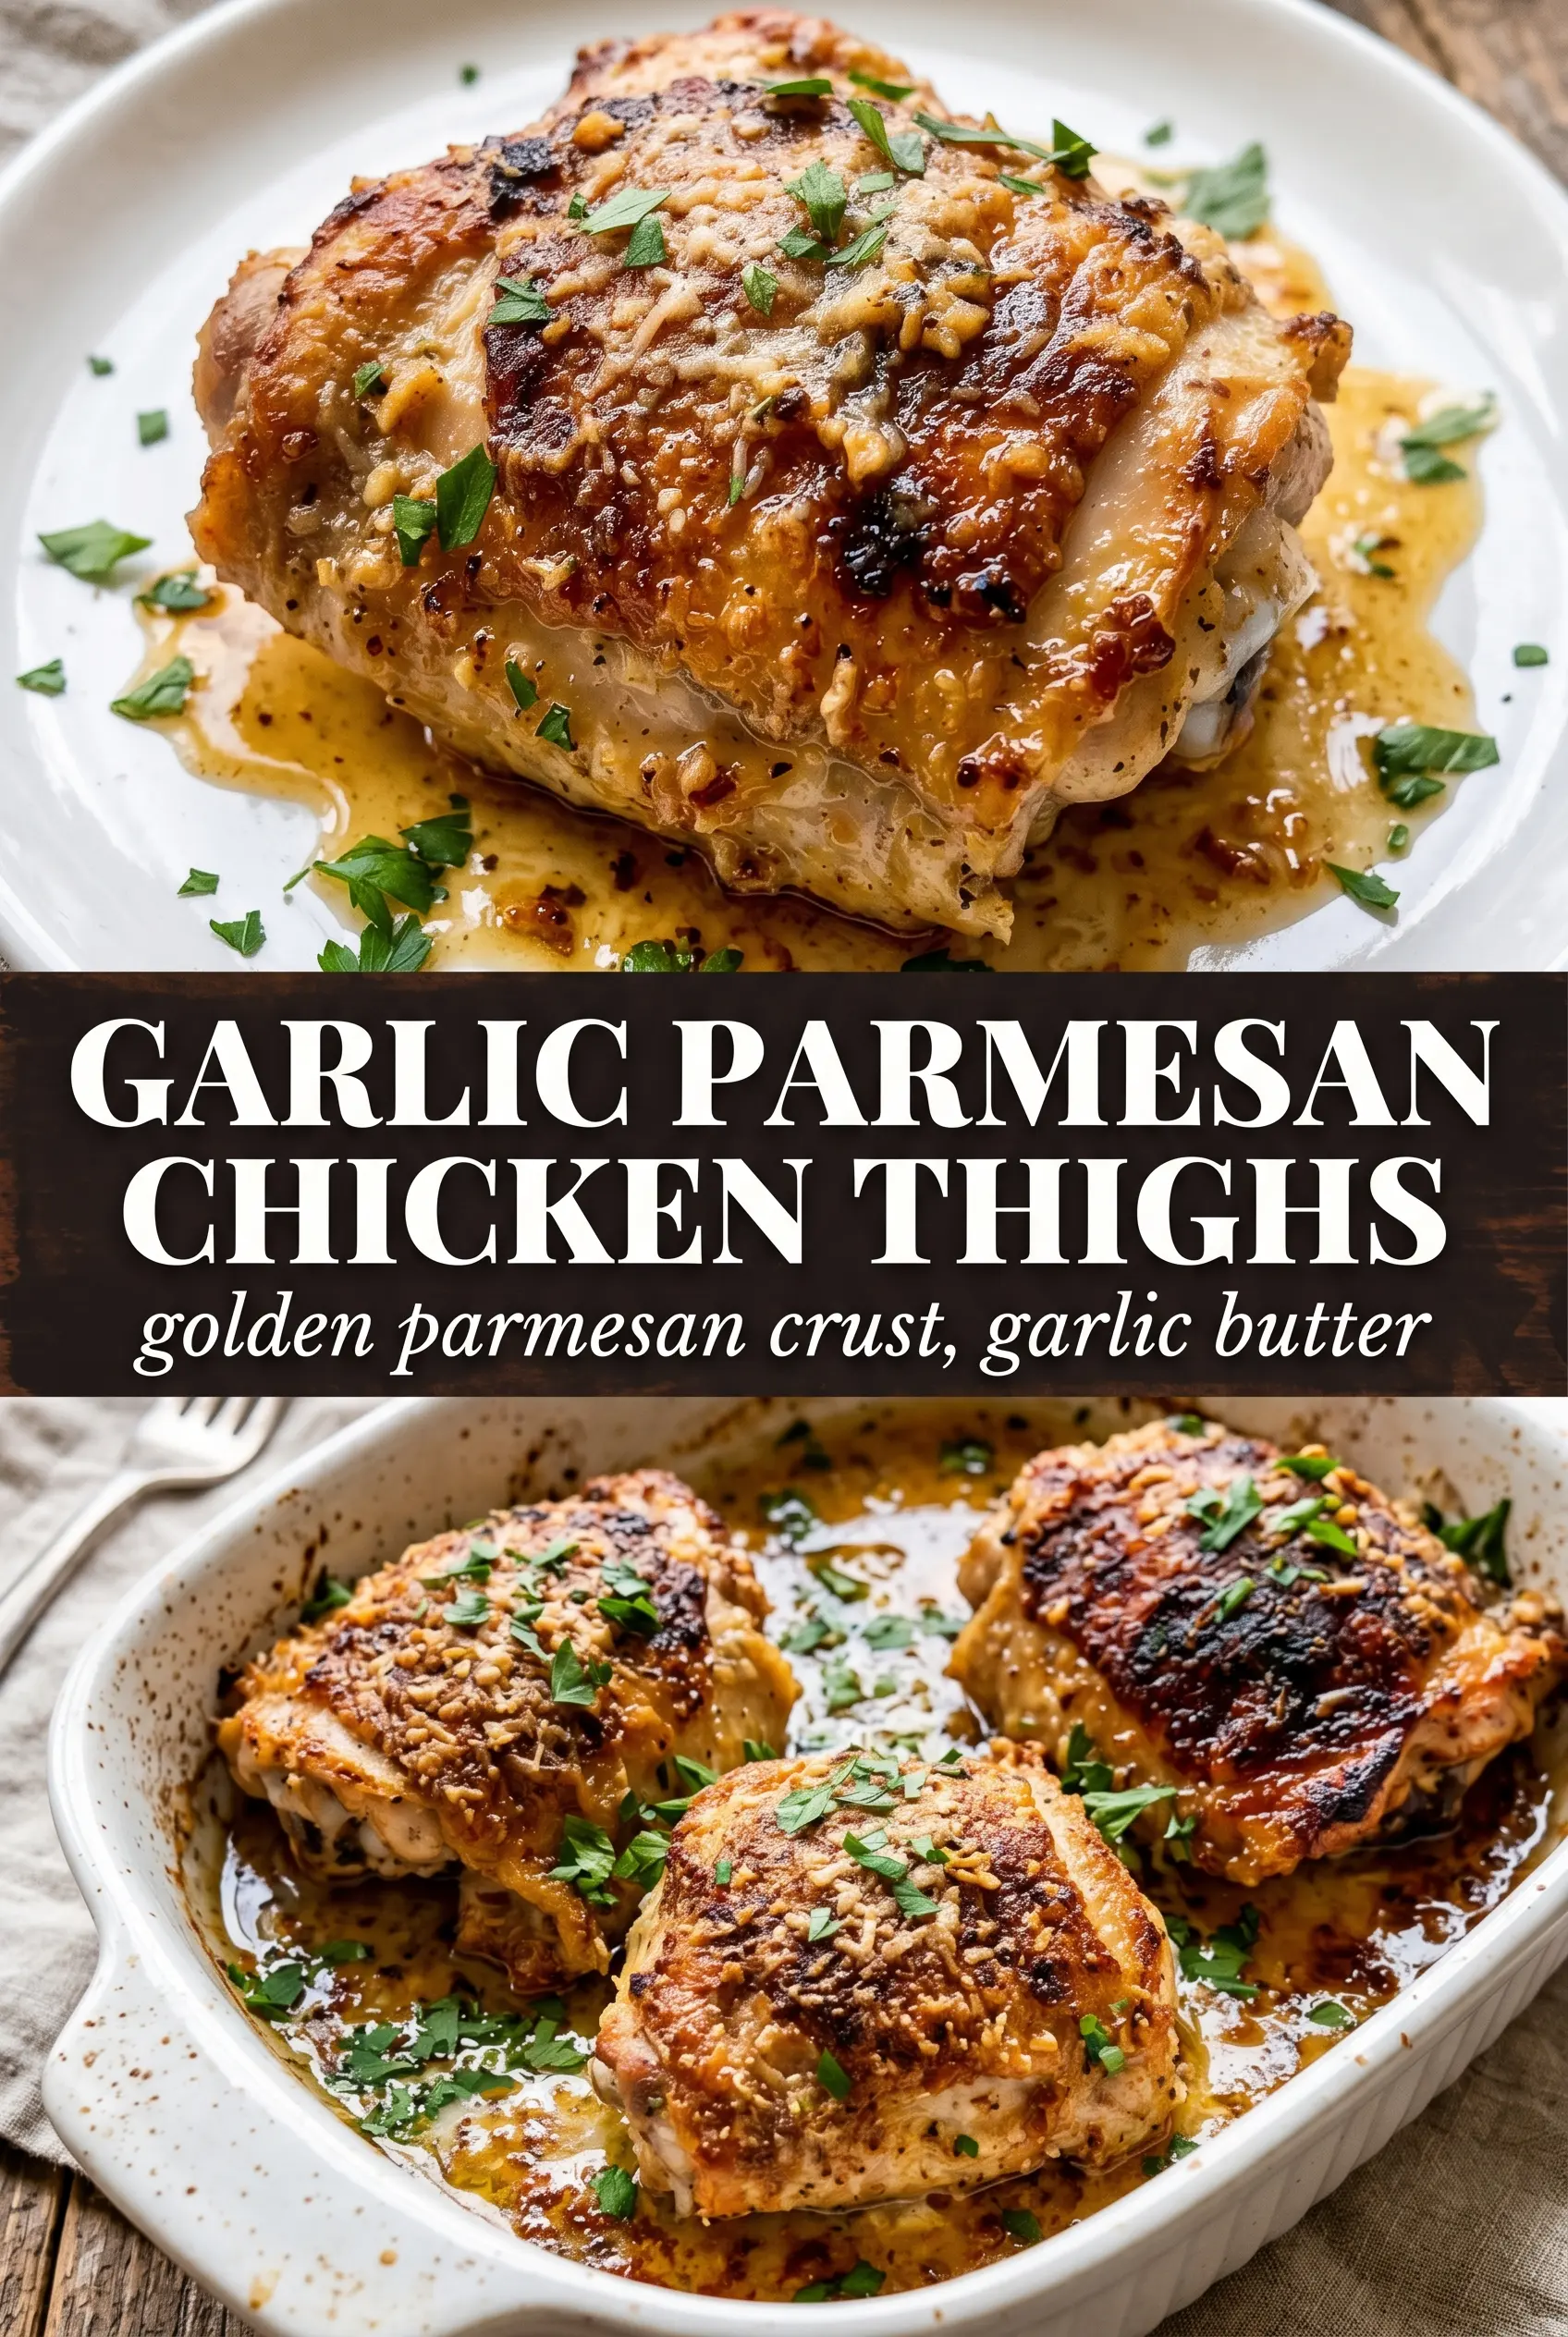
Garlic Parmesan Chicken Thighs come out with the kind of crust that makes people hover by the oven. The skin turns deeply golden, the parmesan bakes into a crisp, salty shell, and the chicken underneath stays juicy instead of drying out. It’s the sort of dinner that looks like you worked harder than you did, which is always a good thing on a busy night.
The trick is treating the parmesan mixture like a paste, not a loose sprinkle. Olive oil helps it cling to the skin and carry the garlic and seasoning across every bite, while a wire rack lets hot air move around the thighs so the bottom doesn’t steam. That’s what gives you crunch instead of a soggy coating.
Below you’ll find the small details that matter most here: how to keep the crust crisp, when a quick broil helps, and which swaps still keep the chicken worth making.
The parmesan crust stayed crisp even after dinner sat on the table for a few minutes, and the garlic stayed mellow instead of burning. I used the wire rack like you said and the bottoms came out just as good as the tops.
Save these Garlic Parmesan Chicken Thighs for the nights when you want a crispy, cheesy crust without babysitting the oven.
The Difference Between a Crisp Crust and a Soggy Topping
The biggest mistake with parmesan chicken is treating the cheese like breading. Parmesan melts and crisps, but only if it has something to hold onto and enough direct heat to brown properly. That’s why the chicken needs to be patted dry before the paste goes on, and why the rack matters so much. If the thighs sit in their own drippings, the underside steams and the coating softens before it has a chance to set.
Bone-in, skin-on thighs are the right cut for this method because they stay moist during a hotter roast and give the crust a rich base to cling to. The high oven temperature helps the cheese and garlic brown fast enough that the chicken finishes at the same time the topping turns crisp. If the top is pale at the end, a short broil does the job without overcooking the meat.
What Each Ingredient Is Actually Doing in This Dish
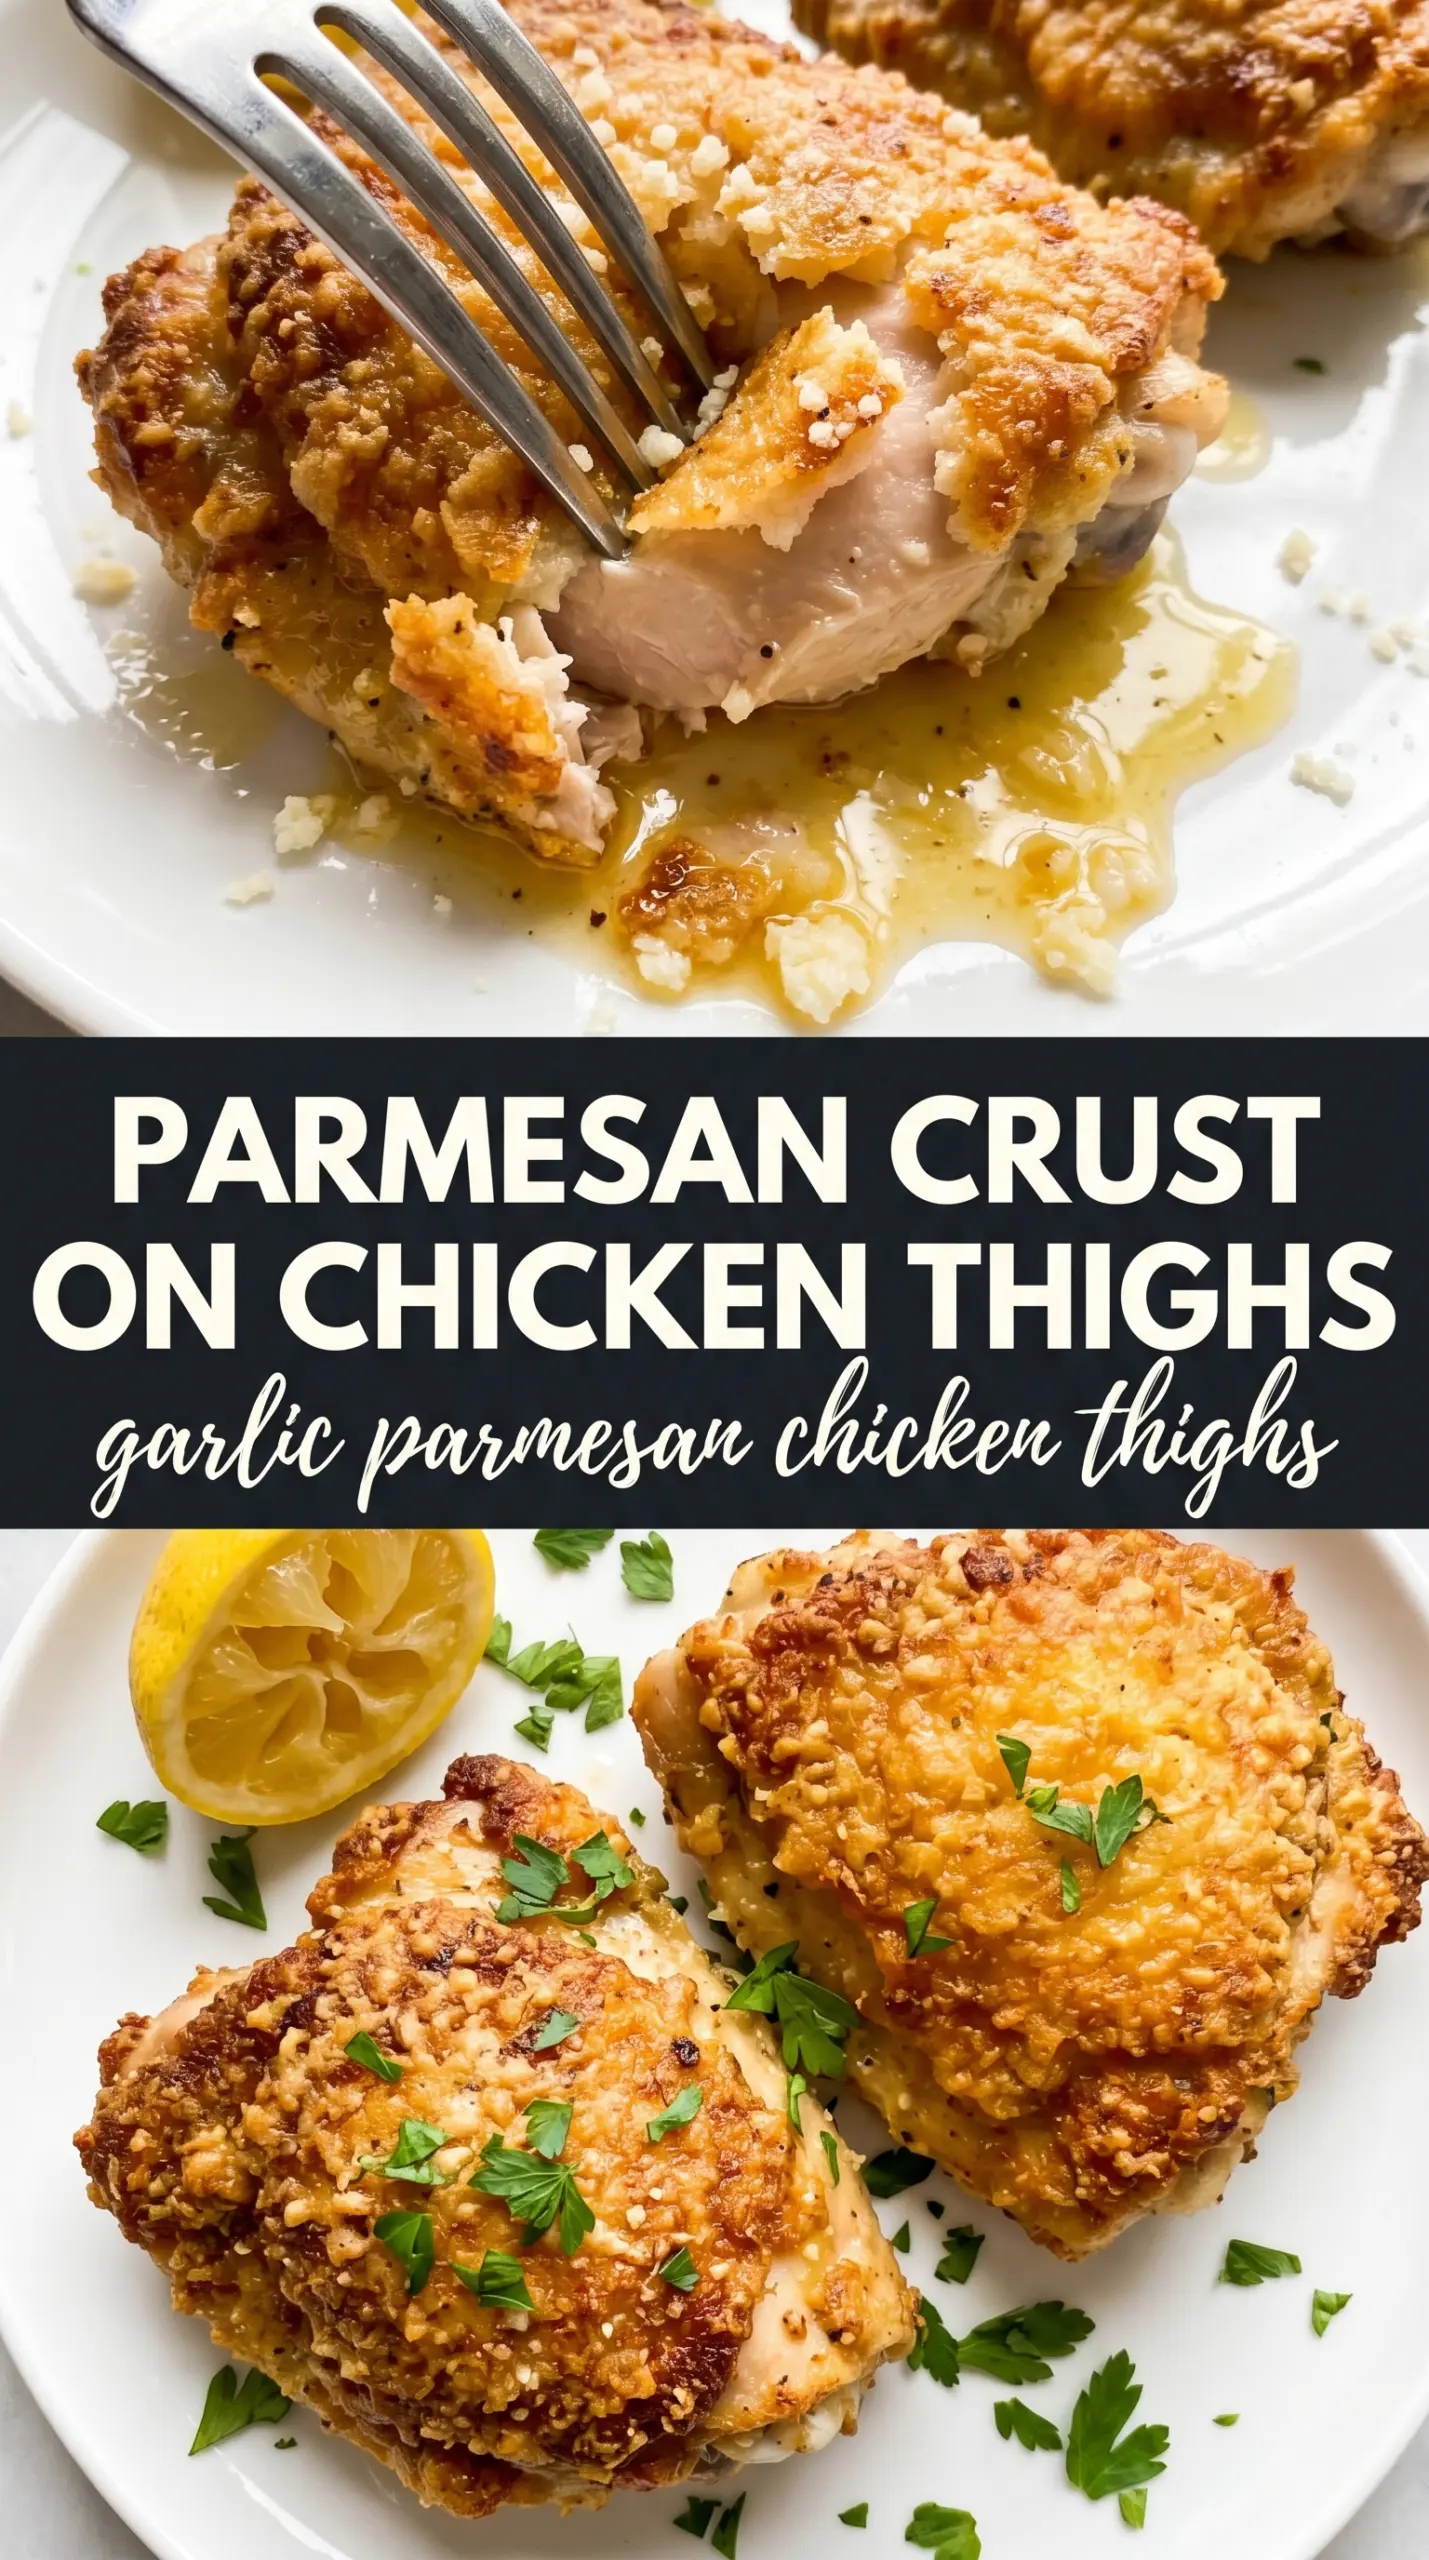
- Bone-in, skin-on chicken thighs — These stay juicy in a hot oven and give you the richest result. Boneless thighs will cook faster, but you’ll lose some of the deep flavor and the skin-crisping payoff that makes this recipe stand out.
- Finely grated parmesan — Fine grating helps the cheese melt into a crust instead of falling off in clumps. Use a real wedge if you can; the pre-grated shelf-stable stuff often has anti-caking agents that can make the coating grainy instead of crisp.
- Olive oil — This turns the seasonings into a paste and helps the coating brown. Don’t skip it, because dry cheese and spices won’t spread evenly and won’t cling the same way.
- Garlic — Fresh minced garlic gives the crust its punch, but it can burn if the pieces are too large. Mince it fine so it softens into the cheese instead of sitting in little scorched bits.
- Italian seasoning, garlic powder, and onion powder — This trio builds a fuller savory base than garlic alone. The powders spread evenly through the paste, while the dried herbs bring that familiar Italian-American chicken dinner flavor.
- Red pepper flakes — Just enough heat to keep the crust from tasting flat. You can leave them out, but the chicken loses a little edge.
Getting the Crust Crispy Without Overcooking the Thighs
Building the Parmesan Paste
Mix the parmesan, garlic, seasonings, and olive oil until it looks like a thick, spreadable paste. It should hold together on a spoon and not run across the bowl. If it seems dry, add just a little more oil; if it’s too loose, the coating will slide off the skin before it sets in the oven. This is the moment that decides whether the crust sticks or shrinks into patchy little bits.
Coating the Chicken
Pat the thighs dry before anything else. Moisture on the skin is the enemy here because it stops browning and thins the paste. Spread the mixture over the top and sides of each thigh, pressing lightly so the cheese grabs onto the skin. Don’t mound it on so thick that it falls off in chunks; a fairly even layer gives you the best crust.
Roasting on a Rack
Set the thighs on a wire rack over a baking sheet and roast at 425°F until the crust is deep golden and the chicken reaches 165°F in the thickest part. The rack lets hot air circulate, which is what keeps the underside from going soft. If your oven runs cool, give them a few extra minutes before you reach for the broiler. The crust should look set before you add that last burst of color.
Finishing With the Broiler
A brief broil can sharpen the color, but only if the crust is already mostly browned. Stay close, because parmesan can go from golden to bitter in a blink. Two to three minutes is usually enough. Pull the pan as soon as the top has those darker toasted spots and the chicken looks cooked through.
Ways to Change the Texture, the Heat, or the Finish
Make It Gluten-Free Without Losing the Crunch
This recipe is already naturally gluten-free as written, which is part of why it works so well for a crowd. Keep the parmesan coating exactly the same and skip any temptation to add breadcrumbs unless you want a different texture. The cheese itself is what gives the crust its snap.
Swap in Boneless Thighs for a Faster Dinner
Boneless thighs cook a little faster and are easier to serve, but they don’t hold onto the same rich roasted flavor. Start checking them several minutes early so the crust doesn’t overbake while the meat catches up. You’ll still get a good result, just with a slightly lighter, less dramatic finish.
Add More Heat Without Changing the Method
Increase the red pepper flakes or add a pinch of cayenne to the paste. That gives the coating a slow, warm finish without affecting how it browns. Keep the amount modest, because too much heat can overpower the garlic and parmesan.
Storage and Reheating
- Refrigerator: Store leftovers in an airtight container for up to 4 days. The crust softens a bit in the fridge, but the flavor holds up well.
- Freezer: Freeze the cooked thighs tightly wrapped or sealed in a freezer container for up to 2 months. The coating won’t stay fully crisp after thawing, but it still reheats better than many cheesy chicken dishes.
- Reheating: Reheat on a rack in a 375°F oven until hot and the skin firms back up. The mistake most people make is microwaving it, which turns the crust rubbery and greasy.


