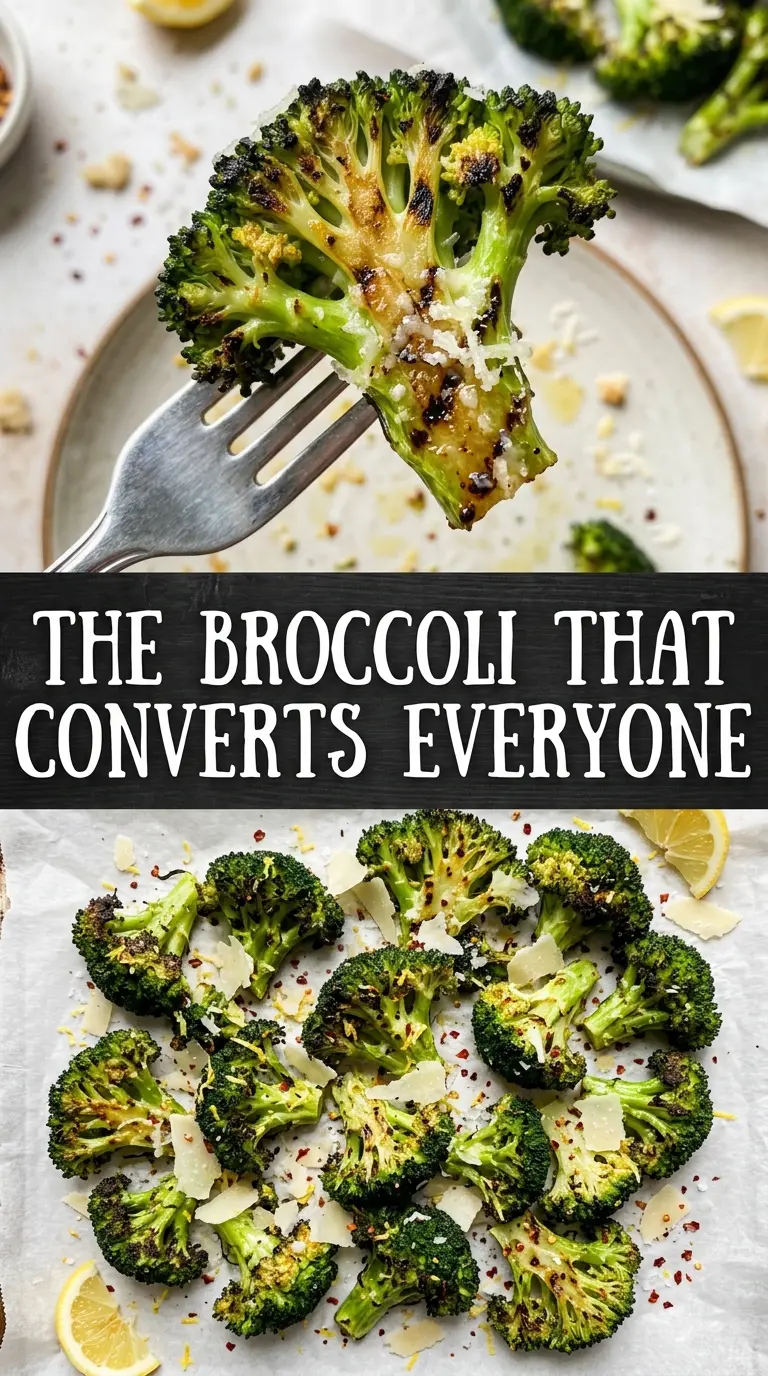
Charred broccoli is one of those sides that disappears fast when it’s grilled the right way. The florets pick up smoky edges, the stalks stay tender, and the lemon-garlic coating keeps every bite bright instead of heavy. It’s the kind of vegetable dish that lands on the table looking simple, then gets people reaching back for a second scoop before the main course is even served.
The trick is giving the broccoli a short blanch before it hits the grill. That little head start softens the stems just enough so the florets cook through without burning to a crisp before the centers are tender. From there, olive oil helps the edges blister, garlic adds punch, and lemon zest carries the flavor across the whole dish without watering it down the way extra juice can.
Below, I’ve added the details that matter most: how to keep the broccoli from slipping through the grates, what to watch for when it’s done, and a few smart variations if you want to skip the cheese or change up the seasoning.
I loved the quick blanch first — the broccoli came off the grill with those crispy charred edges but still had a tender bite in the middle. The lemon and garlic were perfect together, and my kids ate the florets before I even got the platter to the table.
Save this grilled broccoli with lemon-garlic char for your next cookout or easy weeknight side.
The Reason Broccoli Usually Burns Before It Charred
Broccoli is a tricky grill vegetable because the tops and stems don’t cook at the same pace. The florets can scorch before the stems soften, which leaves you with bitter edges and a firm center. The short blanch fixes that by taking the raw edge off the stalks, so the grill is doing the finishing work instead of trying to cook the whole vegetable from scratch.
Dry broccoli matters here. If the florets go on the grill wet, they steam first and char later, which is how you lose those crisp edges. After blanching, drain them well and let the surface steam off for a minute before tossing with oil and seasoning.
- Blanched broccoli — This is what keeps the finished texture balanced. If you skip it, you’ll need to grill longer and risk uneven doneness.
- Olive oil — It helps the seasoning cling and encourages browning. A neutral oil works too, but olive oil gives the best flavor with the lemon and garlic.
- Lemon zest — Zest gives the broccoli a clean citrus note without watering down the surface. The juice is useful, but the zest carries the brighter flavor.
- Parmesan — Add it at the end so it softens from the heat instead of clumping on the grill. It adds salt and a savory finish, but the dish still works without it.
What Each Ingredient Is Actually Doing in This Recipe
- Primary ingredient (the foundation) — This is the star of the dish and carries most of the flavor. Quality matters here more than anywhere else.
- Salt and pepper (the seasonings that matter most) — These enhance all other flavors without masking them. Apply generously; underseasoned dishes taste flat.
- Fat (butter, oil, or from the meat) — Fat carries flavors and keeps the dish from tasting dry. It’s also what makes food taste delicious and satisfying.
- Acid (lemon, lime, vinegar, or tomato) — Acid brightens the dish and prevents it from tasting one-dimensional or heavy. It also helps balance rich flavors.
- Aromatics (garlic, onion, ginger) — These add depth and complexity. They mellow and become sweet when cooked, different from their raw state.
- Spices or herbs (the personality) — These give the dish its character and make it distinctive. Toast them to bloom their flavors or add fresh ones to finish.
- Supporting ingredients (vegetables, proteins) — These add texture, nutrition, and complementary flavors. They should support the star ingredient, not compete with it.
- Proper cooking technique (heat, time, stirring) — Even with great ingredients, technique determines the final result. Pay attention to temperature and timing.
Getting the Garlic and Lemon to Stick, Not Burn
Charred broccoli works best when the seasoning is mixed on the florets before grilling, but garlic needs a little care. Minced garlic can burn fast over direct heat, so the oil helps shield it and the brief blanch softens the broccoli enough that you don’t need an aggressive fire to finish it. Medium-high heat is the sweet spot here. Hot enough for dark grill marks, not so hot that the garlic turns bitter before the broccoli is tender.
Blanching for the Right Head Start
Drop the broccoli into boiling water for just 2 minutes, then drain it well. You’re not cooking it through; you’re taking away the raw crunch so the grill can finish the job fast. If it sits in the colander too long while steaming, the florets can go limp, so spread them out briefly before seasoning.
Seasoning Without Sogging It Down
Toss the florets with olive oil, garlic, lemon zest, lemon juice, salt, and pepper until every piece looks lightly coated. You want a glossy surface, not a puddle at the bottom of the bowl. Too much lemon juice can wash the oil off and make the grill do more steaming than charring, so keep the coating thin and even.
Grilling to Deep Edges and Tender Centers
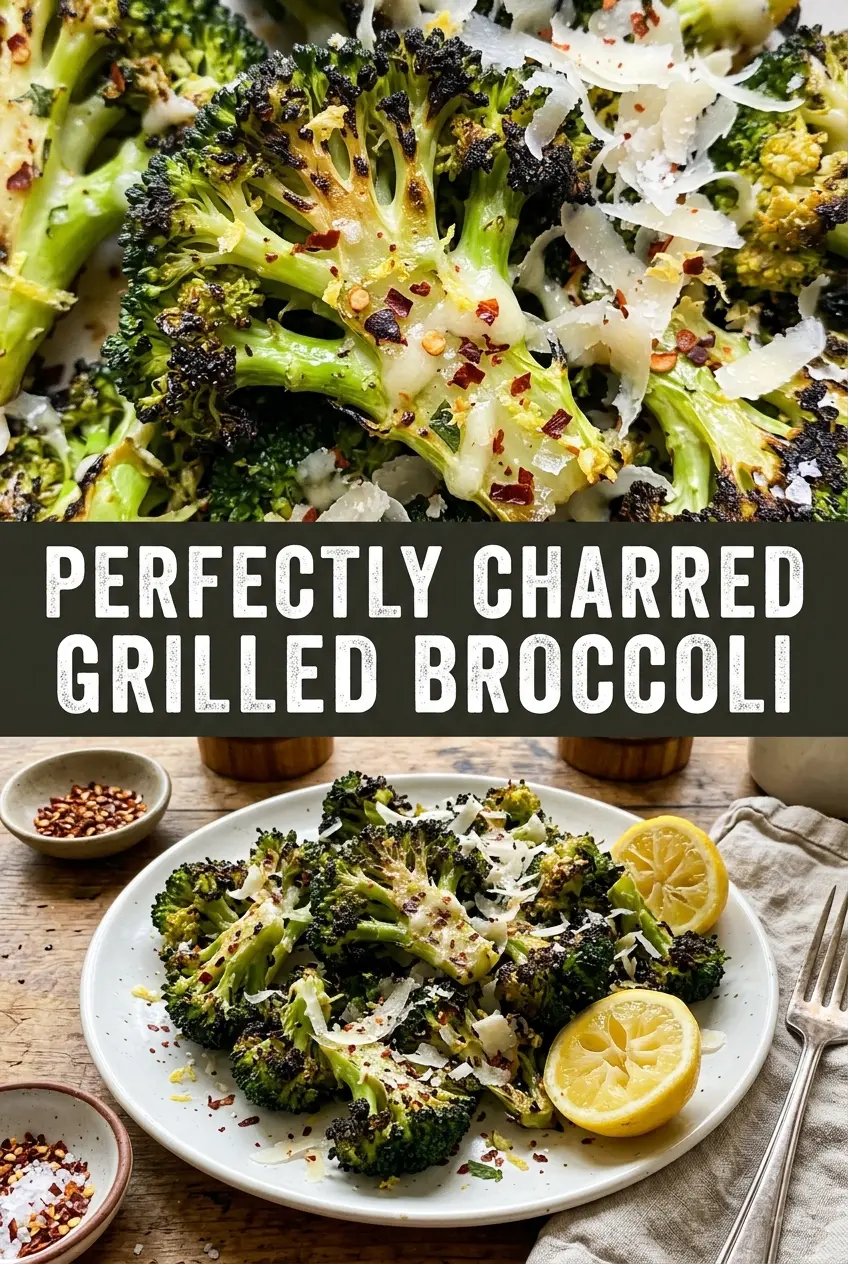
Lay the broccoli over medium-high heat and leave it alone long enough to pick up real color. Turn it after 4 to 5 minutes, when the first side has dark marks and the edges look crisped. If the florets are falling through the grates, use a grill basket or thread them onto skewers; the goal is browning, not chasing pieces around the fire.
Finishing While It’s Still Hot
Move the broccoli to a platter and finish with red pepper flakes and Parmesan while it’s hot enough to soften the cheese. That last step matters because the residual heat wakes up the garlic and helps the lemon smell fresh instead of sharp. Serve it right away for the best contrast between the charred edges and tender bite.
What to Change When You Want a Different Finish
Dairy-Free Broccoli With the Same Bright Finish
Skip the Parmesan and finish with a little extra lemon zest plus a pinch more salt. You lose the salty, savory edge from the cheese, but the broccoli stays punchy and clean, which works especially well beside grilled chicken or fish.
No Grill Basket? Use Skewers
Thread the florets onto soaked skewers through the thickest part of the stem so they stay stable over the grates. This keeps smaller pieces from dropping through and gives you better control when flipping, though the char will be a little more even than deeply blistered.
Spicy Broccoli With More Heat
Add the red pepper flakes to the oil mixture before grilling instead of sprinkling them on at the end. That gives the broccoli a warmer, more even heat throughout, while the finishing sprinkle keeps the look a little brighter and sharper.
No-Bs Storage and Reheating
- Refrigerator: Store in an airtight container for up to 3 days. The char softens a bit, but the flavor holds up well.
- Freezer: I don’t recommend freezing it. The broccoli turns mushy after thawing and loses the crisp edges that make it worth grilling.
- Reheating: Warm it in a skillet over medium heat or in a 375°F oven for a few minutes. Skip the microwave if you want to keep any texture; it makes the florets soft and watery.
Answers to the Questions Worth Asking
Grilled Broccoli
Ingredients
Equipment
Method
- Bring a pot of boiling water to a boil, then add broccoli florets and blanch for 2 minutes. Drain well so the florets are not watery.
- In a large bowl, toss the broccoli with olive oil, minced garlic, lemon zest, lemon juice, salt, and pepper until evenly coated. The florets should look glossy with seasoning.
- Preheat the grill to medium-high heat, then grill broccoli for 4-5 minutes per side. Cook until you see charred spots and the centers are tender when pierced.
- Transfer broccoli to a serving platter and sprinkle with red pepper flakes and Parmesan cheese if desired. Serve immediately while the edges are crisp.


