Grilled campfire quesadillas hit that sweet spot between smoky, crisp, and gooey that makes people hover near the fire waiting for the first wedge to come off the grate. The tortillas pick up a little char, the cheese melts into the chicken and peppers, and every bite has that crackly edge that a skillet on the stove just can’t quite match.
The trick is building them fast and keeping the fillings balanced. Too much cheese and the center turns slippery before the tortillas are browned; too much filling and the quesadilla tears the minute you try to flip it. I like using a Mexican cheese blend because it melts smoothly without turning oily, and I keep the vegetables diced small so the quesadilla stays flat enough to press and turn cleanly.
Below you’ll find the little details that matter over live heat, plus a few smart swaps if you’re cooking for different eaters or working with what you’ve packed in the cooler.
The tortillas got perfectly crisp over the fire and the cheese actually stayed inside instead of leaking all over the grate. I’ll be making these on every camping trip now.
Like these smoky grilled campfire quesadillas? Save them for your next camping dinner when you want crisp tortillas, melted cheese, and minimal cleanup.
The Part That Keeps Campfire Quesadillas From Falling Apart
Over an open flame, the biggest mistake is treating a quesadilla like a stuffed sandwich instead of a fast-melting, quick-turning skillet job. The tortillas need enough heat to brown before the cheese has time to run out, which means you want your surface hot, your fillings prepped, and your assembly done in a few seconds, not minutes.
The other thing that matters is pressure. A gentle press helps the two tortillas seal around the cheese before you flip, but heavy smashing pushes the filling toward the edges and makes leaks more likely. Keep the layers thin, and let the first side set long enough that the quesadilla releases on its own. If it sticks, it needs another minute. Trying to force it early is how you lose half the filling to the fire.
What Each Ingredient Is Doing in the Fire
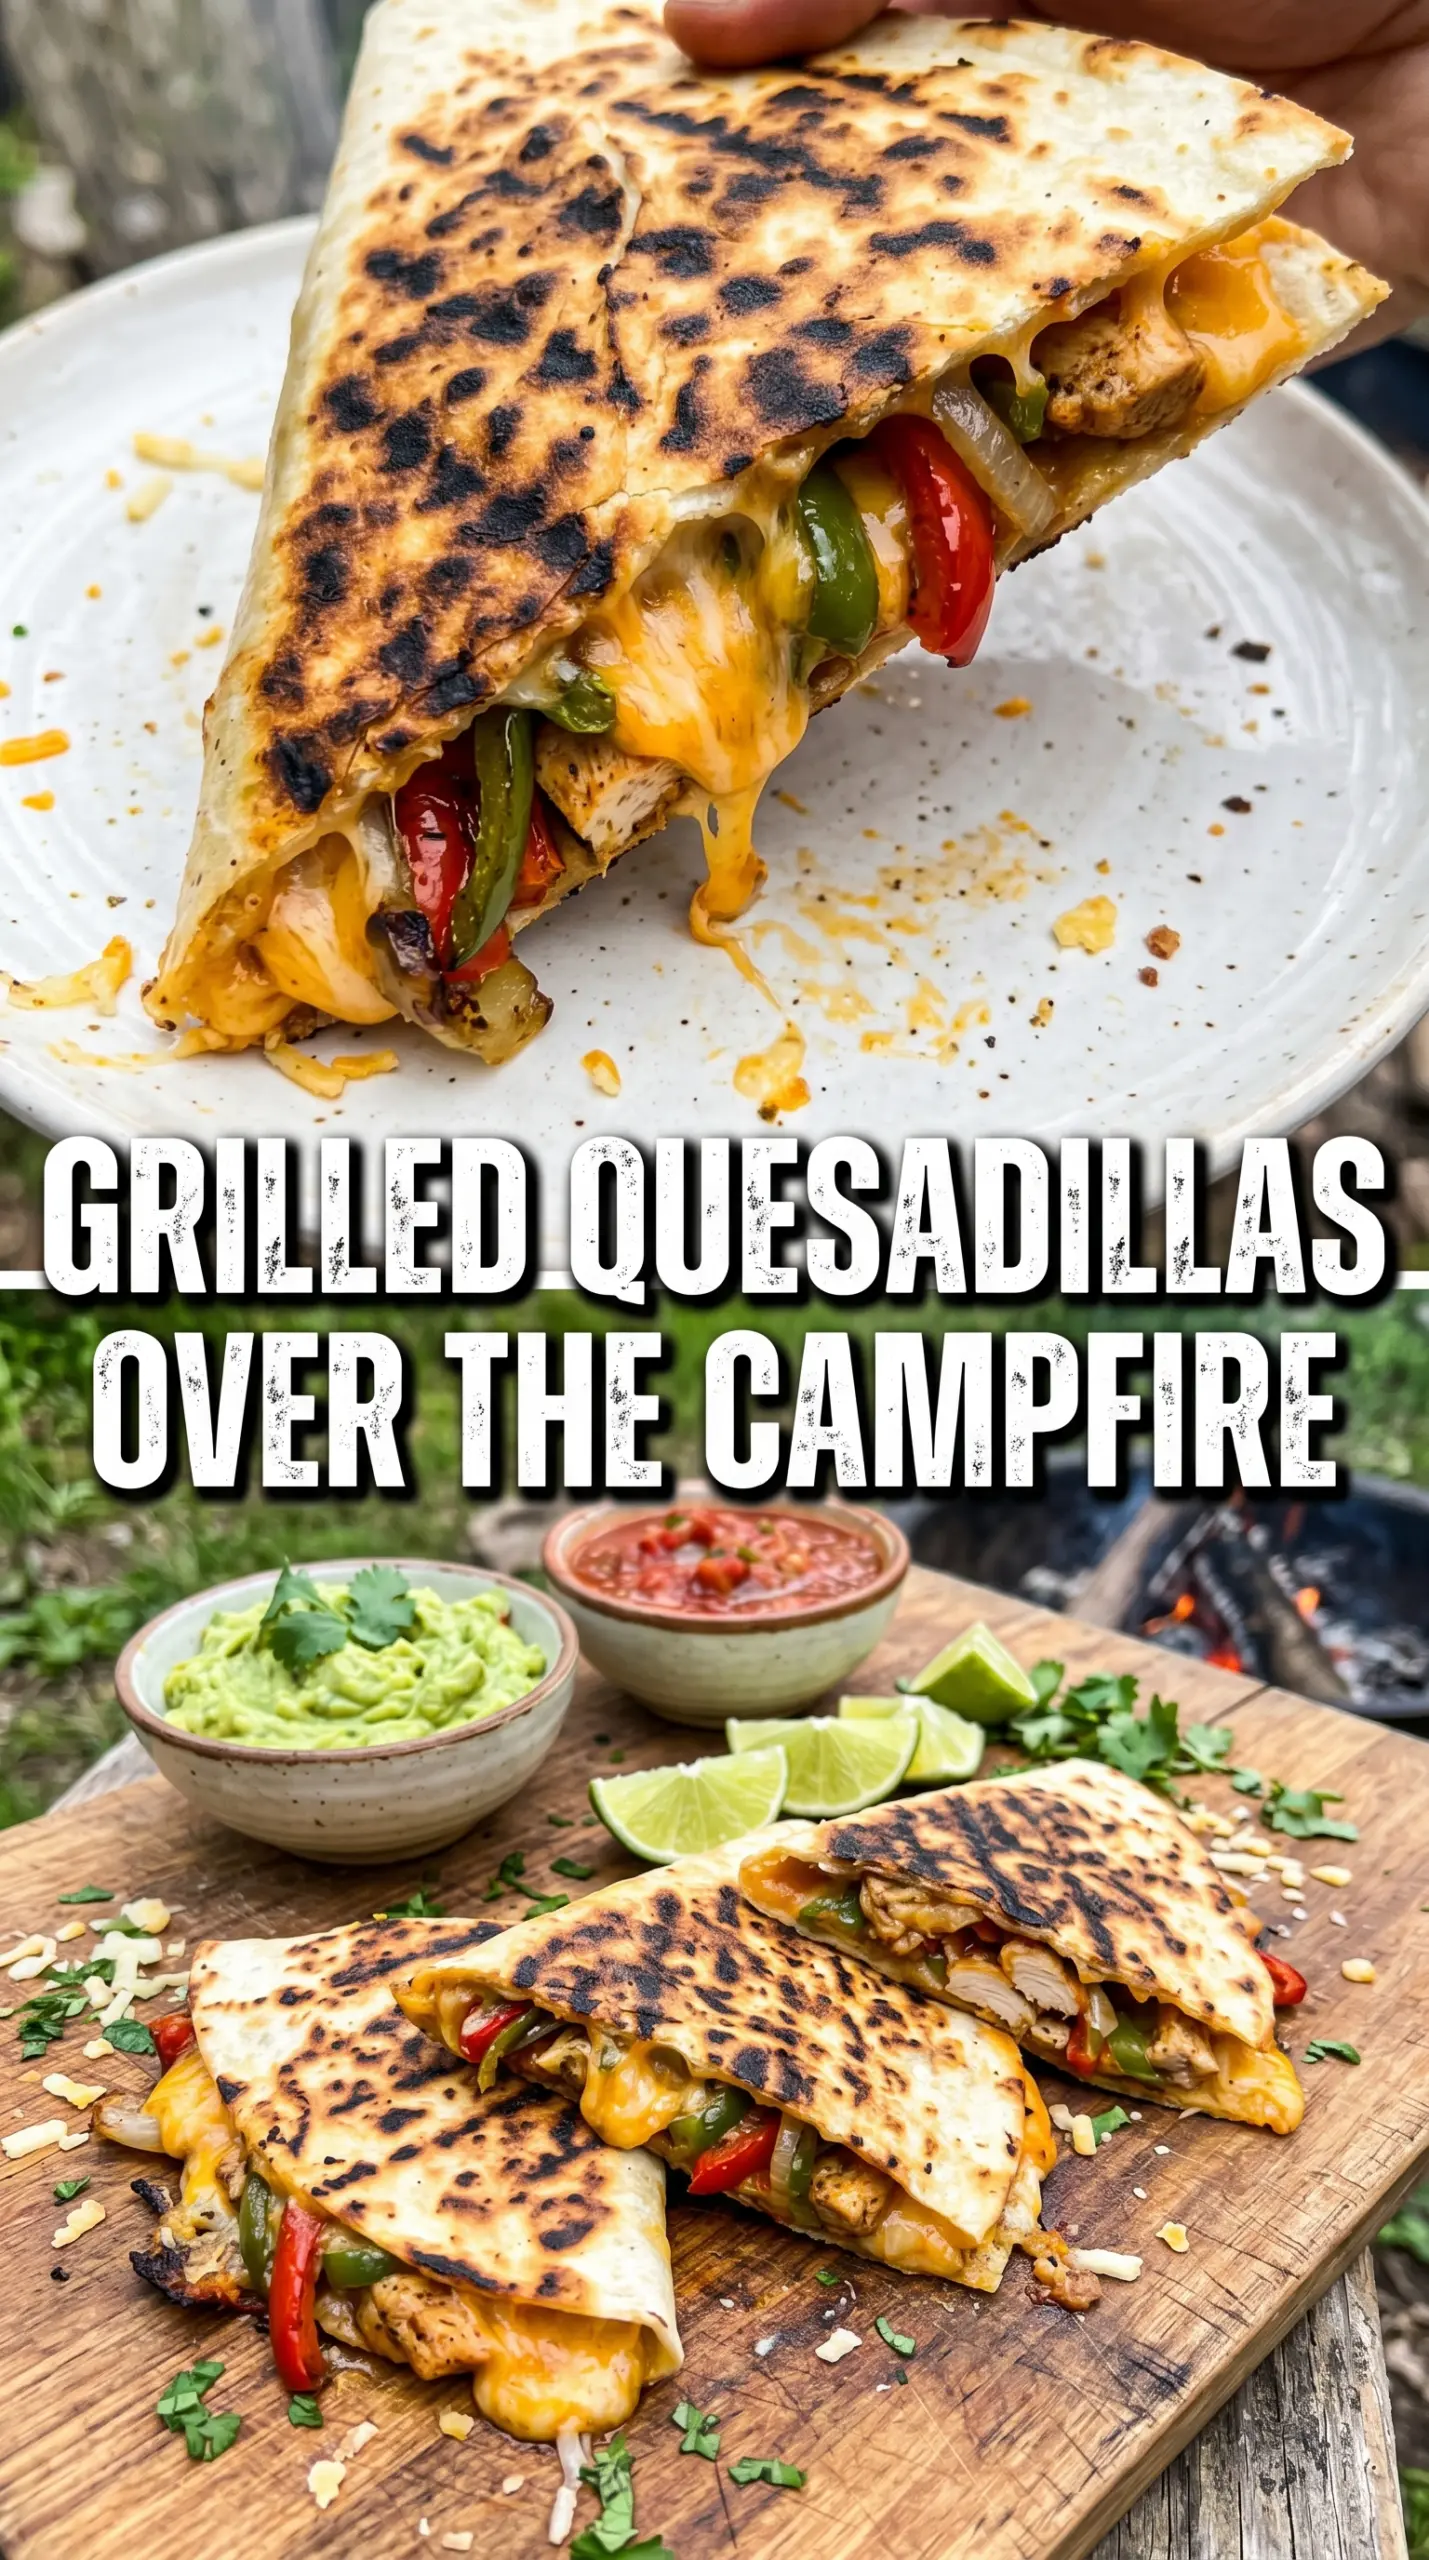
- Flour tortillas — These are the structure, and large ones give you enough surface area to hold the filling without tearing. Smaller tortillas work, but they’re harder to flip over an open grate and won’t give you those wide, clean wedges.
- Mexican cheese blend — This melts evenly and gives you that stretch without separating into a greasy puddle. If you shred it yourself, it melts a touch better than pre-shredded cheese, which is coated to keep it from clumping.
- Cooked chicken — The chicken adds substance and turns the quesadilla into a full meal, but it needs to be chopped or shredded fairly small so it heats through before the tortillas over-brown. Rotisserie chicken is the easiest swap and works well here.
- Bell pepper, onion, and jalapeño — These bring crunch, sweetness, and heat, but they should be diced thin so they soften fast on the grill. Big chunks leave you with raw vegetables and a quesadilla that won’t seal properly.
- Butter or oil — This is what helps the tortillas brown instead of drying out over the fire. Butter gives a richer flavor, while oil is a little more stable if your heat runs hot and uneven.
Building the Quesadilla So It Browns Before It Leaks
Get the Heat Set First
Start with a cast iron skillet over the campfire or a clean grill grate that’s fully hot, not just warm. You want instant sizzle when the tortilla hits the surface, because a sluggish start is what leads to soft, pale quesadillas with cheese escaping before the outside sets. If the fire is roaring too hard, pull the pan slightly off the hottest coals and let the heat settle into a steady medium-high.
Layer Fast and Keep It Thin
Set one tortilla down, then move quickly with the cheese, chicken, peppers, onions, and jalapeños. Don’t pile the fillings high; spread them in a thin, even layer and leave a small border around the edge so the top tortilla can seal. A crowded quesadilla cooks unevenly, tears on the flip, and dumps filling into the fire.
Press, Flip, and Watch the Edges
Top with the second tortilla and press gently with a spatula or the back of a skillet for a second or two. Cook until the bottom is deep golden with a few darker grill marks and the cheese is beginning to soften at the edges, then flip once. The second side usually cooks a little faster, so stay close; if you walk away, the tortillas go from crisp to scorched before the center has fully melted.
Cut While It’s Hot
Pull the quesadilla off the heat as soon as the cheese is melted and the outside is crisp, then let it sit for just a minute before cutting. That brief pause keeps the filling from spilling out the second you slice into it. Use a sharp knife or pizza cutter and serve right away with salsa, sour cream, and guacamole.
How to Adapt These for the Cooler, the Pantry, or a Meatless Night
Make them vegetarian
Skip the chicken and add black beans, sautéed mushrooms, or extra peppers and onions. You’ll lose a little protein-heavy heft, but the quesadilla will still feel satisfying if you keep the filling thin and use plenty of cheese to help everything bind.
Make them dairy-free
Use a meltable dairy-free cheese that’s made for cooking, not just snacking, and brush the tortillas with oil instead of butter. The texture won’t be quite as stretchy, but you’ll still get a crisp outside and a cohesive filling if you don’t overload it.
Use what’s already in the cooler
Swap the chicken for leftover steak, pulled pork, or even cooked chorizo. Just keep the pieces bite-sized and drain off excess fat if the meat is greasy, or the tortillas will turn slick before they brown.
Storage and Reheating
- Refrigerator: Store leftovers for up to 3 days. The tortillas soften as they sit, but they still reheat well.
- Freezer: Freeze wrapped wedges for up to 1 month. Reheat from thawed for the best texture; straight-from-frozen reheating tends to make the outside dry before the center warms.
- Reheating: Warm in a skillet over medium-low heat or in a 375°F oven until the cheese melts again. Avoid the microwave if you want any crispness left, because it turns the tortillas soft and chewy fast.
Questions I Get Asked About This Recipe
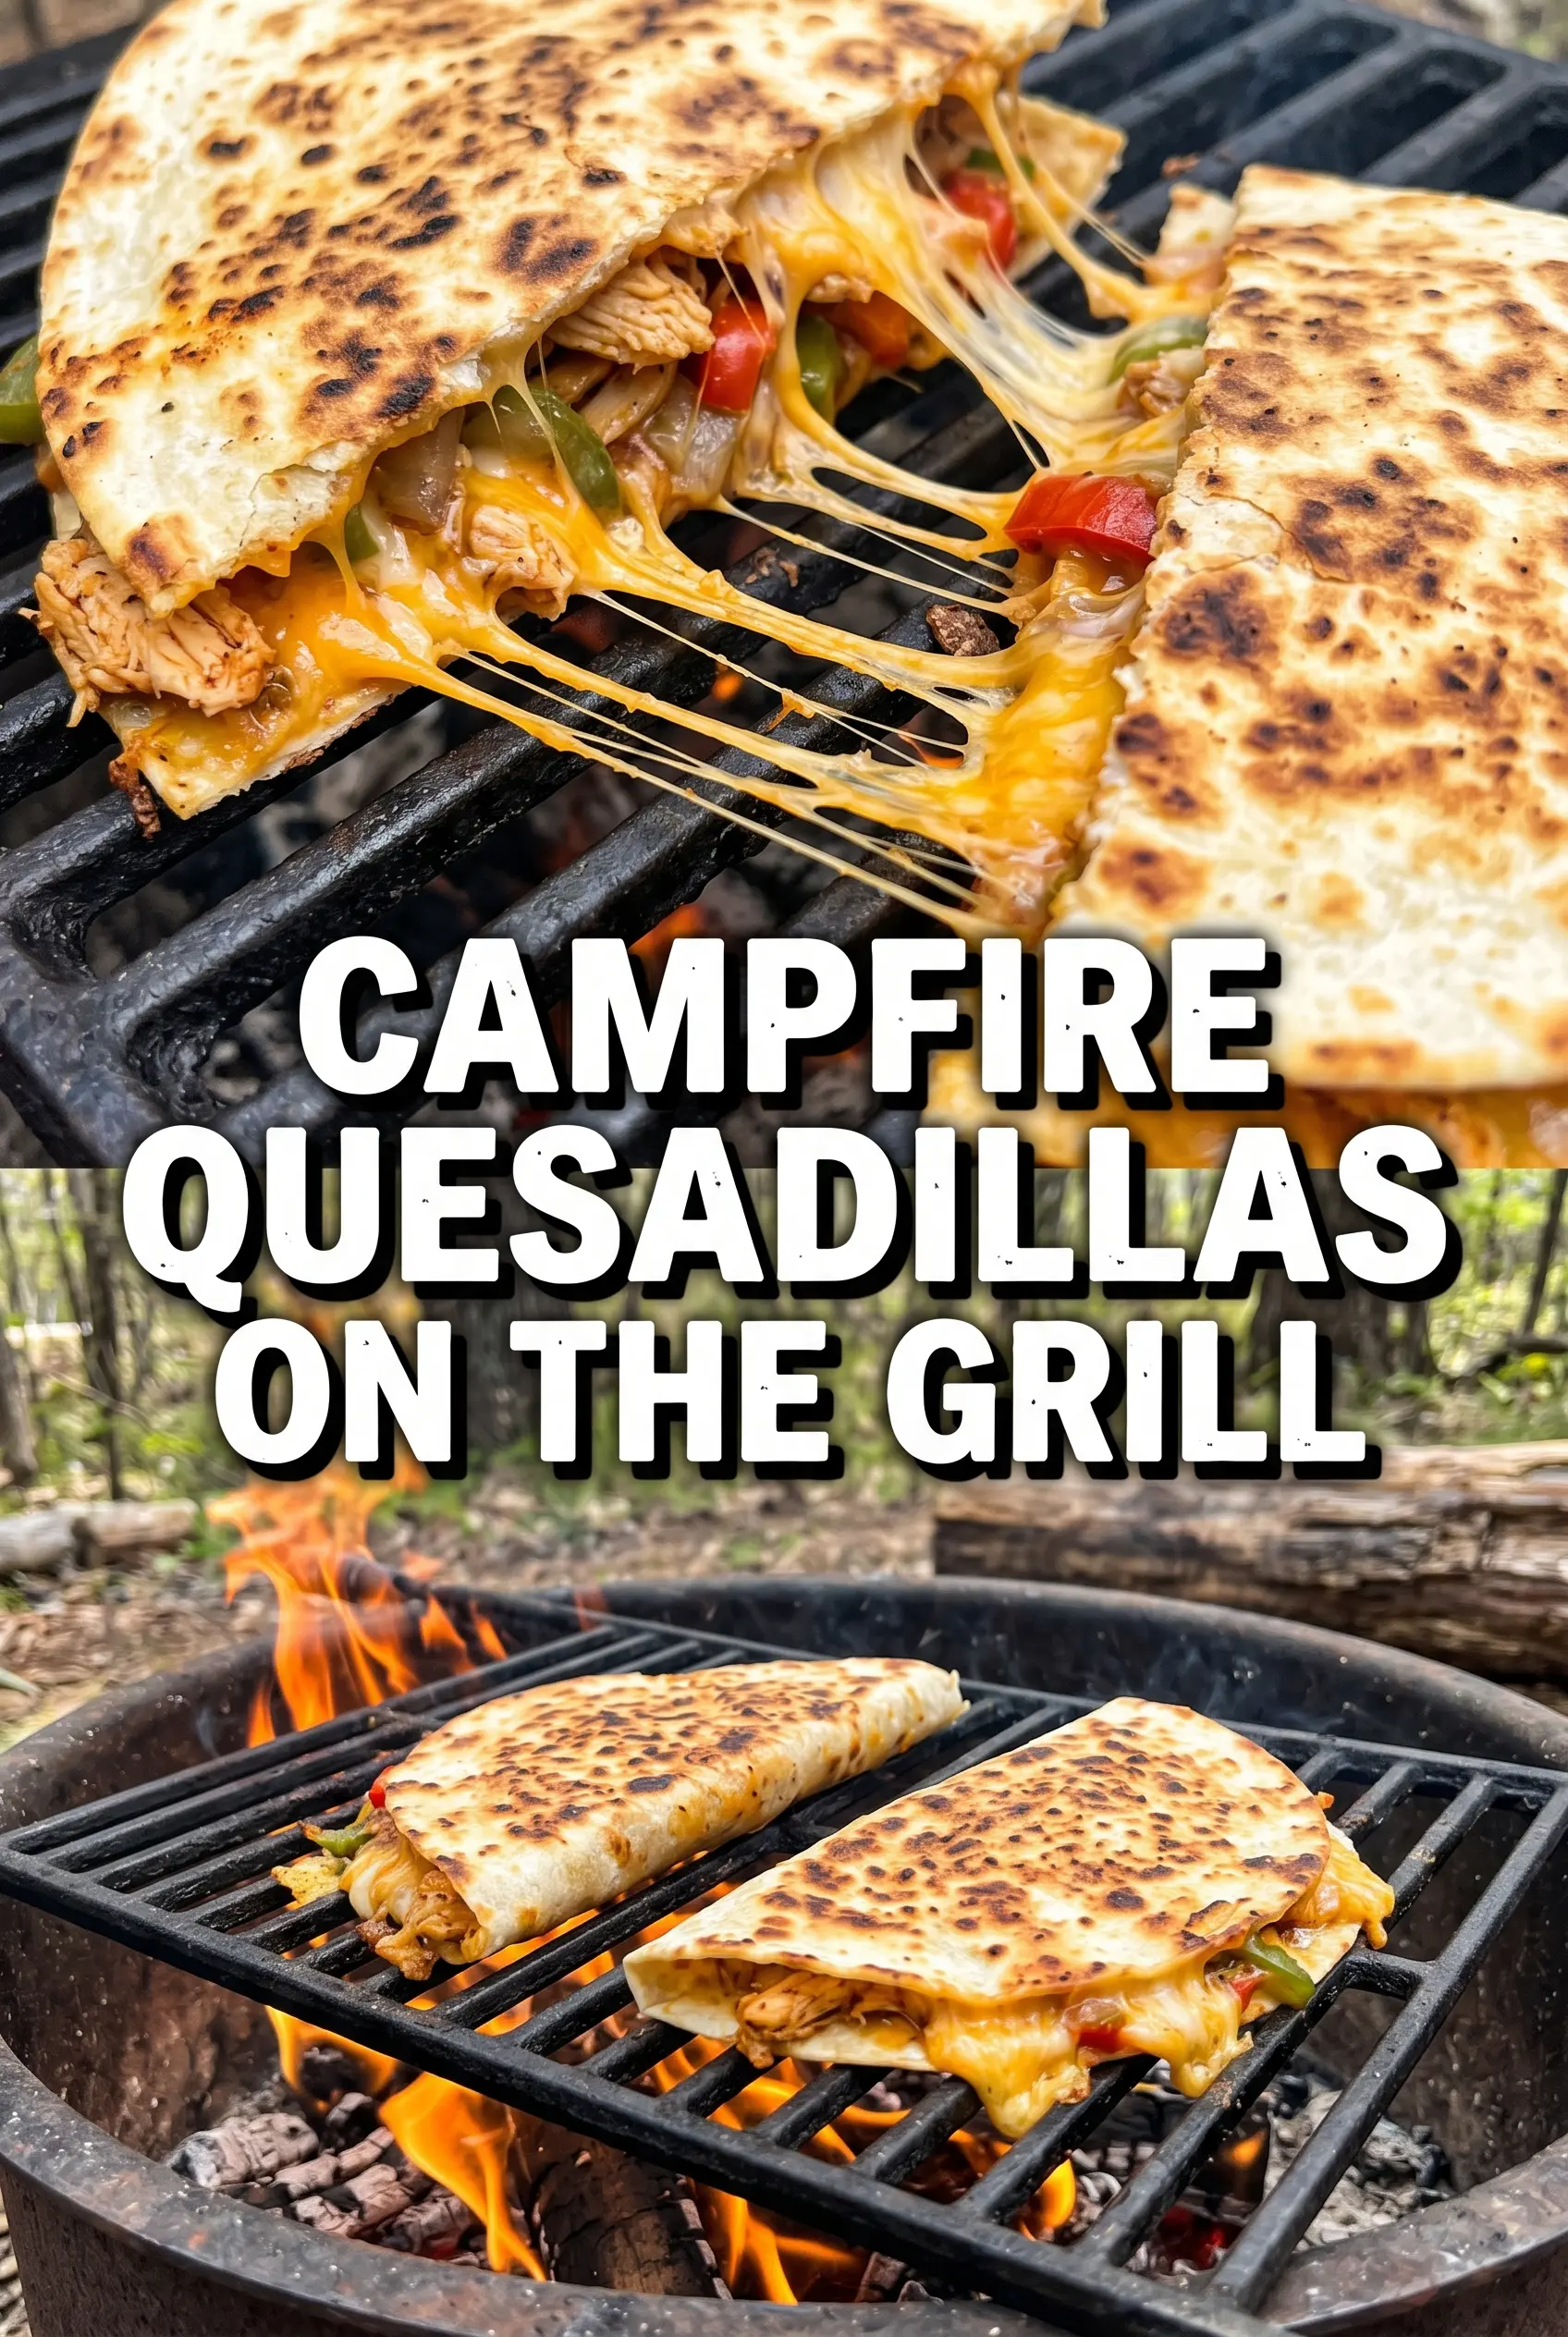
Grilled Campfire Quesadillas
Ingredients
Equipment
Method
- Heat a cast iron skillet or place a grill grate over campfire until hot and ready to sizzle. Use steady heat so the tortillas can brown without burning.
- Place one tortilla on the cooking surface and quickly add cheese, chicken, peppers, onions, and jalapeños. Spread the filling evenly to help it melt through.
- Top with the second tortilla and press down gently. Light pressure helps the layers stick so they cut cleanly.
- Cook for 3-4 minutes per side until golden and the cheese melts. Look for grill marks and bubbling cheese at the edges.
- Remove from heat, cut into wedges, and serve immediately with salsa, sour cream, and guacamole. Letting it rest briefly helps the cheese set slightly for cleaner slices.


