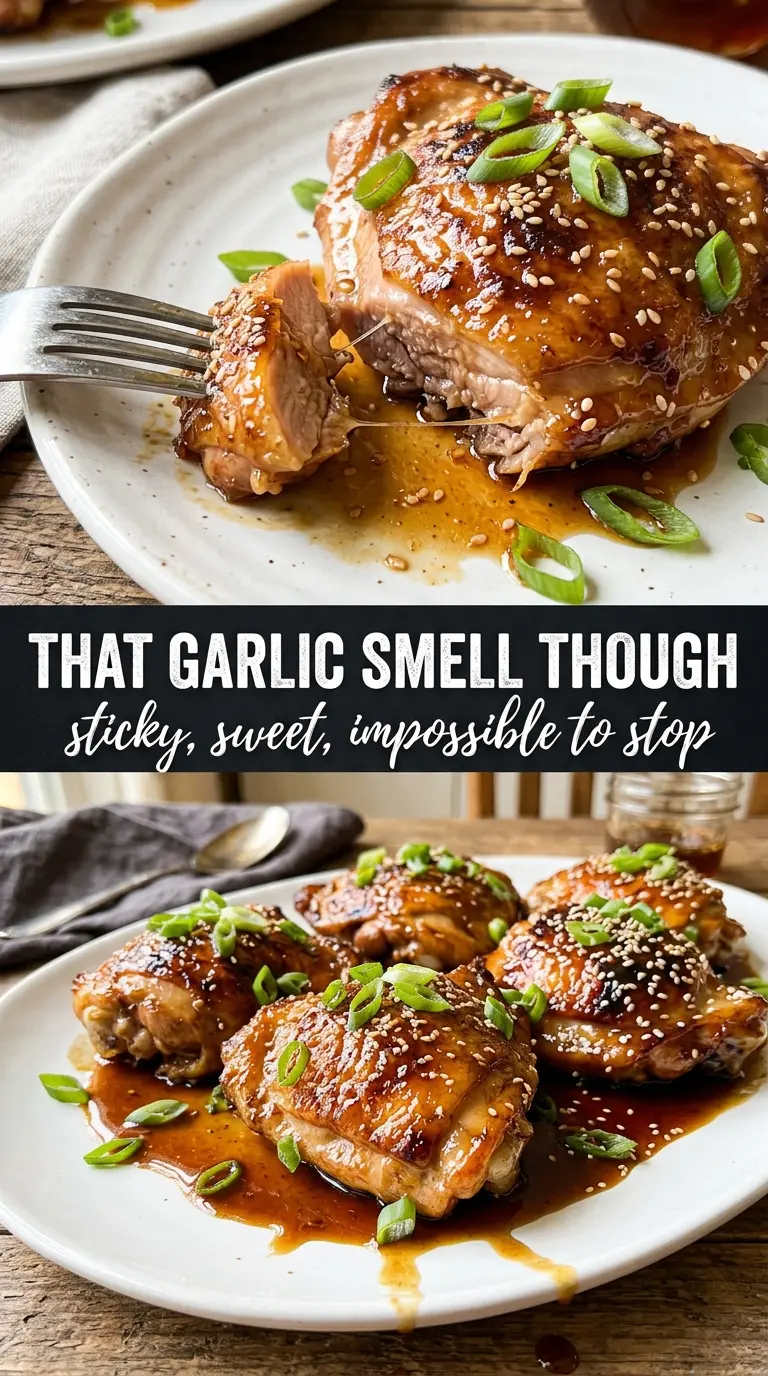
Sticky honey garlic chicken earns its place in the rotation because the sauce clings instead of sliding off, and the skin stays crisp enough to give you a real contrast against that glossy glaze. The best bites have caramelized edges, a little salt from the soy sauce, and just enough acidity to keep the honey from tasting flat.
Bone-in, skin-on thighs matter here. They stay juicy in the oven while the skin renders in the skillet, which gives the sauce something to coat besides a pale piece of steamed chicken. The pan gets used all the way through, too, so the browned bits from the sear melt into the glaze instead of getting left behind.
Below, I’ll show you the small timing details that keep the garlic from burning and the sauce from turning watery. There’s also a smart way to handle leftovers so the chicken stays tender instead of dried out.
The sauce thickened right in the skillet and coated every piece without turning runny. I used thighs like you suggested, and the skin stayed crisp even after the bake.
Sticky honey garlic chicken with crisp skin and glossy pan sauce, made for the kind of weeknight dinner you’ll want to repeat.
The Trick to Getting the Glaze Thick, Not Watery
The difference between a glossy glaze and a thin pan sauce comes down to two things: heat control and when the honey goes in. Garlic burns fast once it hits butter, and burned garlic turns the whole sauce bitter, so it only needs a minute in the pan before the liquids follow. After that, the honey and soy sauce need a full simmer in contact with the browned chicken and skillet drippings, not a lazy warm-up.
Another common failure is crowding the pan or skipping the sear. If the chicken never gets deep color in the skillet, the sauce has less to cling to and tastes flatter. The skin also needs time against the hot pan so the fat renders and the surface dries out before the oven finishes the job.
- Bone-in, skin-on chicken thighs — These hold up to the oven and give you the best texture because the skin renders before the meat dries out. Boneless thighs work in a pinch, but they cook faster and won’t give you the same crisp, saucy contrast.
- Honey — This is what makes the glaze lacquer the chicken instead of just seasoning it. Use a regular liquid honey, not a strongly flavored dark varietal, unless you want a deeper, more assertive finish.
- Soy sauce — It brings salt and umami, and it balances the sweetness so the sauce tastes finished. Low-sodium soy sauce works well if you want a little more control over the salt level.
- Apple cider vinegar — The vinegar keeps the glaze from reading heavy. If you don’t have it, rice vinegar is the closest swap; use the same amount and don’t skip the acid entirely.
- Garlic — Fresh minced garlic matters here because it perfumes the butter and sweet sauce in a way jarred garlic can’t quite match. Keep the mince fine so it softens quickly and doesn’t leave harsh chunks in the glaze.
What Each Ingredient Is Actually Doing in This Chicken Dish
- Chicken (pat dry for browning) — Room temperature cooks more evenly. Even pieces ensure uniform doneness.
- Oil or butter (the browning medium) — High-heat oil essential for proper searing. Creates pan flavor.
- Seasonings (salt, pepper, spices) — Apply generously. Chicken carries the entire flavor profile.
- Aromatics (garlic, ginger, herbs) — Cook with fat to bloom flavors. Become the foundation.
- Sauce or braising liquid (if using) — This keeps chicken moist. Balance richness with acid.
- Vegetables (if using) — Layer by cooking time so everything finishes together.
- Acid (vinegar, wine, lime, or pineapple) — This brightens and prevents one-dimensional flavor.
- Proper doneness (165°F internal temperature) — Use thermometer for accuracy. Overcooked is dry.
How to Build the Sauce Around the Sear
Rendering the Skin First
Start the chicken skin-side down in a hot skillet and leave it alone long enough for the skin to turn deep golden and release naturally. If you try to move it too early, it sticks and tears before the fat has a chance to render. You’re looking for a crackling surface and browned edges, not just pale skin with a few tan spots.
Keeping the Garlic from Going Bitter
Once the chicken comes out, add the butter and garlic and stir constantly for about a minute. The garlic should smell fragrant and mellow, not sharp or dark. If it starts browning before the liquids go in, pull the pan off the heat for a few seconds and keep stirring.
Letting the Glaze Tighten in the Oven
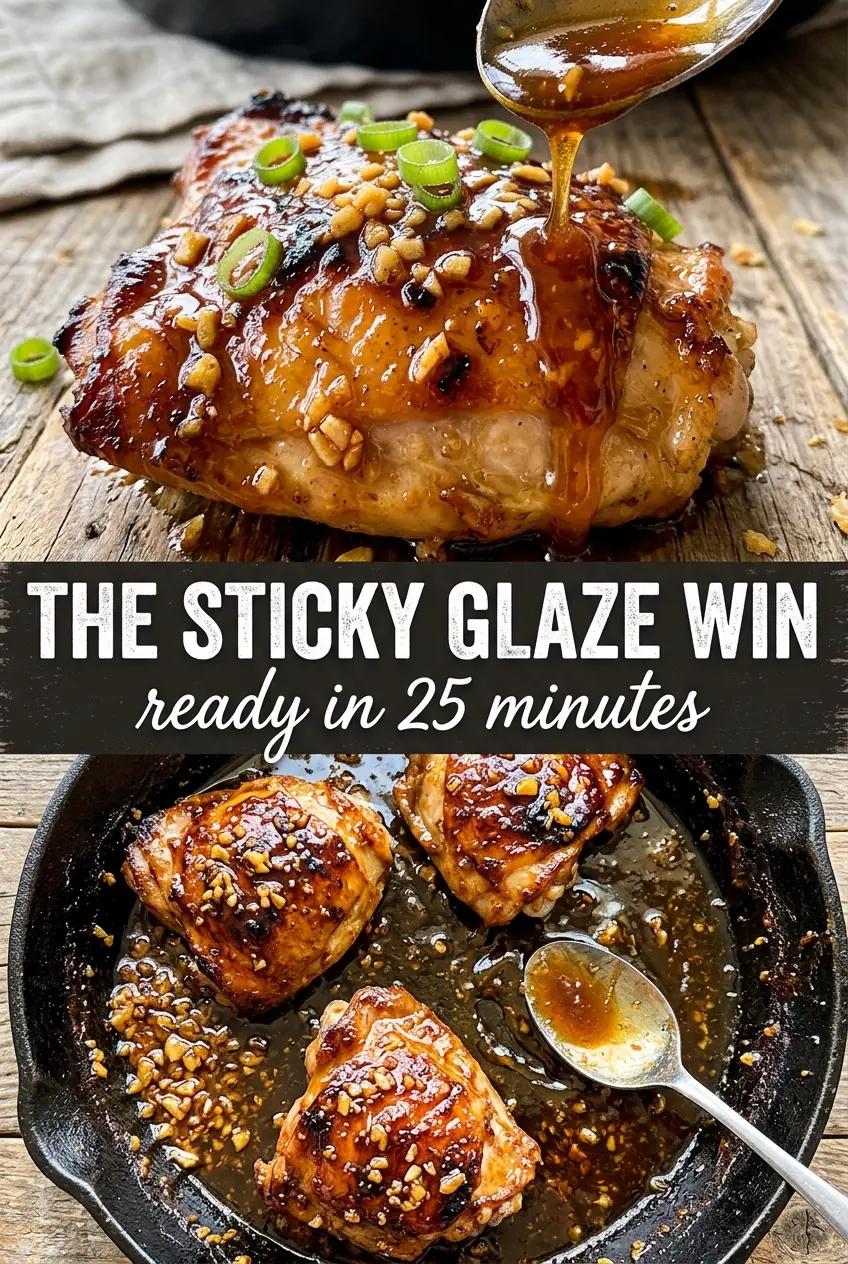
After the honey, soy sauce, vinegar, and red pepper flakes go in, return the chicken skin-side up and spoon sauce over the top. The oven does the last part of the work, finishing the chicken while the sauce reduces around it. If the sauce still looks loose when it comes out, set the skillet over medium heat for a couple of minutes and let it bubble until it turns syrupy.
Ways to Bend This Recipe Without Breaking It
Boneless Chicken Thighs for Faster Cooking
Boneless thighs work if you want dinner on the table faster, and they still stay juicy in the sticky glaze. Cut the oven time back a few minutes and start checking for doneness early, because boneless pieces dry out faster once the sauce starts reducing.
Gluten-Free Version
Use a certified gluten-free soy sauce or tamari and everything else stays the same. The texture and sheen of the glaze don’t change, and you still get that salty-sweet balance without the wheat.
Less Sweet, More Savory
If you want the sauce a little less sticky-sweet, drop the honey slightly and add an extra splash of vinegar. You’ll lose some of the candy-like glaze, but you’ll get a sharper, more savory sauce that still clings well to the chicken.
Storage and Reheating
- Refrigerator: Store in an airtight container for up to 4 days. The skin softens, but the chicken stays flavorful.
- Freezer: It freezes well for up to 2 months, though the glaze loses a little shine after thawing. Freeze the chicken with some sauce and thaw overnight in the fridge.
- Reheating: Warm gently in a covered skillet over low heat or in a 325F oven until hot. High heat dries out the meat and can make the honey glaze tacky instead of glossy.
Answers to the Questions Worth Asking
Honey Garlic Chicken
Ingredients
Equipment
Method
- Season the chicken thighs with salt and pepper on both sides.
- Heat olive oil in a large oven-safe skillet over medium-high heat, then sear the chicken skin-side down for 5-6 minutes until deeply golden.
- Flip and sear the other side for 3 minutes, then remove the chicken and set aside.
- Add butter and garlic to the pan and cook for 1 minute until fragrant.
- Stir in honey, soy sauce, apple cider vinegar, and red pepper flakes until combined.
- Return the chicken to the pan skin-side up and spoon the sauce over the top.
- Transfer to a 400F oven and bake for 15-18 minutes until the internal temperature reaches 165F.
- Spoon the pan sauce over the chicken again, then garnish with fresh thyme and sesame seeds.


